Energy Bites

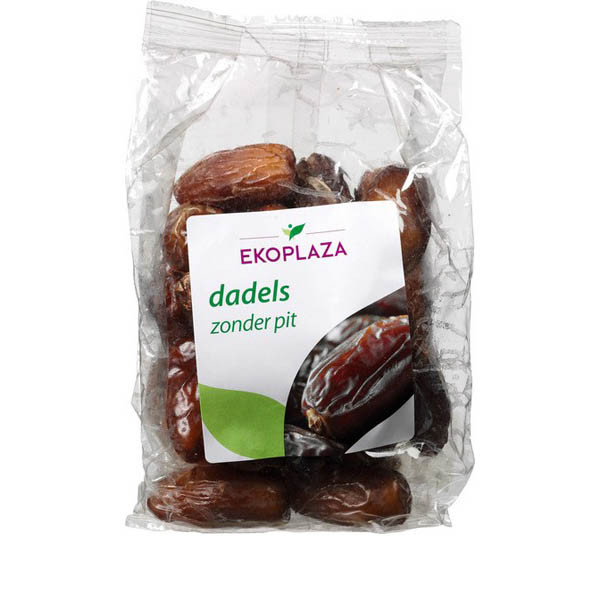
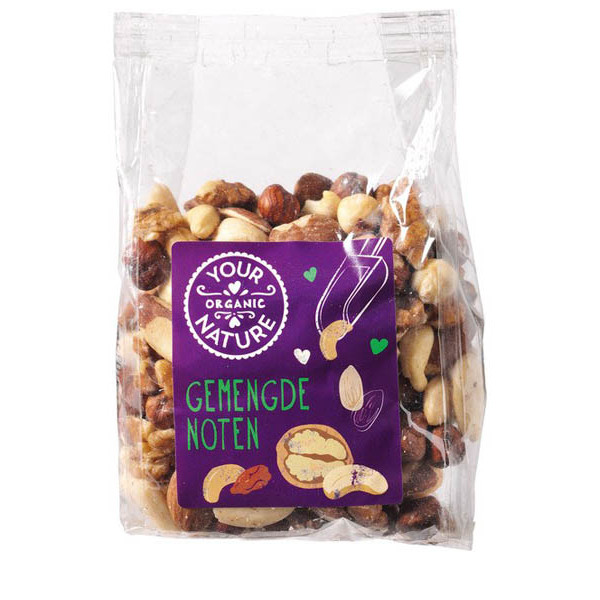
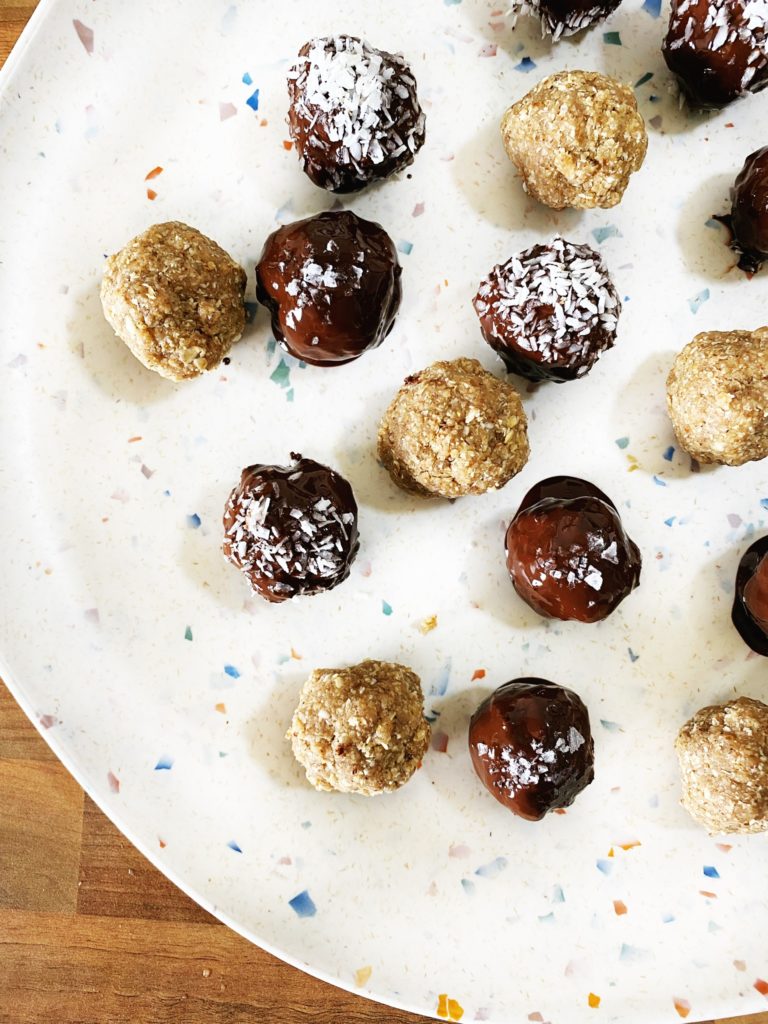
Energy bites do what they say on the tin. They are jam packed full of good ingredients – oats, nuts (or seeds) and dates – which give you a boost of energy and get you through the afternoon slump, power you up that hill on your hike or keep hunger at bay in the car on your way to your staycation. This base recipe is really handy to have in your repertoire. Make it your own by using your favourite nuts or seeds, replace the dates with apricots or raisins, add cacao powder or dried spices like cinnamon or ginger for different flavours, coat them in melted chocolate or roll them in sesame seeds or desiccated coconut. It’s fun to play around with flavours here.

Did you know, many of our grocery products like oats, nuts and dates are packed plastic free? We are always working on adding more plastic free products to the list too so keep checking back. Please share your favourite energy ball combinations with us on our facebook community group

Liz x

Ingredients (makes 20)

  • 1 &1/2 mugs of porridge oats
  • 1 mug of nuts (or seeds, or a mix)
  • 1/2 mug of pitted dates
  • a pinch of salt
  • a drizzle of maple syrup or honey
  • optional extra ingredients to taste (like melted chocolate, desiccated coconut, sesame seeds, cacao powder, cinnamon, ginger…)

Method

  1. Measure the oats, nuts, dates and salt into a food processor with the ’S’ blade attachment. (If you are making this in a blender, then divide it into smaller batches).
  2. Pulse the ingredients together, stopping frequently to stir and scrape down the sides. You are aiming for an even, sticky, crumbly mixture.
  3. Scrape the mixture into a large bowl. This is where you can stir in some extra flavours or textures if you like. Some cinnamon or ginger? Make it chocolate flavoured by adding some cacao powder? 
  4. Now test the stickiness of the mixture by picking up a small handful and squeezing. If it sticks together easily you don’t need the syrup – this depends on the freshness and variety of the dates. Otherwise add a small drizzle of maple syrup and stir. Test again and add more syrup until you get the right consistency.
  5. Then squeeze and roll the mixture into little balls. If they are sticky enough you can roll them in seeds or desiccated coconut for extra flavour and fun. 
  6. Another fun option is to dunk them in melted chocolate and sit them on a tray in the fridge to set. While the chocolate is wet, you can sprinkle the bites with seeds or some flakey sea salt or anything you like to make them even more special.
  7. Otherwise they are fabulous naked, just the way they are! 
  8. Pack in an airtight container in the fridge and eat them within the week.
Roast Romanesco Summer Stew

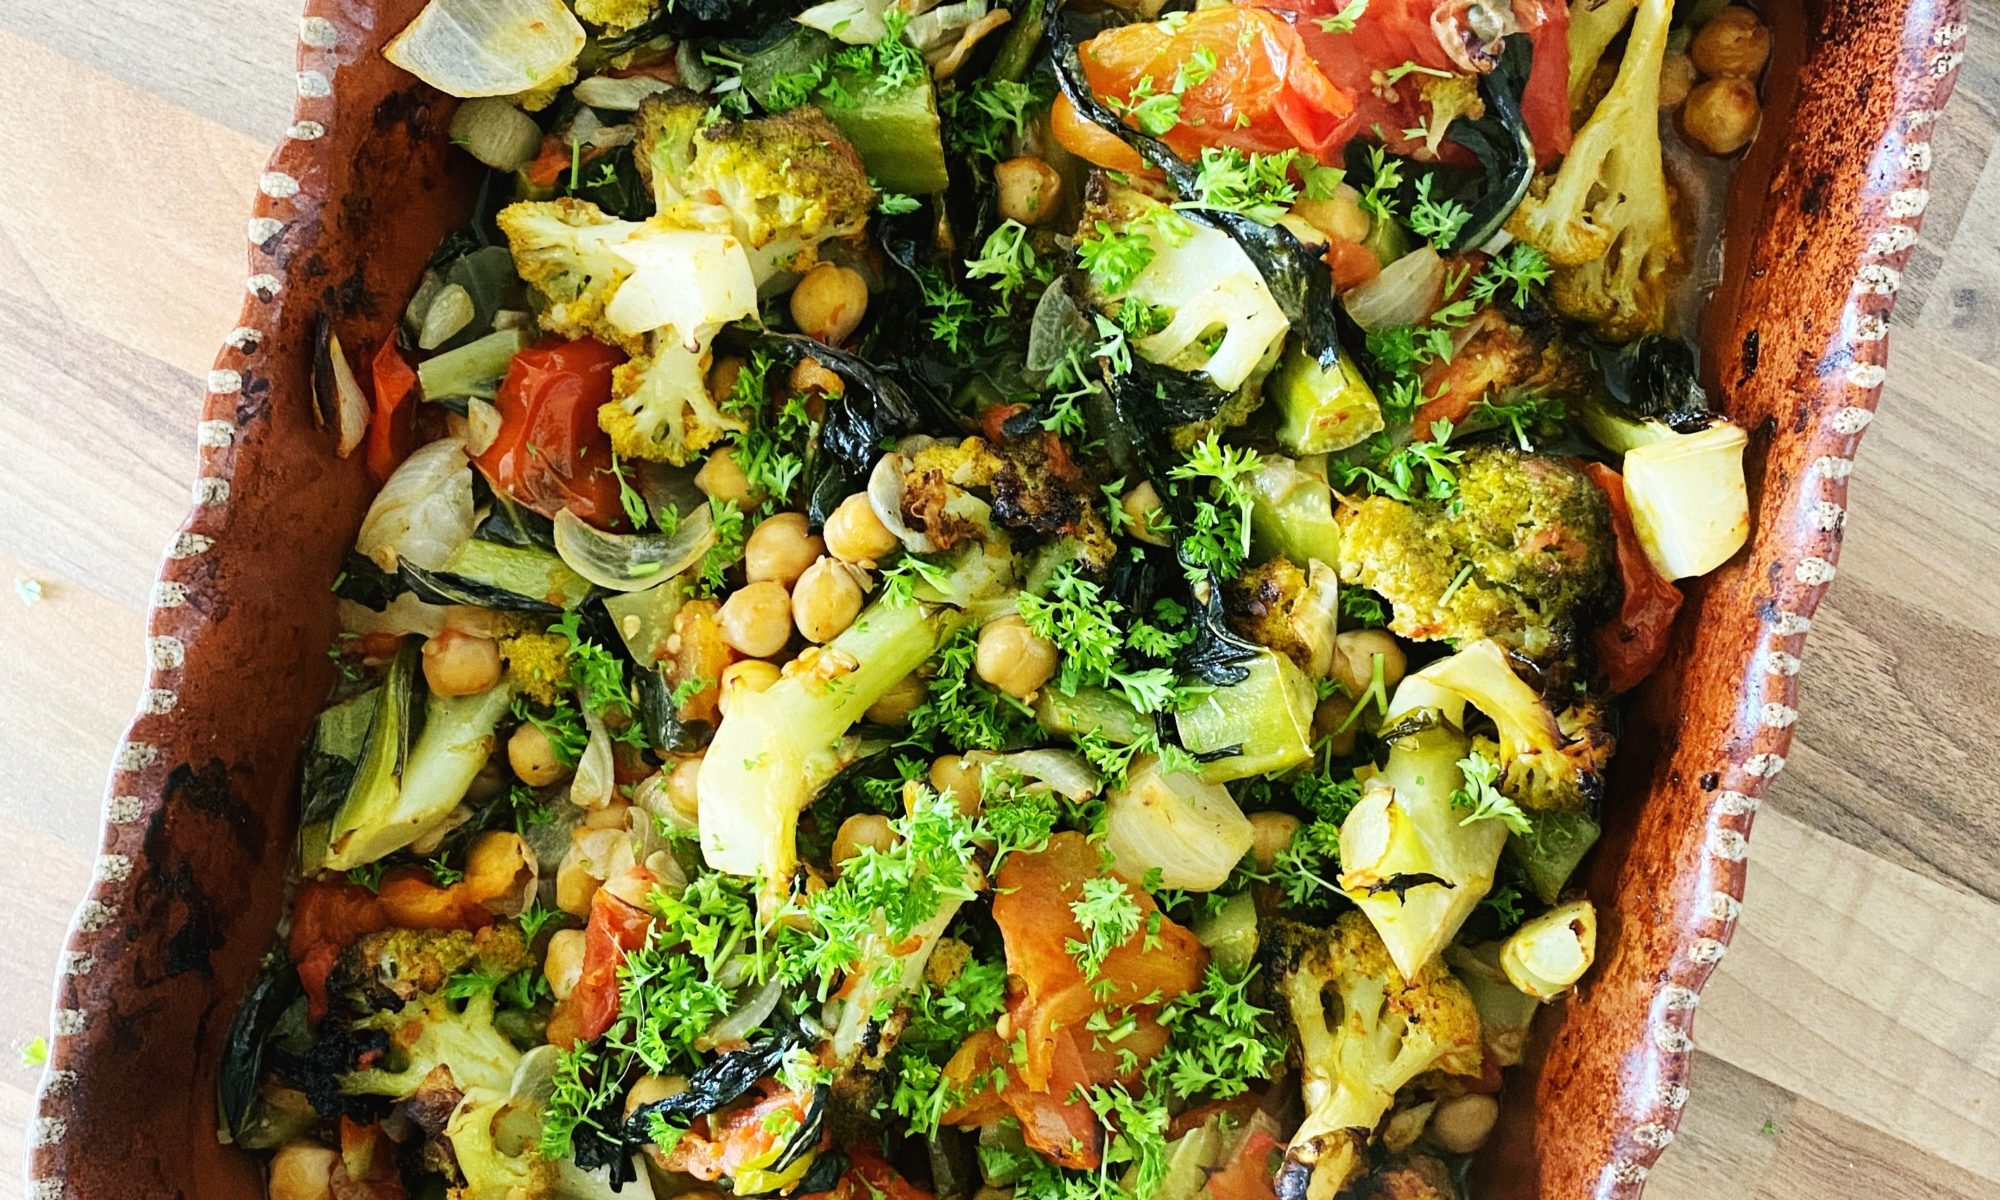
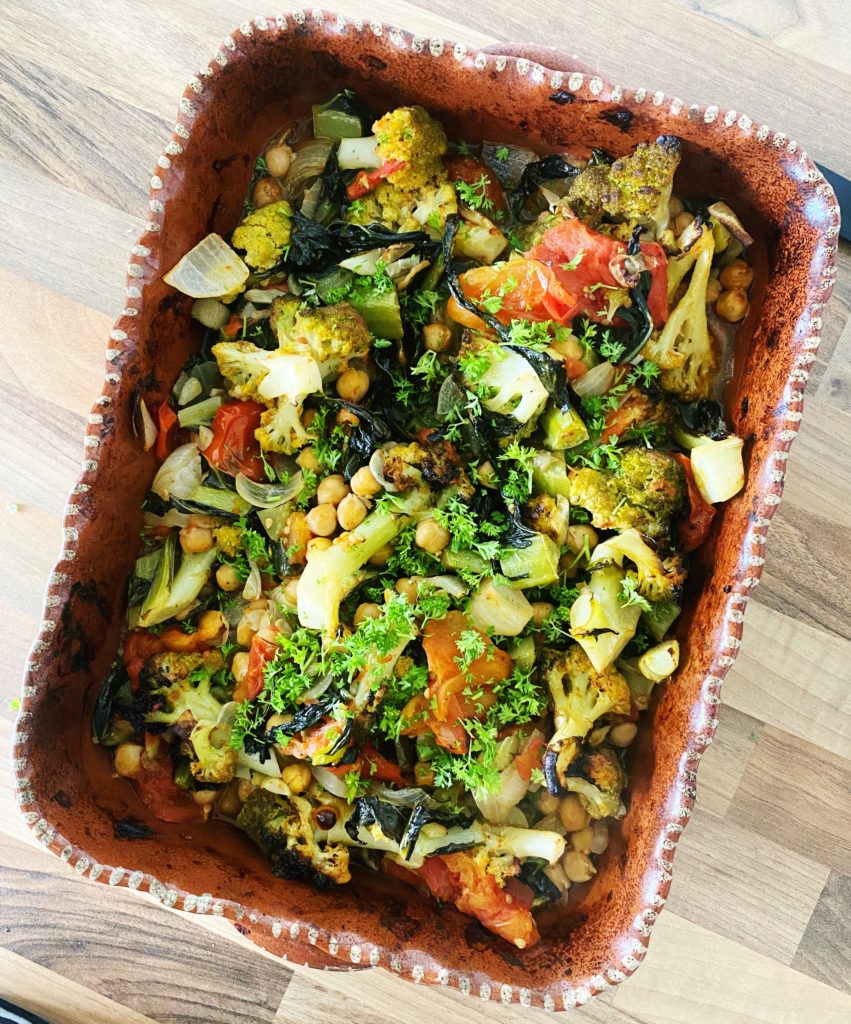
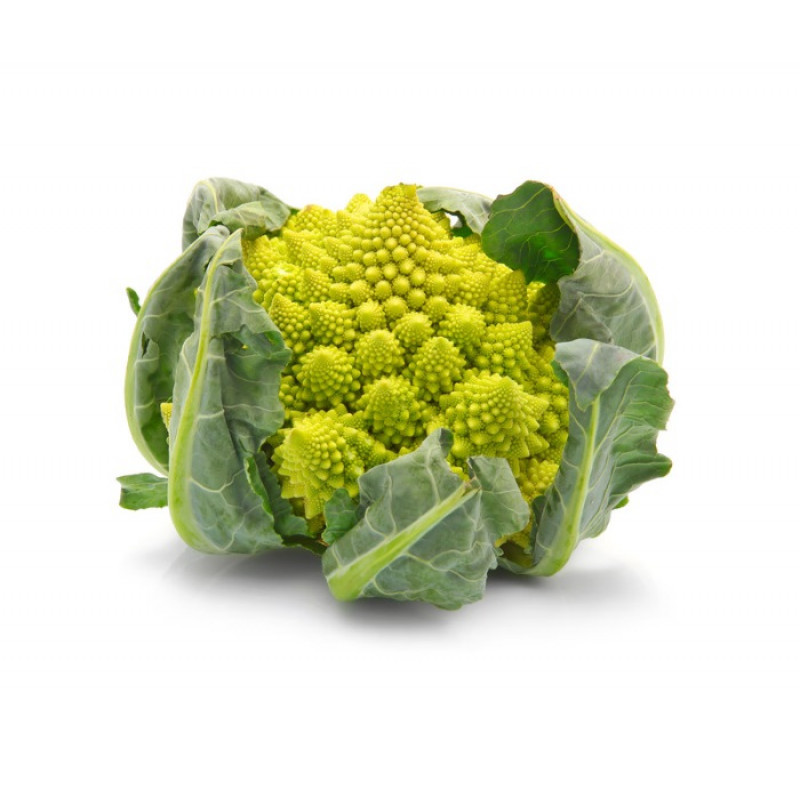
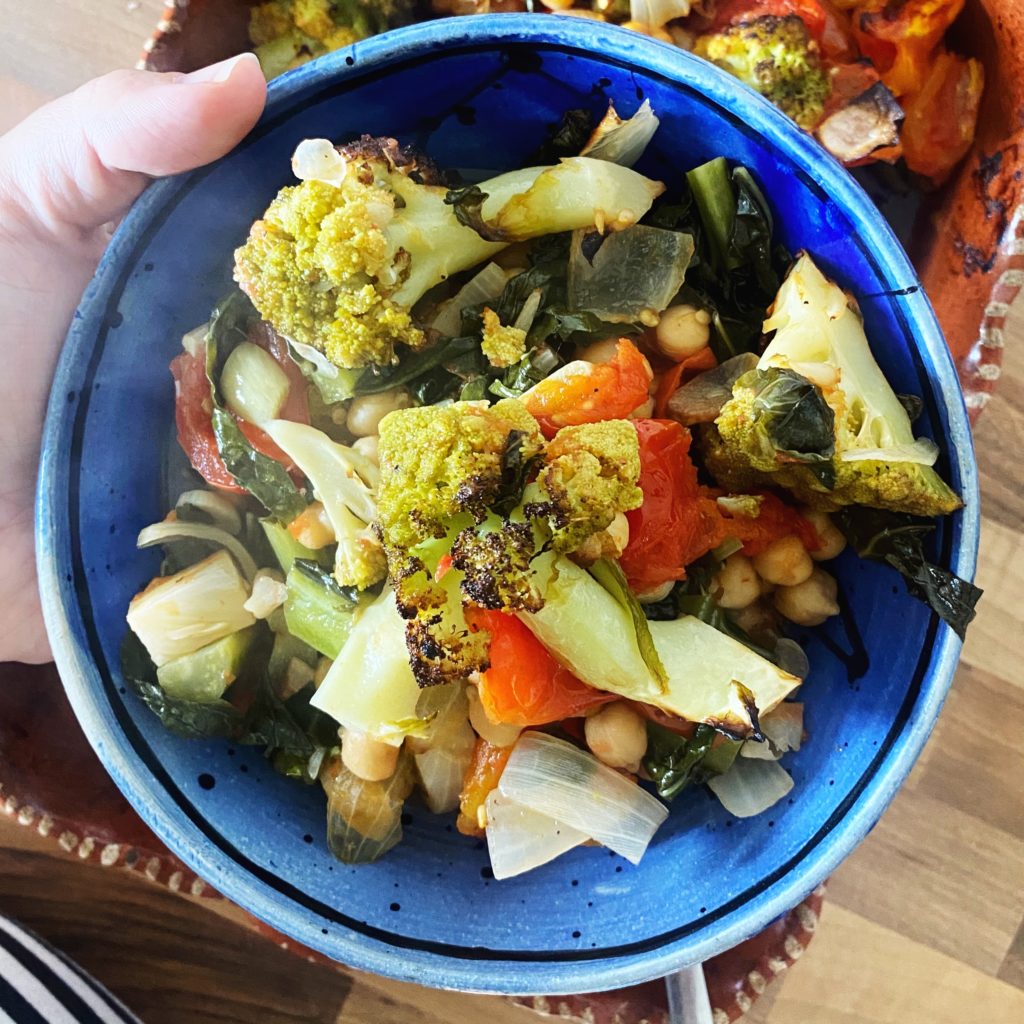
Romanesco cauliflowers have got to be one of the most beautiful vegetables we grow. Their mathematical fractal shapes are breathtaking to look at and luckily they are also extremely tasty! Our favourite way by far to cook them is to chop them into florets and roast them. Have a look at the end of this smashed cucumber recipe for a great marinade idea. In this recipe I use them in a one-roasting-dish meal to make a simple summery stew. This way you get some crispy tops and some soft, simmered bits too. All in one easy dish! Serve with bread, potatoes, rice or pasta. Or just eat it as it is.

Liz x

Ingredients (serves 4-6 people depending on sides)

  • 1 romanesco cauliflower
  • 3 large tomatoes (or 6 medium)
  • 1 white onion
  • 1 whole bulb of garlic
  • 1 drained tin of chickpeas (reserve the aquafaba for another recipe like this vegan mayo or this clafoutis)
  • a generous drizzle of olive oil
  • a good splash of white wine
  • salt and pepper to taste
  • chopped parsley to finish

Method

  1. Preheat your oven to 200C and find a large roasting dish.
  2. Cut the romanesco into florets and put it in the roasting dish. Don’t discard the stem or leaves. They can be chopped into smaller pieces and added to the dish too!
  3. Cut the tomatoes into bite sized pieces and add them to the dish.
  4. Peel and roughly dice the onion and peel and slice the whole bulb or garlic. Add those to the dish too.
  5. Add the drained chickpeas to the dish next.
  6. Drizzle a generous amount of olive oil over the vegetables and chickpeas then add a good splash of white wine.
  7. Season with salt and pepper and, using your hands, mix the ingredients well so that they are all evenly coated in the seasoning.
  8. Put the dish into the oven to roast. This is a good time to cook some potatoes/pasta/rice to go with the stew.
  9. After 20 minutes, take the dish out of the oven and stir. Then return it to the oven to continue roasting for a further 10-15 minutes or until you are happy with how cooked everything is.
  10. Remove from the oven and stir some chopped parsley or herbs of your choice through the summery stew. Serve in bowls and enjoy!

Smashed Cucumbers

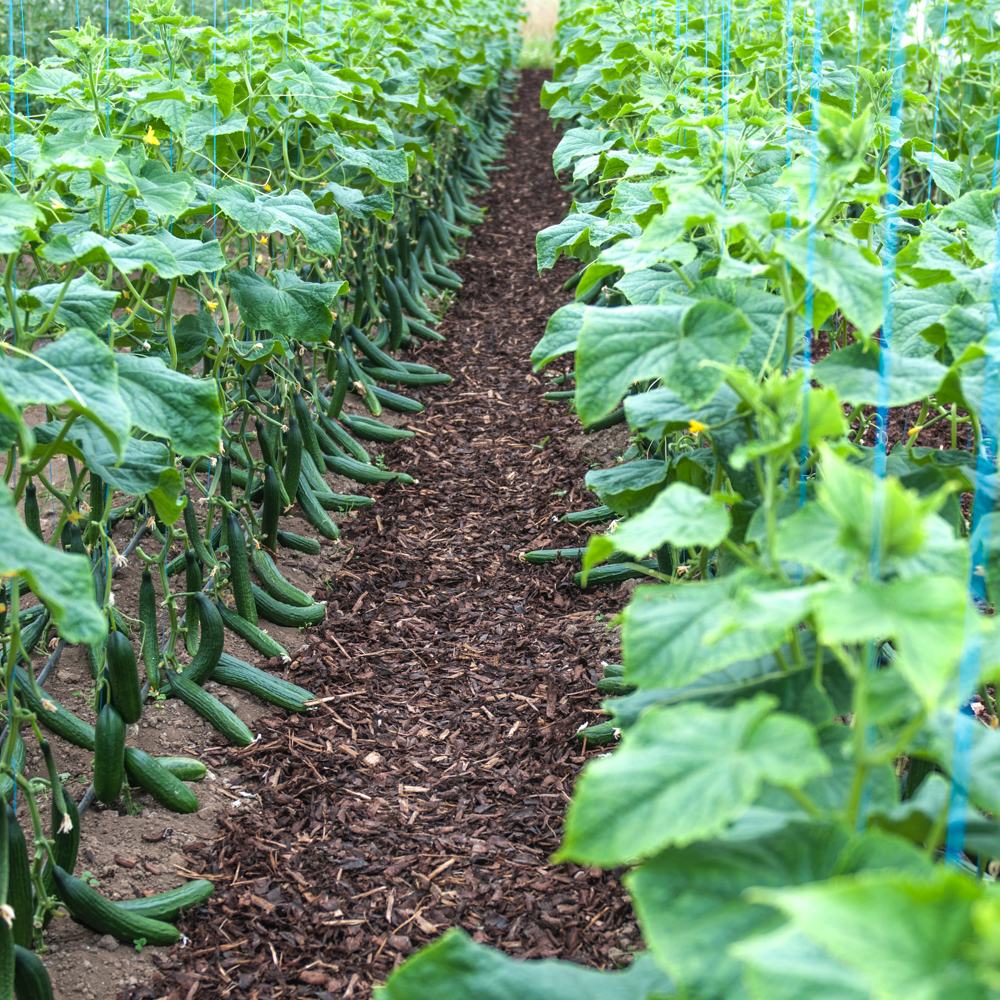
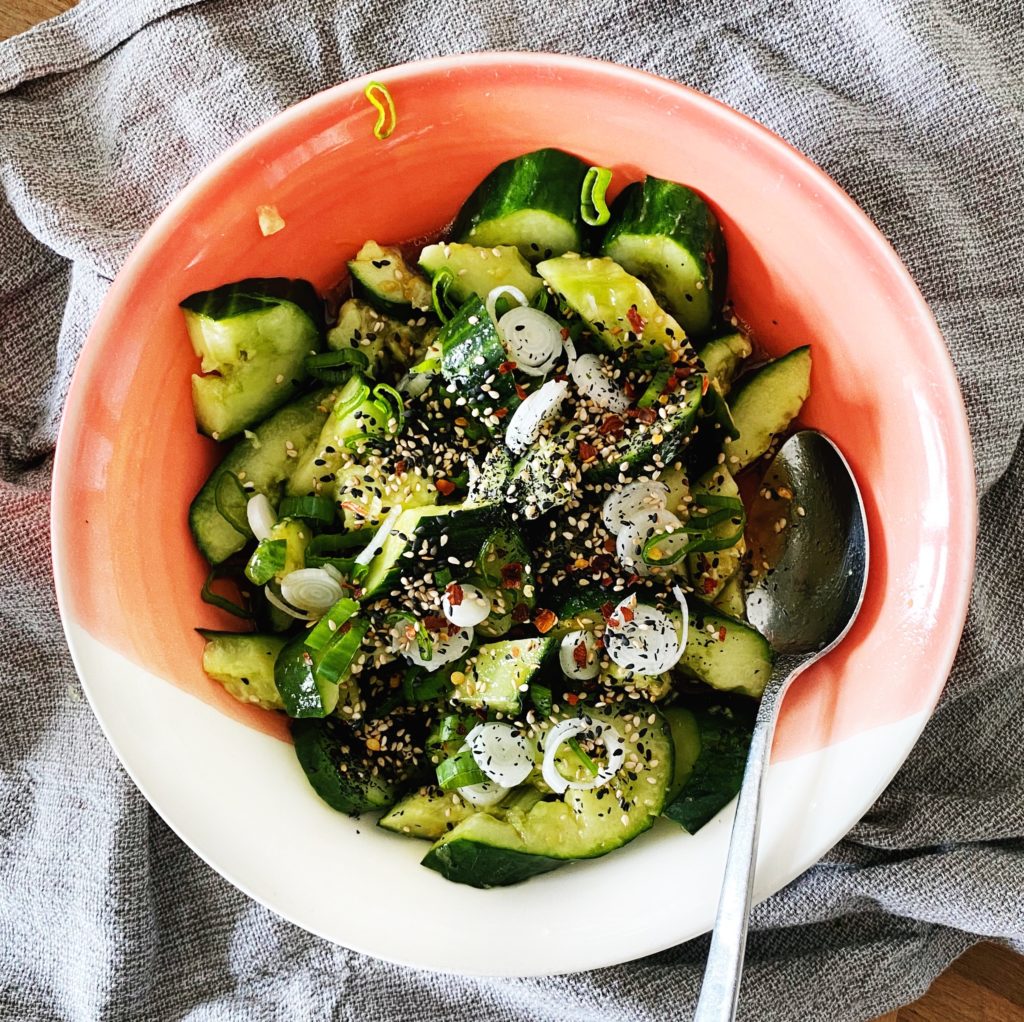
Photo from our farm photographer Simone last week.
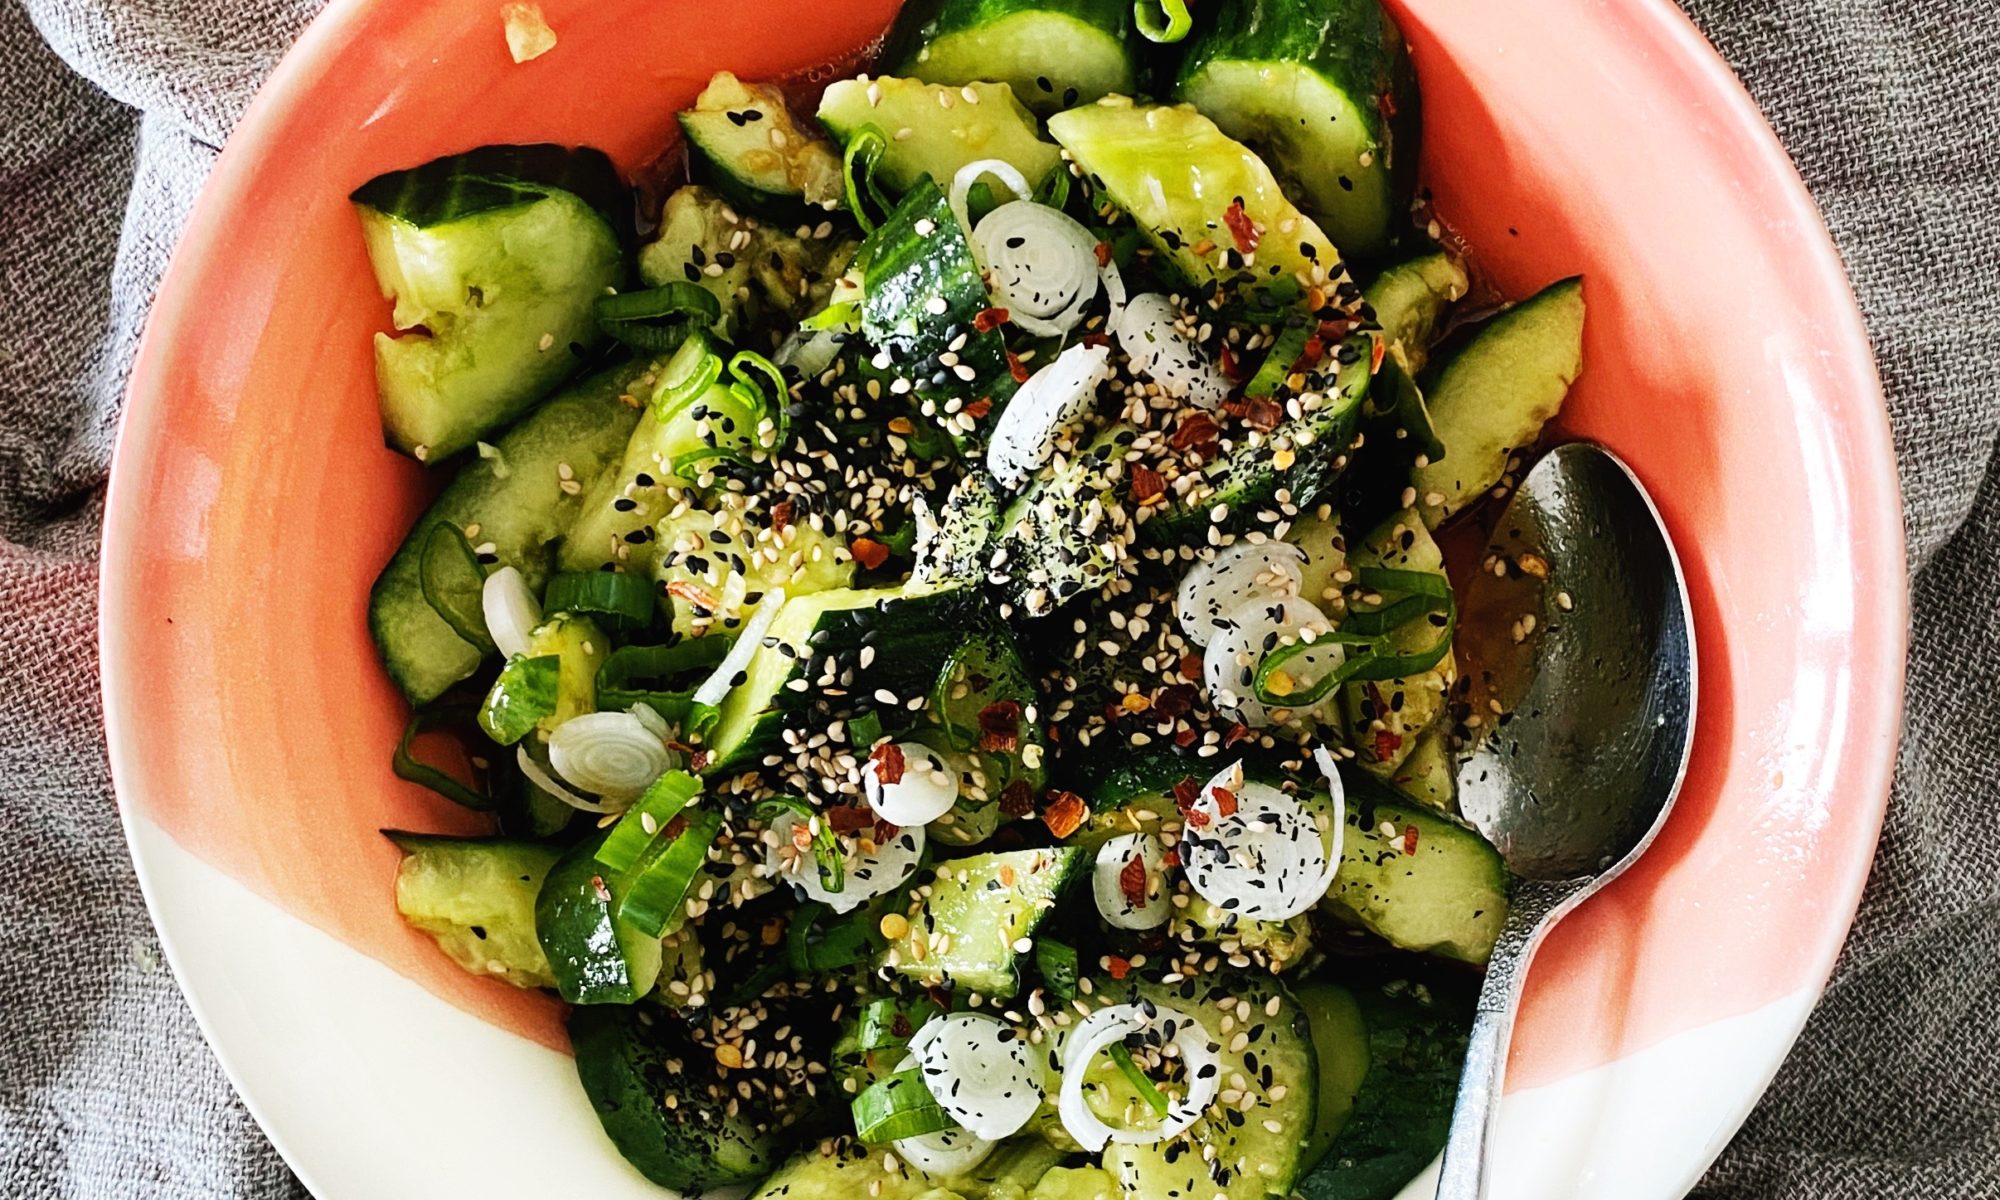
Our farm grown cucumbers, fresh out of the warm, sun kissed polytunnels, are mind-blowingly delicious! Nothing like the almost tasteless supermarket ones, these are the real deal. If the kids don’t get to them first as a snack, this is one of my favourite things to do with them. Smashing the cucumber before dressing it really opens it up and makes more craggy surface areas for the dressing to cling to. We often eat this summery side dish with simply boiled rice, some baked or fried tofu and spicy kimchi. 

Liz x

Ingredients

  • 1 large or 2 small cucumbers
  • 2 tbsp toasted sesame oil
  • 2 tbsp tamari or soy sauce
  • 1/2 a lime – juiced (or 1 tbsp apple-cider/rice-wine vinegar)
  • 1/2 a garlic clove – crushed or finely grated
  • 1/2 thumb of fresh ginger – finely grated
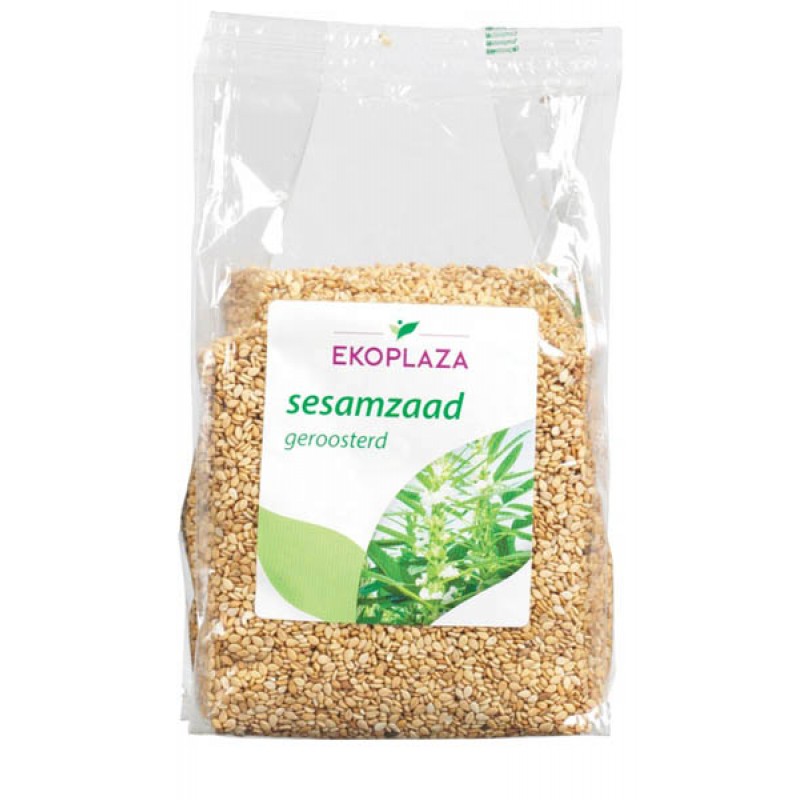
  • 2 tbsp sesame seeds – toasted
  • 1 tsp chilli flakes – optional
  • 2 sliced scallions – optional

Method

  1. Give the cucumber a rinse, then place it on a chopping board and cover it with a clean tea towel to prevent bits of cucumber flying around your kitchen in the next step.
  2. Bash or crush the cucumber with a something heavy or blunt. Rolling or bashing a tin of beans or a wooden rolling pin along its length with a fair bit of weight behind it will crack open the insides beautifully. Or you could press a heavy saucepan over it or whack it gently with a mallet. You don’t want to smash it into mush, rather crack and break it open and lightly crush it so that there are lots of wild, craggy shapes inside.
  3. Remove the tea towel then break and slice the cucumber into bite sized pieces. Place the pieces in a bowl and make the dressing.
  4. Stir together the toasted sesame oil, soy sauce, lime/vinegar, garlic and ginger. 
  5. Pour the dressing evenly over the smashed cucumber, give it a quick stir, then top with toasted sesame seeds, chilli flakes and sliced scallions.
  6. Serve with rice, tofu, kimchi…or as a side to a barbecue!

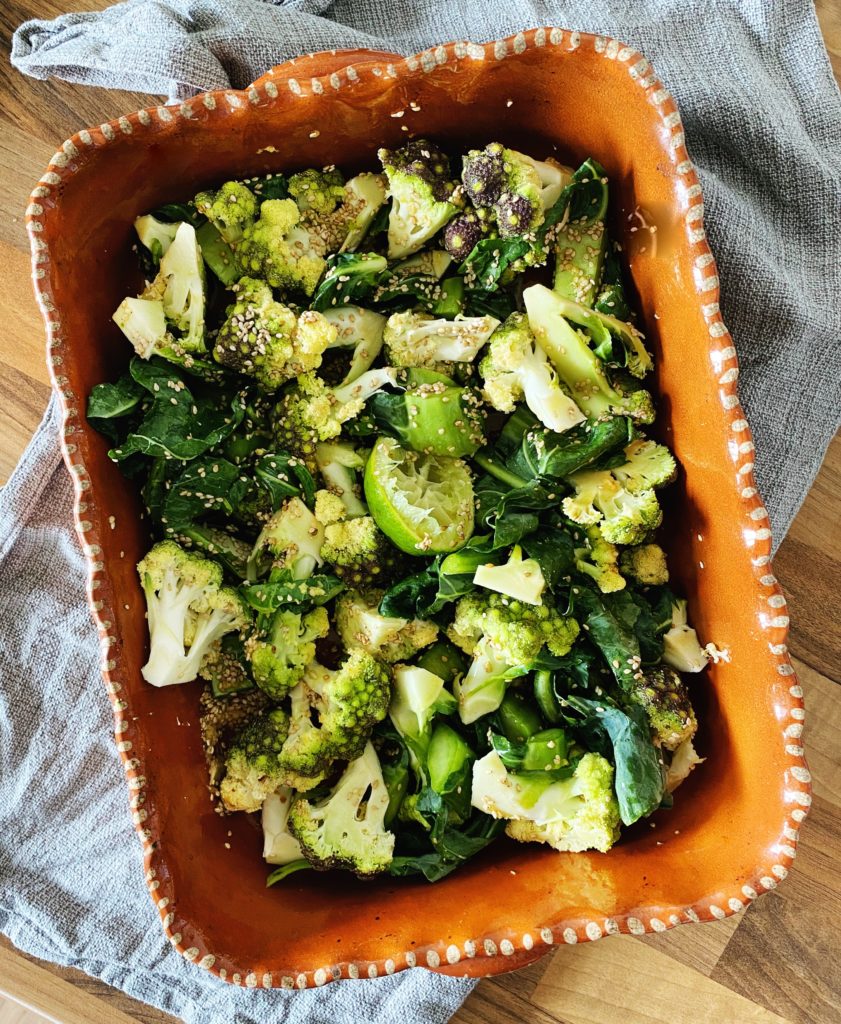
I used the same dressing to marinade a romanesco cauliflower before roasting it as another side to this meal and it was absolutely delicious! Highly recommend!

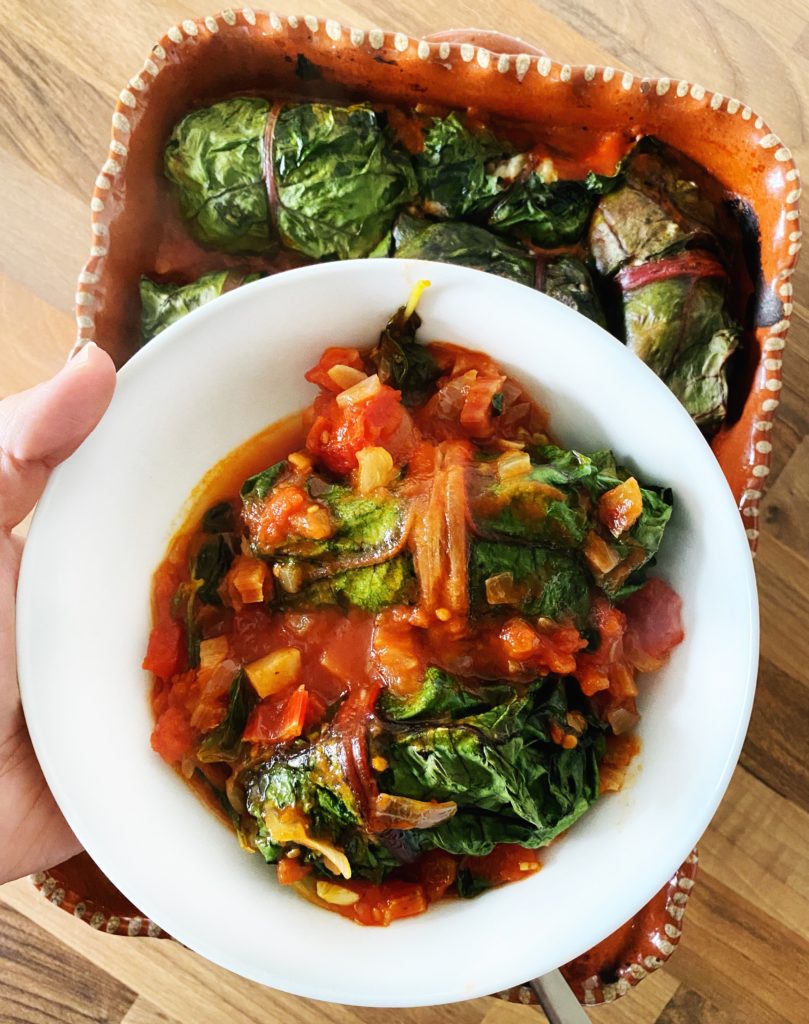
Rainbow Chard Parcels

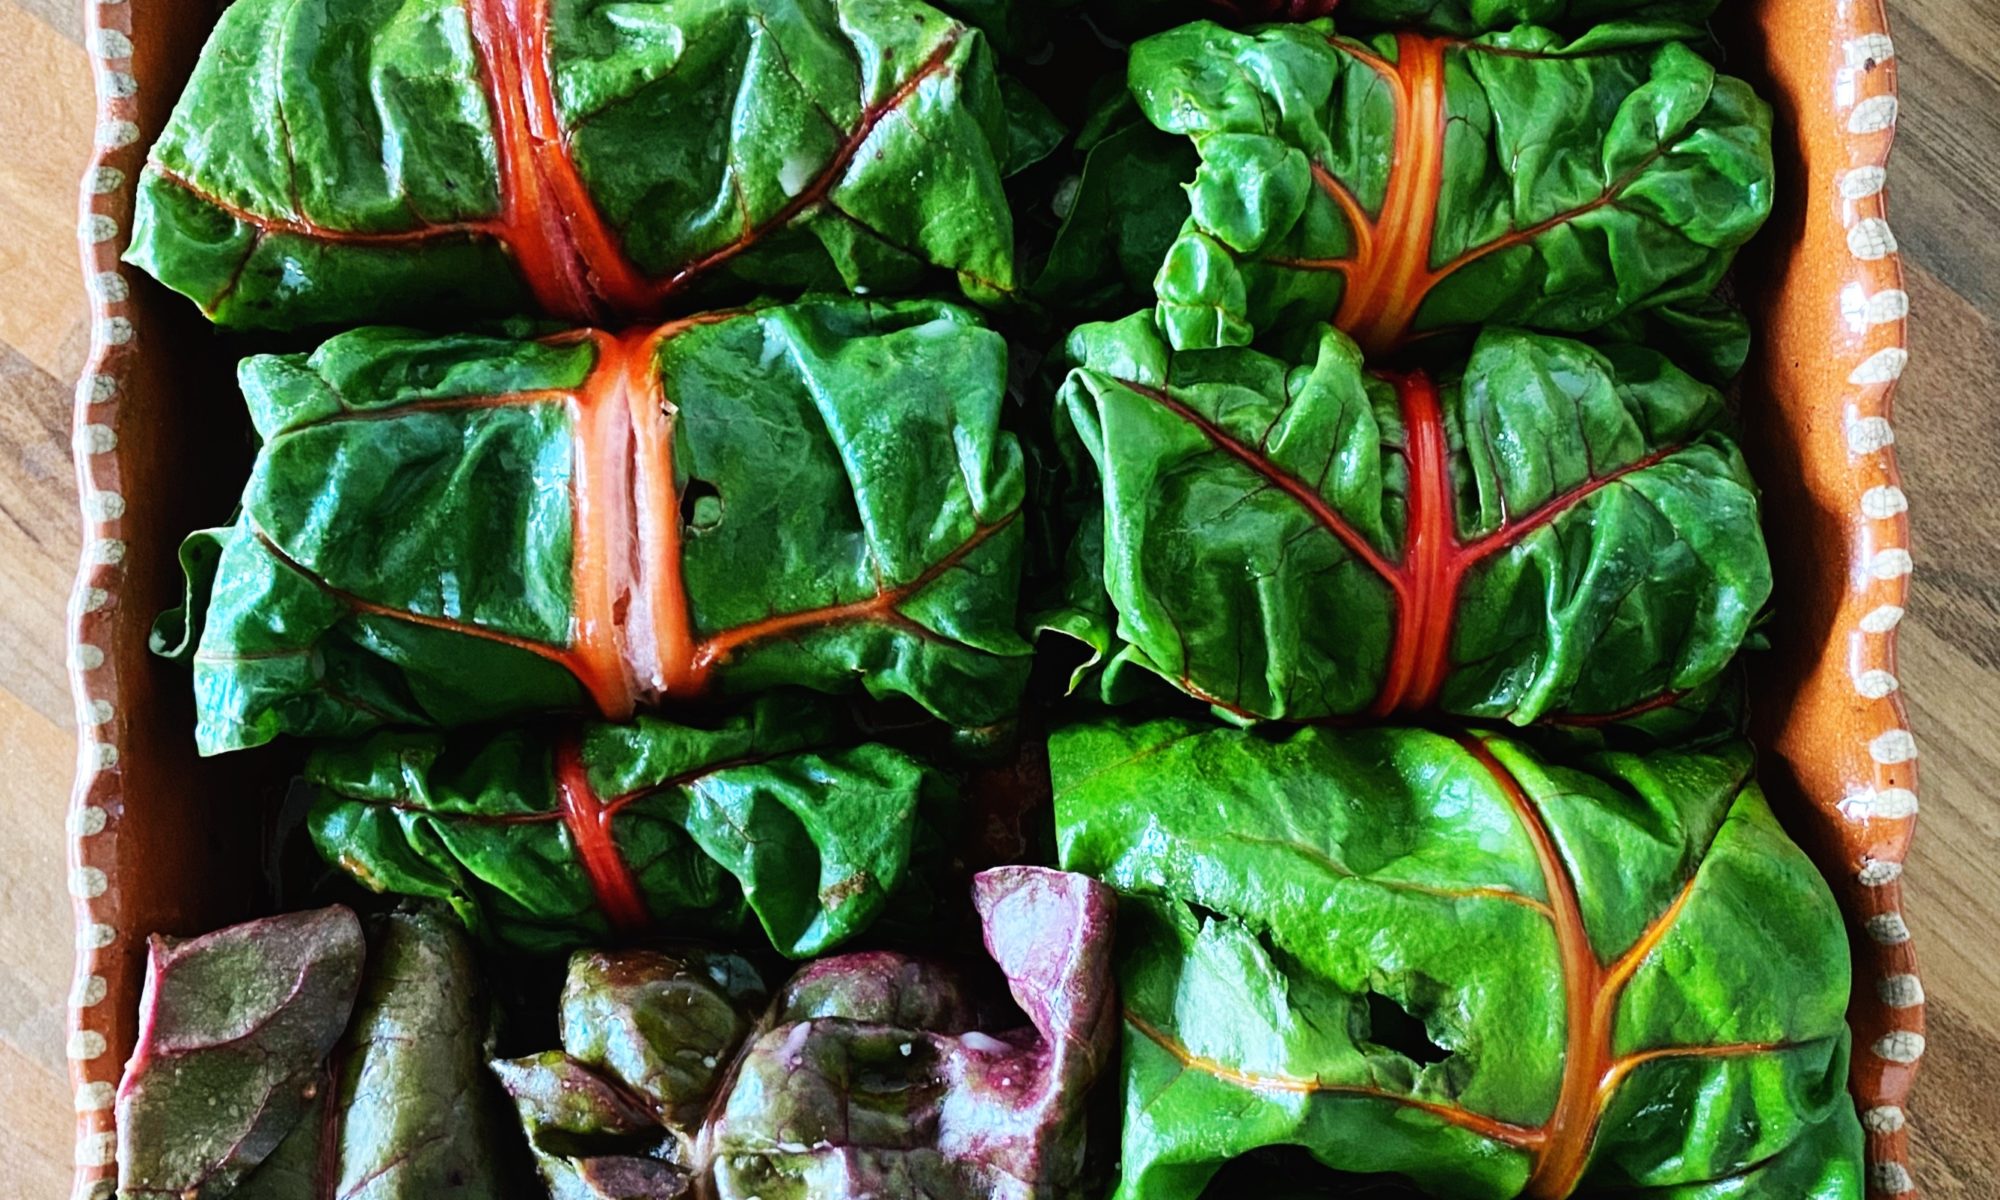
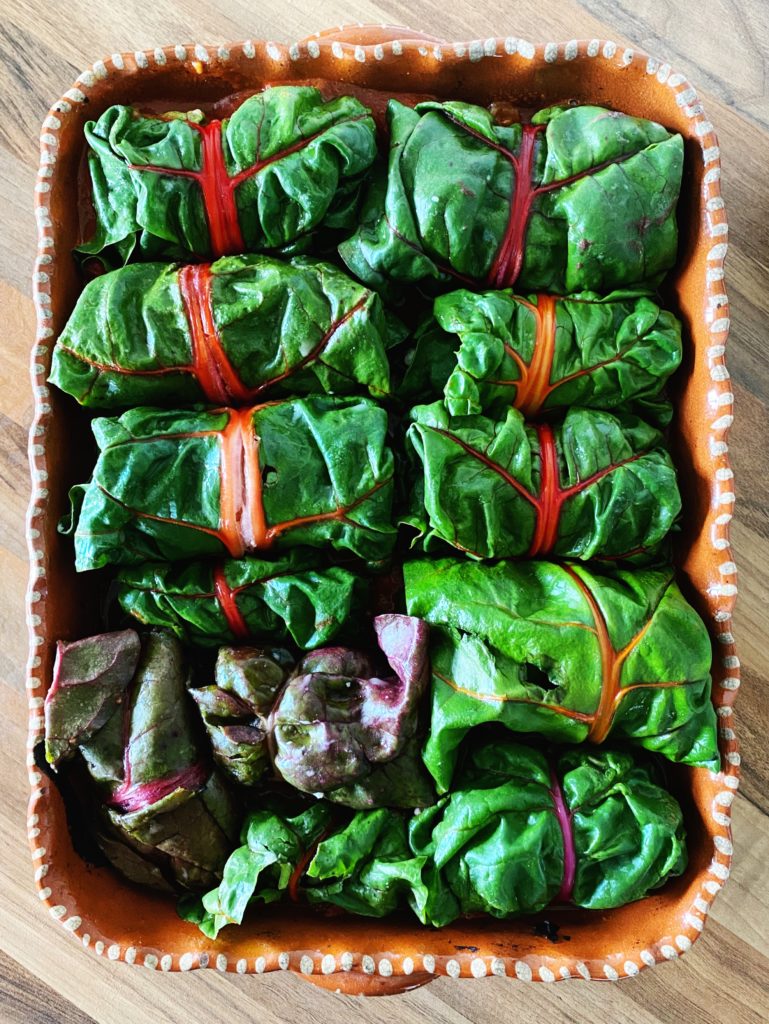
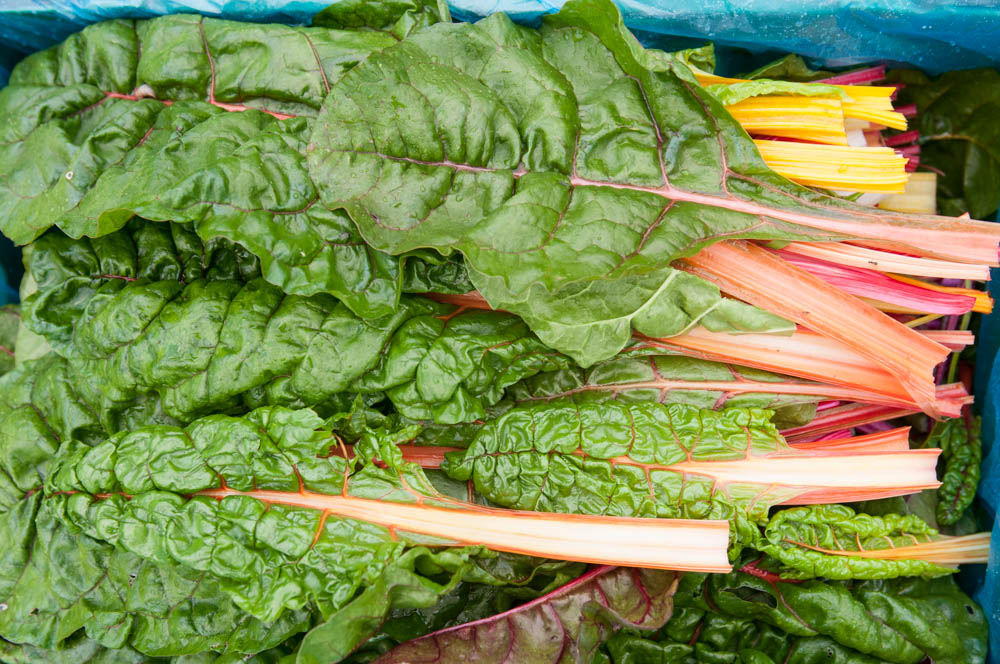
The stunning rainbow chard coming out of the farm at the moment is absolutely fantastic! It’s one of our favourite crops, so vibrant and so tasty. Here’s a recipe to make the most out of its beauty. Don’t forget to browse our farm products and add them to your next order, we’d hate for you to miss out on the seasonal harvest.

Liz x

Ingredients (serves 4)

  • 1 bag of rainbow chard (250g)
  • 4 tbsp olive oil (1 for sautéing, 2 for the mash, 1 for drizzling)
  • 1 onion, diced
  • 4 cloves of garlic, sliced
  • 2 tins of chopped tomatoes
  • a handful of torn basil leaves
  • 3 large potatoes
  • 1 tin of lentils, drained
  • 2 scallions, sliced
  • 1 tsp chilli flakes (optional)
  • optional cheese to taste – I like to use my tofeta
  • salt and pepper to taste

Method

  1. Scrub the potatoes, chop into bites and get them on to boil.
  2. Pre-heat the oven to 200C and find an oven and hob safe pan with a lid.
  3. Sauté the onion and garlic in 1 tbsp of olive oil for about 10 minutes or until soft and starting to caramelise.
  4. Add the tins of tomatoes and the torn basil leaves. Season with salt and pepper.
  5. Half fill the tins with water and swirl the tomatoey juices out of the tins, into the pan. Then bring the sauce up to simmer and bubble away while you make the chard parcels.
  6. Remove the long chard stems, slice them into bites and add them to the tomato sauce.
  7. Mash the potatoes with 2 tbsp of olive oil, salt and pepper to taste. Then stir in the drained lentils, sliced scallions, chilli flakes and optional cheese.
  8. Lay the chard leaves out, upside down on a chopping board with the top of the leaf closest to you and the colourful stalks pointing away from you.
  9. Add a spoon of the mashed potato and lentil filling to a leaf near the top closest to you, roll the leaf over the filling away from you, then fold over the sides and keep rolling until you make a neat parcel.
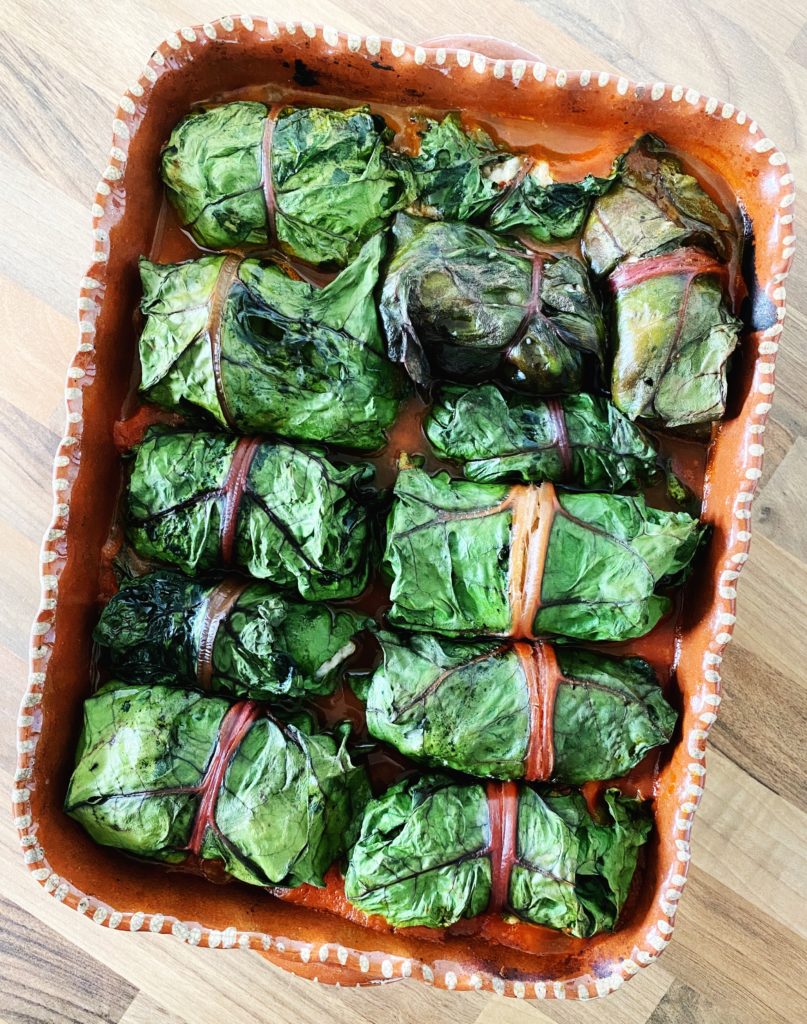
  10. Take the sauce off the heat and pour it into medium baking dish, then tuck the chard parcel, seam side down, into the sauce. Repeat until you have used up all the chard leaves or filling. Then drizzle the last tbsp of olive oil over the parcels.
  11. Then put a lid or sheet of foil or parchment on the dish and pop it in the oven to steam/roast for just 10 minutes or so. The sauce should be bubbling hot and the leaves should be tender.
  12. Serve in bowls with bread and salads.

Pot Sticker Dumplings

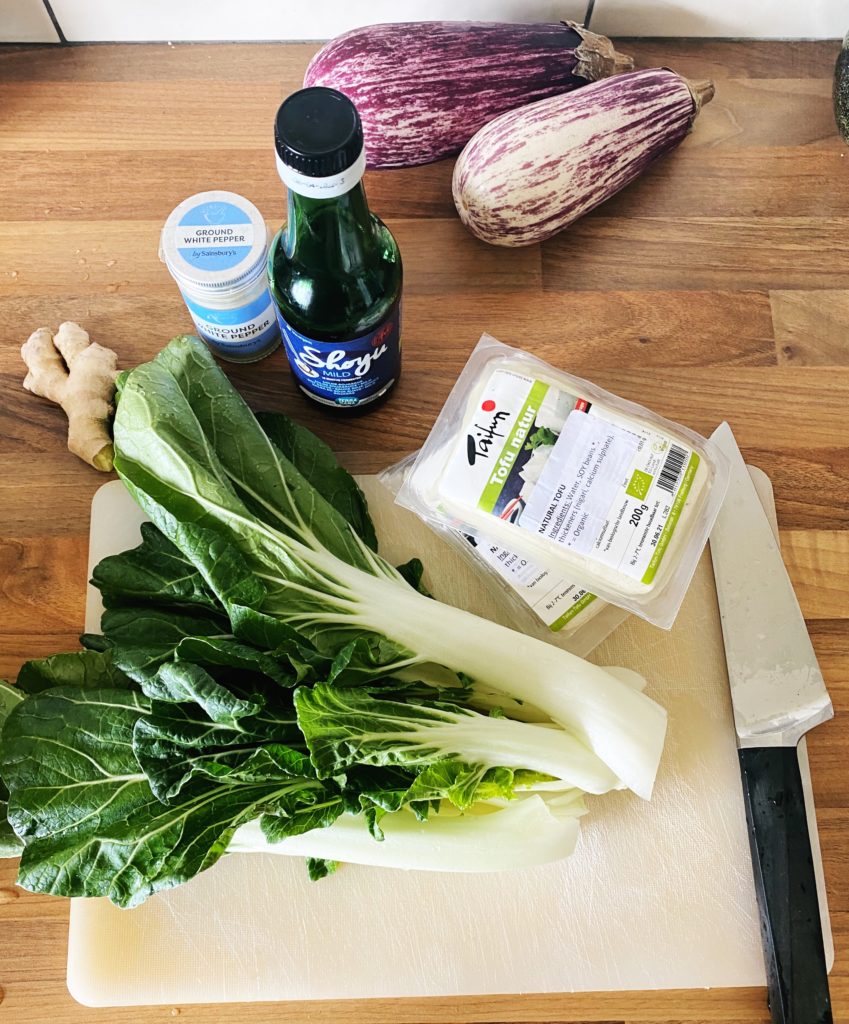
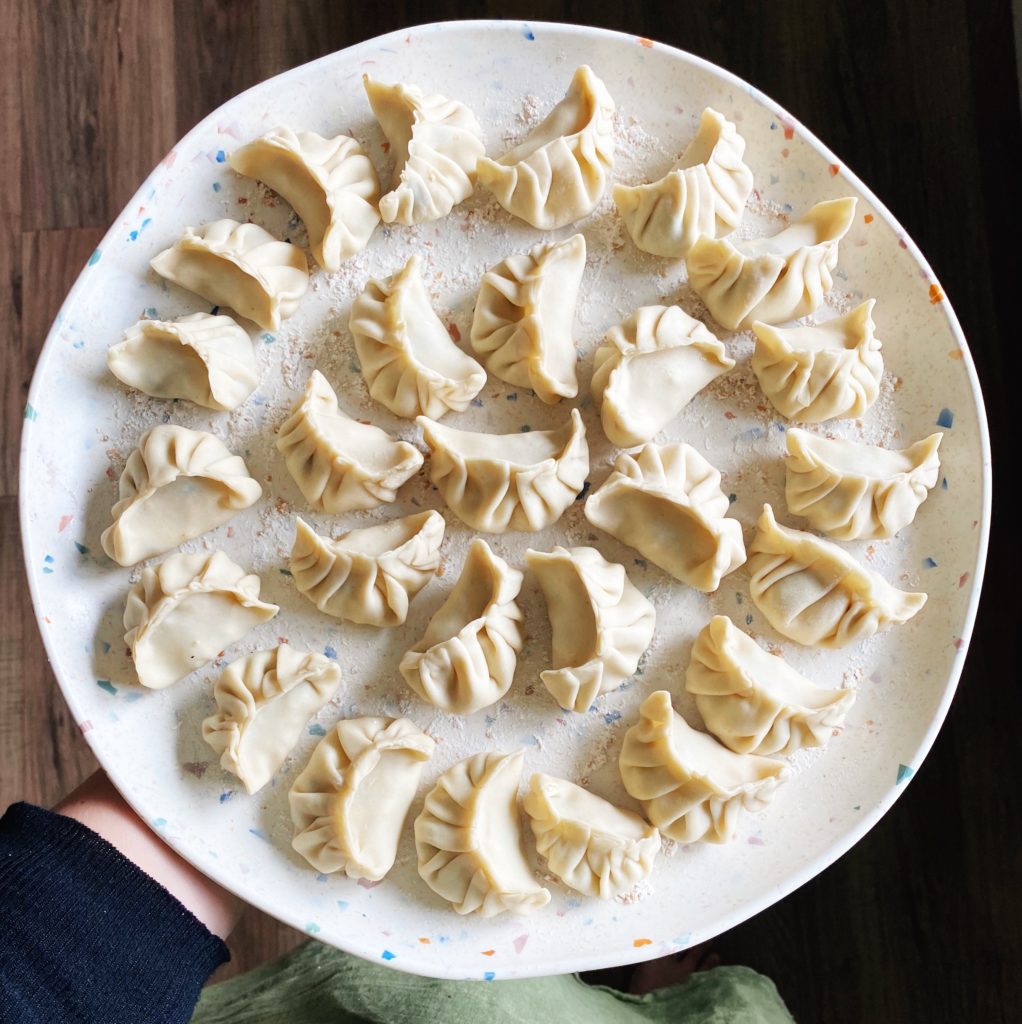
These dumplings are simpler to make than they look. Honestly! A basic dough made from flour, salt and water, an easy filling of sautéed pak choi and firm tofu and then a lot of fun rolling, filling and crimping. Put this recipe on your list of meditative kitchen moments.
I like them pot sticker style, where you fry the dumplings with a little veg oil until they have crisp, golden bottoms, then add some water and a lid and steam-fry them until they are juicy and tender. But you can pop them into a broth to simmer or even just steam them if you like. This kind of firm tofu filling is our favourite. If I have a jar of kimchi on the go, I just mix chopped kimchi, tofu, soy sauce and white pepper for an even easier filling with no need to pre-cook. Of course you can fill them with whatever you like. Just make sure the mix isn’t too wet.

Liz x

Ingredients (makes about 40 dumplings)

  • 2 mugs of plain flour (strong flour works well too)
  • 1 tsp salt
  • 1/2 mug of freshly boiled water
  • 1 pak choi
  • 4 cloves of garlic – chopped
  • 1 thumb of ginger – grated or finely chopped
  • 3 tbsp soy sauce
  • 3 tbsp toasted sesame oil
  • 1/2 tsp white pepper
  • chilli flakes to taste
  • 2 packs of extra firm tofu (400g total)
  • vegetable oil for frying
  • dipping sauces to serve – sweet chilli or a simple soy-sesame oil-lime juice mix?

Method

  1. Start by making the dough as it needs time to rest before you start rolling.
  2. Put the flour and salt into a bowl and stir in the boiling water.
  3. Squish together into a firm dough with your hands, then move onto a clean work surface and knead well until the dough is smooth and stretchy. It should be quite firm too, not sticky.
  4. Form the dough into a neat ball and put it back into the bowl. Then cover with a damp tea towel and leave to rest for 30 minutes while you make the filling.
  5. Dice the stems of the pak choi and sauté in a frying pan with the sesame oil until softened.
  6. Add the tofu to the pan. Scrunch it up with your hands into a small crumble. Then add the soy sauce, white pepper, garlic, ginger and chilli flakes. Stir and cook until well combined.
  7. Shred the green leaves of the pak choi and add them to the pan. Stir fry for just a few more minutes until the leaves are wilted.
  8. Transfer the filling to a bowl to cool down.
  9. Cut the ball of dough into quarters, put 3 of the pieces back into the bowl and cover again with the damp tea towel so that they don’t dry out.
  10. Roll the quarter of the dough you have out into a 2cm thick snake then chop it into 10 or so pieces.
  11. Roll each piece into a ball the squash it down flat with the palm of your hand.
  12. Then roll each piece into a thin circle, it needs to be just a couple of mm thick and as even and round a circle as possible.
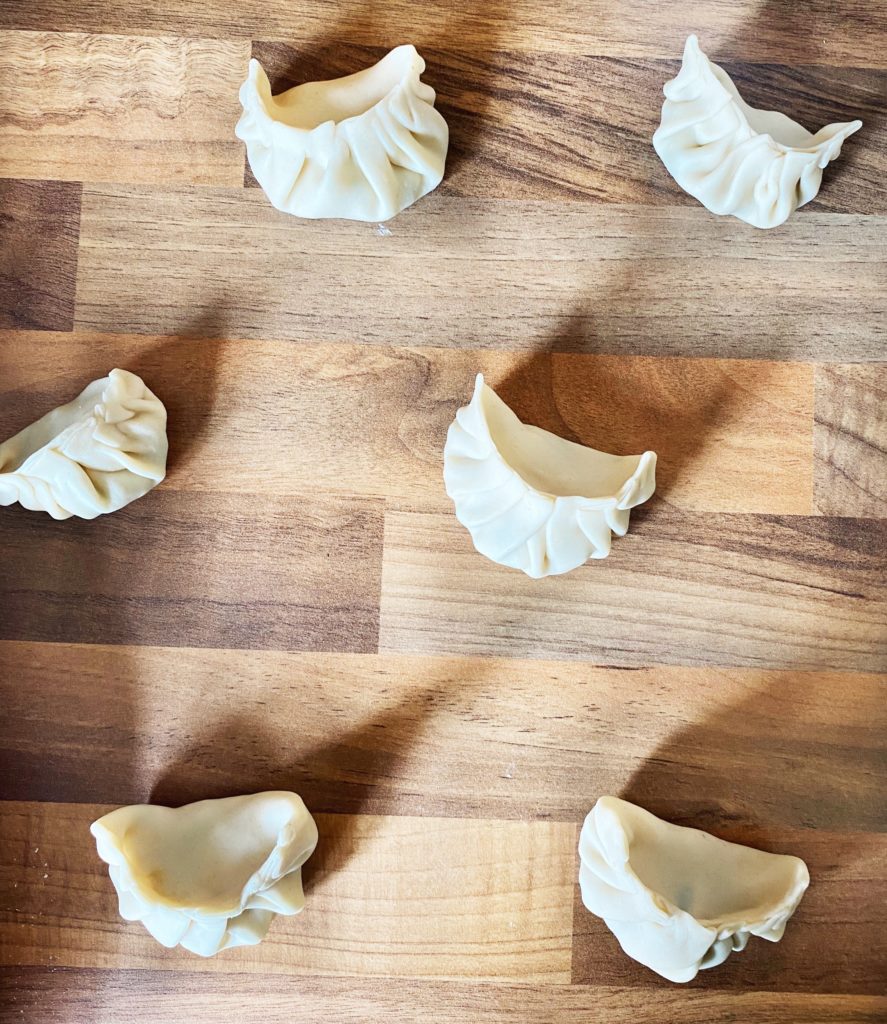
  13. Then place a tbsp of filling in each circle and form the dumplings. There are loads of different techniques around. Have a watch of some youtube videos for inspiration.
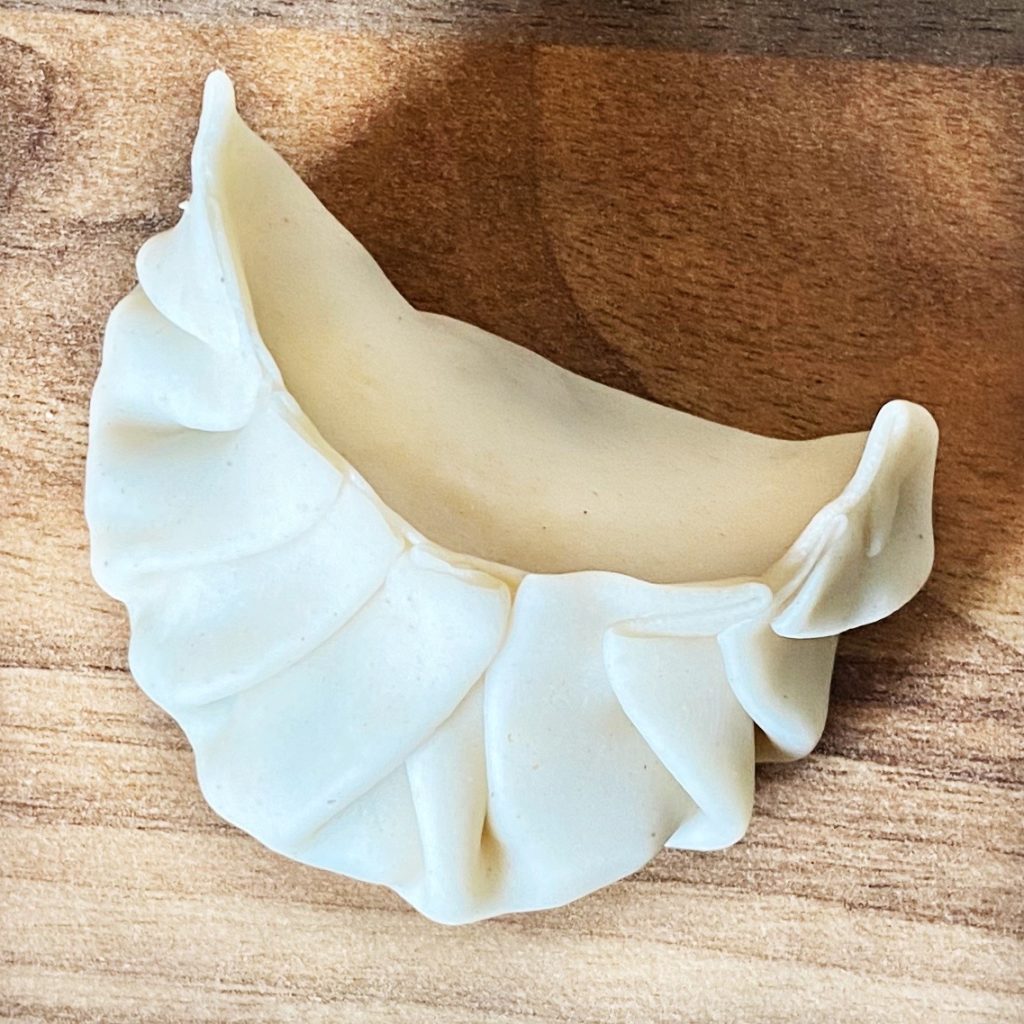
  14. I like to place the circe and filling in the palm of my left hand, then using my right hand, fold the circle of dough over and pinch it at the top in the middle. Then pull and fold and crimp the right side towards the middle like in the photo below. Then transfer the dumpling to your right hand and do the same on the left side with your left hand.
  15. Once the dumpling is crimped and sealed, pinch firmly all along the seal to ensure it is secure. Then place it on a large tray that has been lightly floured (or lined with baking parchment).
  16. Repeat with all the dough and filling. Ensure the dumplings are not touching each other as they will start to stick together if they do.
  17. Then heat up a frying pan (one that has a lid) with a little vegetable oil to medium-high. Place as many dumplings, flat side down, into the pan that will fit. Allow them to cook until golden brown and crispy underneath.
  18. Then quickly pour in a small glass of water – enough so that there is a cm of water in the pan – and pop the lid on so that the dumplings can steam and absorb most of the water.
  19. Steam them with the lid on for 3 minutes then remove the lid and allow any excess water to evaporate. Then move the dumplings onto a plate to keep warm while you cook the rest in batches like this.
  20. Serve with dipping sauces alongside steamed greens and other veggies, or with a stir fry, noodles, rice, miso soup, kimchi… anything like that. Enjoy!

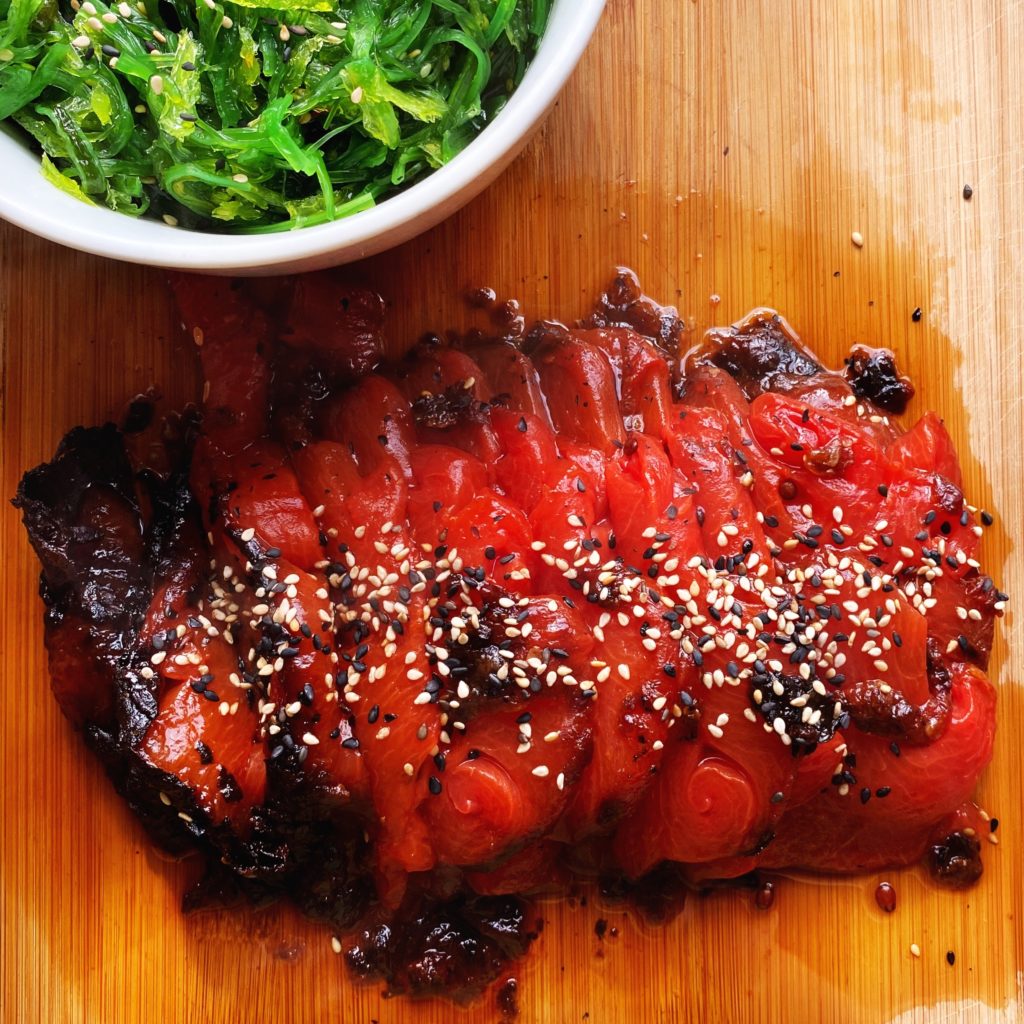
Watermelon Sashimi

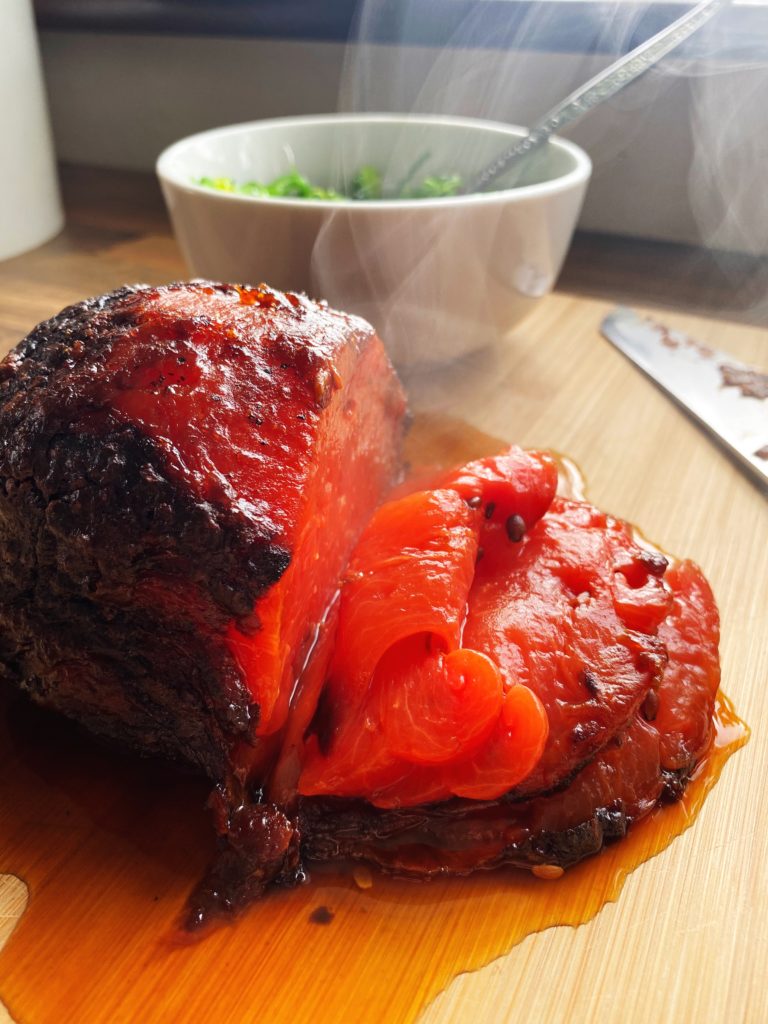
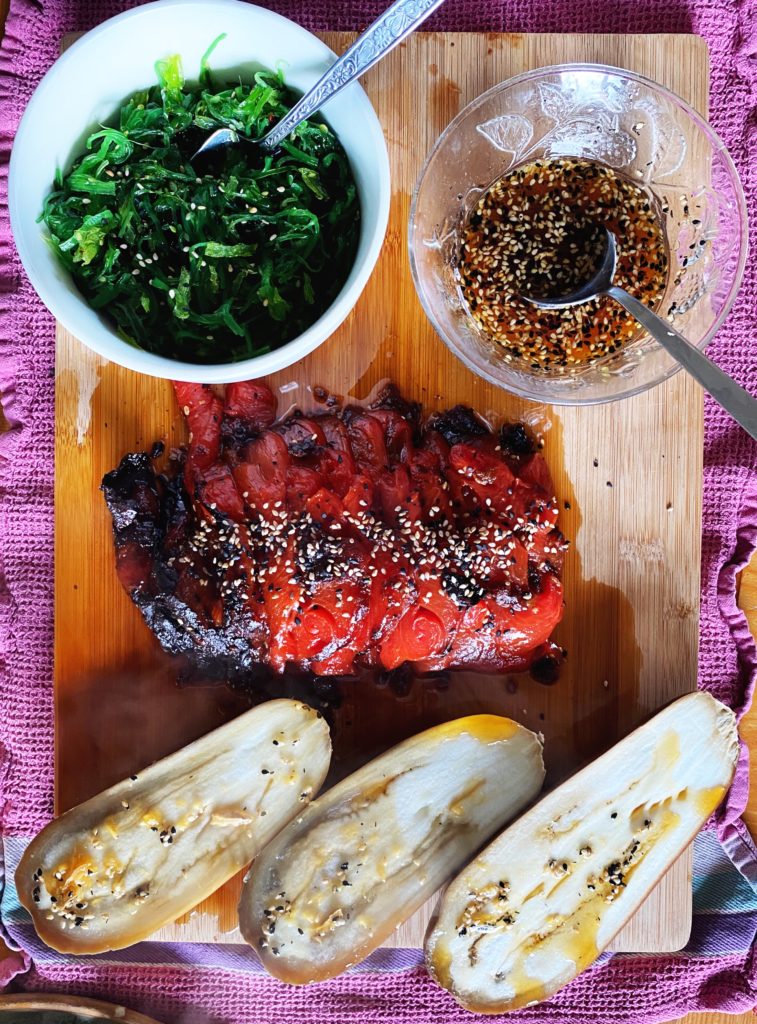
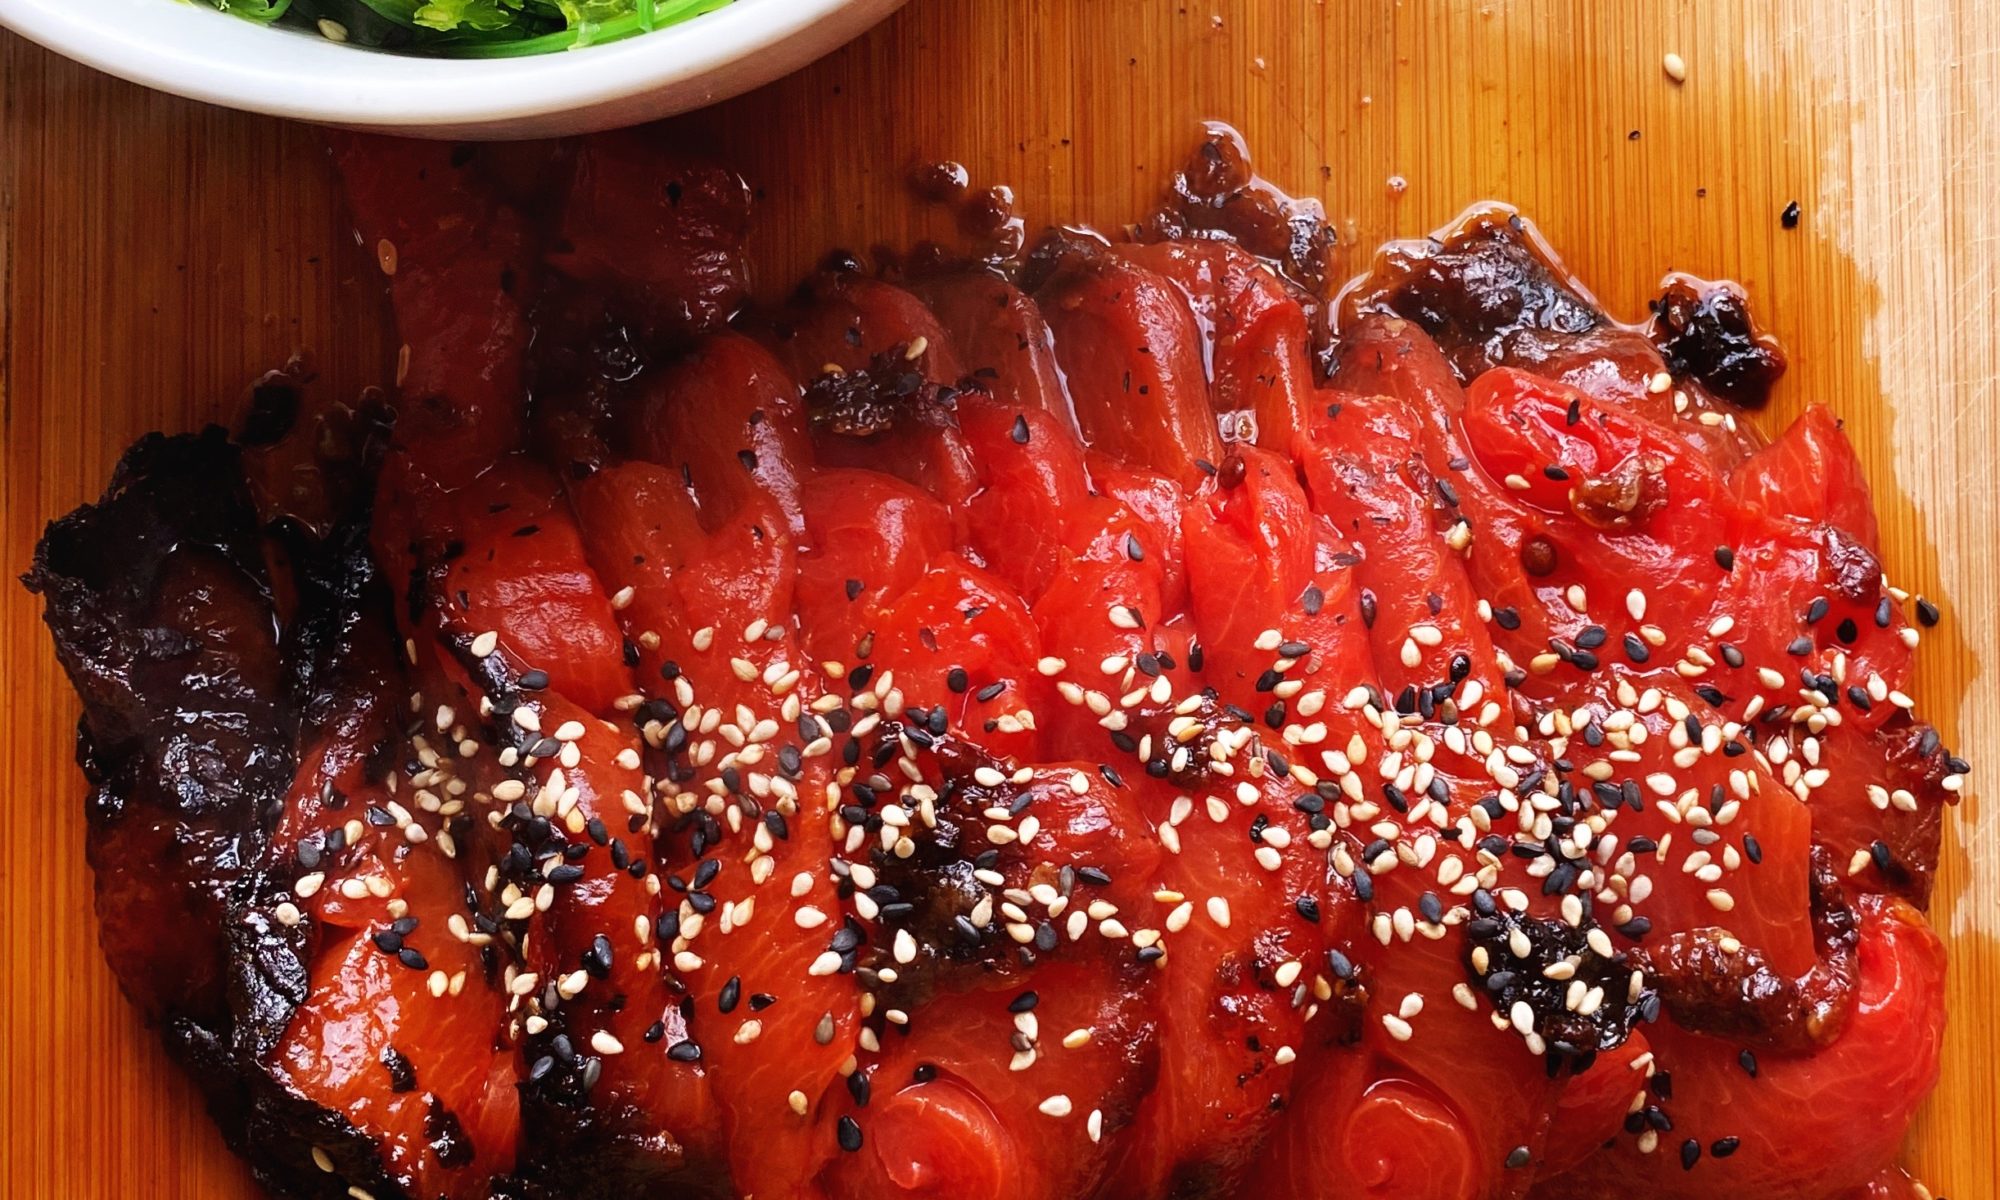
This watermelon recipe may seem a bit ‘out there’, but trust me, it’s both easy and delicious! Sashimi is thinly sliced raw fish eaten with a soy sauce dressing, this alternative, plant based version recreates the meaty texture of fish with baked and reduced watermelon. The flavour is an irresistible sweet and salty combination and we love this simple showstopper with rice, noodles or dumplings, steamed veg and a seaweed salad.

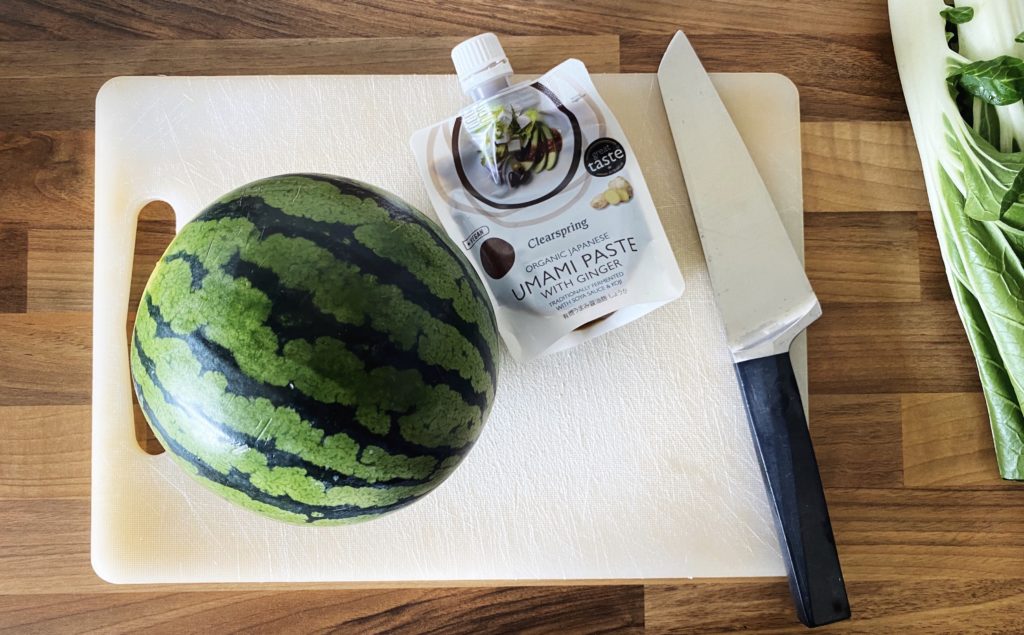
Our mini watermelons are best for this recipe, they are smaller and more intense in flavour, and have smaller pips than the big ones. Then all you need is a sachet of umami paste (or make your own marinade by mixing miso with soy sauce, ginger, garlic and chilli) and some toasted sesame seeds. Read on to see how easy this dish can be, and let us know in the comments if you give it a try.

Liz x

Ingredients

Method

  1. Preheat your oven to 190C and line a baking dish with baking parchment.
  2. Using a large, sharp knife, peel the watermelon. Cut both ends of first to create a flat, stable surface.
  3. Place the peeled watermelon in the baking dish and bake in the oven for at least 2 hours.
  4. Every half hour, take the watermelon out of the oven and turn it over so that it cooks evenly on all sides.
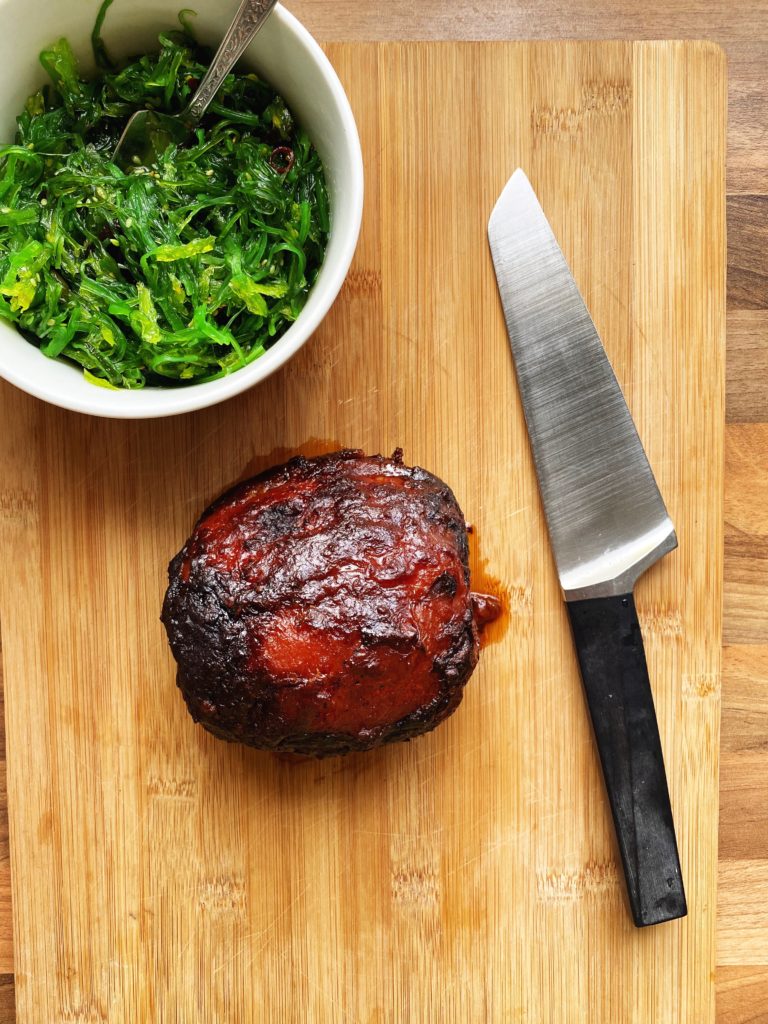
  5. Once the watermelon is reduced and blackened all over it is ready for its marinade.
  6. Liberally brush the umami paste all over the watermelon. Get as much of it on as you can. At least half of the sachet which is about 75g.
  7. Return the watermelon to the oven for a further 10 minutes.
  8. Then carefully move the hot watermelon to a board or plate to cool slightly before thinly slicing.
  9. Sprinkle with toasted sesame seeds and eat hot or cold.

10. I served ours with a seaweed salad, pot sticker dumplings (which I will share in another blog post) and steamed aubergines with a simple dipping sauce of orange juice, sesame oil, soy sauce, grated garlic and ginger and extra toasted sesame seeds. It was delicious!

Scramble, Kale Pesto & Miso Mushroom Toast

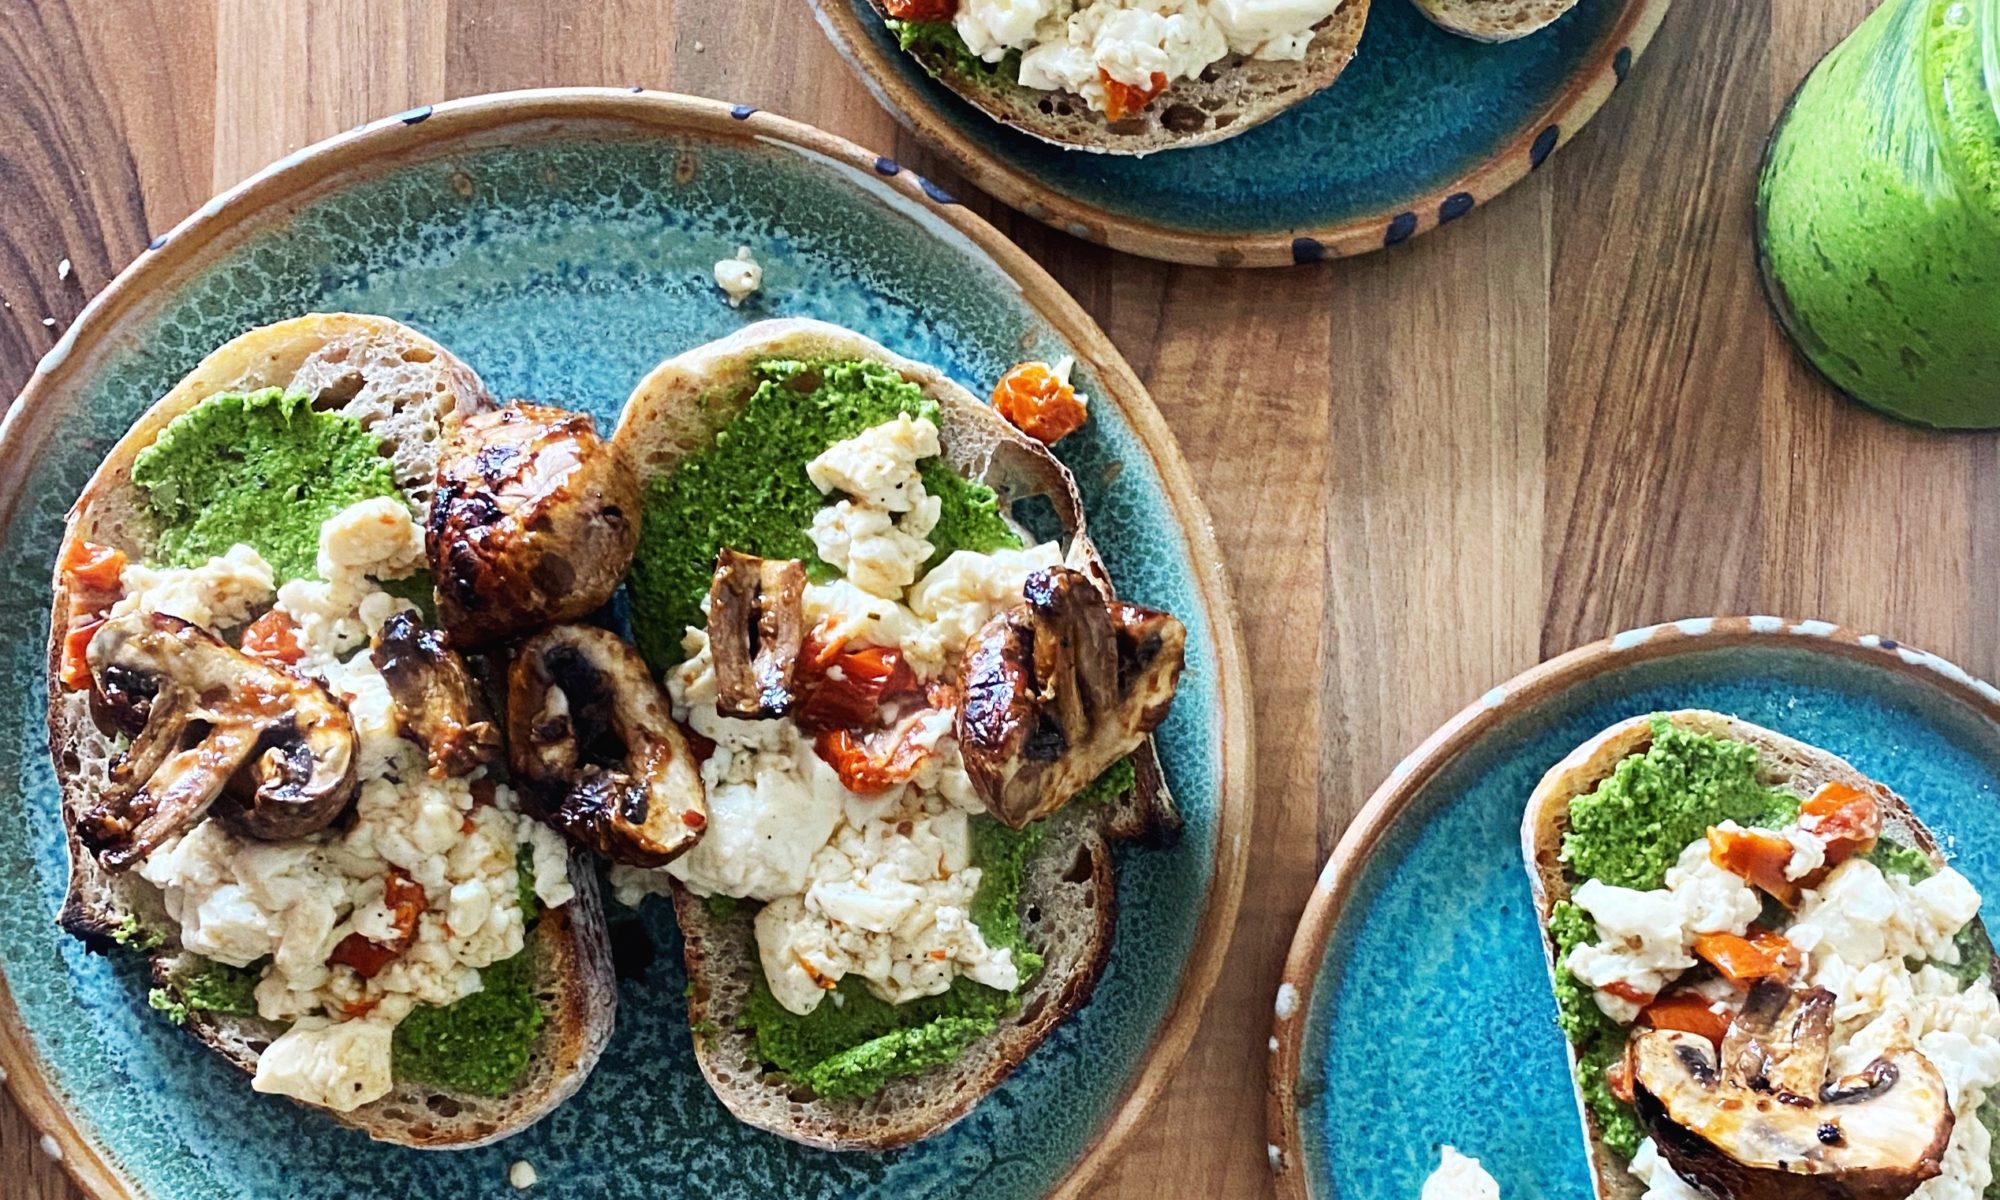
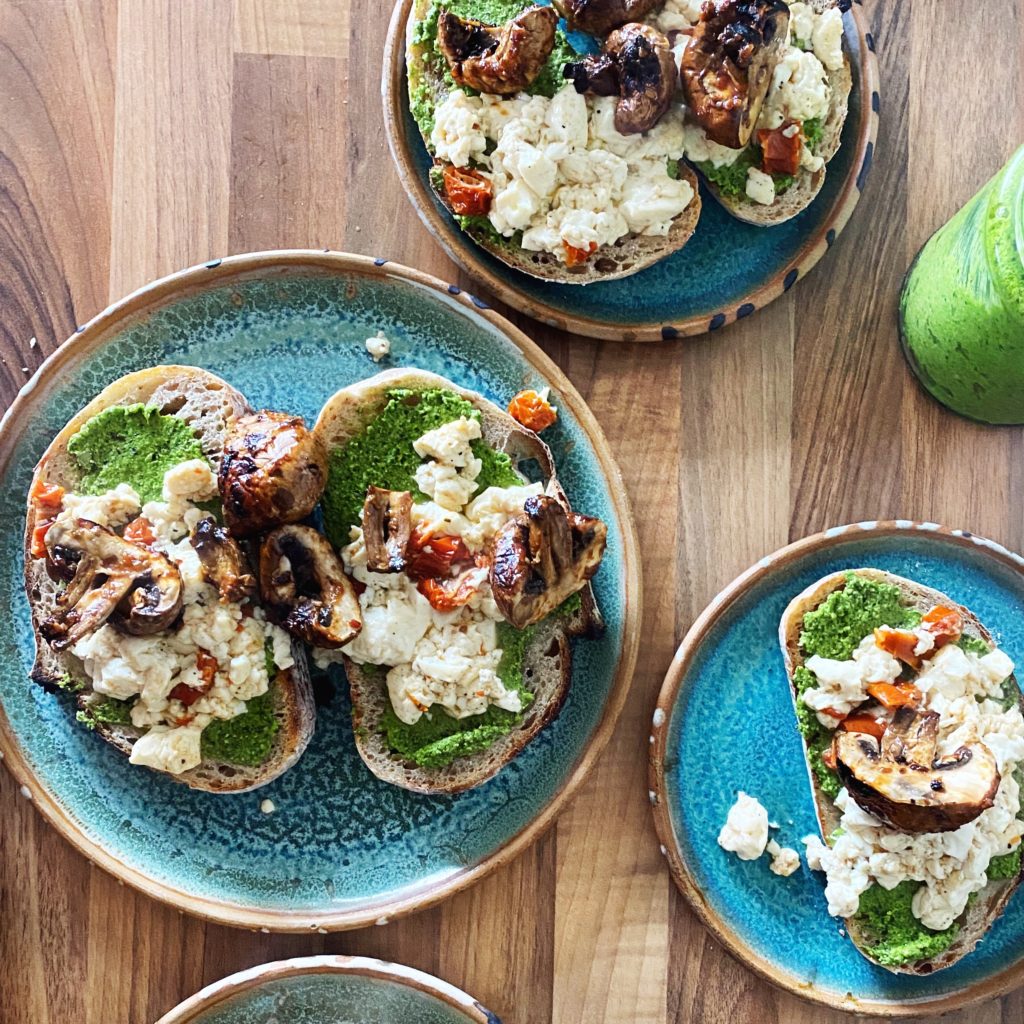
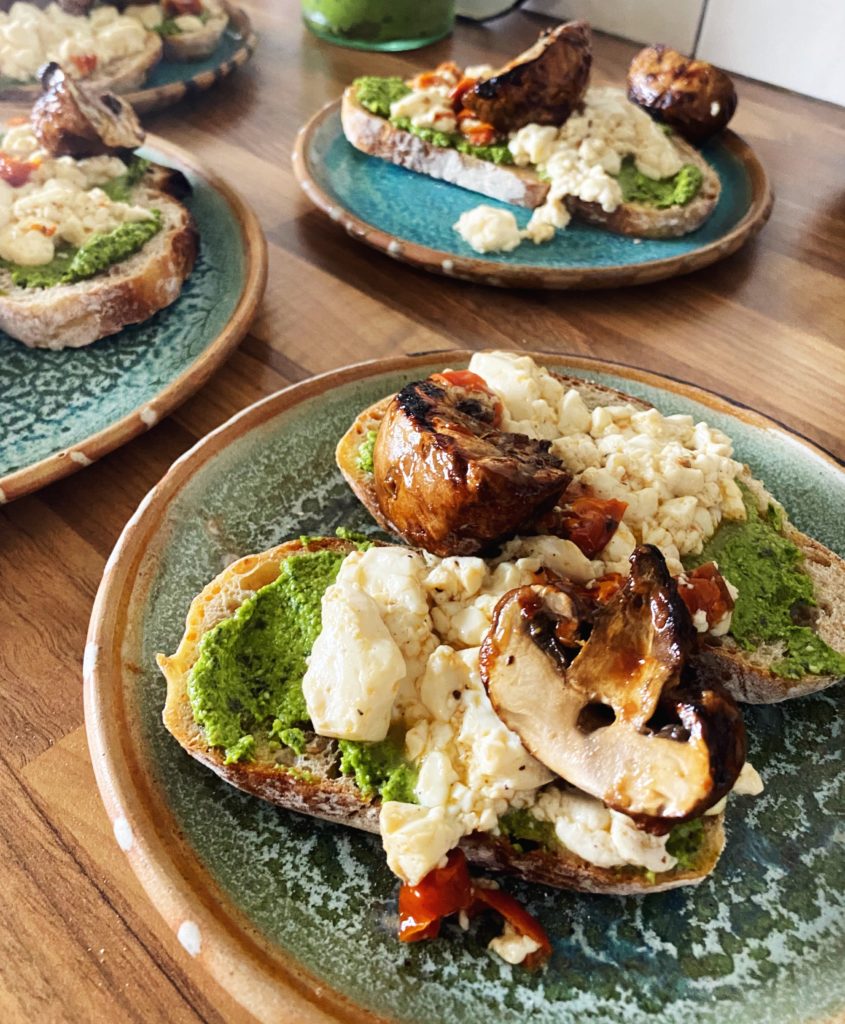
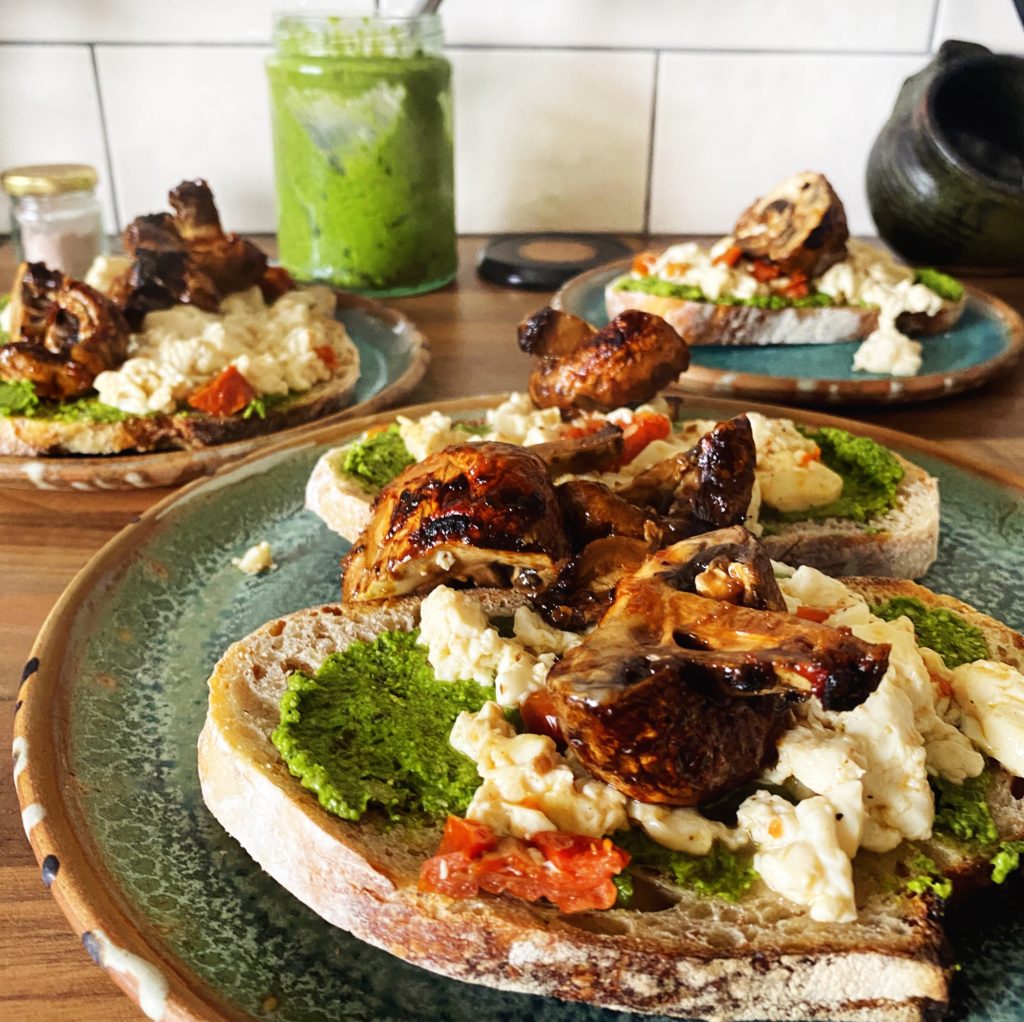
Weekends are for brunching and here is one of our favourites. The combination of fresh, vibrant green pesto, soft, wobbly scrambled tofu and juicy, umami mushrooms is just perfect!

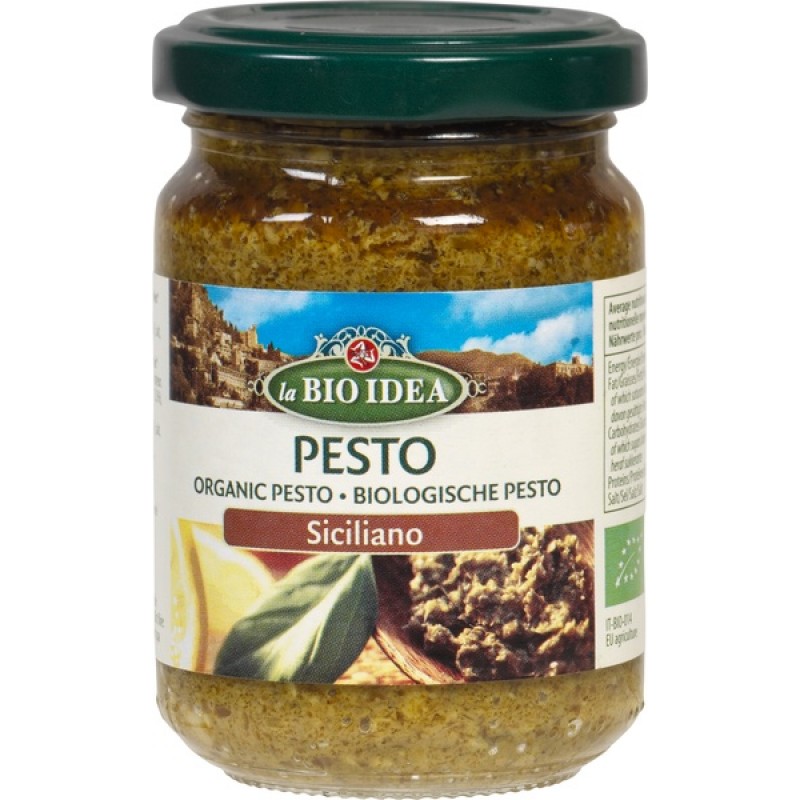
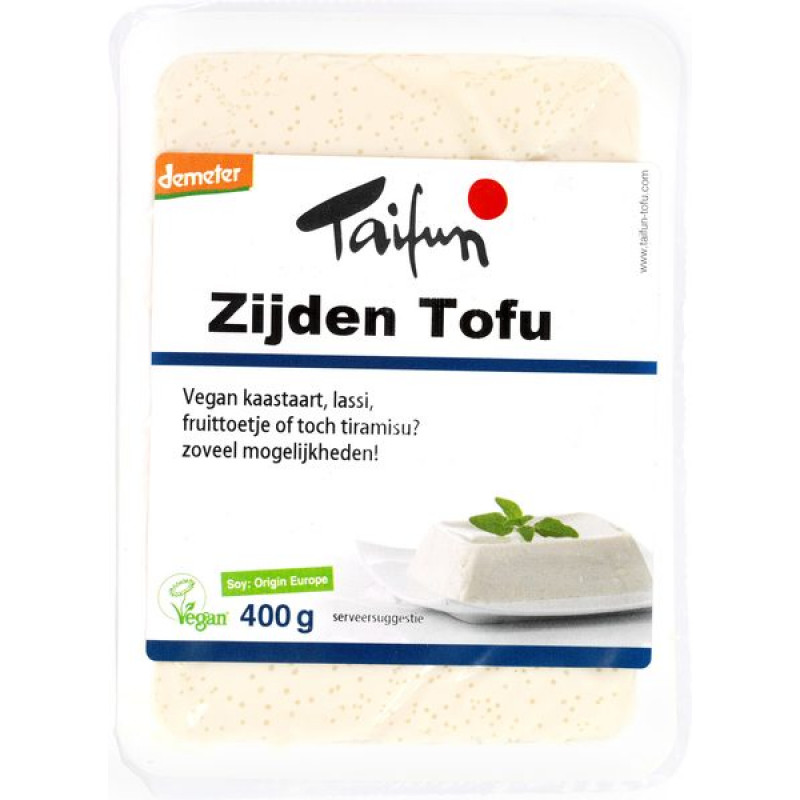
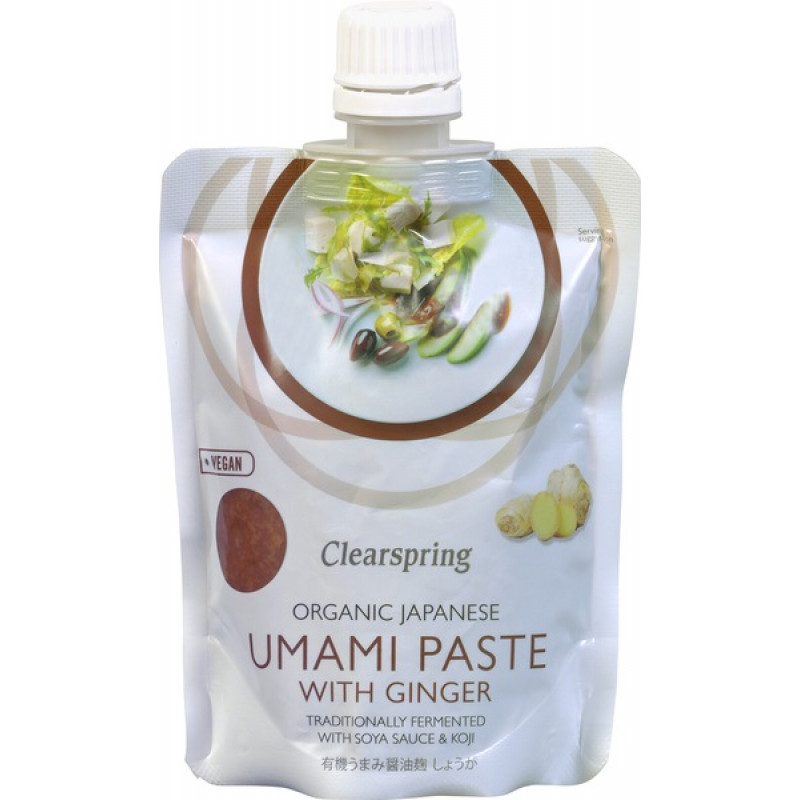
You can make your own pesto very easily if you have a food processor or blender – I used my kale and pumpkin seed pesto that I’m making on repeat this time – or you can of course use a ready made one for ease. We sell a few organic jars of pesto in the grocery section of our shop. The scramble is simply a gently sautéed pack of organic silken tofu seasoned with salt, pepper and some chopped sun-dried tomatoes. And those gorgeous, meaty mushrooms are marinated with our new packs of umami paste then grilled.

What’s your favourite brunch? Are you a sweet or savoury person? Let us know in the comments.

Liz x

Ingredients (serves 4)

Method

  1. Cut bread and pop it in the toaster ready to go. Heat up a griddle pan (or fire up the grill in your oven).
  2. Slice the mushrooms in half and mix them with the umami paste and a drizzle of olive oil in a bowl. Then push them onto skewers and place them in a hot griddle pan (or on a tray under your grill) to cook whilst you get on with the scramble.
  3. Heat up a knob of butter (or tbsp of olive oil) in a medium-high heated frying pan. Open your pack of silken tofu, drain off any excess liquid and then pop it in the pan. Break it up gently with a wooden spoon or a spatular.
  4. Season the scrambling tofu with salt and pepper and then add the chopped sun-dried tomatoes. Keep the scramble moving and cook it for 5 minutes or so until it’s warmed through, but don’t break it up too much. It’s nice when there are still some larger pieces.
  5. Meanwhile turn the mushrooms in the grill to cook the other side and then toast the bread.
  6. Spread the toast with a thick layer of pesto, then divide the scramble and mushrooms between the plates.
  7. Enjoy whilst hot!

Sweetcorn Ribs

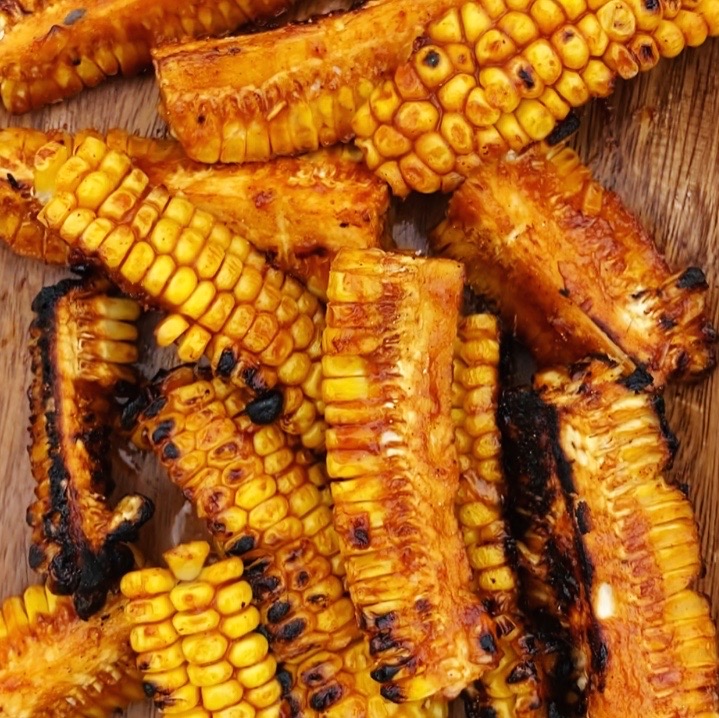
This is one of those recipes that isn’t really a recipe. It’s just two simple ingredients – sweetcorn and our organic barbecue sauce – but it’s so good I had to share! Add fresh sweet corn and a bottle of our delicious barbecue sauce to your next order. It’ll be the highlight of your next barbecue!

Of course you could make your own barbecue sauce, but our one from the trusted ‘Your Organic Nature’ brand is full of great organic ingredients and it just tastes amazing!

Liz x

Ingredients

  • 2 or 3 fresh sweetcorn
  • 1 bottle of organic barbecue sauce

Method

  1. Very carefully cut the sweetcorn into ‘ribs’. I find it easiest to cut the corn in half, widthways with a large, sharp knife, then cut each half lengthways into quarters using the first cut side as a flat, stable base.
  2. Put the ‘ribs’ into a bowl and pour over the barbecue sauce. Mix well and leave to marinade while you fire up the grill.
  3. Cook the ‘ribs’ on the barbecue until soft, juicy and lightly charred. Then enjoy the sweet, spicy, sticky, juicy, messy deliciousness! (Alternatively you can cook them under the grill in your oven or in a grill pan on the stove top.)

Kale & Pumpkin Seed Pesto

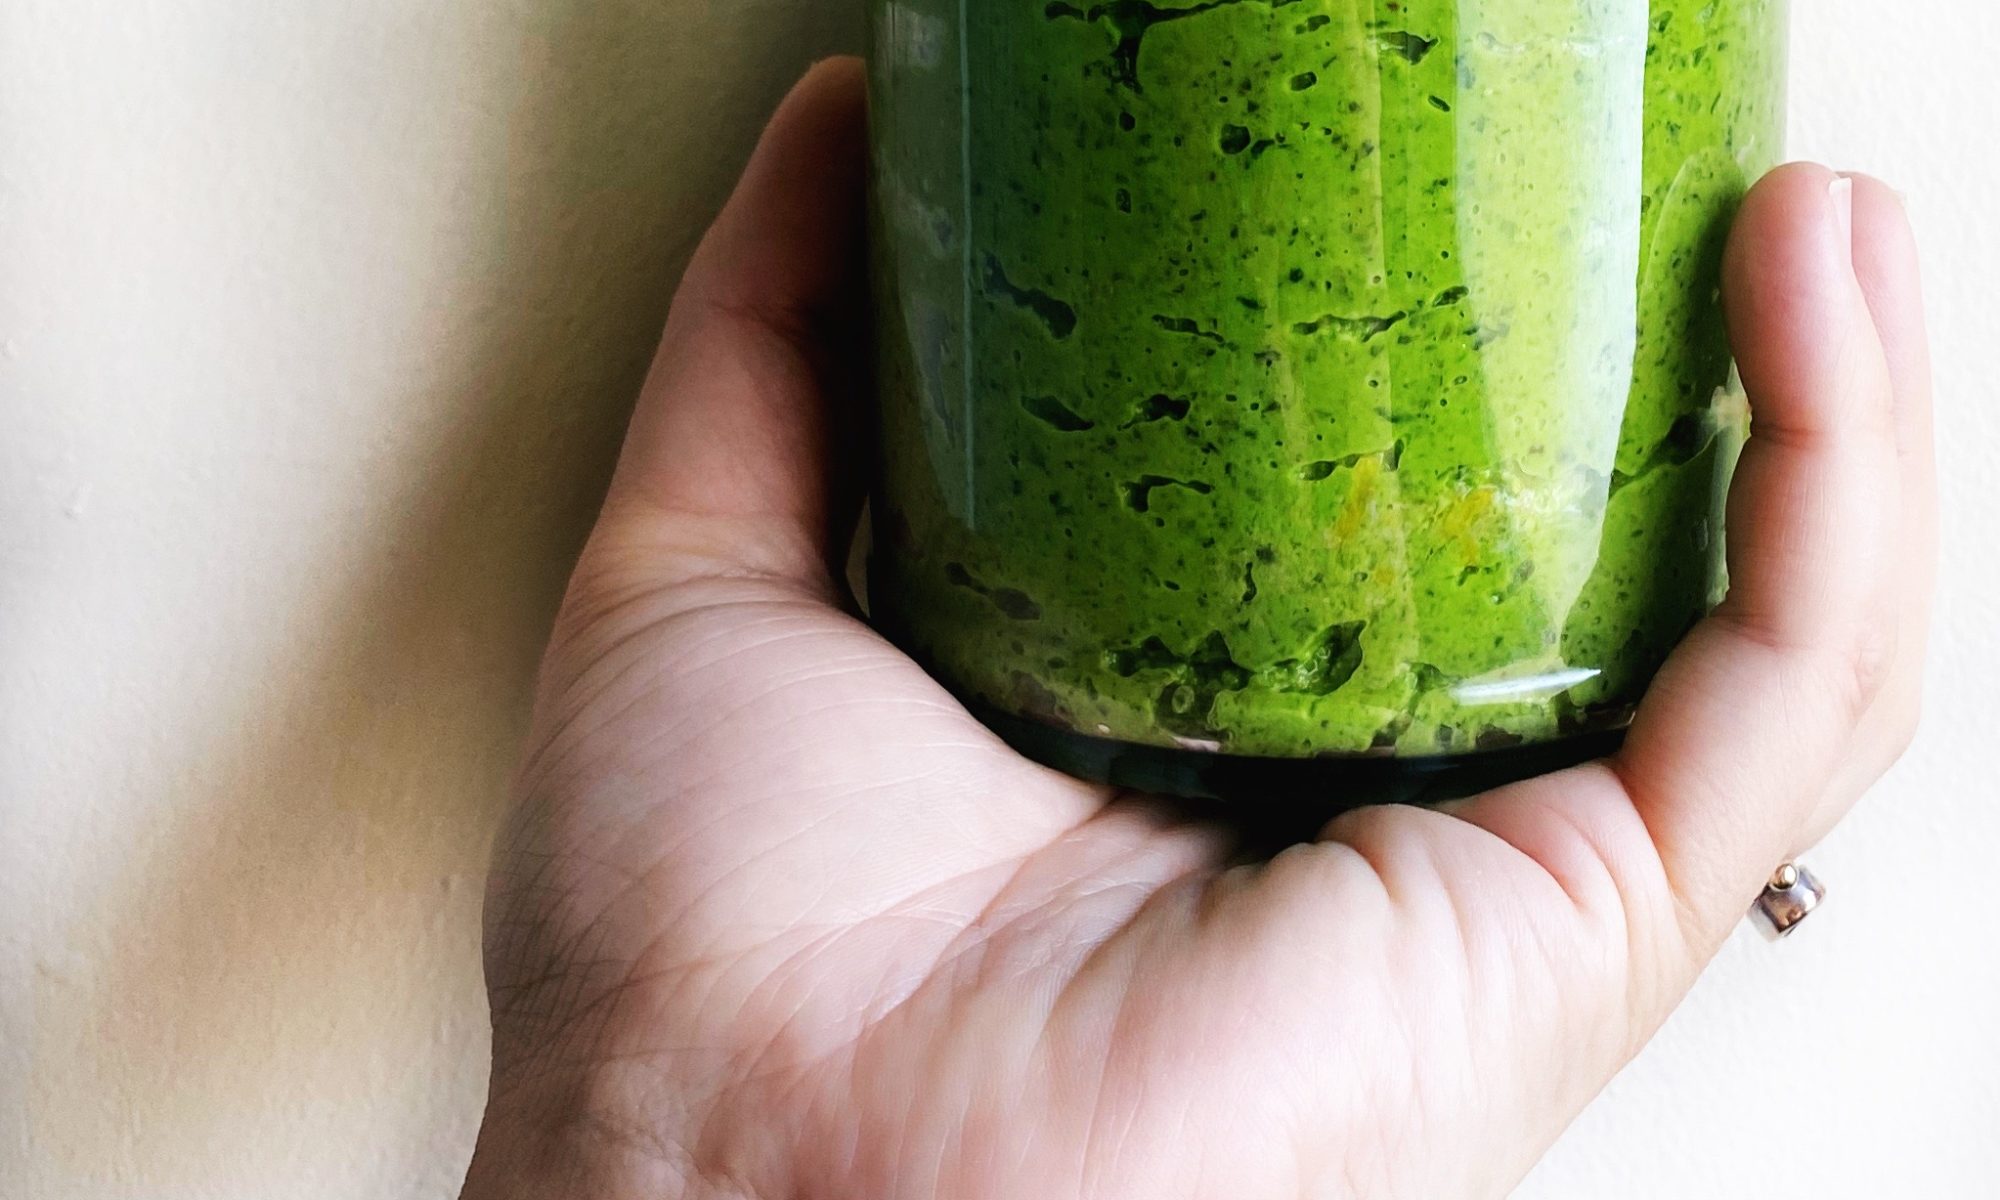
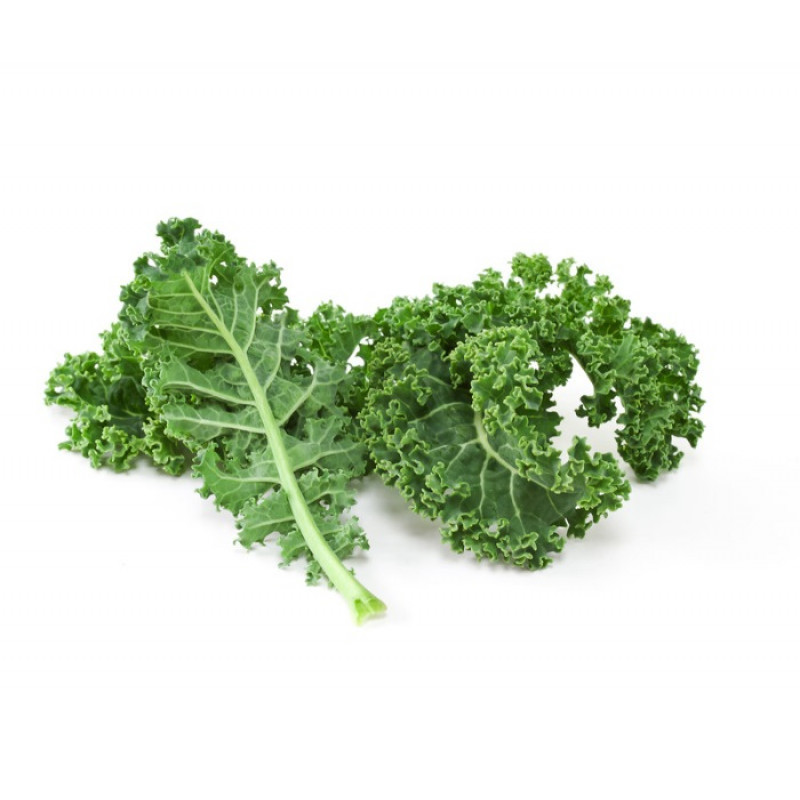
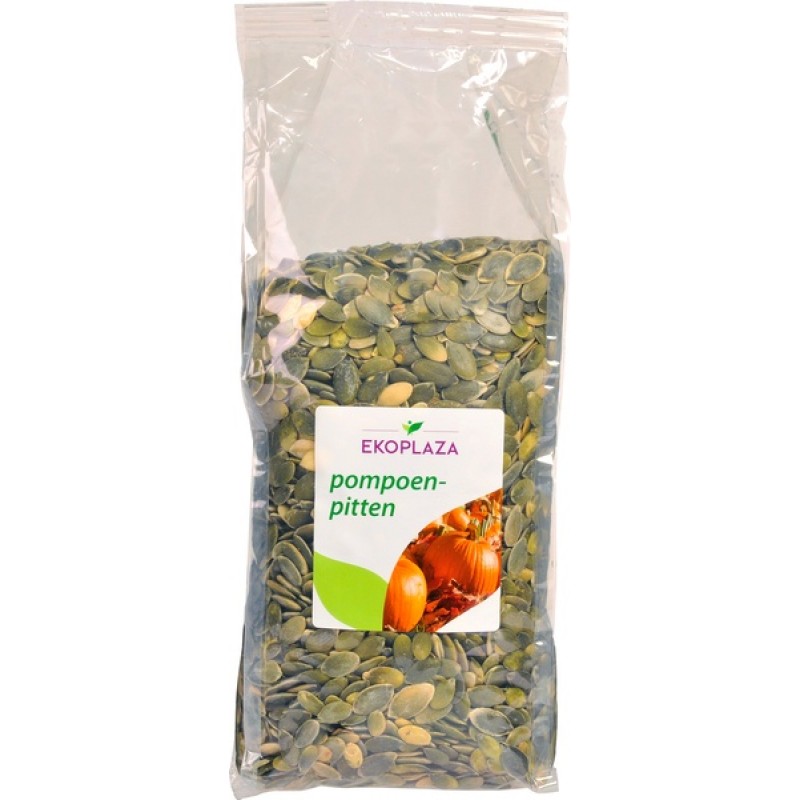
The new season kale coming out of our fields and tunnels is so stunning! We are adding it to all our meals. Don’t forget to add some to your next order! Here’s a quick and easy kale pesto recipe which is so handy, not just for pesto pasta, but for sandwiches and wraps, to spread on toast and top with scrambled egg/tofu, to toss through freshly boiled new potatoes… My recipe is dairy and nut free to make it allergen friendly (I use pumpkin seeds which are incredibly nutritious and ours come in compostable bags), but as always, tweak it to your liking with different nuts/seeds and cheese. And do share how you love to eat your pesto in the comments below.

Liz x

Ingredients (makes a jar like the one pictured above)

  • 100g kale – rinsed
  • 100g pumpkin seeds – toasted
  • 1 clove of garlic – peeled
  • 1 pinch of salt
  • 1/2 a lemon – zest and juice
  • 2 tbsp nutritional yeast
  • 100ml extra virgin olive oil (plus extra for a thin layer on top at the end)

Method

  1. Put all the ingredients into a blender or food processor.
  2. Pulse until the ingredients come together into a rough, textured sauce.
  3. Taste for seasoning and add more olive oil, lemon juice or salt as desired.
  4. Spoon into a clean jar and top with a layer of olive oil to keep it fresher for longer.
  5. Keep in the fridge and use within a week, or freeze for longer storage.

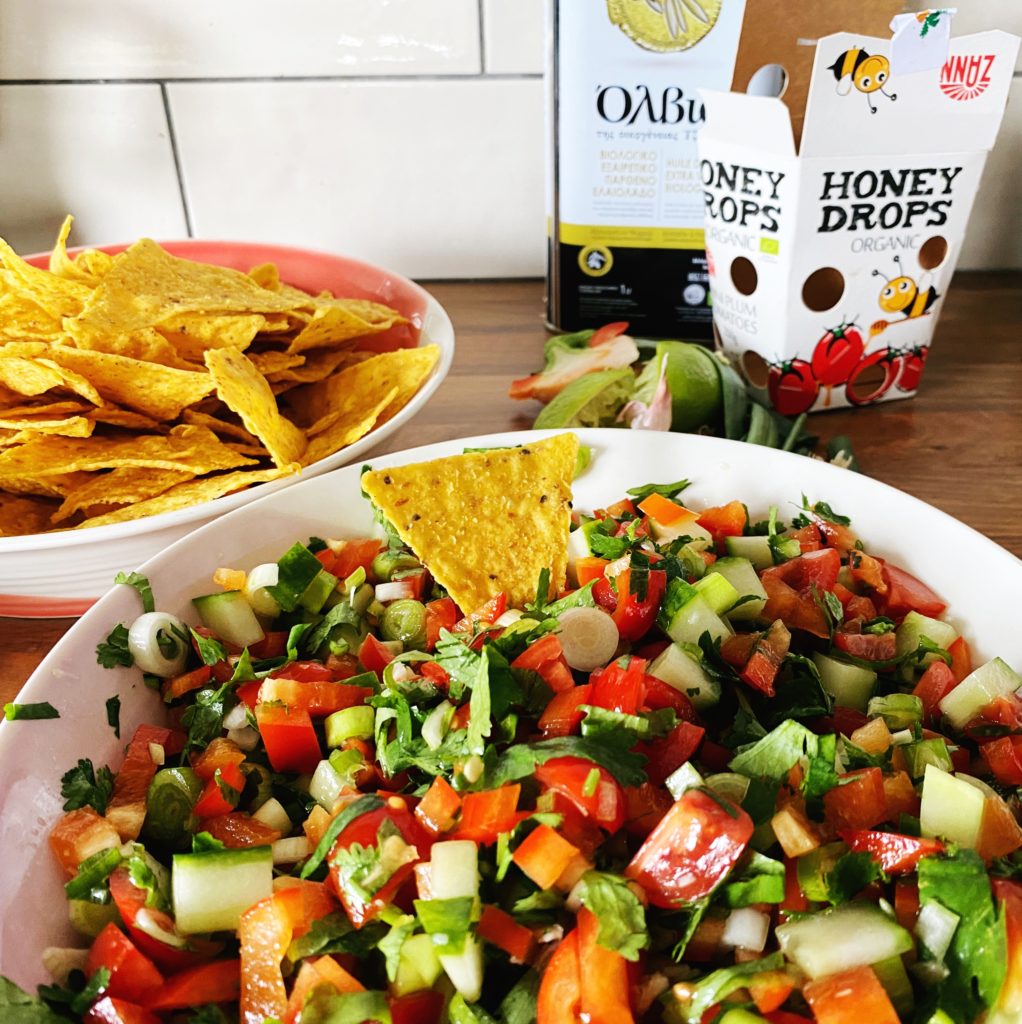
Simple Salsa

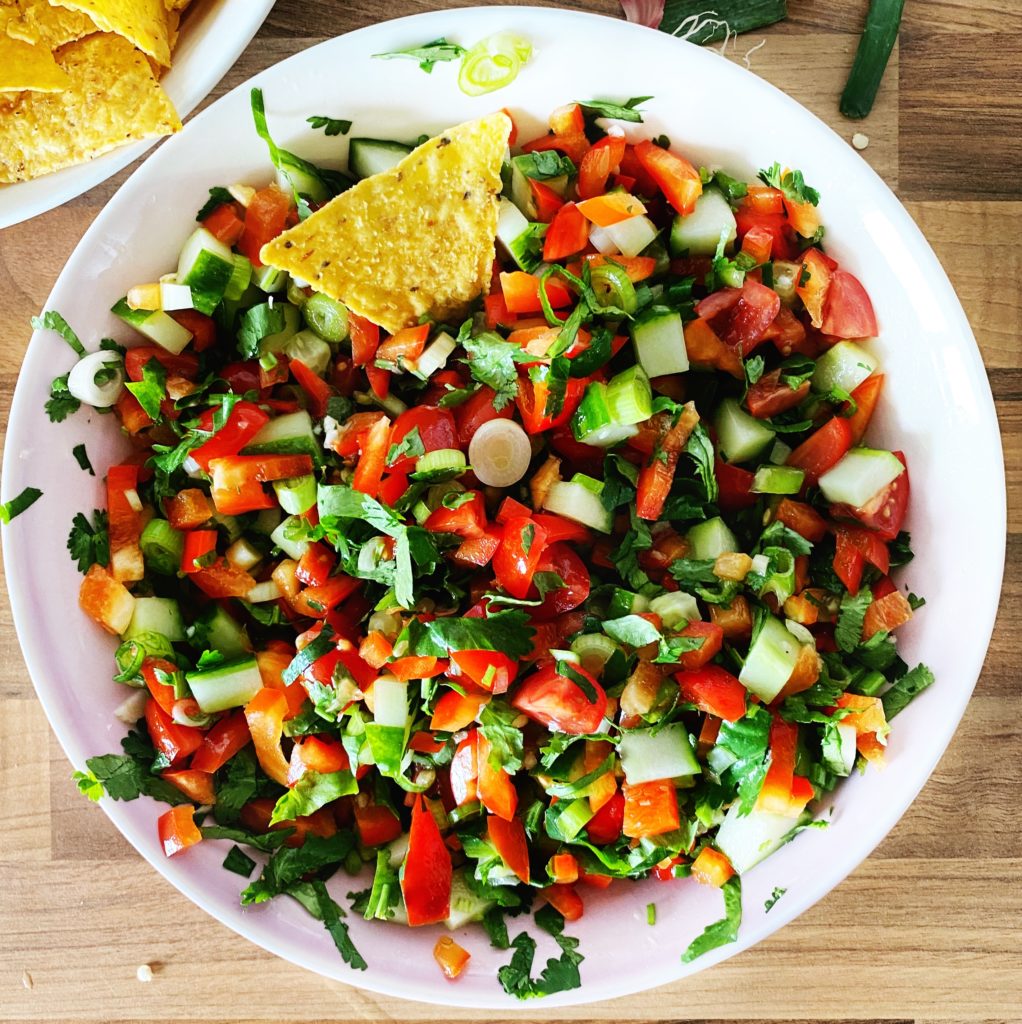
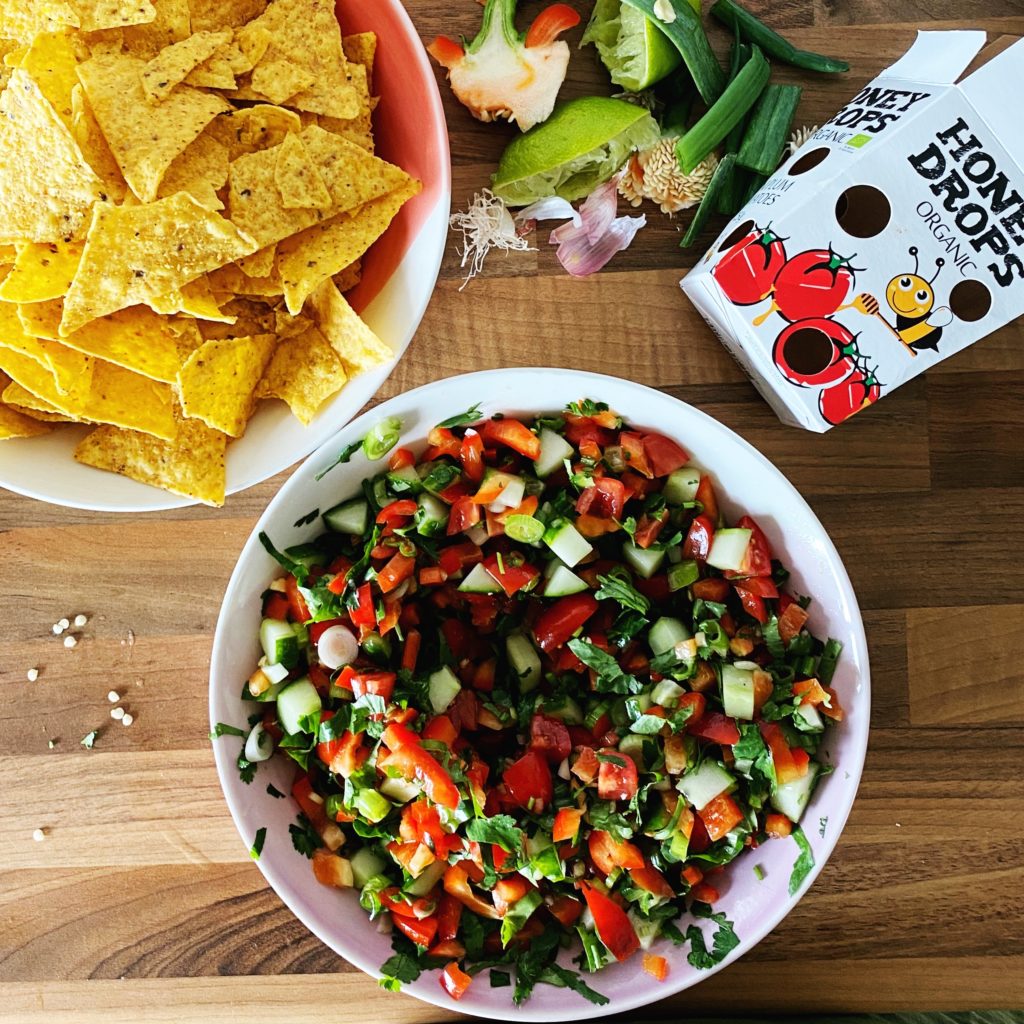
We are obsessed with salsas! Scooping up salsa with tortilla crisps has got to be one of the best ways to get kids to eat a load of fresh, raw veggies too. Putting out a big bowl of salsa and tortillas while the BBQ is getting going keeps everyone happy. And of course, salsa is a key ingredient in a taco. There are countless variations, enjoy playing around and finding a fun combination that you love. The version below is a super simple one which I know my whole family will love, but I also love adding fruit like diced pineapple, cherries, mango or peaches and adding finely sliced fresh chillies or a spoon of smokey chipotle chilli paste. Grilled corn and diced avocado are also stunning additions. Share your favourite combination with us in the comments?

Liz x

Ingredients (makes enough for a whole large bag of tortilla chips)

  • 4 tbsp extra virgin olive oil
  • 1 lime – juiced
  • 1 clove of garlic – crushed
  • a pinch of salt
  • 1 red pepper – diced
  • 1/3rd of a large cucumber – diced
  • 1/2 a punnet of honey drop cherry tomatoes – diced
  • 2 scallions – finely sliced
  • 1 bunch of coriander – chopped
  • *optional extras* chilli, avocado, grilled corn, cherries, peaches, mango, pineapple…

Method

  1. Pour the olive oil and lime juice into a large bowl.
  2. Add the crushed garlic and salt and mix well.
  3. Add the rest of the ingredients and mix with a spoon to coat them all in the dressing.
  4. Taste and add more salt if needed.
  5. Serve with a bowl of tortilla chips.
  6. Keep any leftovers in a tub in the fridge, salsa is even better the next day!