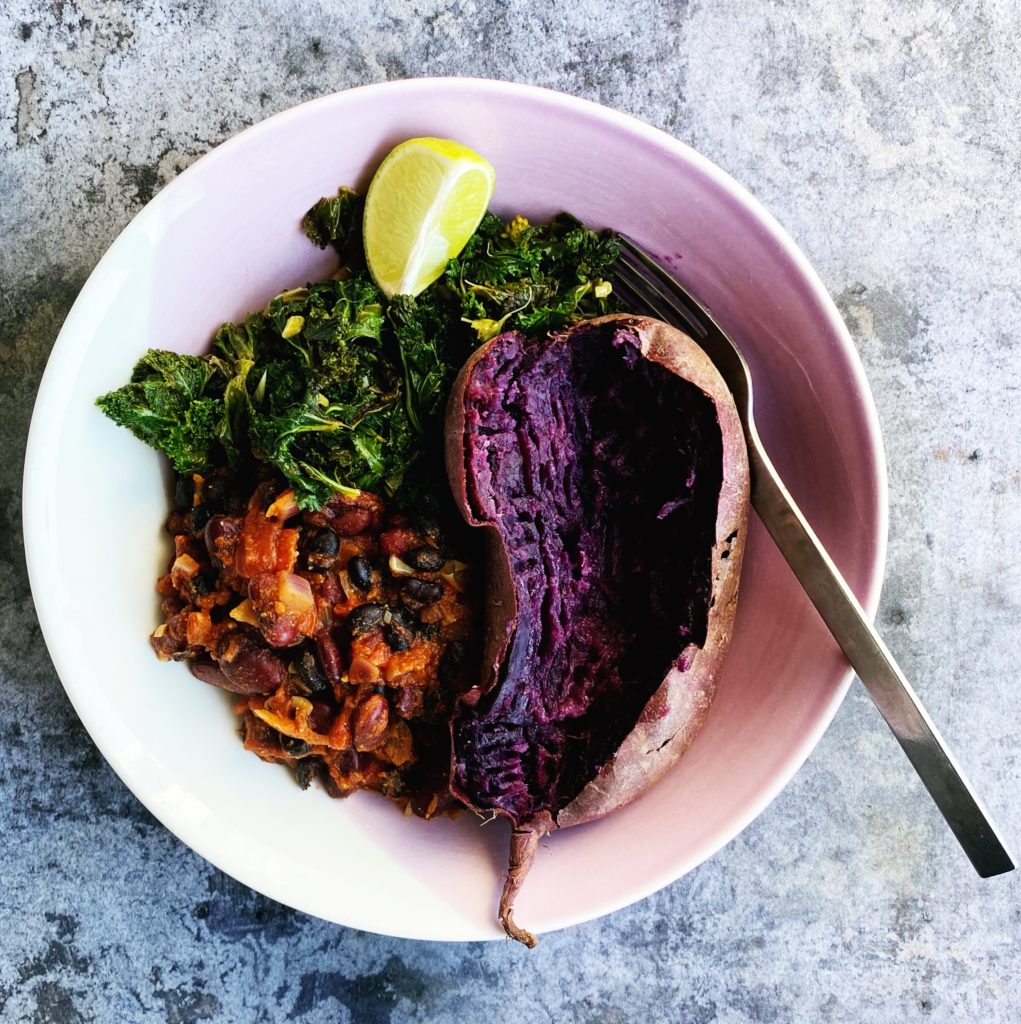
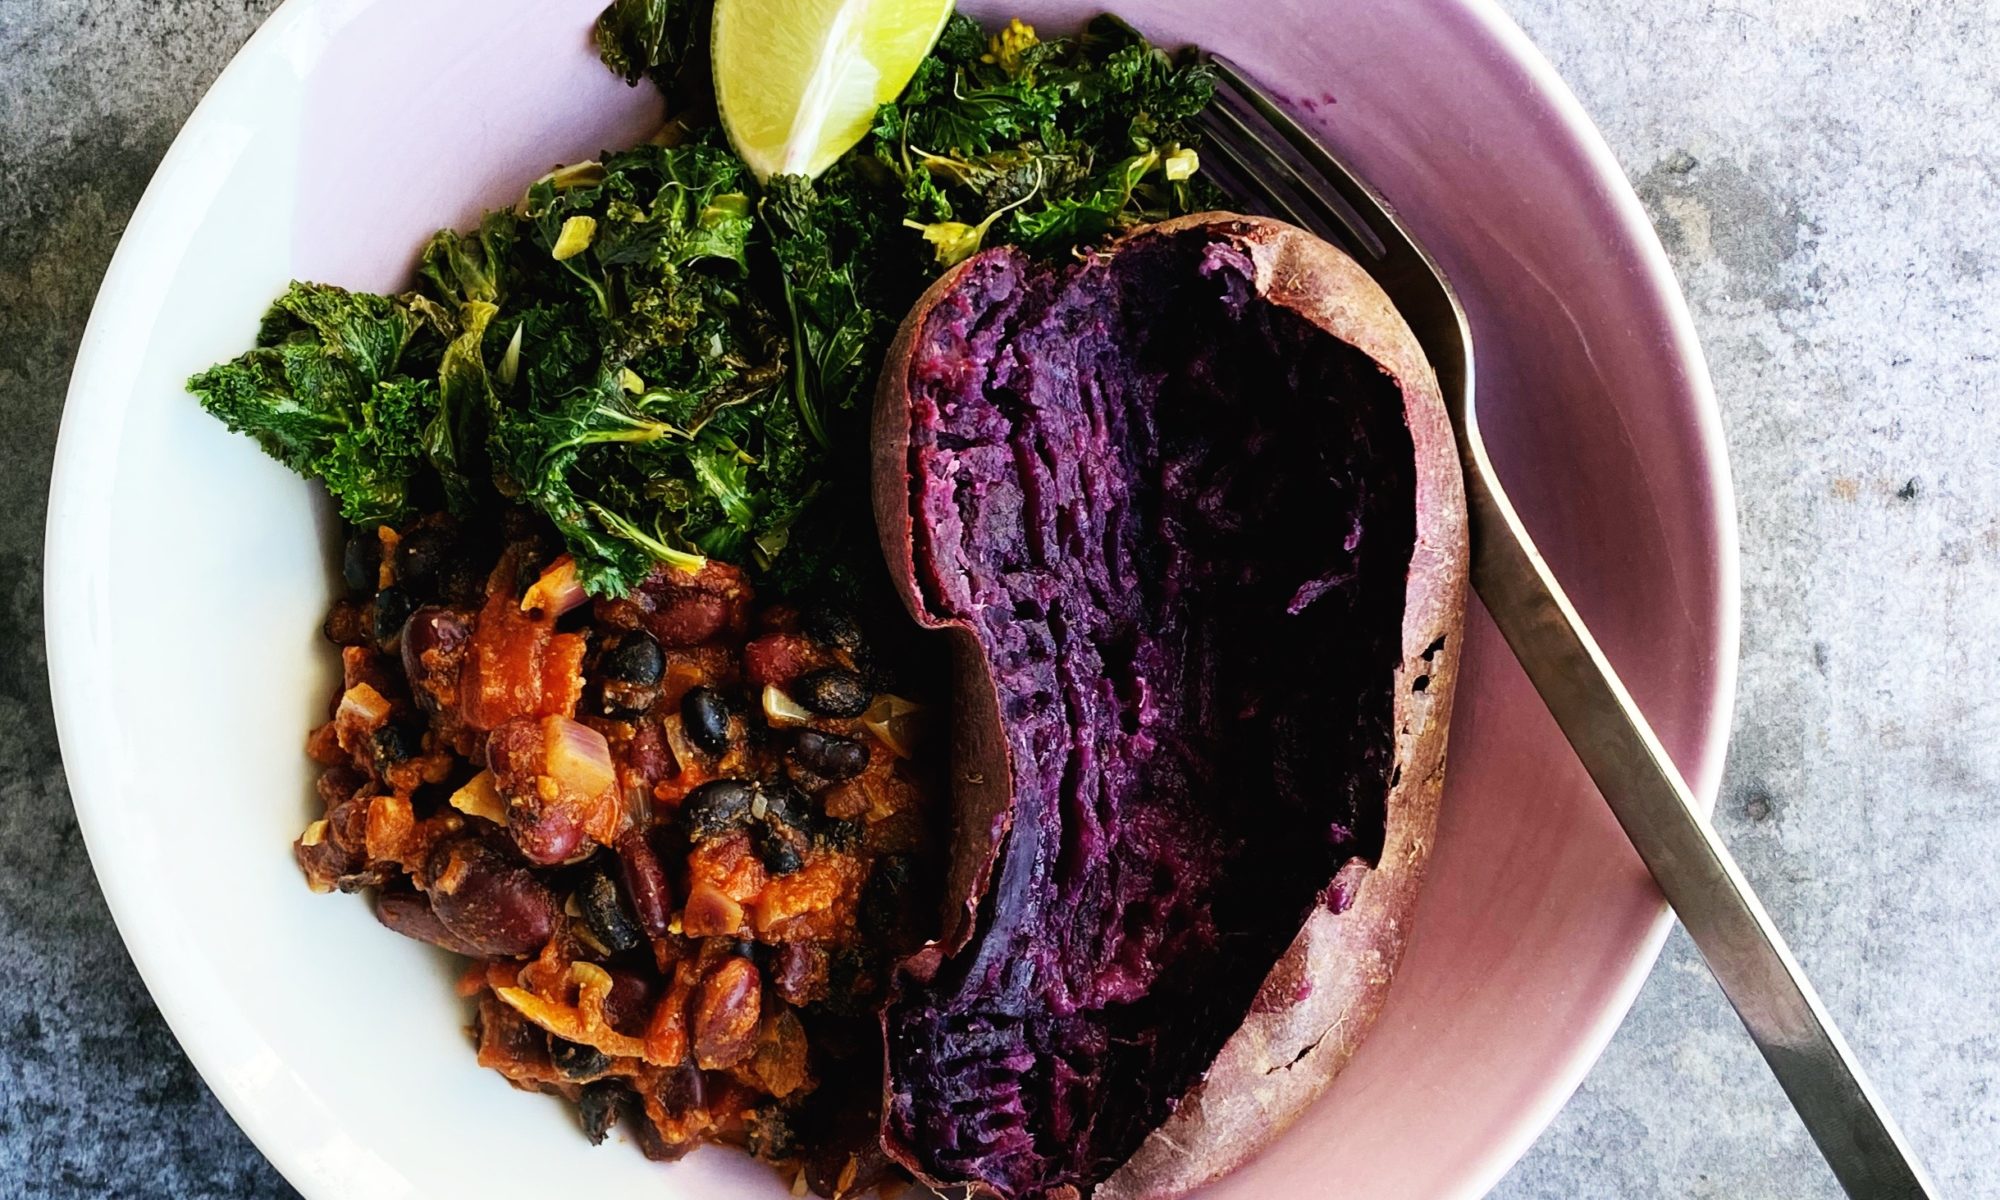
Purple Sweet Potato, Bean Chilli & Garlic Lime Kale

Have you tried a purple sweet potato yet? They are absolutely stunning and oh so delicious! I can never resist a baked sweet potato with a smokey bean chilli so here’s my quick and easy recipe. I’ve served it with lots or gorgeous garlicky kale spiked with lime too. So yum! What will you make with your purple sweet potatoes? I’m thinking purple gnocchi next, or maybe a purple sweet potato pie! Liz x

Ingredients (serves 4)

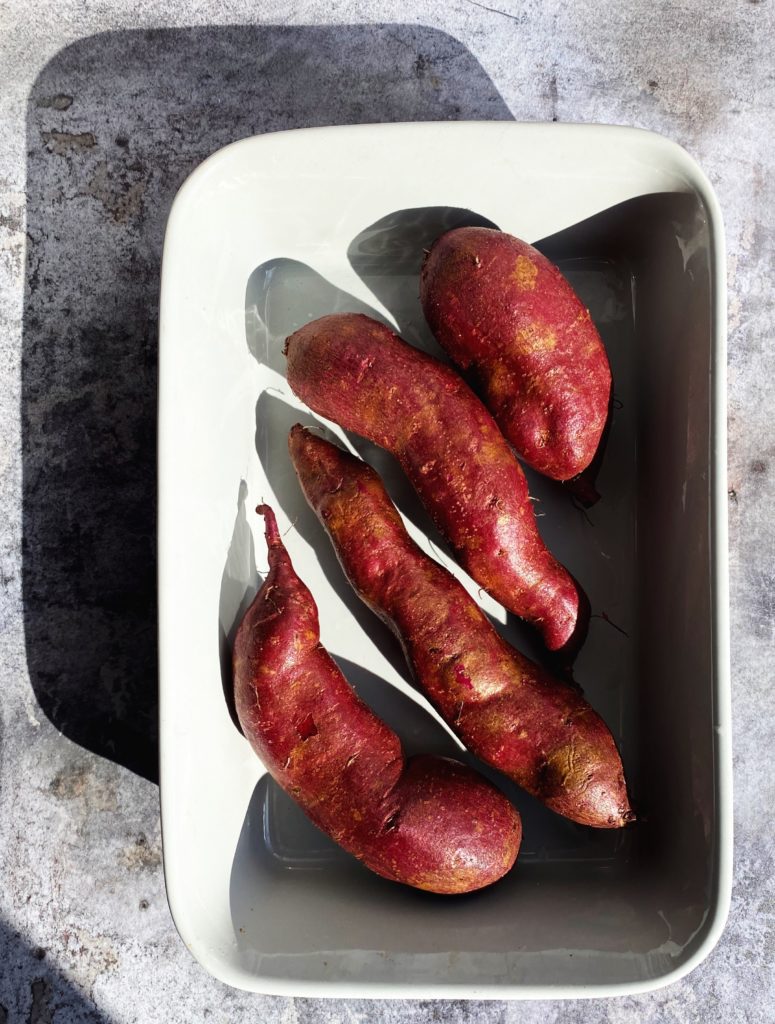
  • 4 purple sweet potatoes
  • 1 onion
  • 1 tbsp oil
  • 4 garlic cloves
  • 1 tsp each cumin seeds, ground coriander, smoked paprika and chilli flakes
  • 1 tin chopped tomatoes
  • 1 tin kidney beans
  • 1 tin black beans
  • 2 limes
  • another tbsp of oil
  • 4 large handfuls of kale
  • 4 more garlic cloves
  • salt and pepper to taste

Method

Scrub the sweet potatoes, prick them with a fork, pop them in a roasting dish and get them in a 200C hot oven to roast – they should only take about 30 minutes.

Meanwhile make the smokey bean chilli. Dice and then sauté the onion and garlic in the oil until soft and taking on some colour.

Add the spices and sauté for a few minutes to toast them and bring our their flavours.

Add the tin of tomatoes. Half fill the tin with water then swirl out all the tomatoey juices into the pot.

Drain and rinse the two tins of beans and add them to the pot to simmer. Cook for 15 minutes or so then taste and adjust the seasoning with salt and pepper.

Meanwhile make the garlic and lime kale. Rinse the kale and tear the leaves away from the stems. Put the leaves in a bowl and the stems on the chopping board.

Finely chop the kale stems and the extra 4 cloves of garlic. Sauté them together in the tbsp of oil until soft. Then add the kale leaves and the juice of a lime. Season with salt and pepper and sauté for about 3 minutes to wilt the kale. Taste and adjust the seasoning if needed.

Serve the baked potatoes with the bean chilli and kale. Add a drizzle of olive oil and a squeeze of lime to the middle of each baked potato. Enjoy!

Nettle Soup

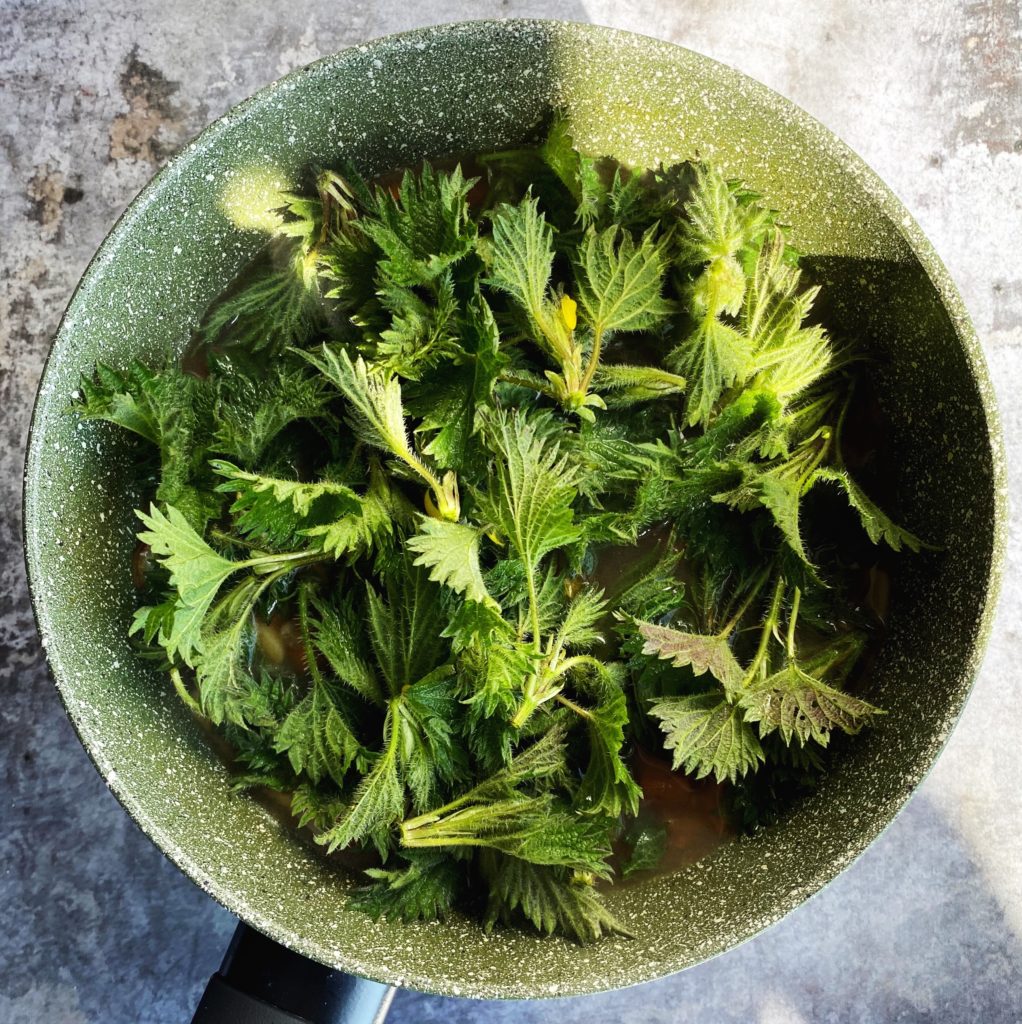
Stinging nettles are easy to identify and one of the most nutritious wild foods out there. Spring is the perfect time to forage for these tender and tasty greens. Studies suggest that eating nettles may reduce inflammation, hay fever symptoms, blood pressure and blood sugar levels — among other benefits. And they are so delicious! Why not grab some gloves and a colander and head out to gather some free food for your lunch? Just pick lots of the tender top 4-6 leaves, the tips of the nettles, like in the photo above. Then when you’ve filled your colander, take it home and give the nettle tips a good rinse. Always pick nettles away from polluted roads sides and avoid places that may have been sprayed.

Here’s my simple nettle soup recipe but you can do so much more with nettles. Pesto, salsa verde, add them to quiches, pies, stews… use it like spinach basically. I love nettles in a spanakopita type filo pastry pie. Share your favourite nettle recipe with use below in the comments? Liz x

Ingredients (serves 4)

  • 1 tbsp oil
  • 1 onion
  • 2 or 3 carrots
  • 4 cloves of garlic
  • 2 potatoes
  • 1 stock cube
  • 4 large handfuls of nettle tips
  • the juice of half a lemon
  • salt and pepper to taste

Method

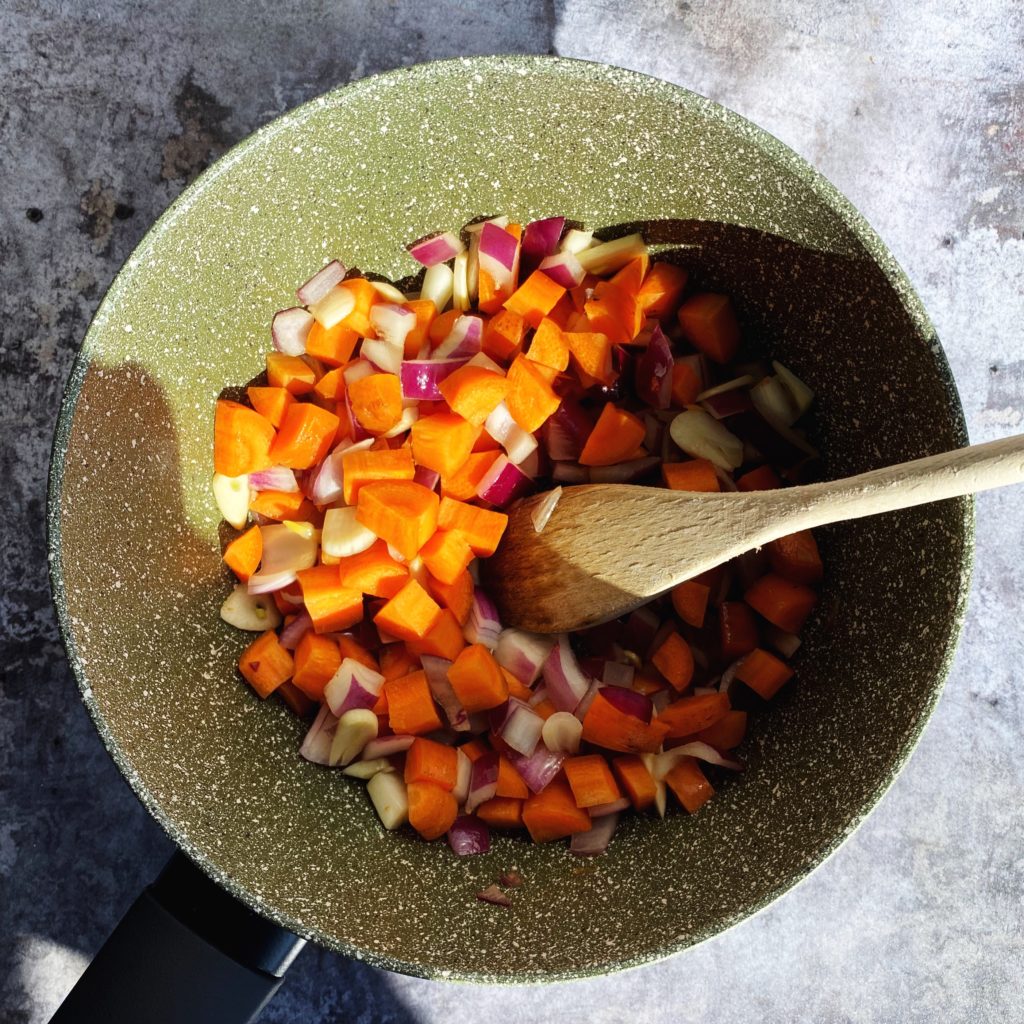
Dice and sauté the onions, garlic and carrots in the oil until just softening and starting to take on some colour.

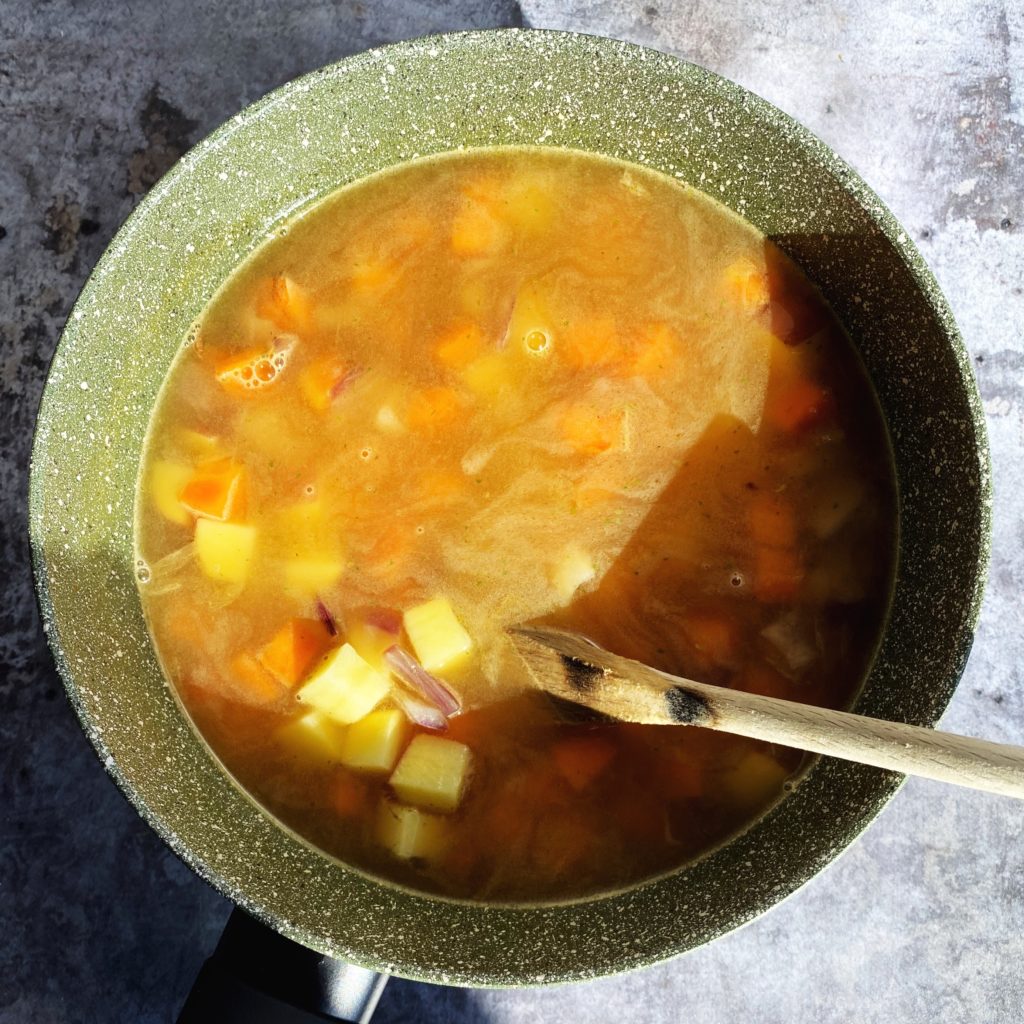
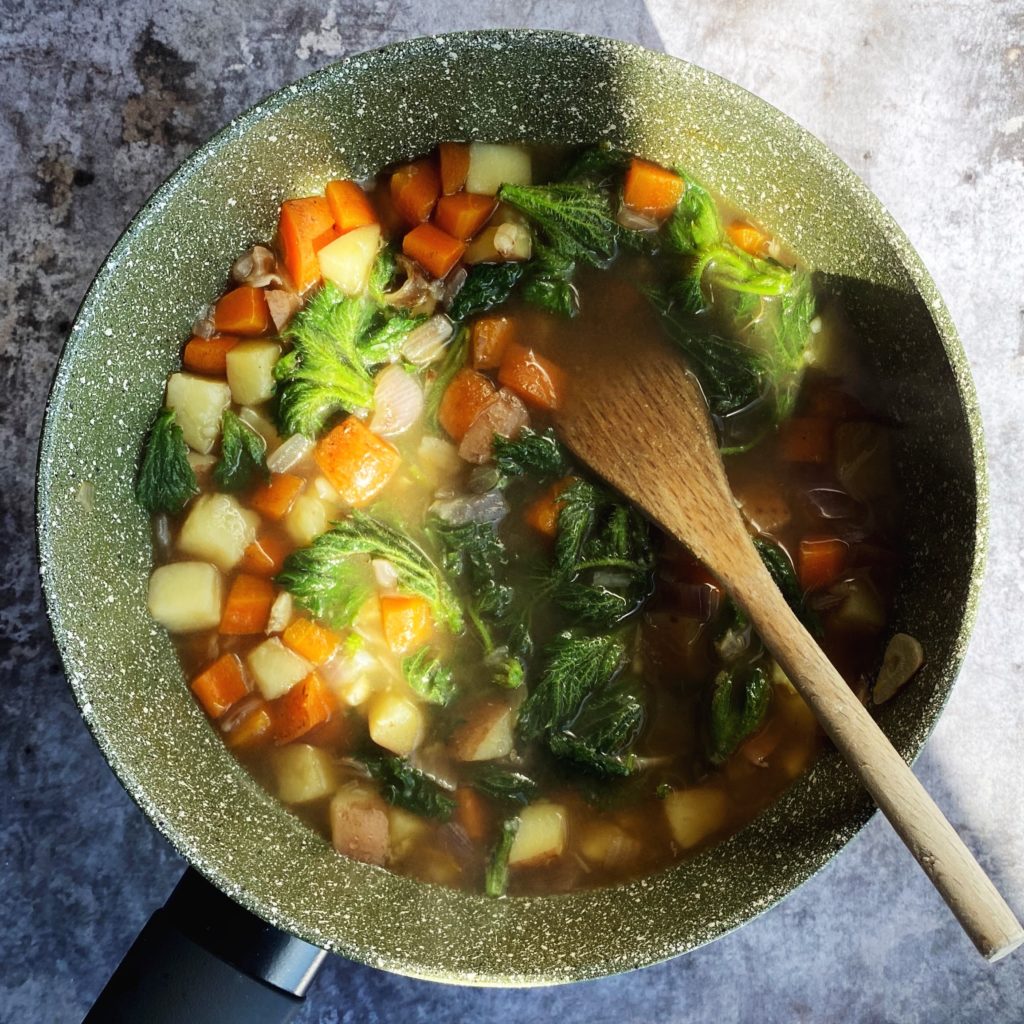
Then dice and add the potatoes to the pot and generously cover the vegetables with water. Crumble in a stock cube and simmer with the lid on until the potatoes are soft.

Add the rinsed nettle tips to the pot.

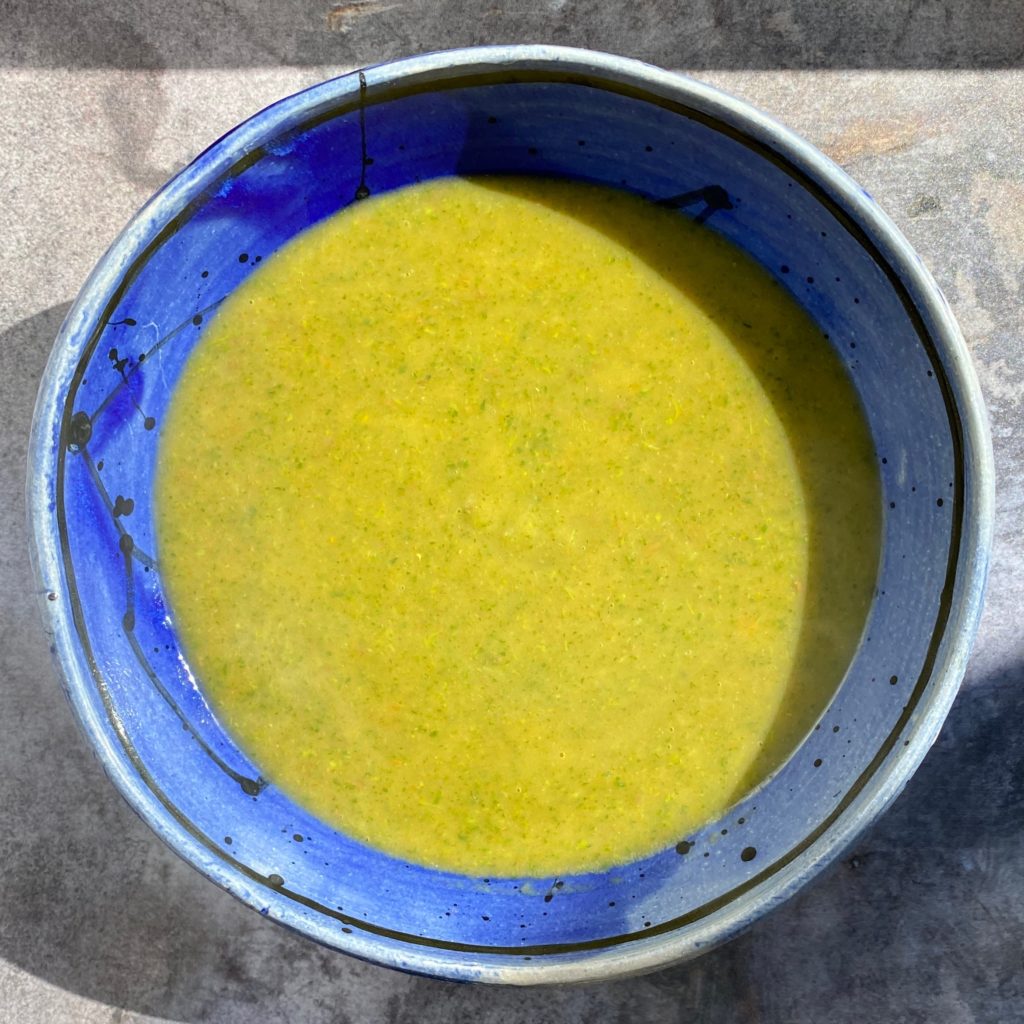
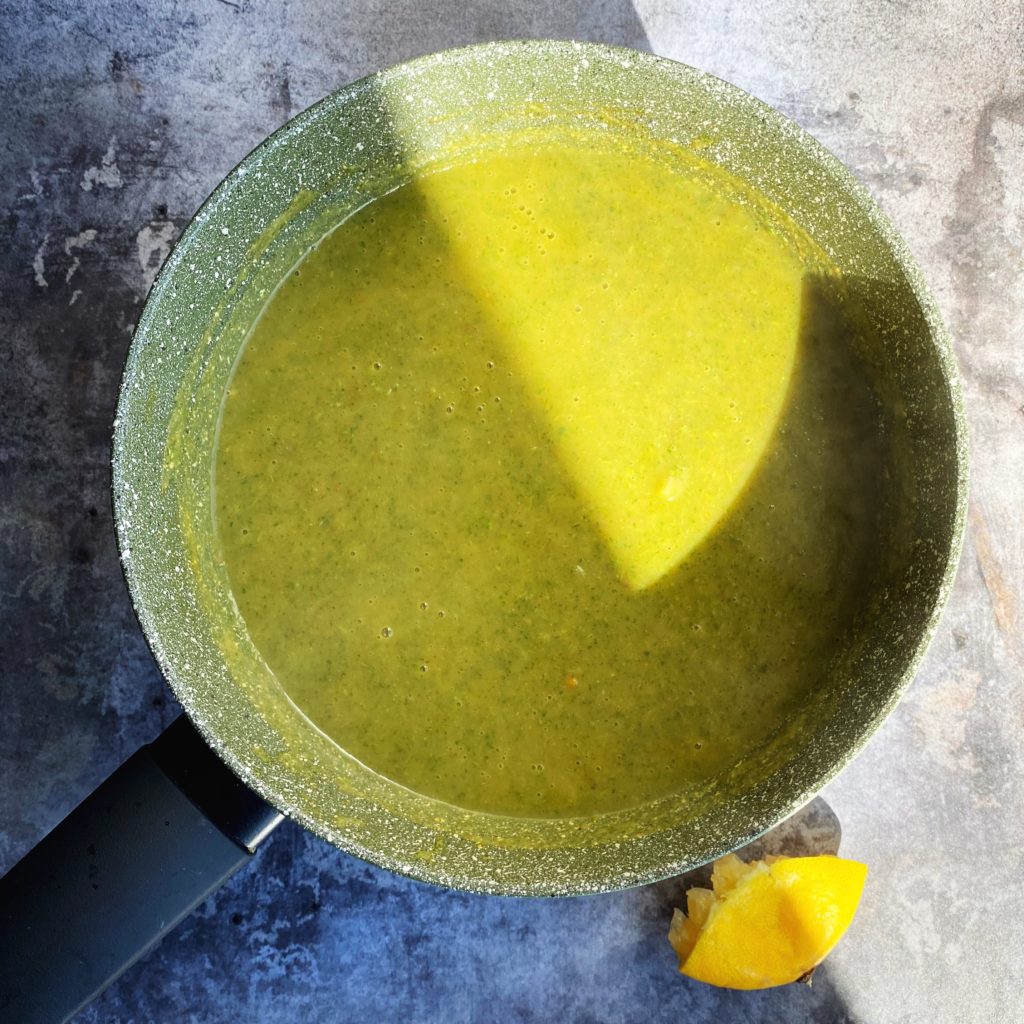
Stir the nettle tip into the soup and simmer for just 2 or 3 minutes. Then add the lemon juice and blend the soup with an immersion blender. Taste and adjust the seasoning as needed with salt and pepper.

Easter Feasting

Celebrate spring with some bright fresh flavours, have an Easter feast and bake some treats with the kids. There are loads of ideas up on the blog now. Let me point you in the direction of some delicious dishes which will work perfectly this Easter. Liz x

Hot Cross Buns

Homemade hot cross buns are always better! Try my plant based recipe.

Courgette Risotto

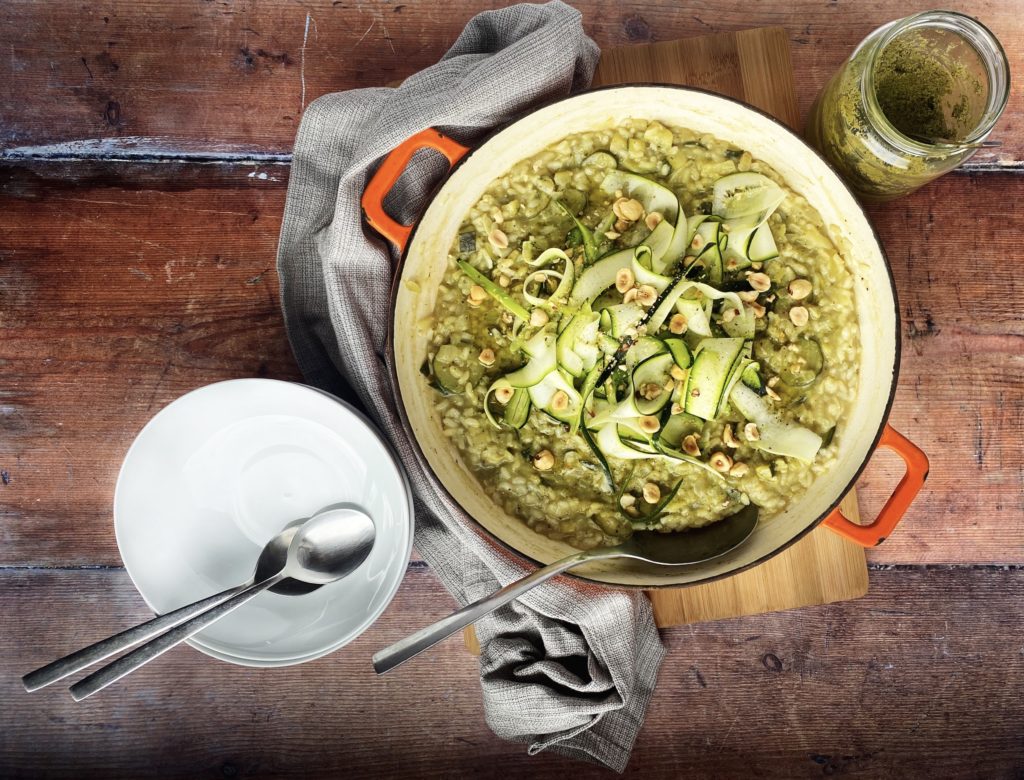
My courgette risotto is a celebration of this delicate green vegetable – there are silky soft, slowly simmered pieces and fresh raw ribbons to tantalise your tastebuds. Swirl through some of my low waste salad bag pesto and scatter over some crunchy toasted hazelnuts…heaven!

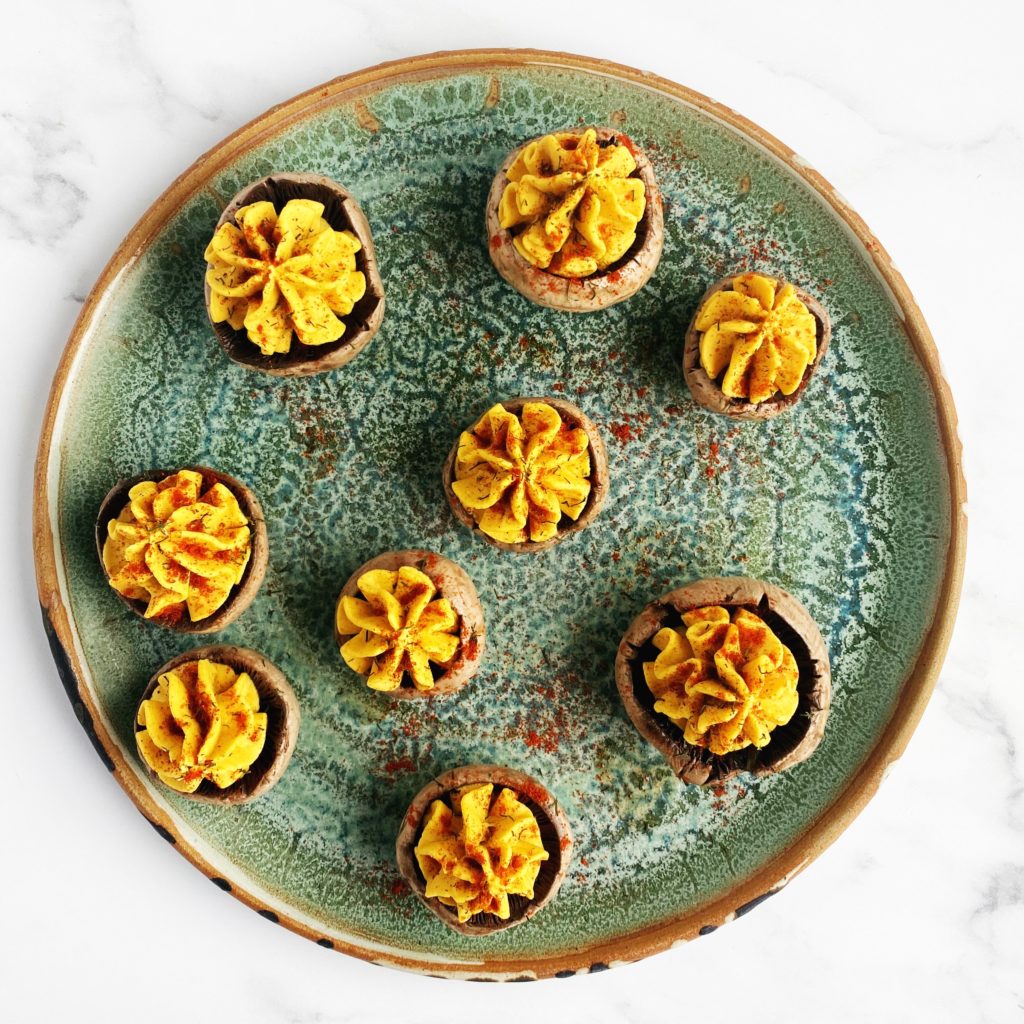
Devilled ‘Eggs’

After something Easter eggy with out the egg? Try these fun little devilled ‘eggs’ made with quick picked mushrooms and a vibrant yolky chickpea mixture.

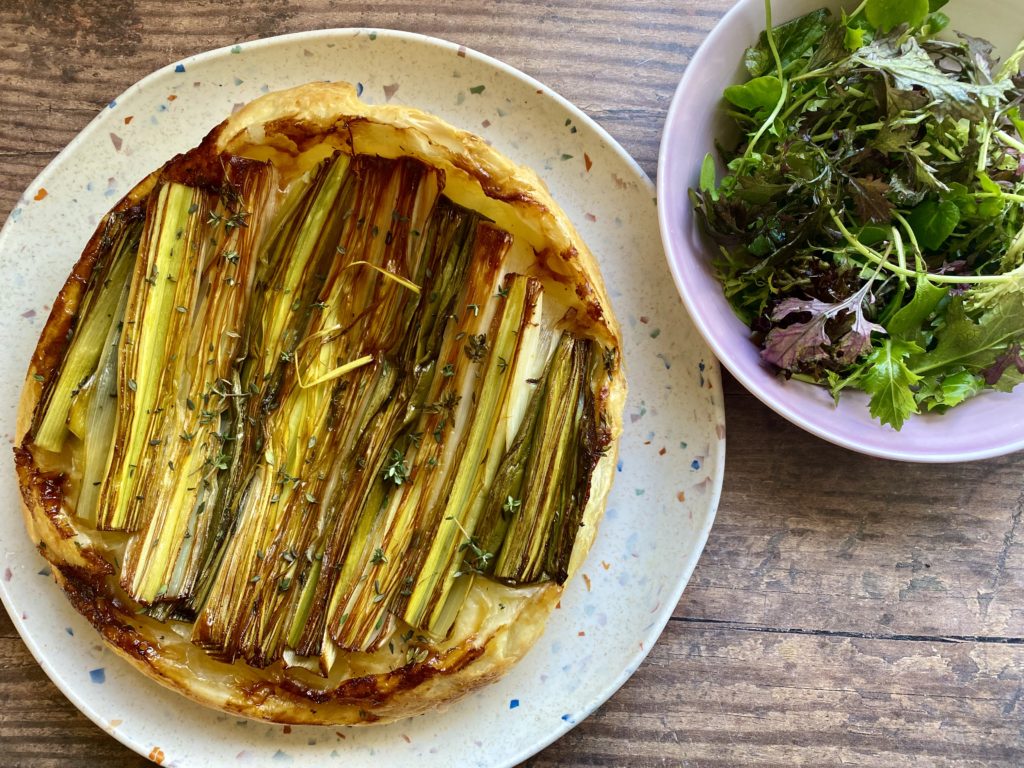
Leek and Thyme Tarte Tatin

Leeks are in season now and this sophisticated dish is deceptively simple to make. Find the easy recipe here.

Shortbread Biscuits

Make an egg shaped batch of my easy as 1,2,3 shortbread and have fun decorating. I added the zest of a lemon to the dough and used the juice for icing. Just stir in enough icing sugar to make a thick paste, then split the icing into two bowls and add turmeric to one for a natural food colouring – make chicks, eggs, daffodils, daisies… Allow the icing to harden and set before storing in a biscuit tin.

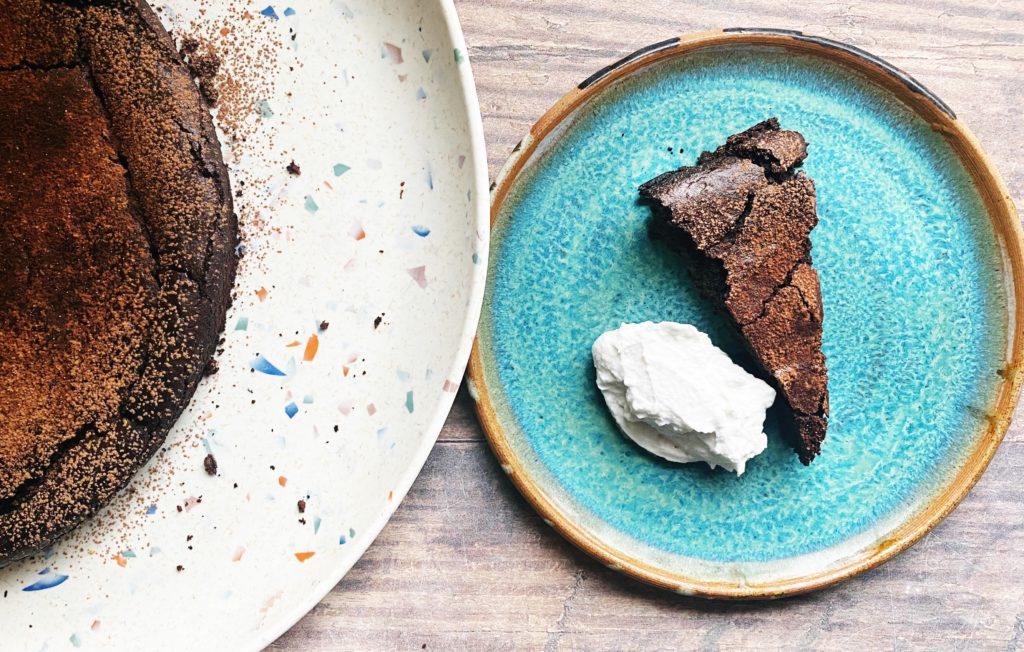
Flourless Black Bean Chocolate Cake

Prefer your Easter chocolates in the shape of a cake? Why not melt down any unwanted eggs and make this flourless, fudgey cake?

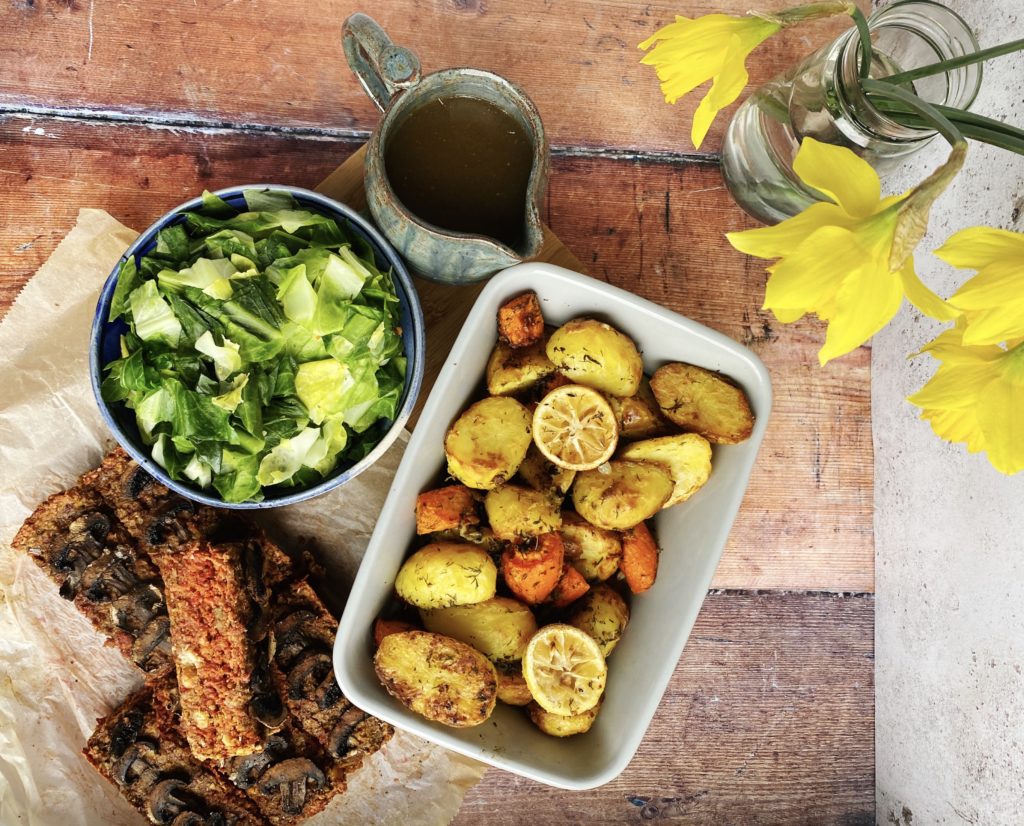
Spring Sunday Roast

Lemon and herb roast veg, spring cabbage, a beetroot and butterbean loaf and gravy. A vibrant roast perfect for Easter Sunday!

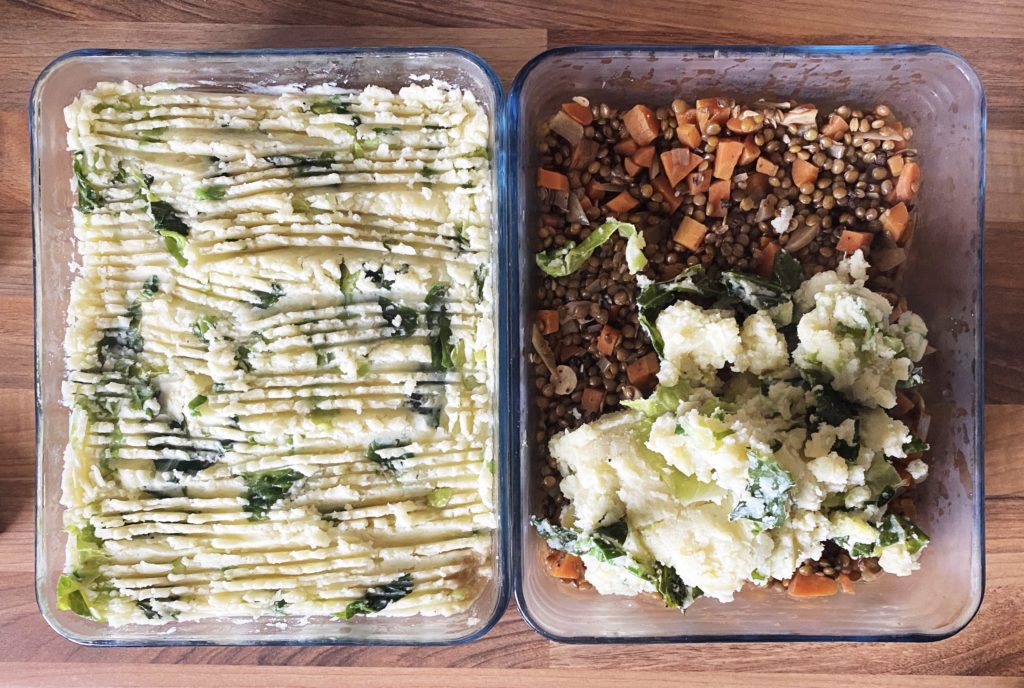
Lentil Pie with Colcannon Mash

Forgo the sacrificial lamb and make this hearty lentil pie instead? It’s packed full of flavour and veggies and is a satisfying family friendly meal. Serve with seasonal greens. I always make a big batch and pop one in the freezer for a rainy day.

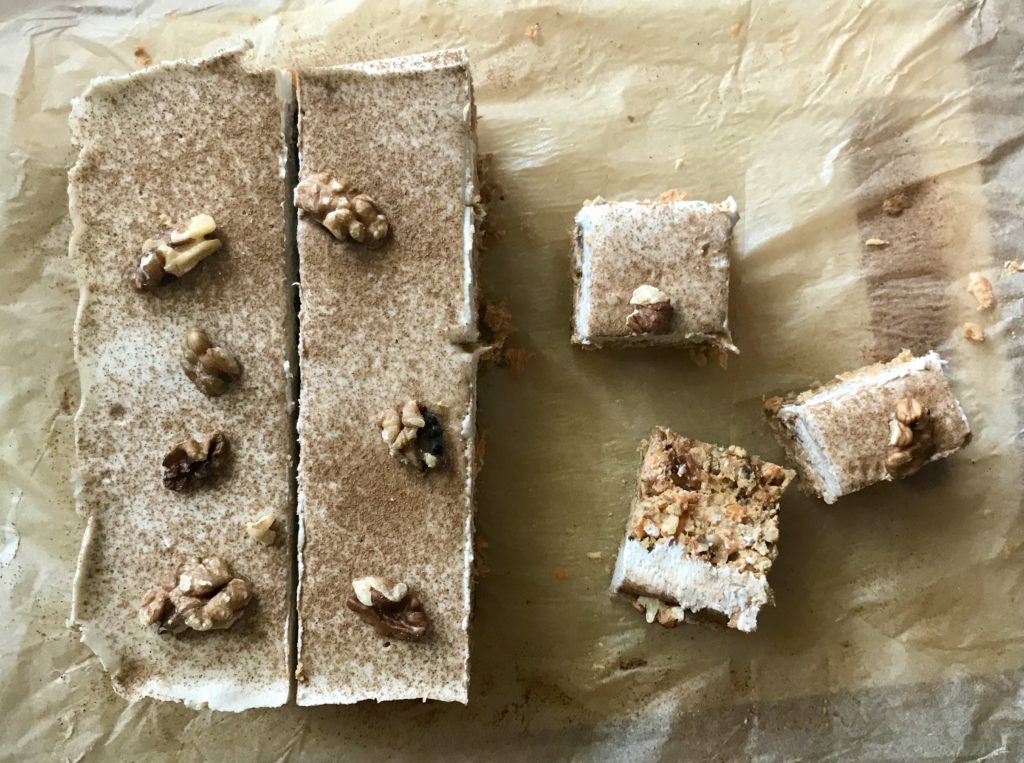
Raw Carrot Cake

The Easter Bunny’s favourite dessert? Try my raw recipe, it’s delicious!

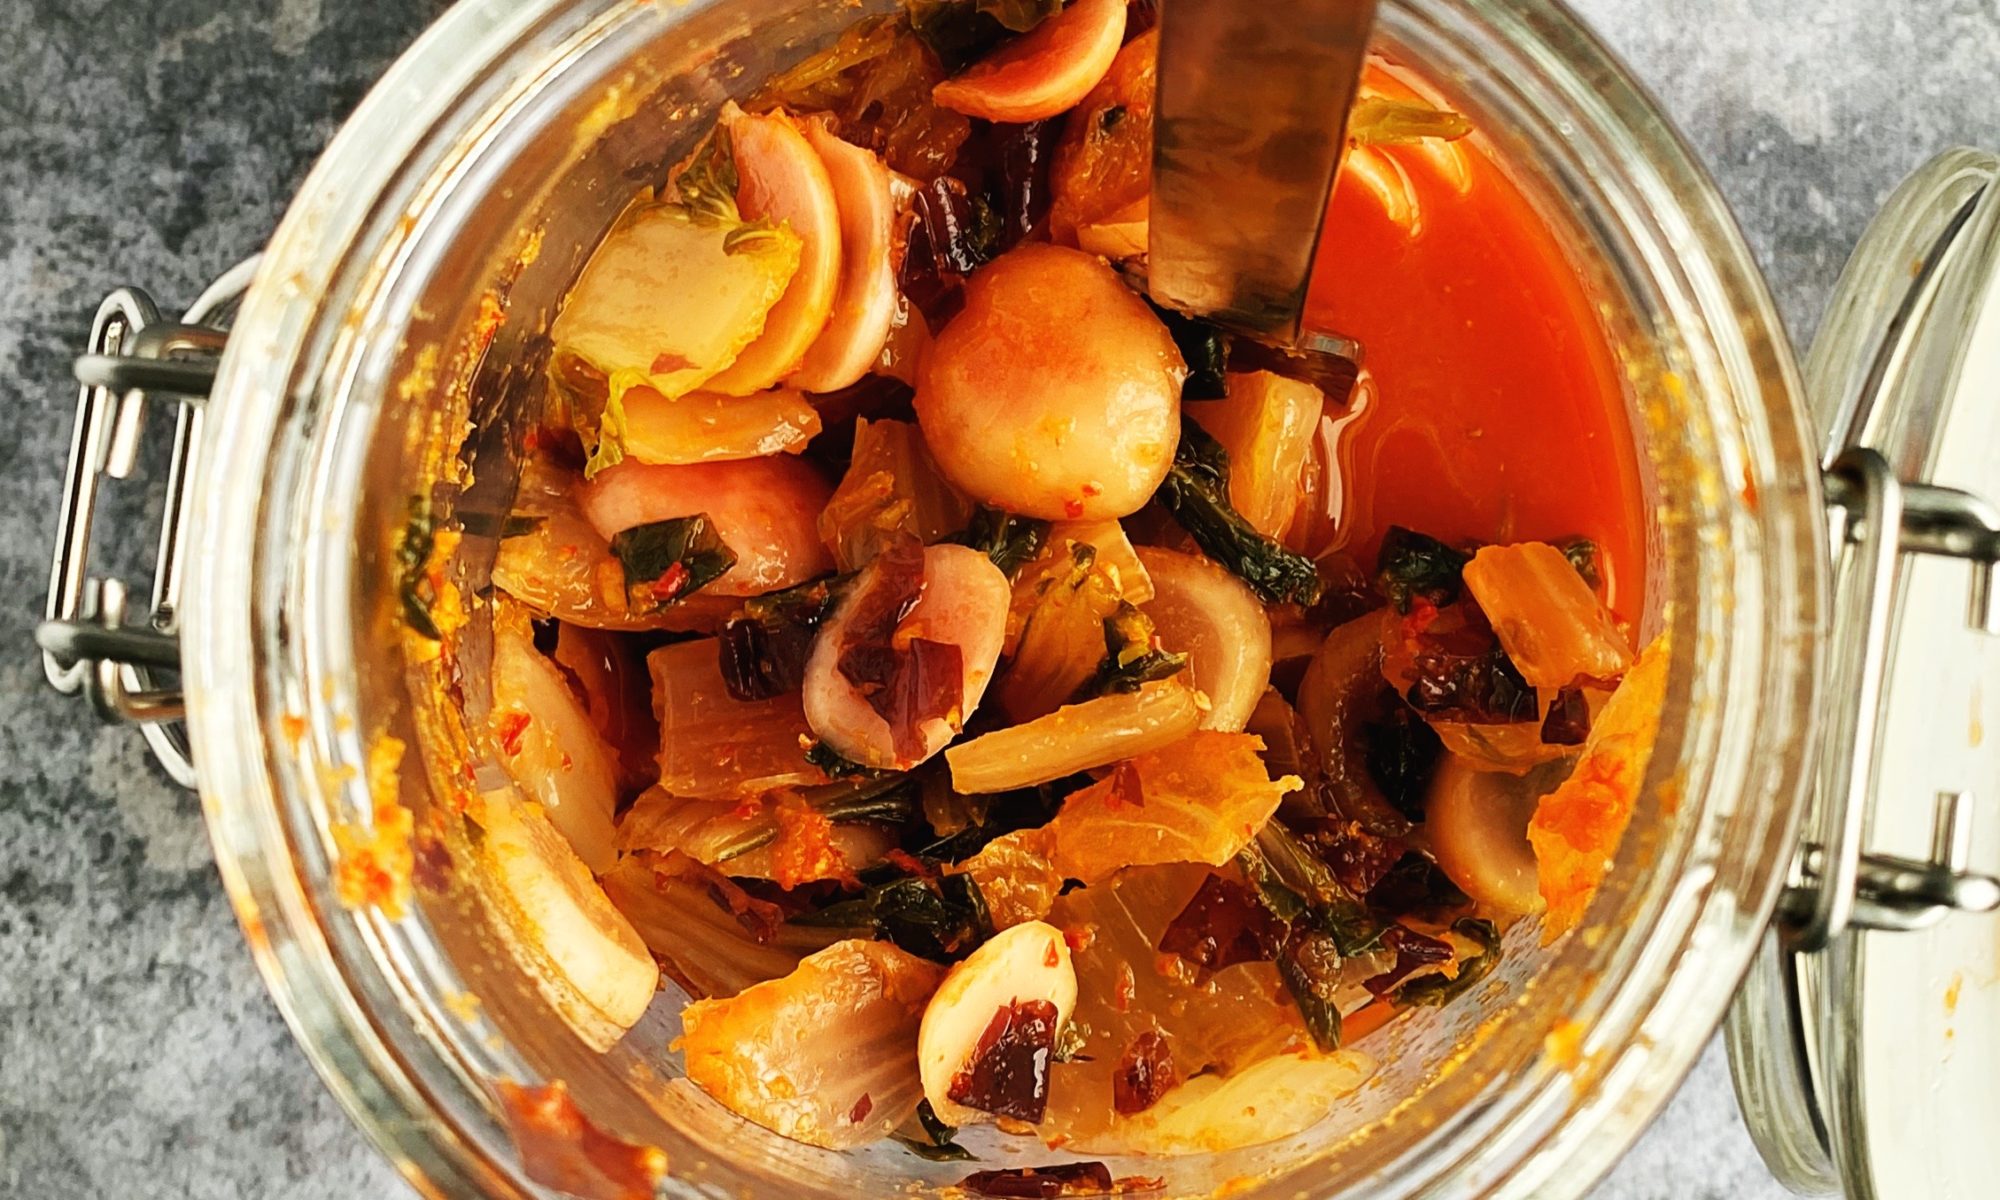
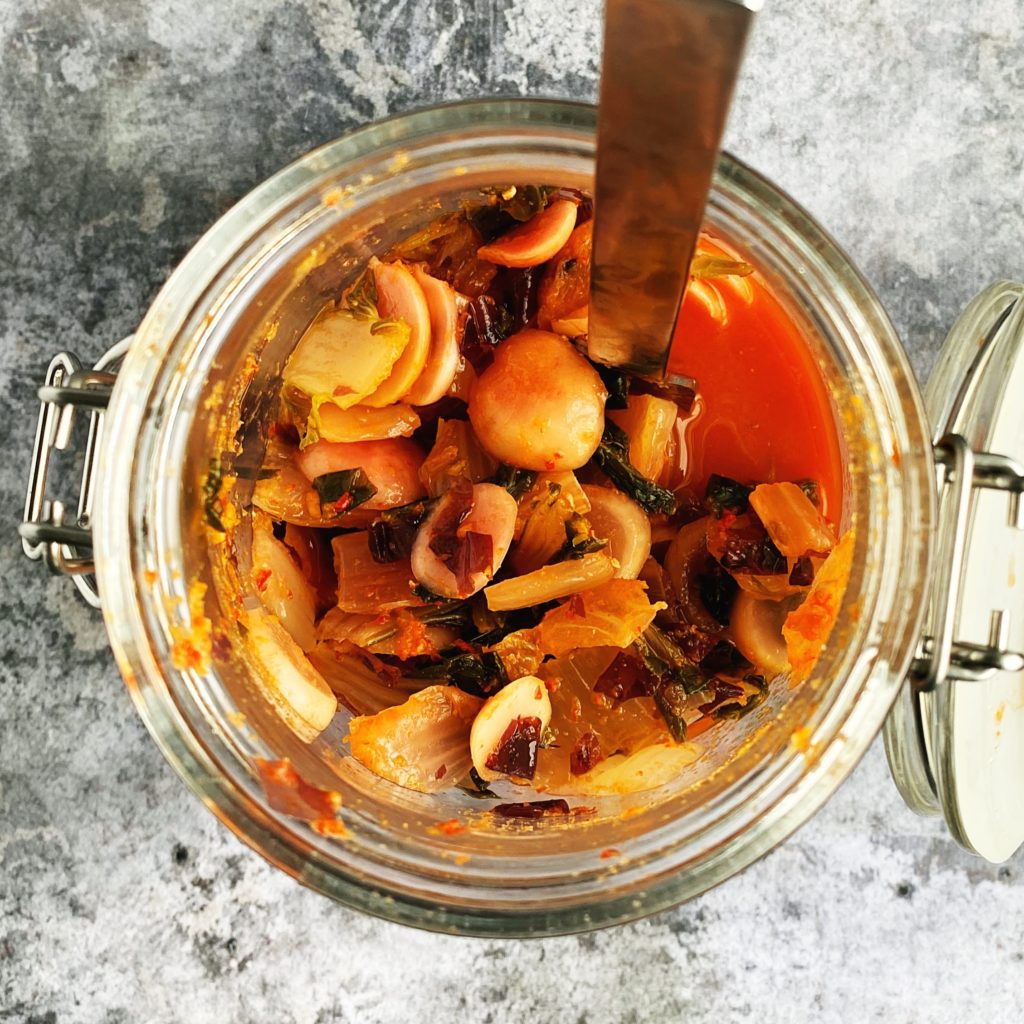
Pak Choi Kimchi

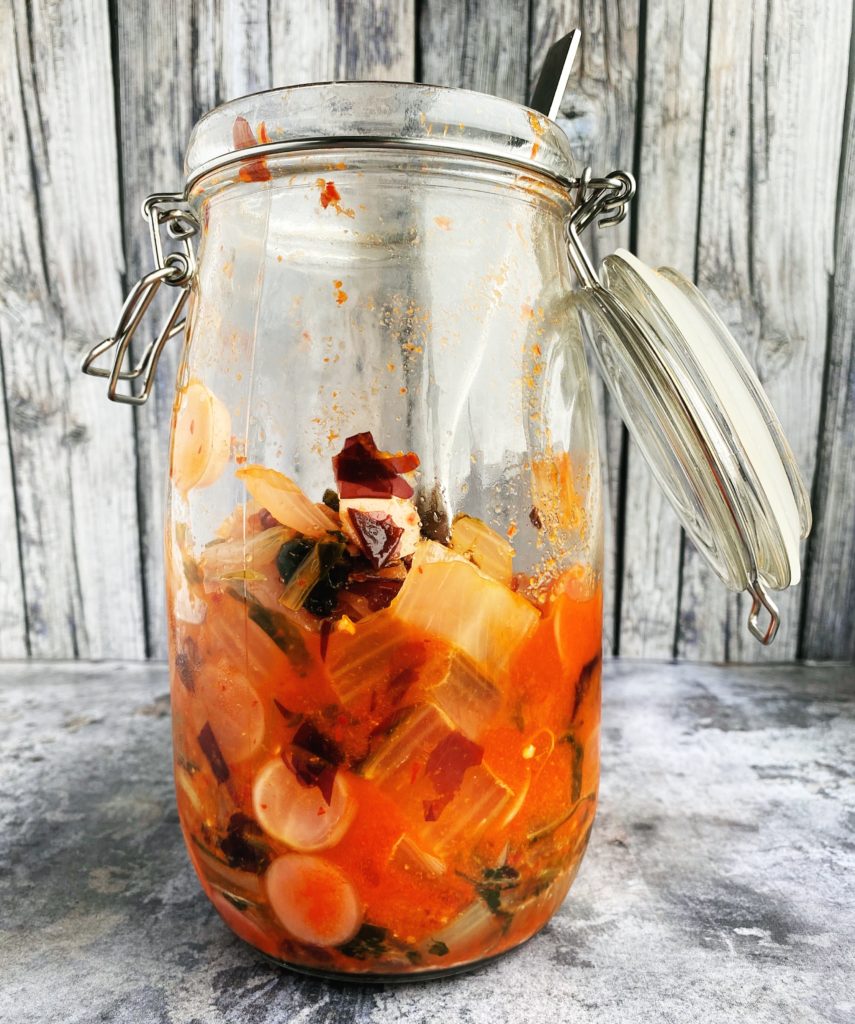
Like all fermented vegetables, kimchi is incredibly good for you. Luckily it’s mind-blowingly delicious too…and very easy to make yourself. I’ve made it with pak choi, seaweed and little radishes this time but you can play around with the ingredients and make it your own. Use local, seasonal vegetables for the best results. Here’s my quick tutorial video so you can see how easy it is to make yourself. Loads more fermenting inspiration in my book which is available to add to your veg order here. Any questions? Pop a comment down below and I’ll get back to you asap. Liz x

Ingredients

  • 2 large pak choi
  • 2 bundles of radishes
  • 1 handful of dried seaweed
  • 1 tbsp natural salt
  • 3 fresh chillies (or dried to taste)
  • 1 thumb of fresh ginger
  • 6 cloves of garlic

Method

Gather and rinse your ingredients. Find a large jar, a chopping board, a sharp knife, a spoon, a rolling pin, a blender, a mixing bowl and a small jar or glass that fits snugly inside your large jar. Ensure all your equipment is nice and clean – no need to sterilise.

Reserve an outer leaf or two from your pak choi. These will be used as ‘followers’ at the end of the recipe.

Slice the rest of the pak choi into bite sized pieces and put them in the large bowl.

Thinly slice the radishes and add them to the bowl too.

Rinse and slice the seaweed too (if you are using nori, no need to rinse first) and add it to the bowl.

Add the salt to the bowl and use your hands to tumble the ingredients and evenly disperse the salt. Sit the bowl to one side to give the salt time to dissolve and start drawing brine out of the vegetables.

Meanwhile make the spice paste. Take the green stalks off the chillies and roughly chop them. Put them in a blender. Peel and chop the ginger and add that to the blender too. Peel the garlic and then blend the 3 ingredients together into a bright space paste.

Taste the salted vegetables and add more salt if needed. They should taste pleasantly salty and should now look wet and wilted. If they are too salty, add some more vegetables eg grated carrot or another pak choi.

Mix the spice paste through the salted vegetables. Be careful not to get any on your bare skin. Wear gloves or use a spoon.

Then pack the mixture carefully and firmly into the large jar. Use the rolling pin to tamp down each new layer to ensure no air pockets are left in the jar. Leave at least an inch or two of head room in the jar.

Now cover the chopped vegetables with the ‘followers’ (the leaves you reserved earlier). Tuck everything neatly in under the brine. Use the spoon to help tuck the leaves down the sides of the jar and ensure no little floaty bits are above the brine.

Weigh down the ‘followers’ with a small glass/jar/ramekin. See the video above for more details.

Then close the jar – if you are using a clip top jar, remove the rubber seal to allow gases to escape, otherwise just close a regular jar loosely or remember to ‘burp’ the jar every day to allow gases to escape by briefly opening and closing it.

Put the jar on a tray or in a bowl to catch any overspill and set it on a dark shelf to ferment at room temperature for at least one week. Keep an eye on it. Does it need burping? If so, do it over the sink! Have the gases caused the veg to rise up above the brine? If so push the weight down to expel and air bubbles and get everything neatly under brine again.

After one week at room temperature, taste your kimchi. It should be tangy, spicy and delicious. If you are happy with the tang-level, remove the weight and pop the jar in the fridge. It should last well for at least one month, if not many more.

*Tips to make your fermented food last longer in the fridge: No double dipping! Consider transferring the ferment to smaller jars before refrigerating.

Lentil Pie with Colcannon Mash

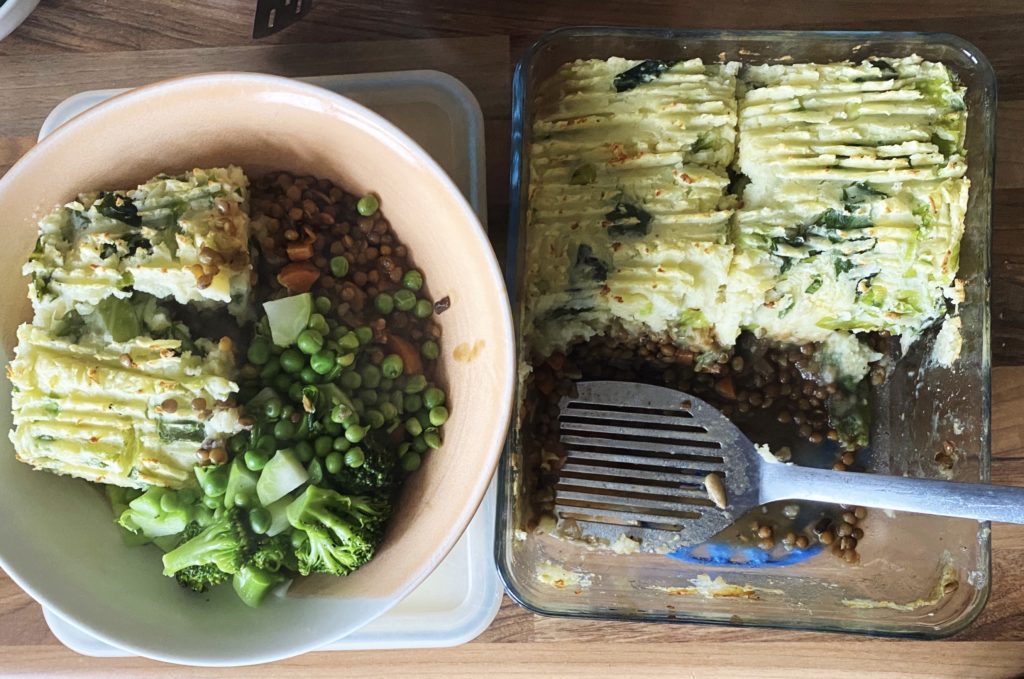
Is there anything more comforting and satisfying than a mashed potato topped pie? This is hearty and healthy family food. Perfect for a cosy evening weekday meal and also special enough, I think, for a Sunday lunch. Colcannon is a great way to get some extra greens in, and it’s crazy delicious! I also cook enough for two and freeze one for a rainy day…no shortage of those here in Ireland am I right?

Here’s the flexible and simple recipe. I hope you enjoy it and it becomes a part of your regular rotation. It’s certainly a winner in my house. Liz x

Ingredients (makes enough for 2 pies which serve 4 hungry people each)

  • 2 white onions – diced
  • 2 tbsp vegetable oil
  • 4 sticks of celery – diced
  • 6 carrots – diced
  • 6 cloves of garlic – sliced
  • 2 tbsp crumbled, dried mushrooms
  • 2 mugs of green or brown lentils – rinsed
  • 2 stock cubes
  • 3 bay leaves
  • 1 glass of red/white wine (or a tbsp or two of vinegar)
  • 1 tsp each dried thyme, rosemary and sage
  • 10 or so floury potatoes
  • 6 scallions/spring onions – chopped
  • a large bunch of kale or half a spring green cabbage – chopped
  • a generous knob of butter/margarine
  • a splash of oat milk
  • salt and pepper to taste
  • seasonal greens to steam and serve on the side
One for now, one for the freezer for a rainy day.

Method

You’ll need two large pots and two baking dishes. Preheat your oven to 200C. Get a large pot of water on to boil.

Peel your potatoes (or don’t if you prefer a rustic mash), chop them into even sized pieces and put them in the large pot of water to boil until soft.

Meanwhile make the lentil filling. Sauté the onion in the oil until starting to soften and turn golden. Then add the celery, carrots and garlic and sauté until fragrant. You can of course switch the base veg for whatever you have eg beetroot, parsnips, swede, mushrooms…

Add the rinsed lentils and the wine/vinegar. Give the pot a quick stir then add 6 mugs of water, crumble in the two stock cubes and the dried mushrooms. Add the dried herbs, bay leaves and some black pepper then simmer, stirring often, until the lentils are cooked and have soaked up most of the water. Add more water if needed, just keep an eye on it.

Put the chopped scallions in a wide bowl and just cover them with oat milk so that they can infuse their flavour through the milk.

Once the potatoes are nearly cooked through, add the kale/cabbage to the pot to quickly steam in the last 3 minutes or so of the cooking time. Then fish them out and put them in the bowl with the oat milk and spring onions.

Drain and mash the potatoes with the butter and plenty of salt and pepper. Taste and adjust the seasoning if needed. Then stir the kale/cabbage, scallions and milk through the mash.

Taste the lentil filling and add more salt/pepper as needed. Them assemble the pies. Make one to eat now and one to cool down and freeze for another day?

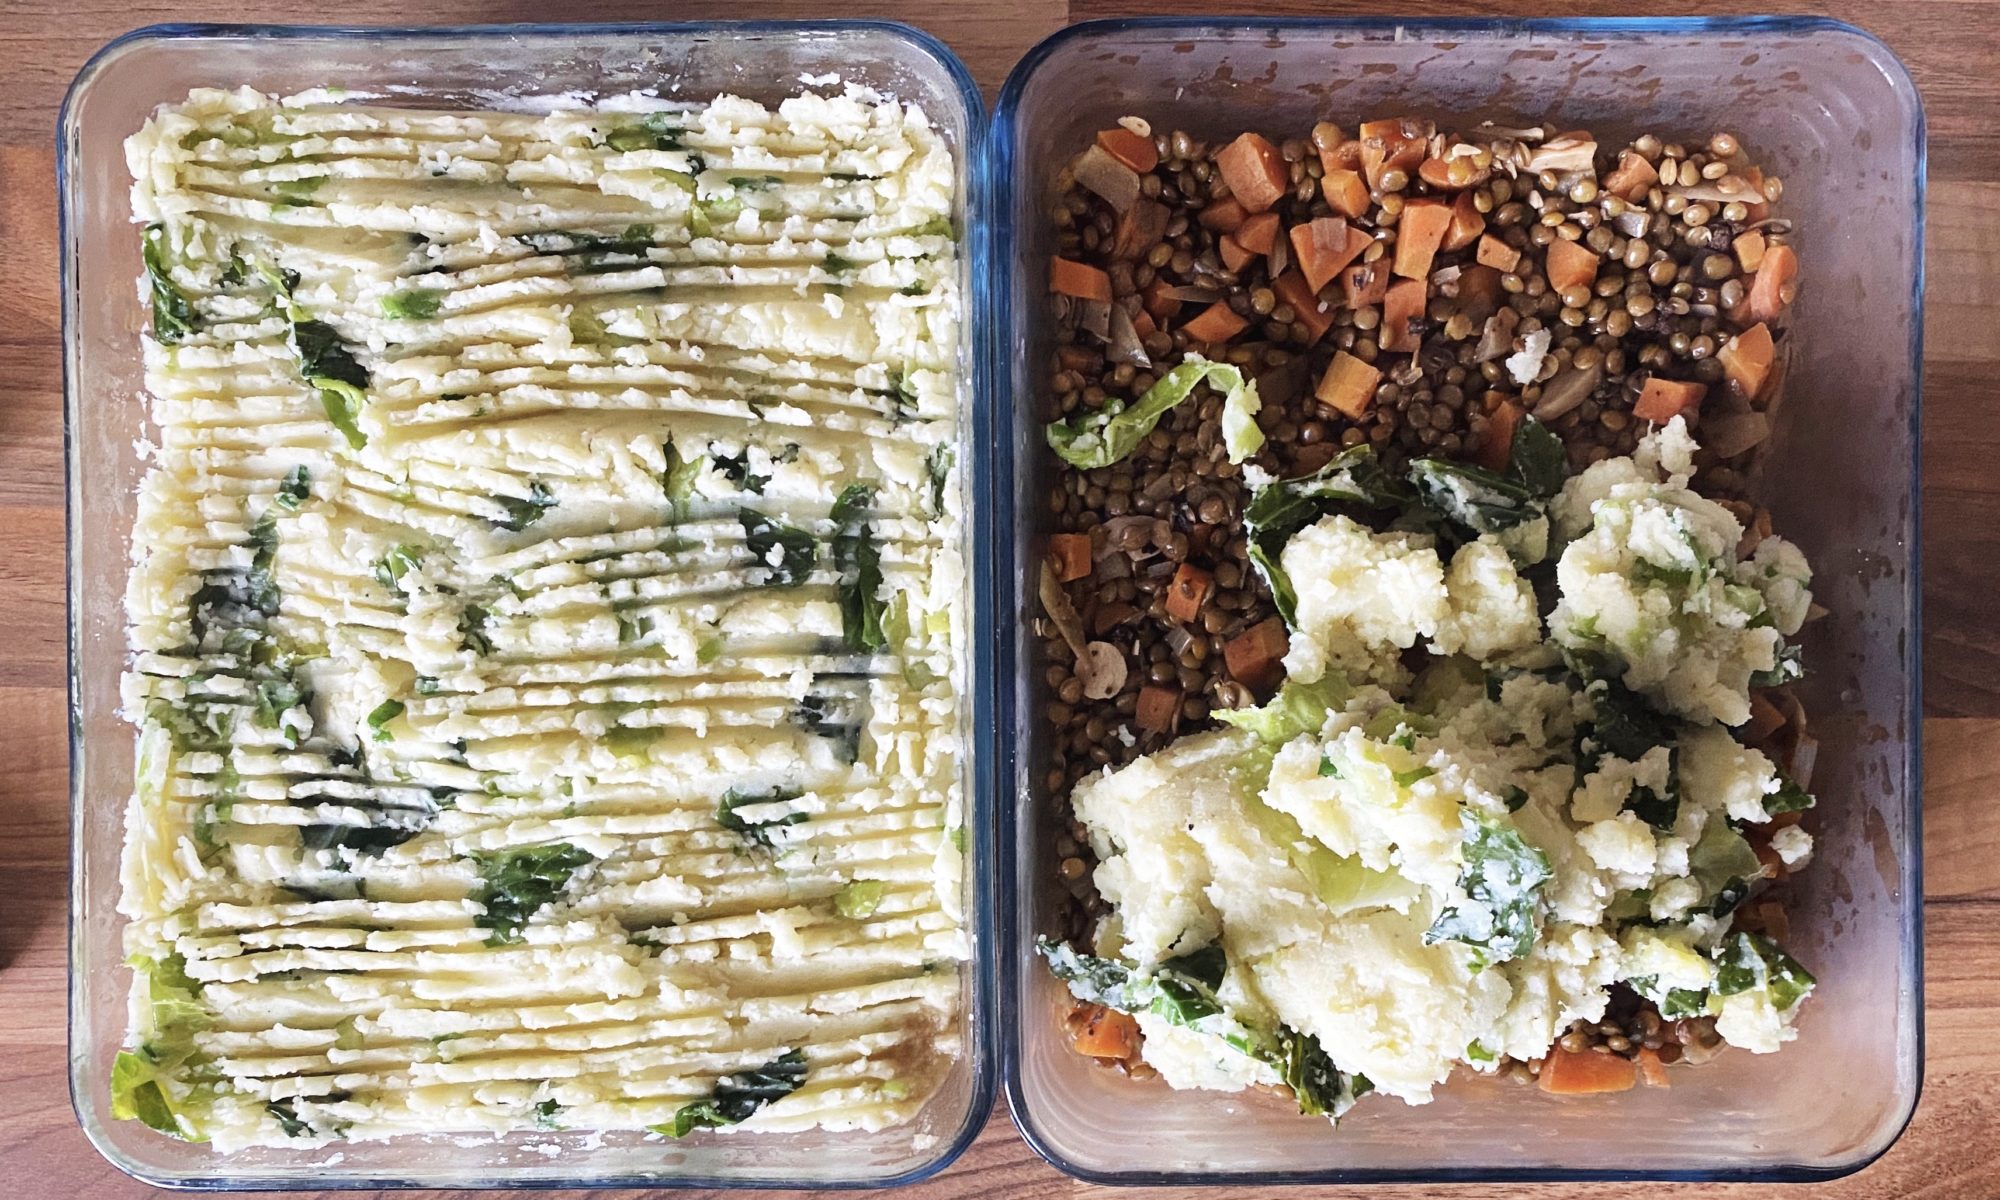
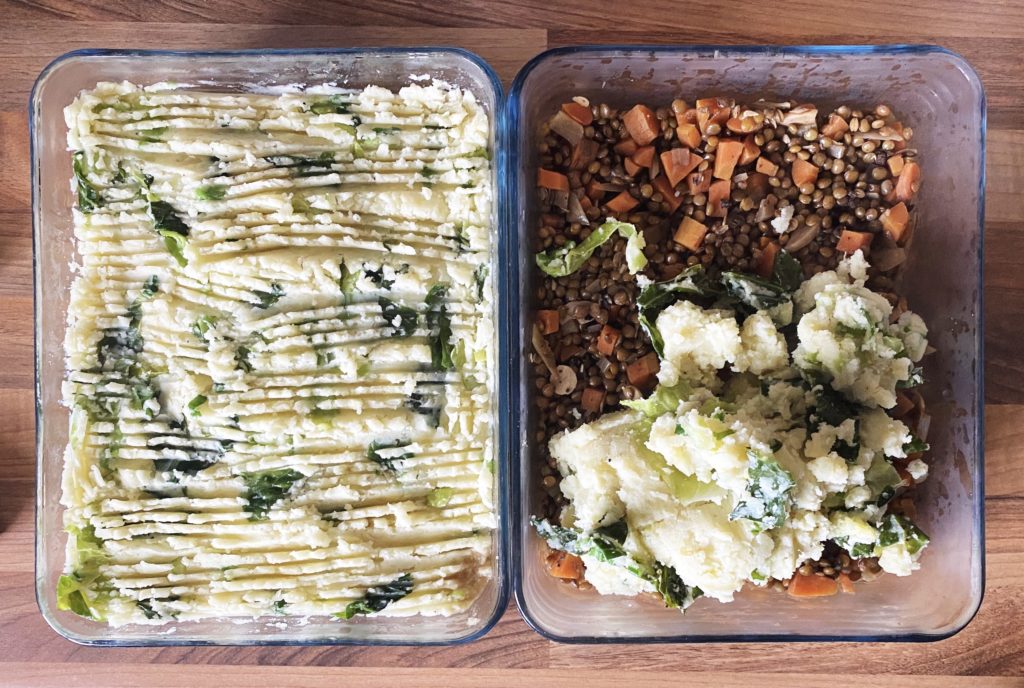
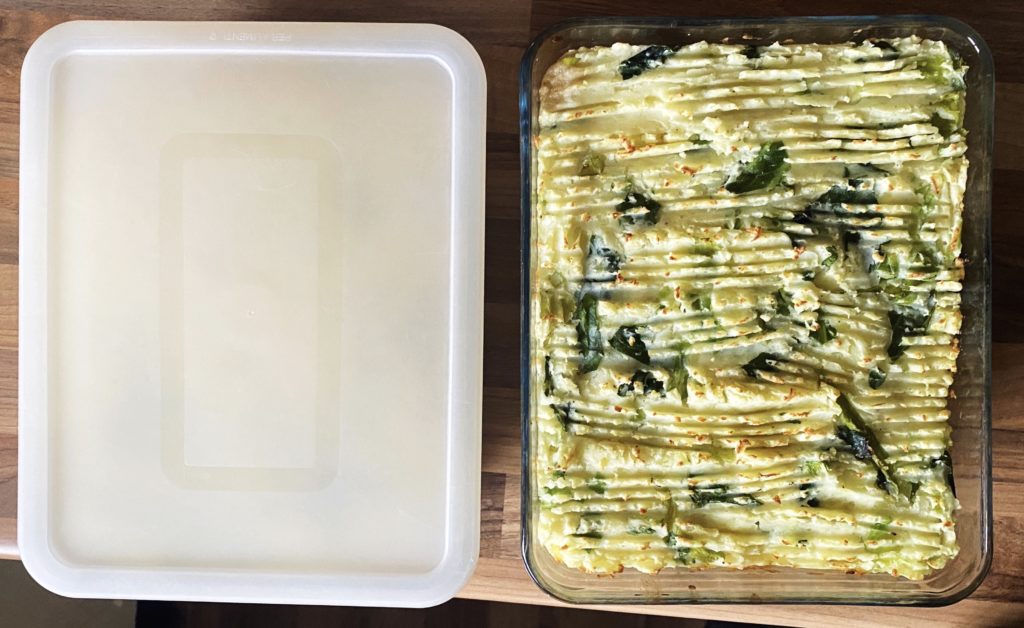
Divide the lentil filling between two oven dishes, then divide the mash. Smooth it out and then rough it up a little with a fork so that you get nice crispy bits in the oven.

Put one of the pies in the oven to bake and crisp up. It’s still warm so it should only take 20 minutes or so. If you are cooking one from cold it will take a lot longer. You will need to cook a cold one covered with foil or a baking tray until hot in the middle, then remove the foil/baking tray for the last 15 minutes or so to allow the pie to take on some colour.

Serve with seasonal greens and enjoy!

Devilled ‘Eggs’

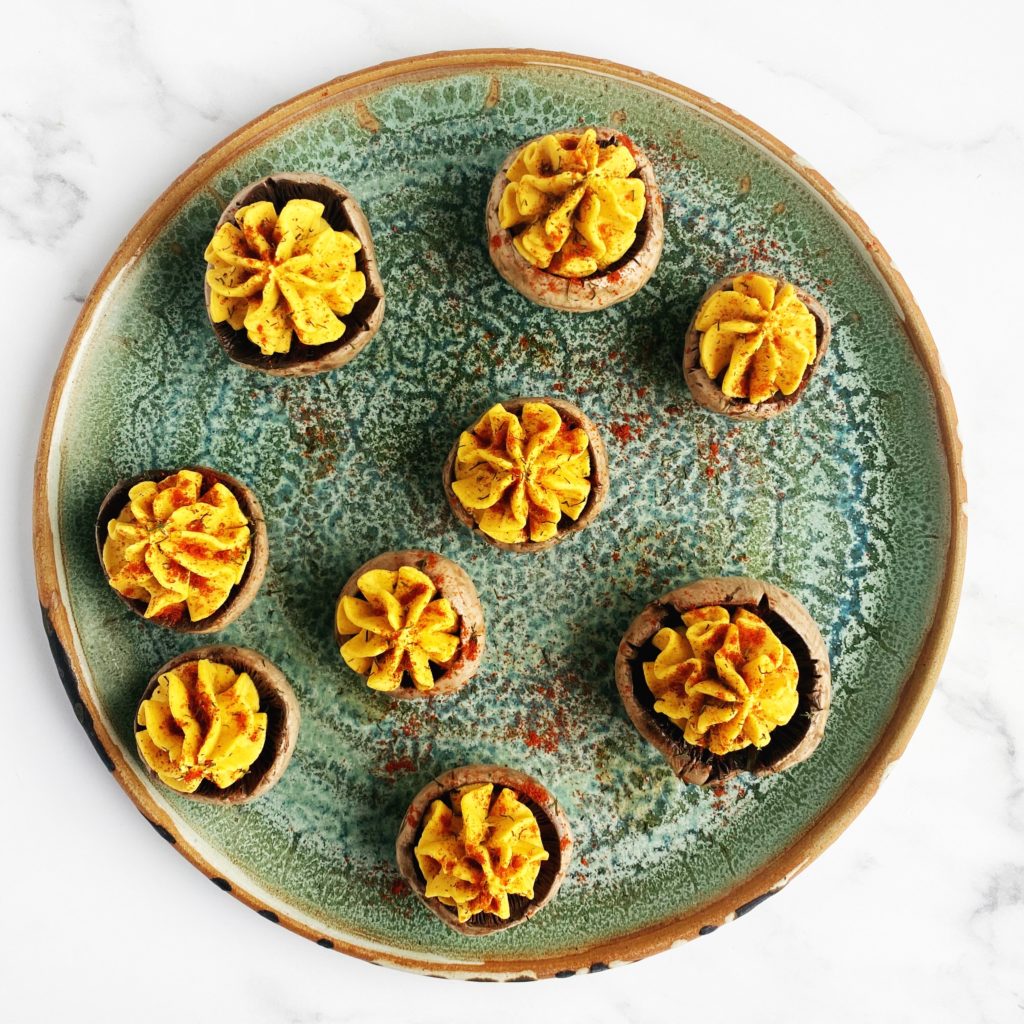
I saw these pop up on the fabulous Tabitha Brown’s Instagram months ago and haven’t been able to get them out of my head since. So when we finished a jar of pickles the other day I knew exactly what I was going to make. My yolk recipe is quite different (more of a European version than her American one I guess?) but all credit to @iamtabithabrown for the genius idea. These are such fun little retro canapés or as an Easter starter. Give my version a try and let me know what you think. Liz x

Ingredients

  • a jar of pickle liquor left after eating the pickled cucumbers
  • small mushrooms – white is best for the look of the dish but chestnut mushrooms work fine too – enough to fill the jar
  • 1 tin of chickpeas
  • 1 tsp black salt (kala namak)
  • 1/2 tsp ground black pepper
  • 1 tsp ground turmeric
  • 1 tbsp dijon mustard
  • 1 tbsp tomato puree (or ketchup)
  • 6 tbsp mayonaise (try my aquafaba mayo recipe here and use the liquid from the tin of chickpeas to make it!)
  • smoked paprika (or hot paprika or chilli powder)
  • optional dill or chives to sprinkle on top

Method

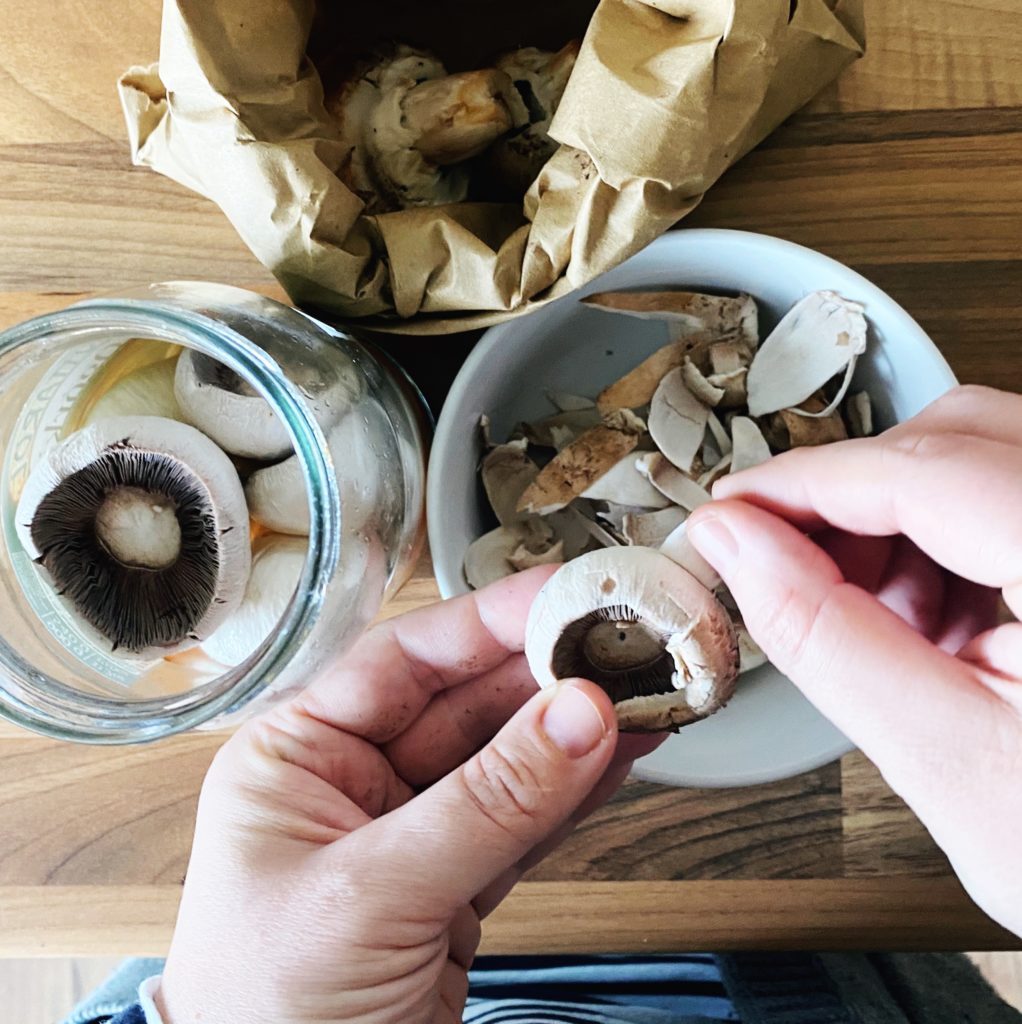
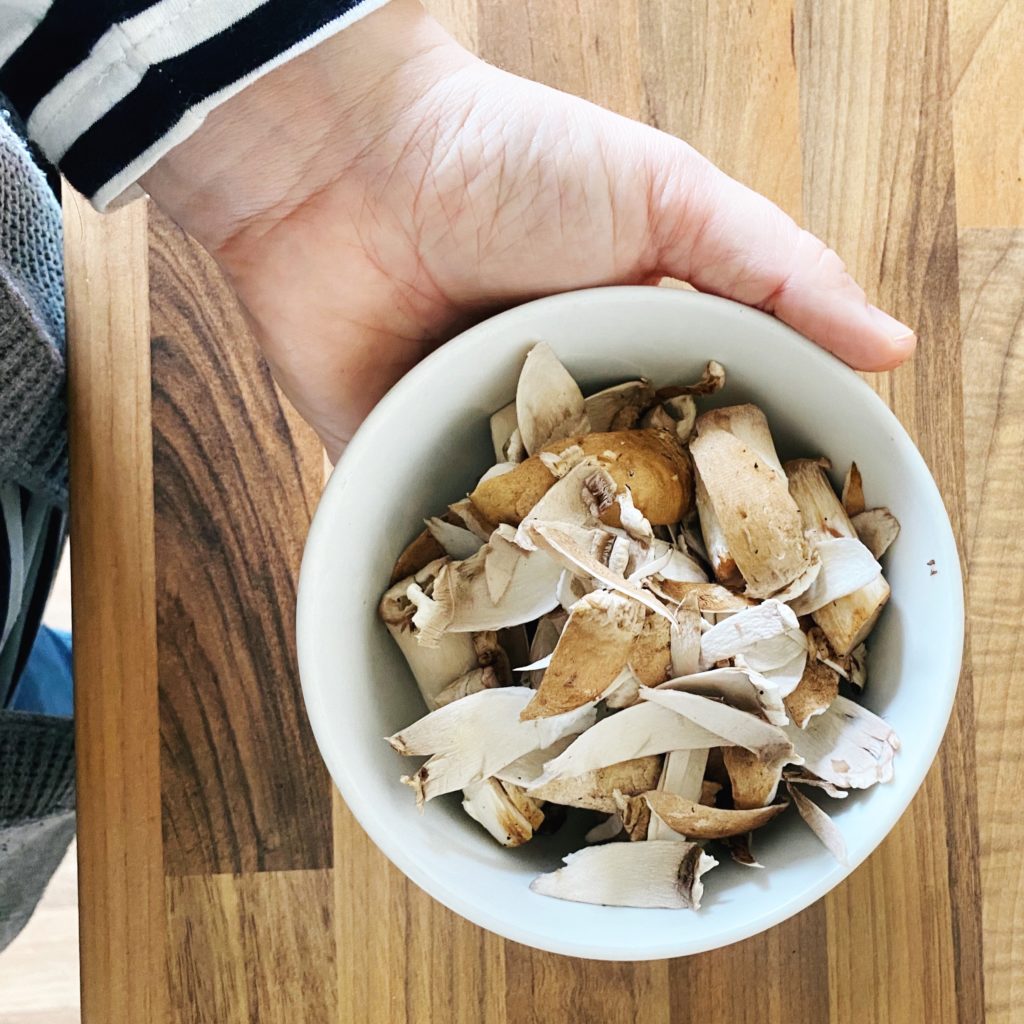
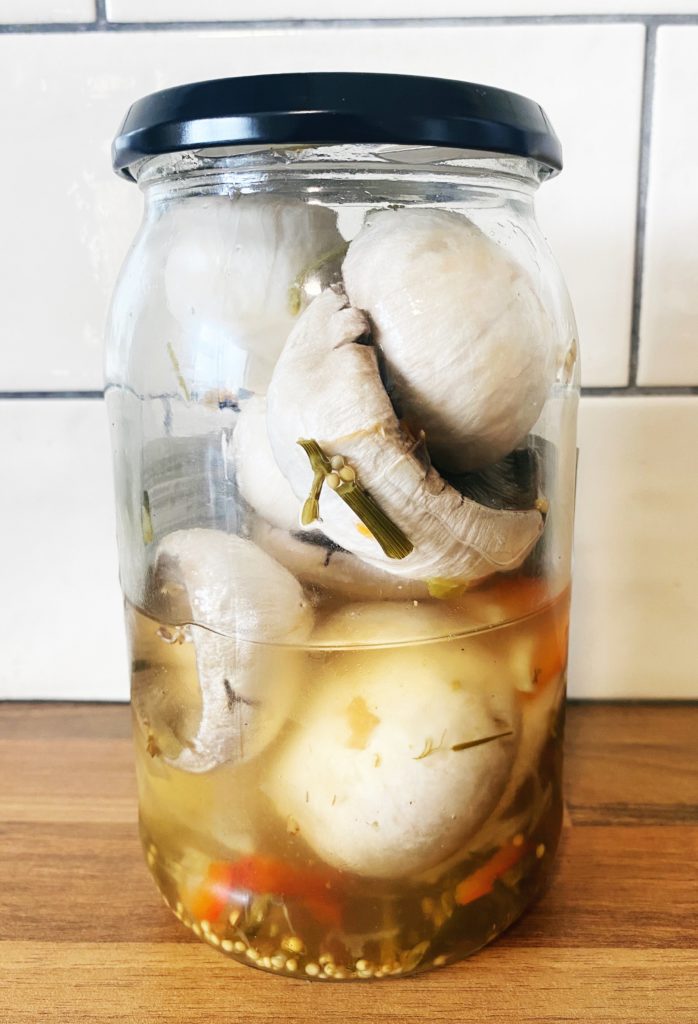
Clean the mushrooms with a paper towel or pastry brush. Then pull out the stalks and peel them (like in the picture above). Keep the stalks and peels, do not throw them away! They are great crumbled up and sautéed as a base for a lentil pie or a soup or in tofu scramble.

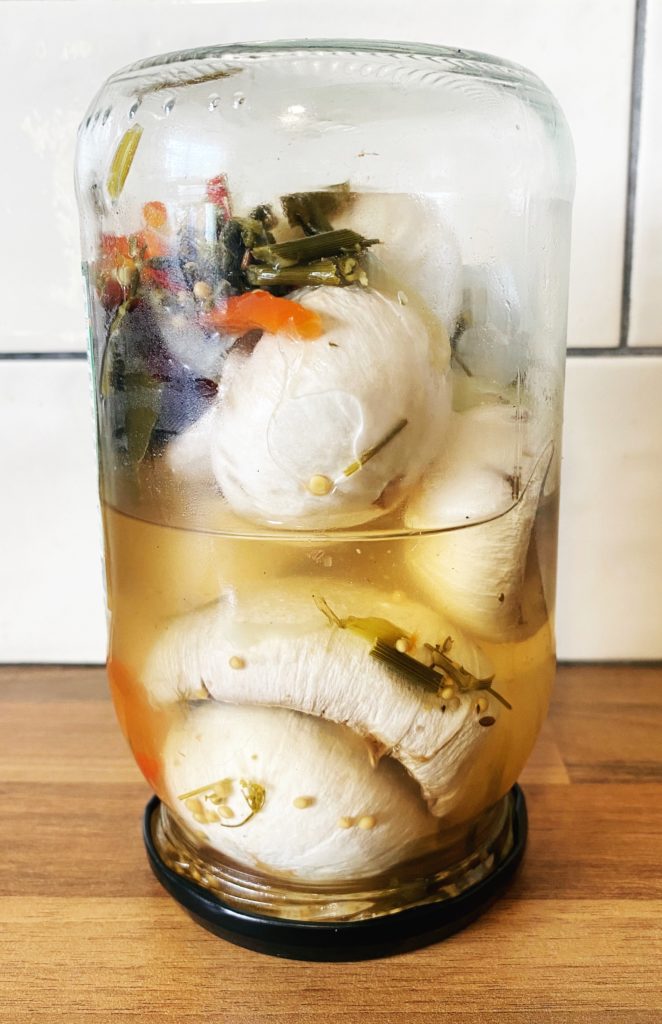
Put the peeled mushrooms in the jar of leftover pickle juice. Give the jar a gentle shake and put it in the fridge. Every time you open the fridge, turn the jar the other way up so that the mushrooms all get an even soak in the juice. Leave them to soak and lightly pickle overnight.

Then just before you are ready to serve, make the yolky filling. Drain a can of chickpeas (reserve the aquafaba to make mayonnaise or a clafoutis?) and put them in a food processor or blender.

Add the black salt (this tastes like egg, if you don’t have it then regular salt is fine), pepper, turmeric, mayo, tomato puree/ketchup and mustard in the blender too. Then blend until smooth. Taste the mixture and adjust the seasoning if needed. You may need more mayonnaise or salt? The mixture should be thick but pipeable.

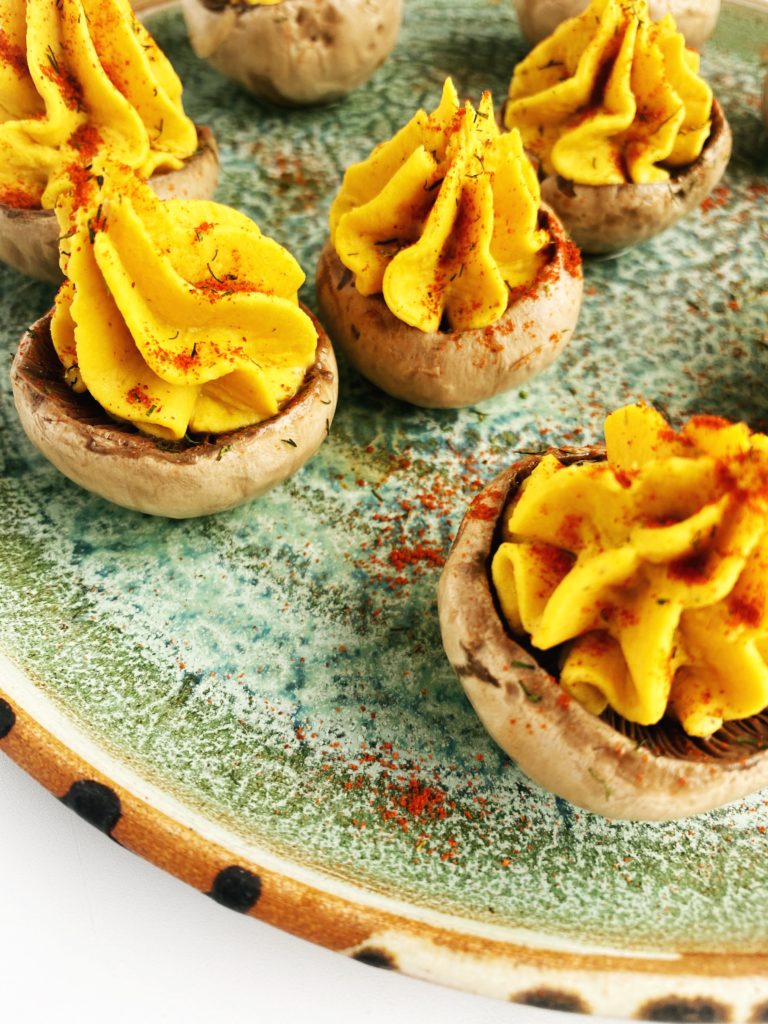
Put the mushrooms out onto a platter and put the ‘yolk’ mixture into a piping bag with the star shaped nozzle attached. Pipe a generous amount of the mixture into each mushroom.

Sprinkle the devilled eggs with smoked paprika and dill or whatever you like (chilli powder, tabasco, shopped scallions, parsley, chives, capers…) and enjoy them cold and fresh.

Fermented Onions

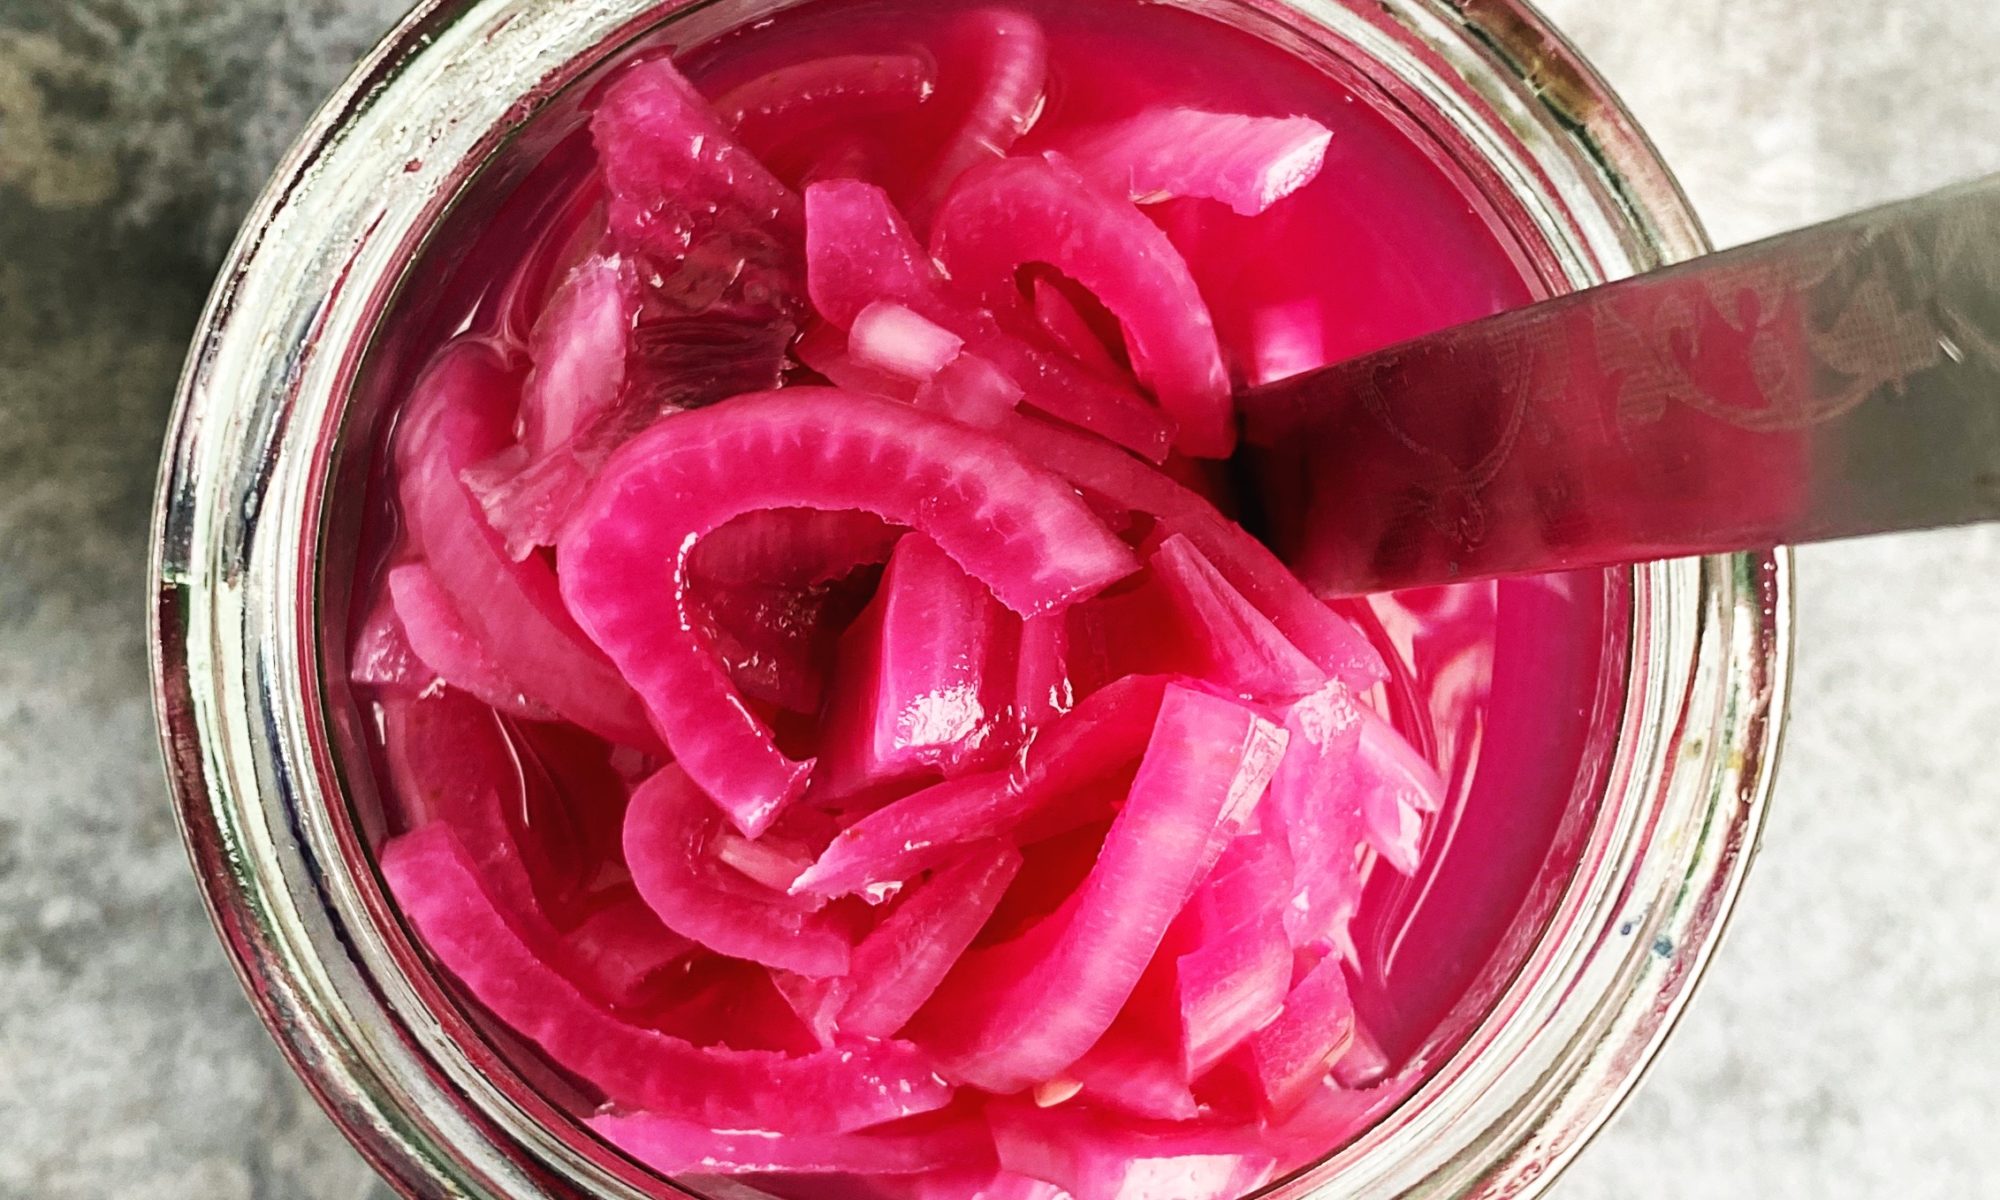
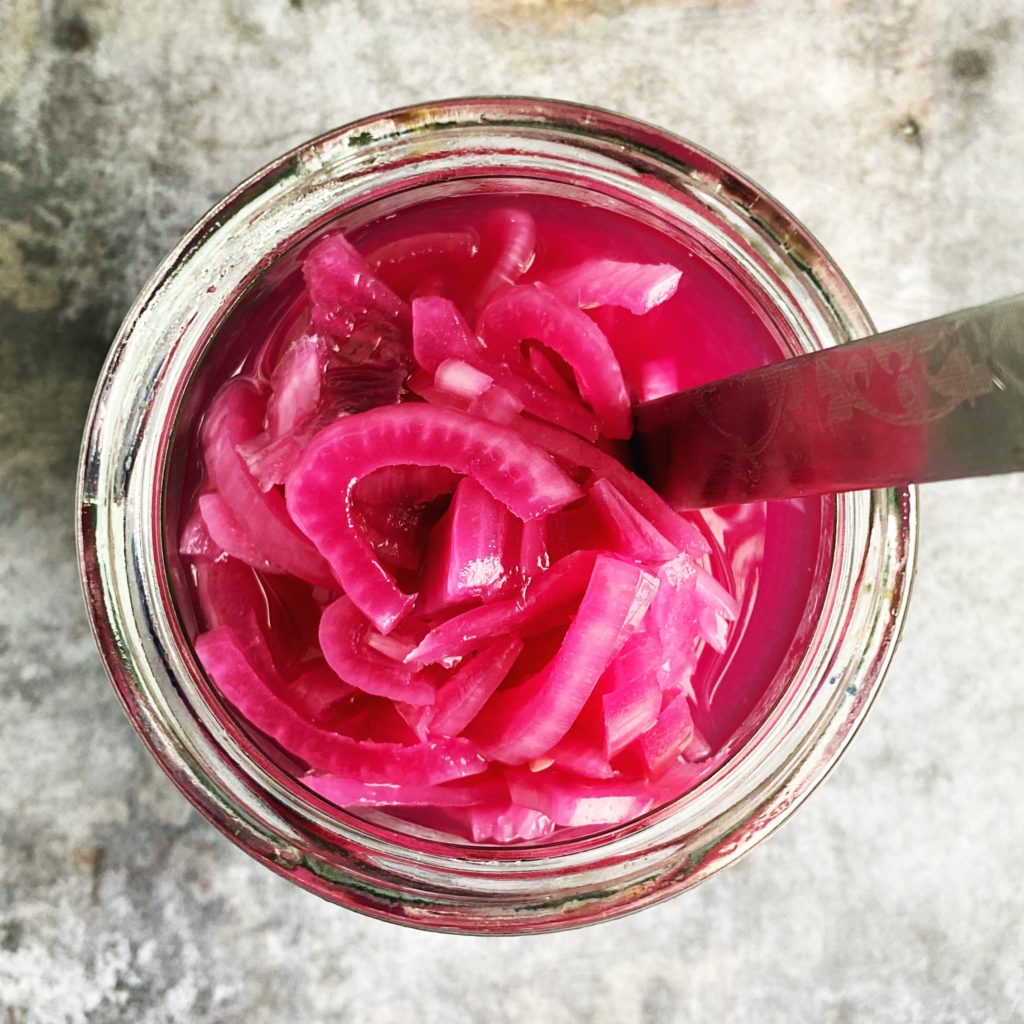
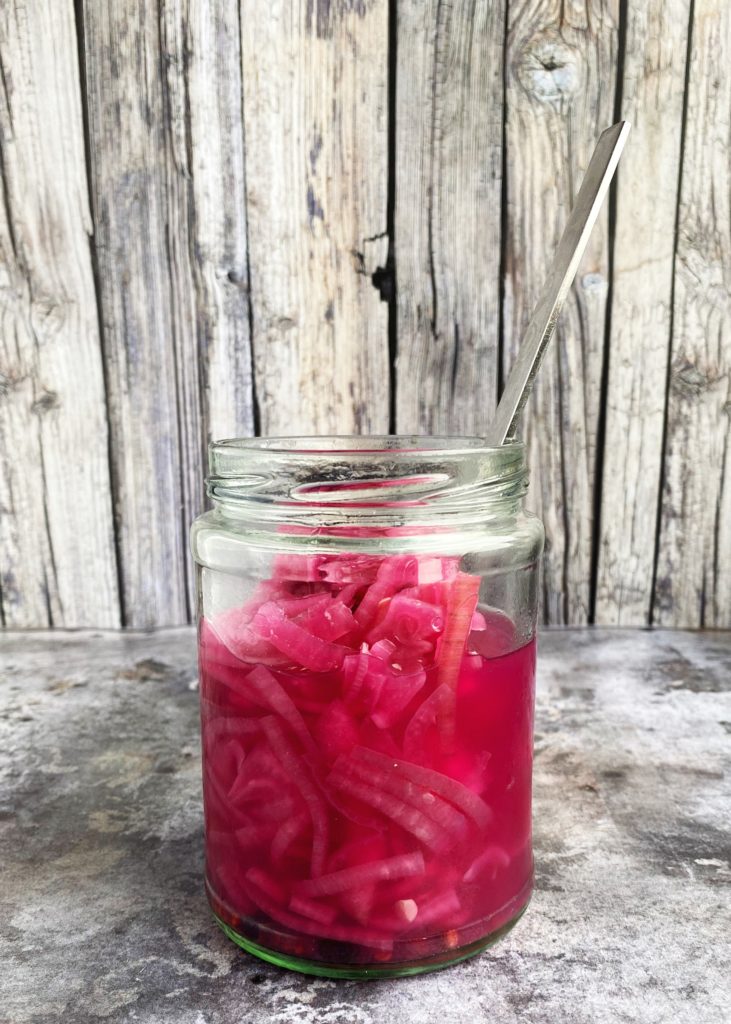
Fermented onions are pickled onions funky cousin. They are much easier to make than the traditional pickled onion and taste amazing. And as an added bonus, like all fermented vegetables, they are incredibly good for you! I use these beautiful, tangy onions on loads of dishes, from dals to tacos. How will you use yours? Liz x

A quick video tutorial for you.

Ingredients

  • onions (a mix of red and white or just one or the other)
  • natural salt
  • optional herbs/spices (eg bay leaf, peppercorns, coriander and mustard seeds, juniper berries, thyme, rosemary, chilli… anything you like)
  • a cabbage leaf (or something similar)

Method

Gather your ingredients and a clean jar, knife, measuring jug, measuring spoons and chopping board. There is no need to sterilise, but do make sure everything you are working with is nice and clean and well rinsed.

Make a basic brine in your measuring jug and put it aside to fully dissolve while you prepare the jar of vegetables. ***The basic brine recipe is 1.5 tbsp salt dissolved in 1 litre of water.*** If you are making just a small jar then halve or quarter the recipe.

Add a pinch of whatever pickling spices or herbs you’d like to flavour your pickled onions with to the jar.

Then peel and slice your onions and add them to the jar. Red onions, or a mix of red and white, will give you beautiful, bright pink fermented onions. Plain white are delicious too of course. Leave about an inch of head room in the jar.

Then pour the brine into the jar ensuring you cover the onions when they are pressed down, but still leave a little head space in the jar.

Pin the chopped onions down under the brine with the cabbage leaf. You may need to break it to size. Try and tuck it neatly under the shoulders of the jar so that everything is safely tucked under brine. Any floating bits of onion will be exposed to air and are at risk of going mouldy so tuck them under the cabbage leaf ‘follower’.

Add a weight on top of the cabbage leaf if it looks like it will float up over the brine. This needs to be something that is not corrosive when in contact with salt and water. Glass is ideal in this situation so a smaller jar or a glass ramekin is perfect. Otherwise you can buy specialist glass weights for this purpose.

Place the lid loosely on the jar to allow gases to escape during fermentation. If your lid does not fit over the weight, then cover the jar with a tea towel and secure it with string/elastic.

Put the jar in a bowl or on a tray on a shelf for one week to ferment at room temperature. It’s best not in direct sunlight as that would cause too many fluctuations in temperature.

Taste the onions after 1 week. They should taste vinegary and delicious, a lot like pickled onions. If you are happy with the flavour, remove the weight and follower and keep the jar in the fridge. Otherwise let it carry on fermenting at room temperature until you are happy with the flavour.

The onions should last for a long time in the fridge, at least a month but usually much much longer. Just keep an eye on them and no double dipping! Enjoy!
Hot Cross Buns

How is it the Easter holidays already? The kids have only just been back at school for a few moments! Well here we are and what is Easter without toasted sticky, spiced, fruity buns slathered in lots of butter? Here’s my plant based recipe. Sure it takes a while to make, but most of that time is just waiting for the dough to rise. These will keep you and the kids busy for a least one day over the Easter holidays anyway. Liz x

Ingredients (makes 12 buns)

  • 120g sultanas
  • 1 orange
  • 2 tsp mixed spice
  • 2 tsp cinnamon
  • 300ml milk (I use oat milk)
  • 50g butter (I use a dairy free butter)
  • 500g strong white bread flour (plus about 60g extra for making the paste for the crosses)
  • 70g caster sugar
  • 7g yeast
  • 1/2 tsp salt
  • 2 tbsp brown sugar mixed into a syrup with a little water (or maple syrup) for glazing

Method

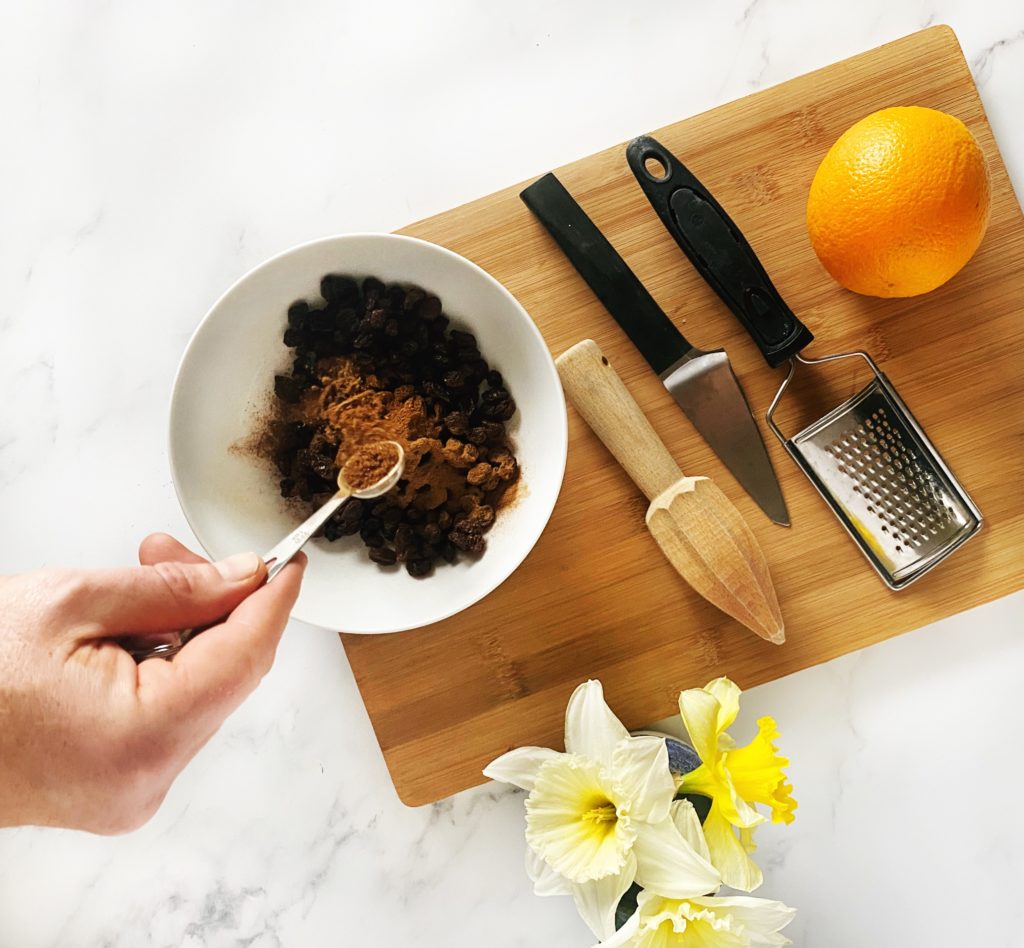
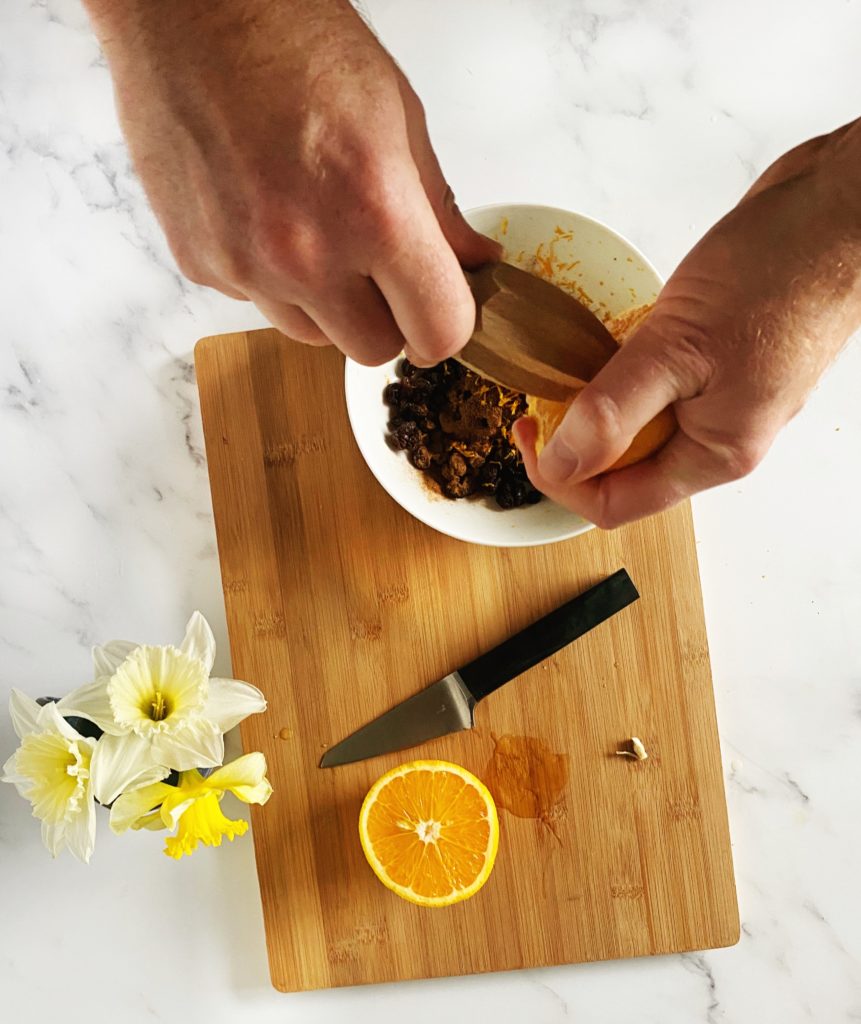
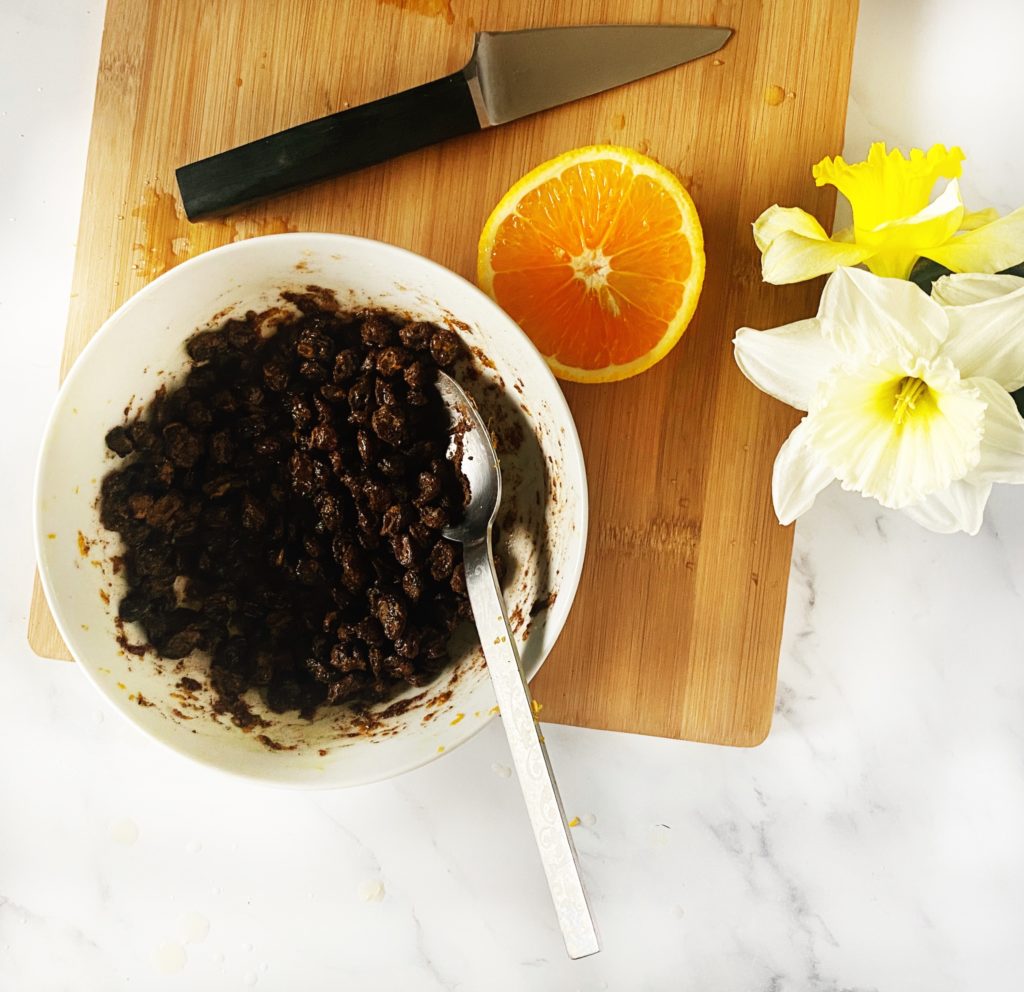
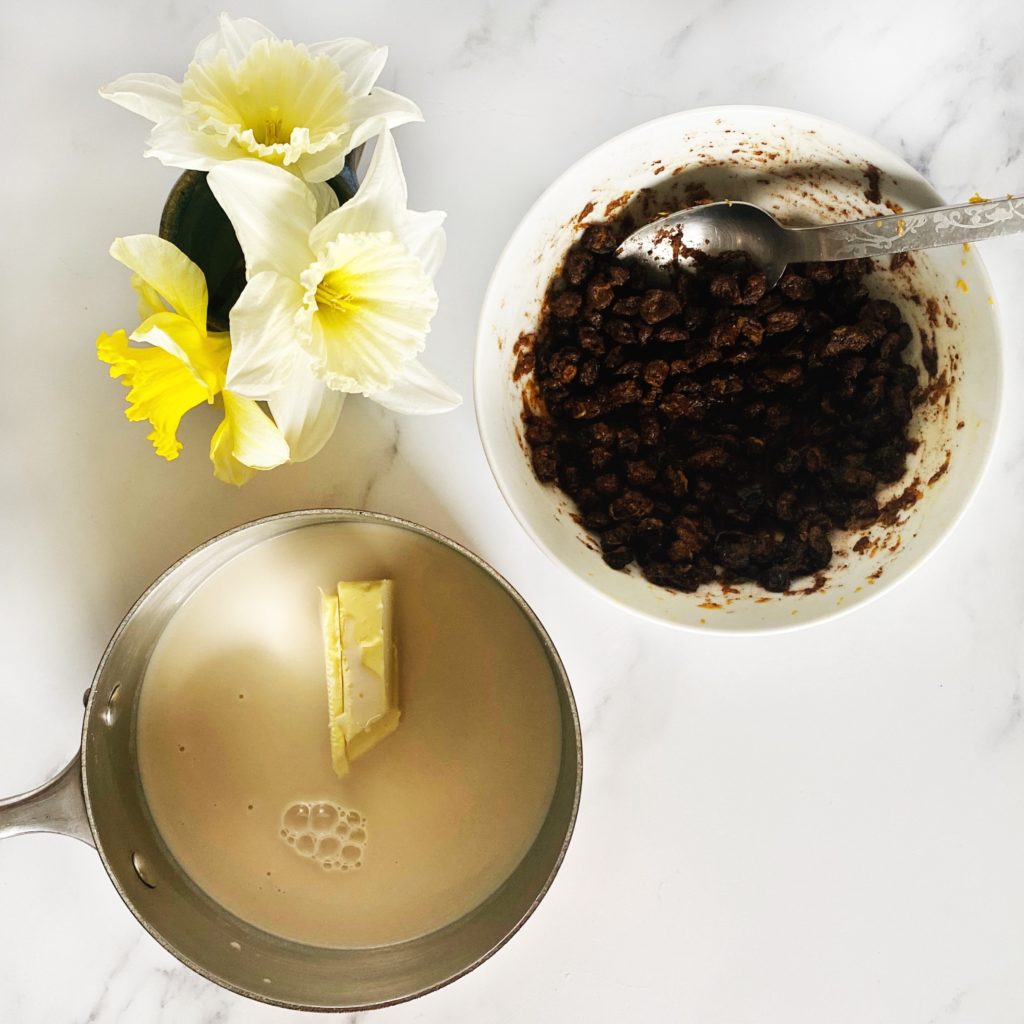
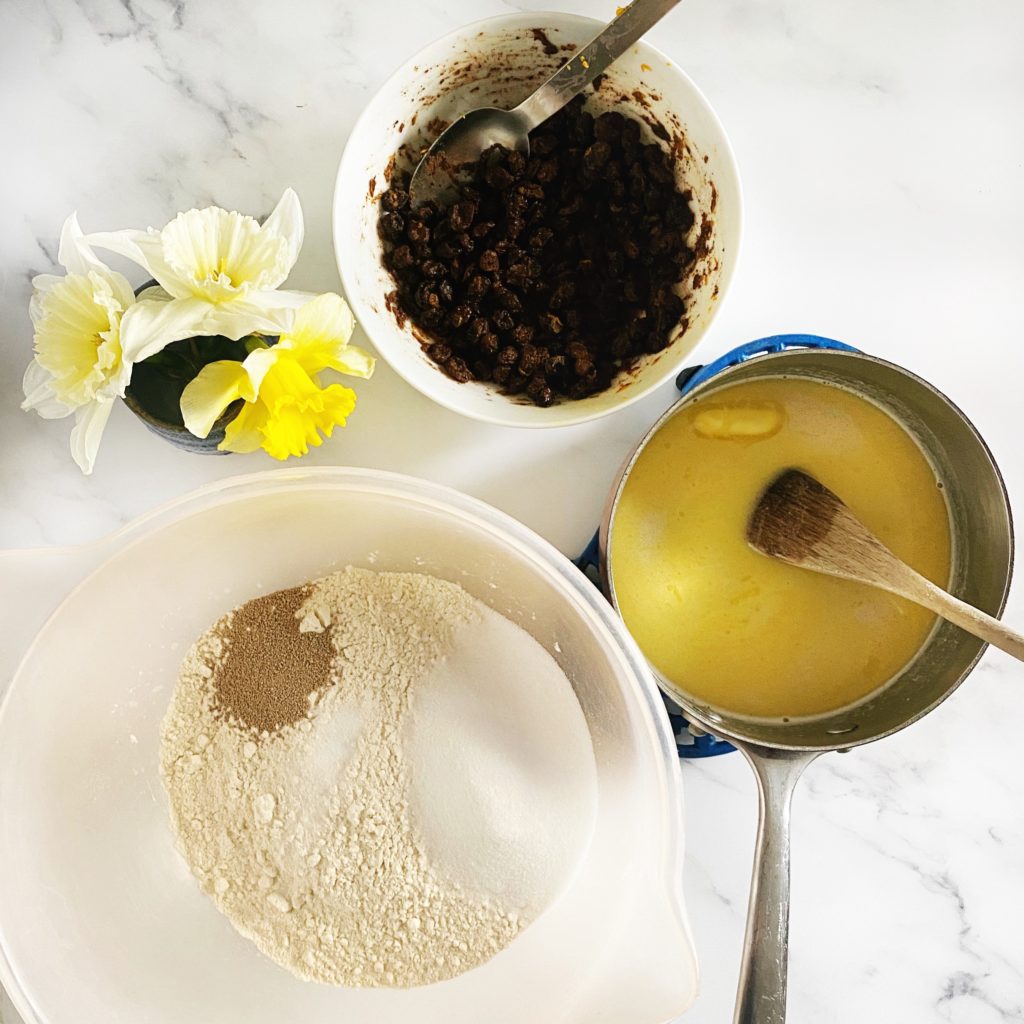
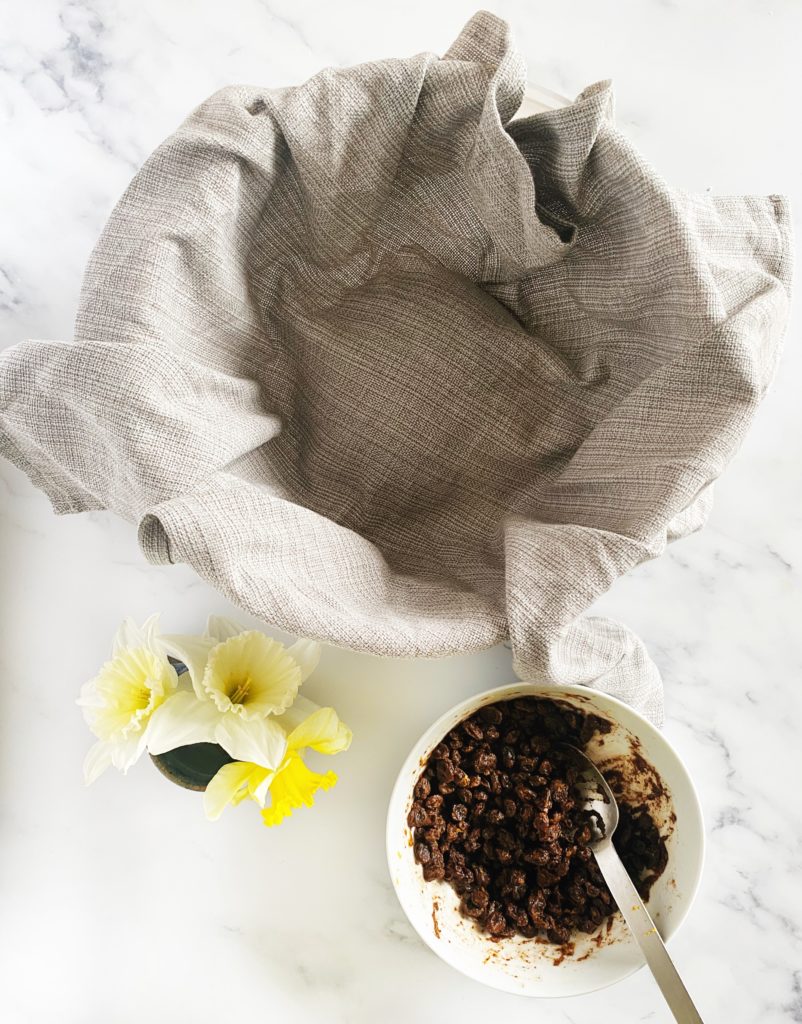
Measure out the sultanas and spices into a small bowl. Add the zest and juice of the orange. If your orange is very large, just use half the juice. Mix well and allow the sultanas to soak up the orange juice and spices.

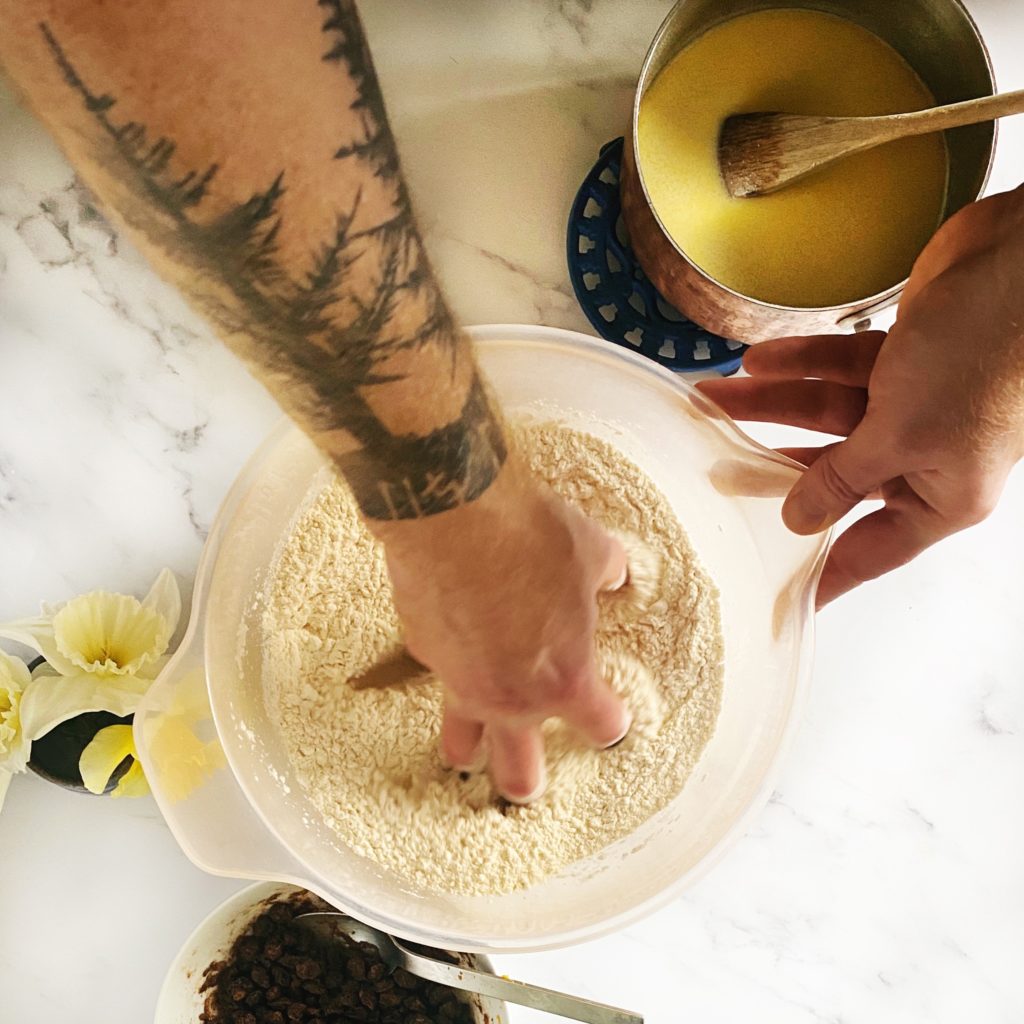
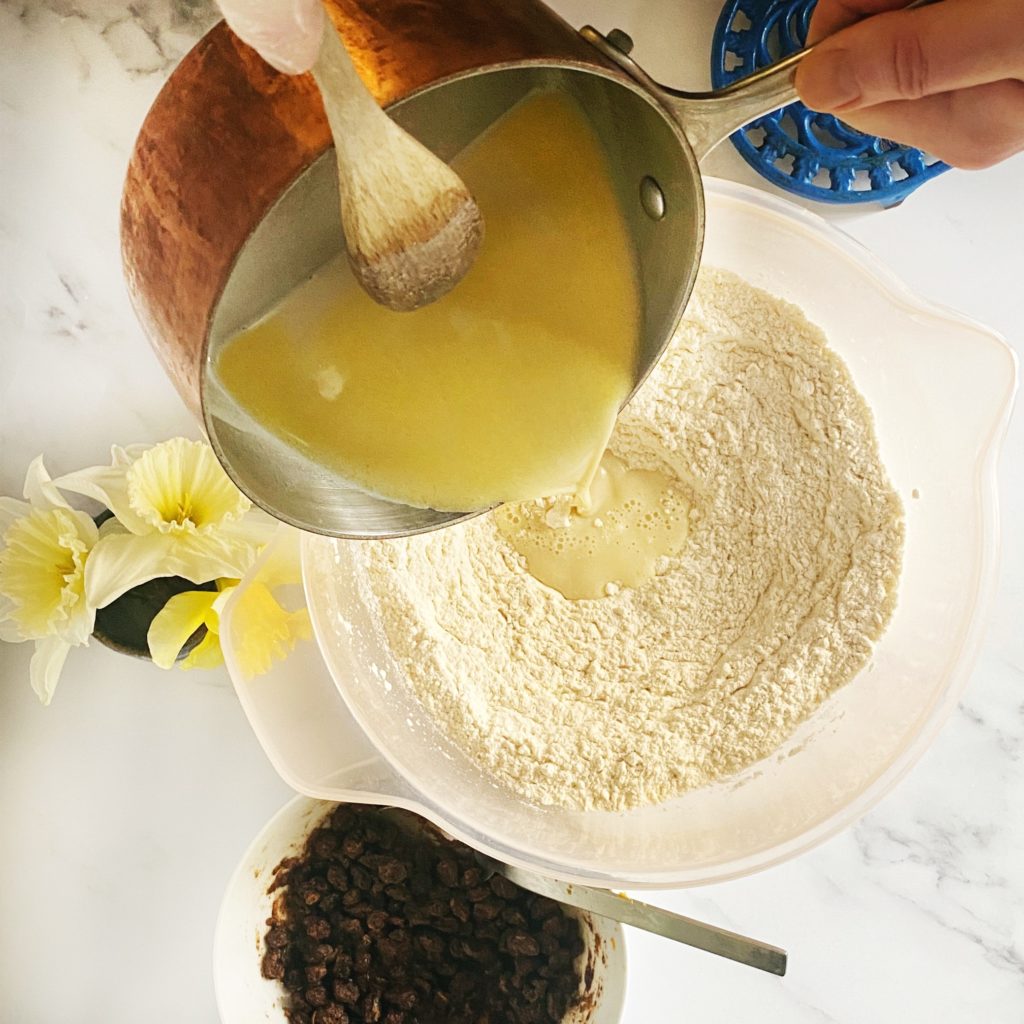
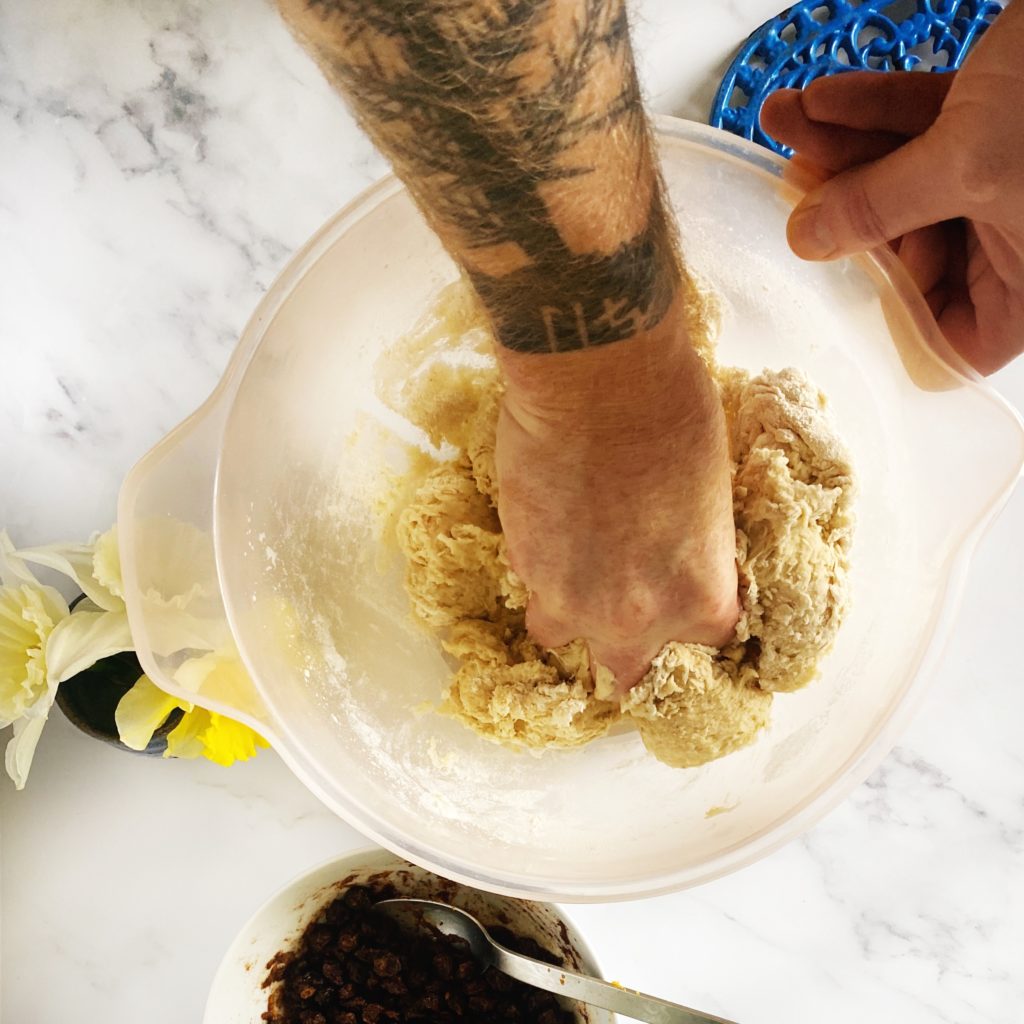
Measure the milk and butter into a small pan and gently heat it to melt the butter. Allow it to cool to a touchable temperature while you measure out the flour, sugar, salt and yeast into a large mixing bowl. Mix the dry ingredients well then pour in the warm milk and butter and mix with your hand into a rough, sticky dough.

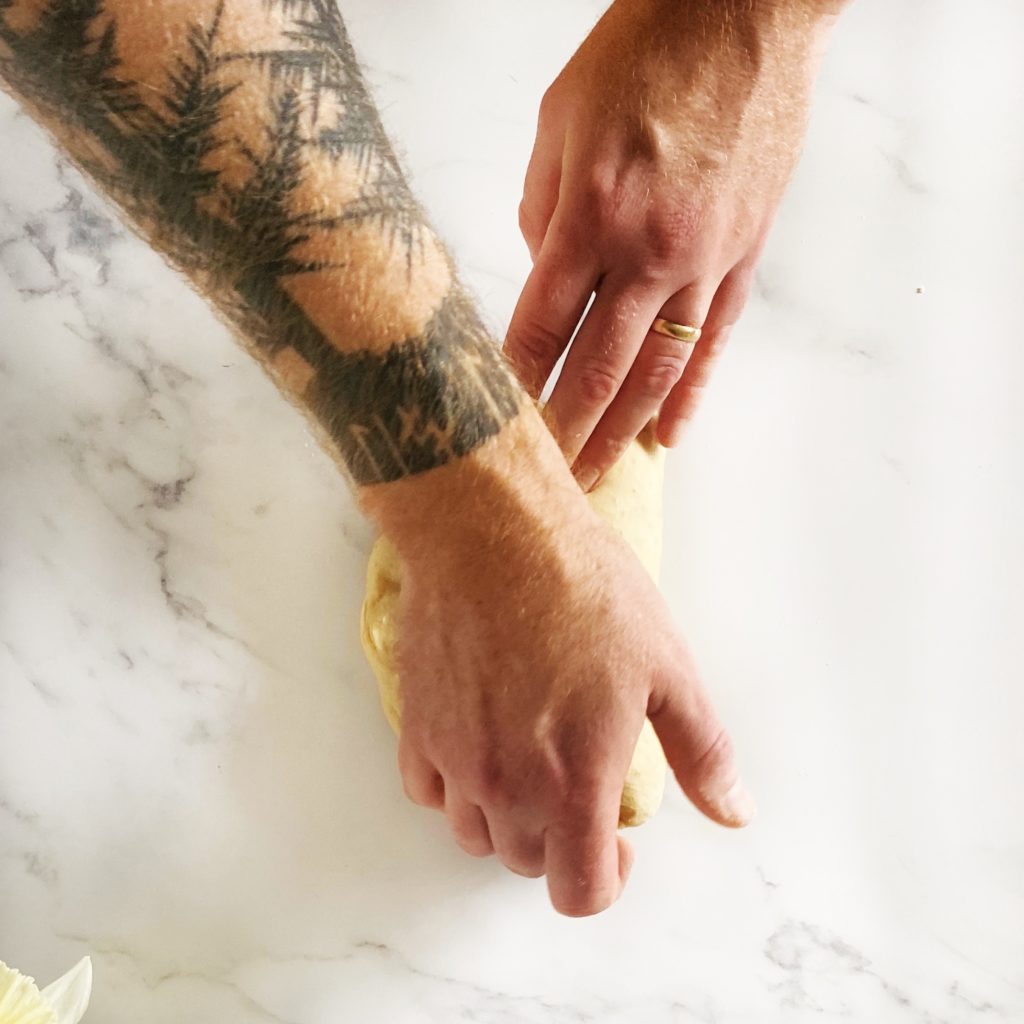
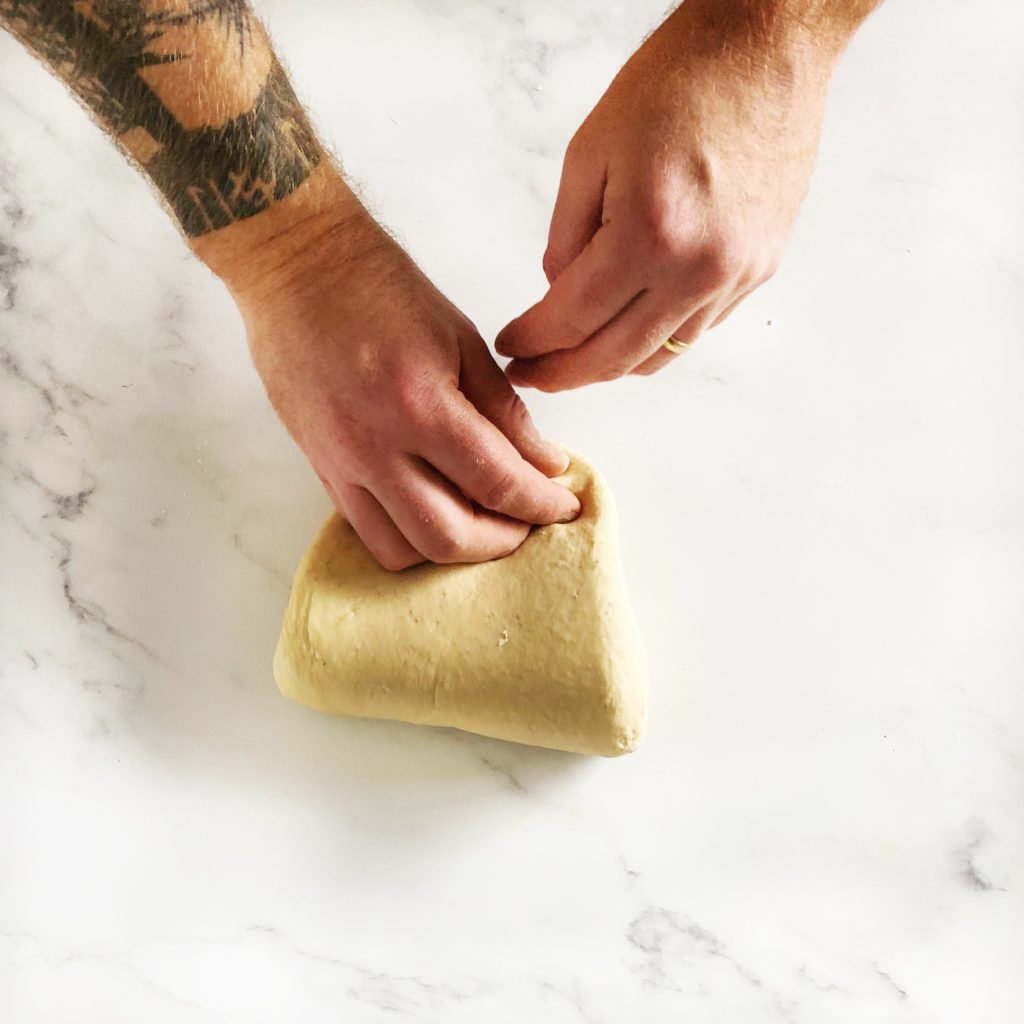
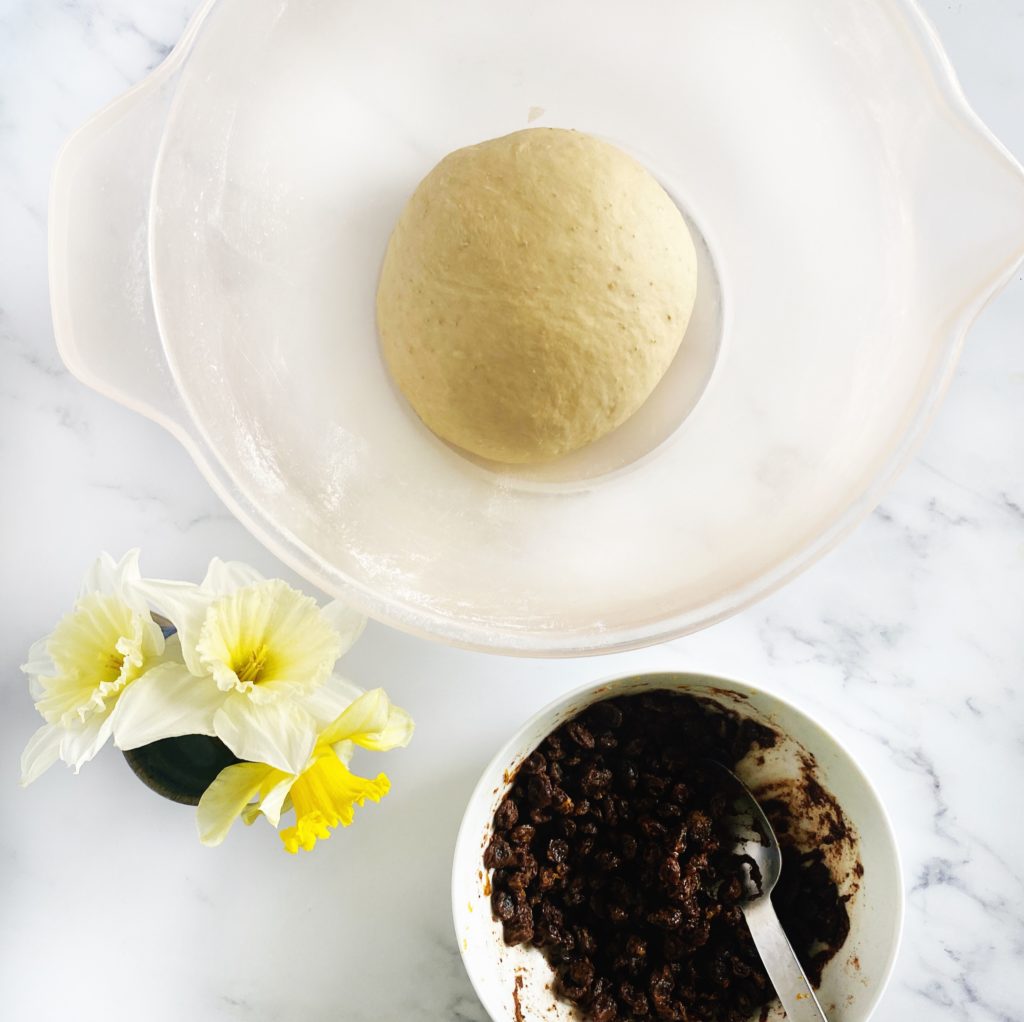
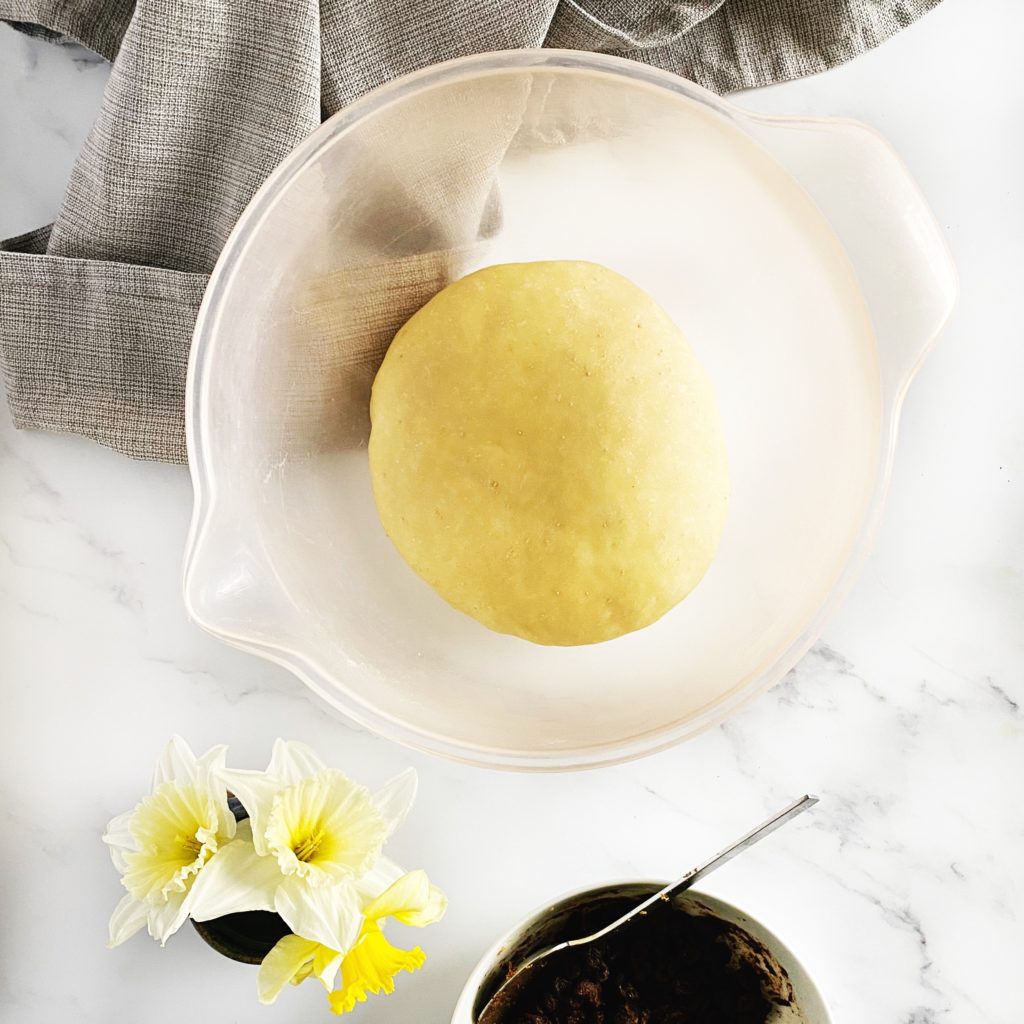
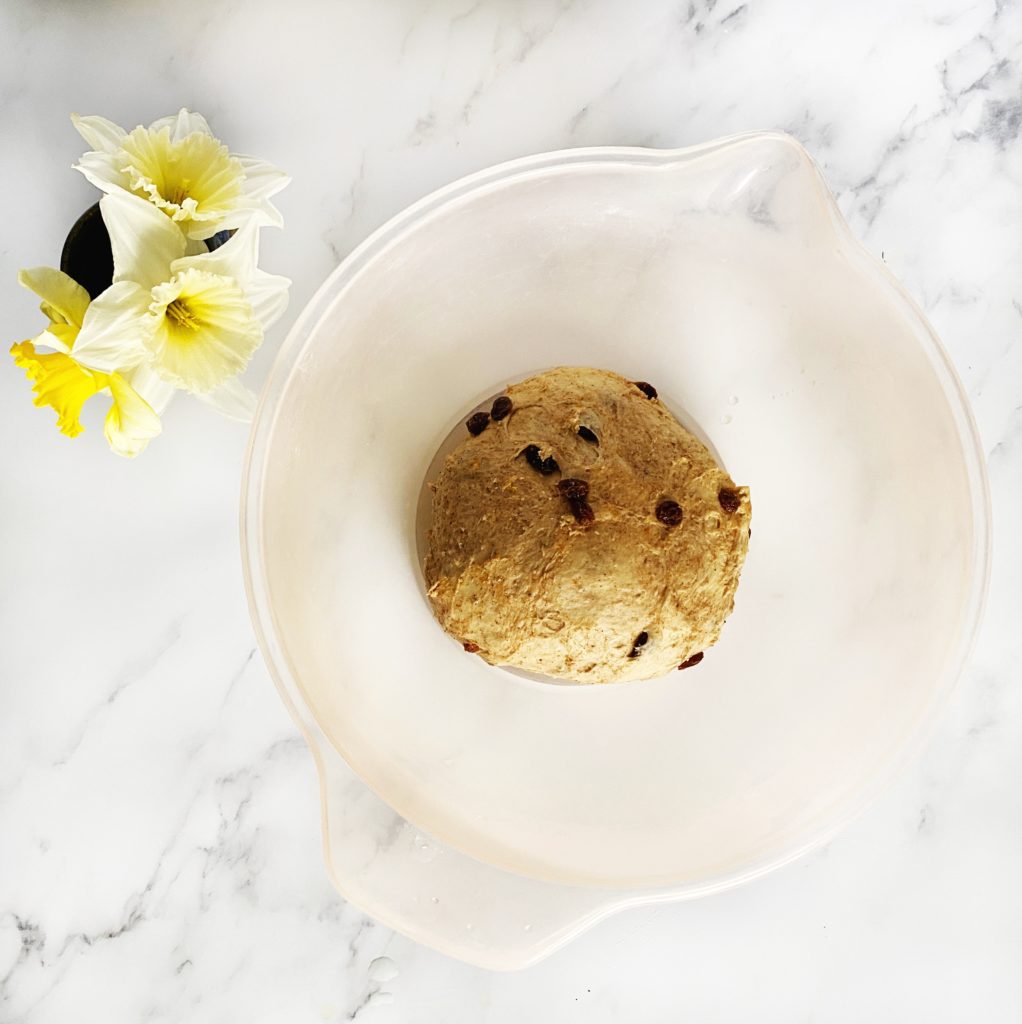
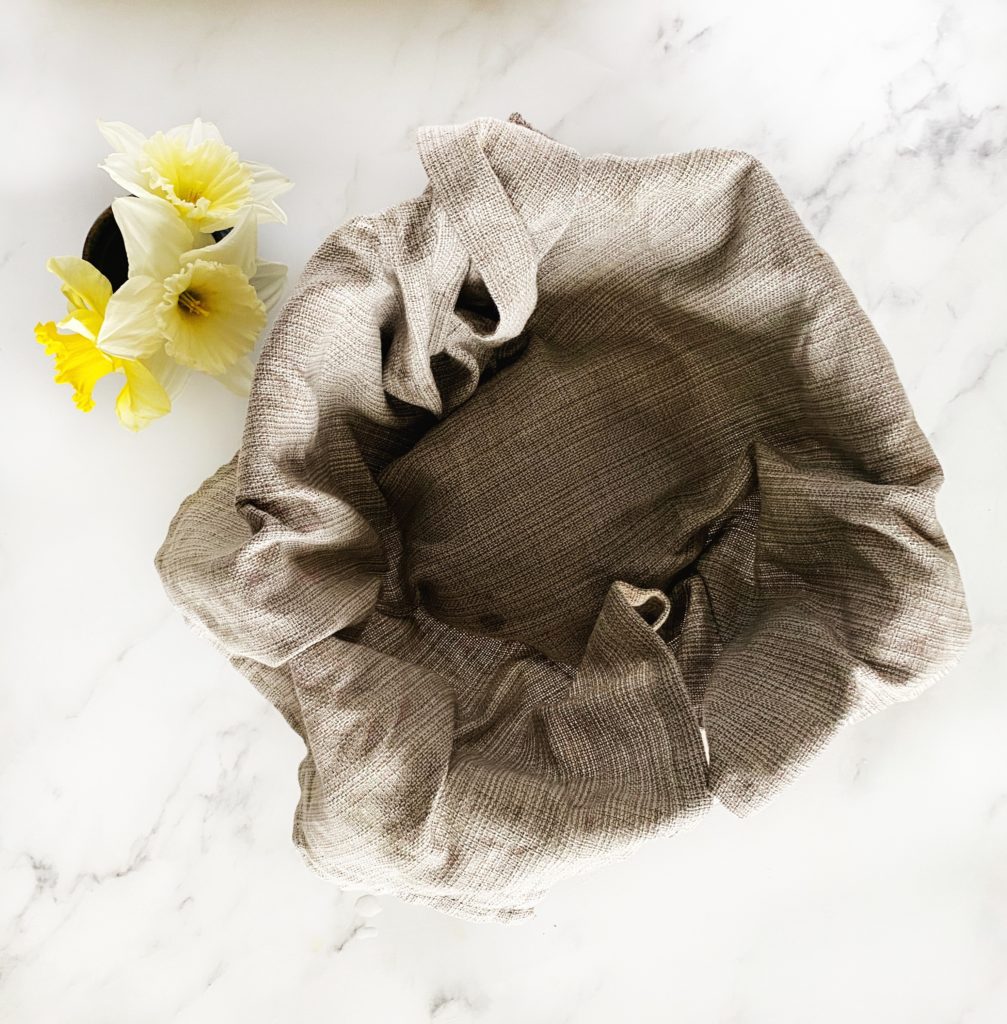
Tip the dough onto a clean work surface then knead well for about 5 minutes until you have a smooth, stretchy ball of dough. Don’t be tempted to add more flour, just keep kneading until it all comes together. Then pop the dough back in the mixing bowl, cover it with a clean tea towel and allow it to rise and double in size. This should take about an hour in a warm place.

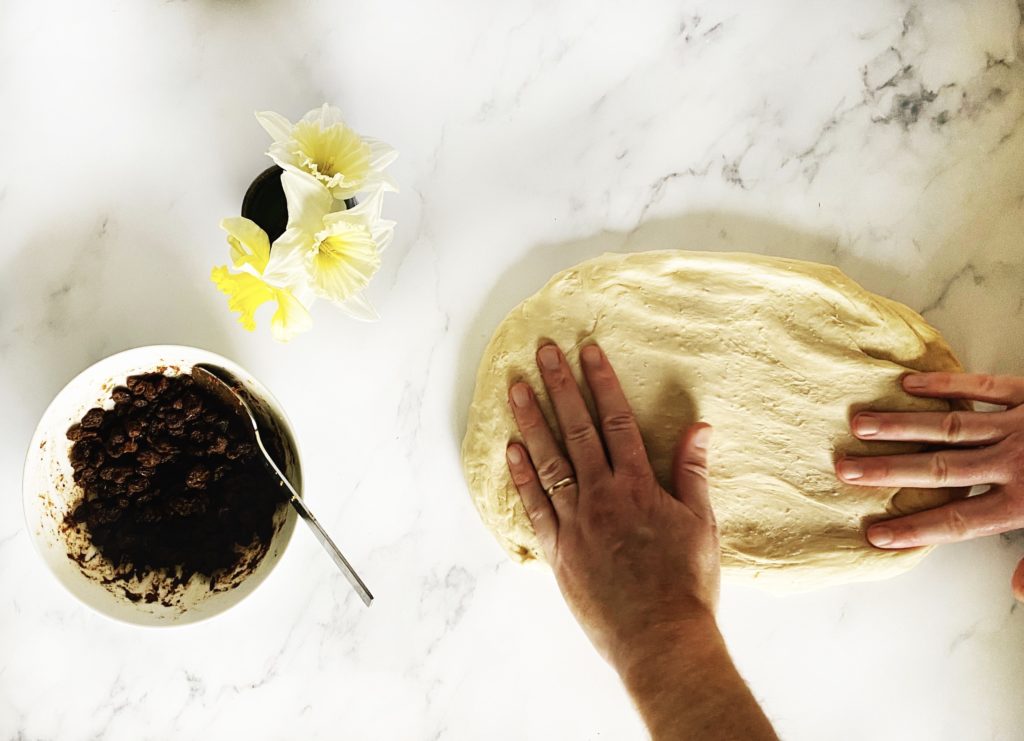
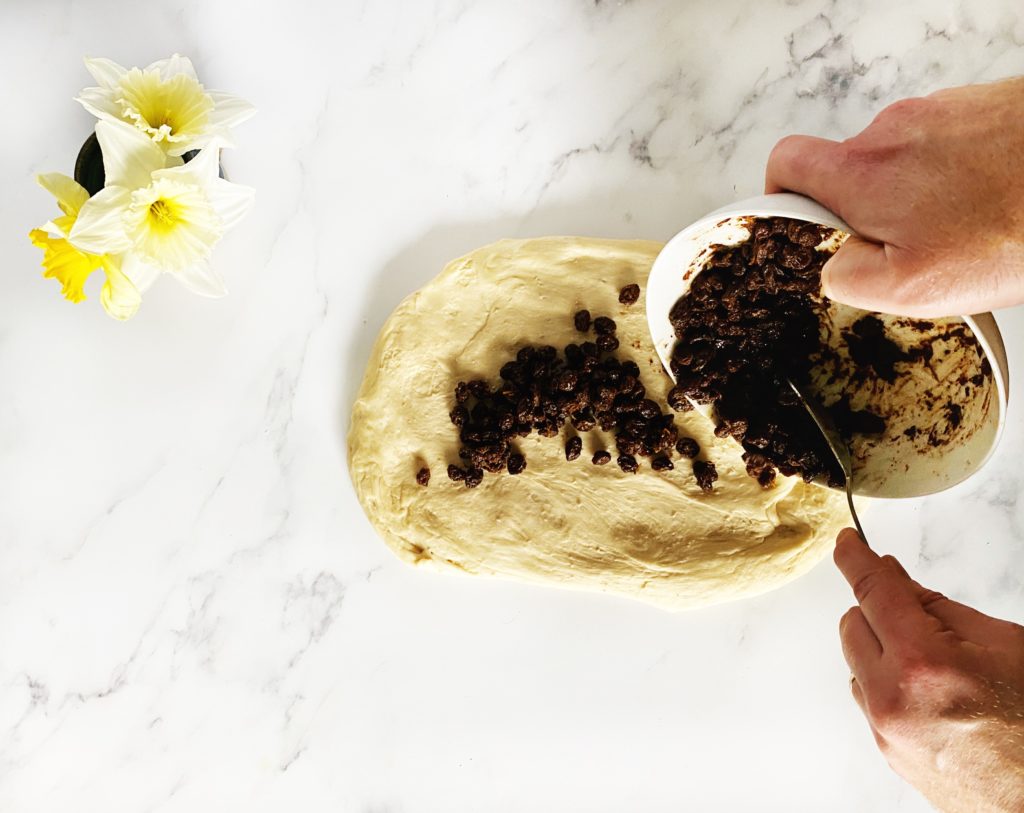
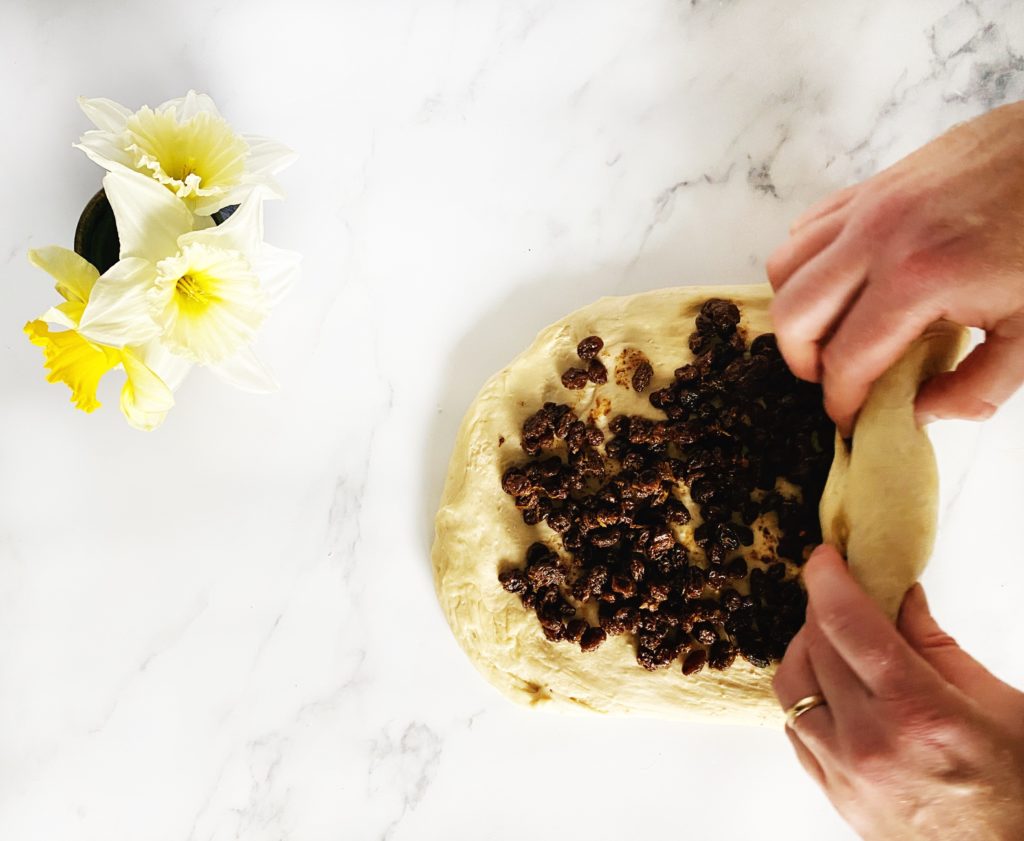
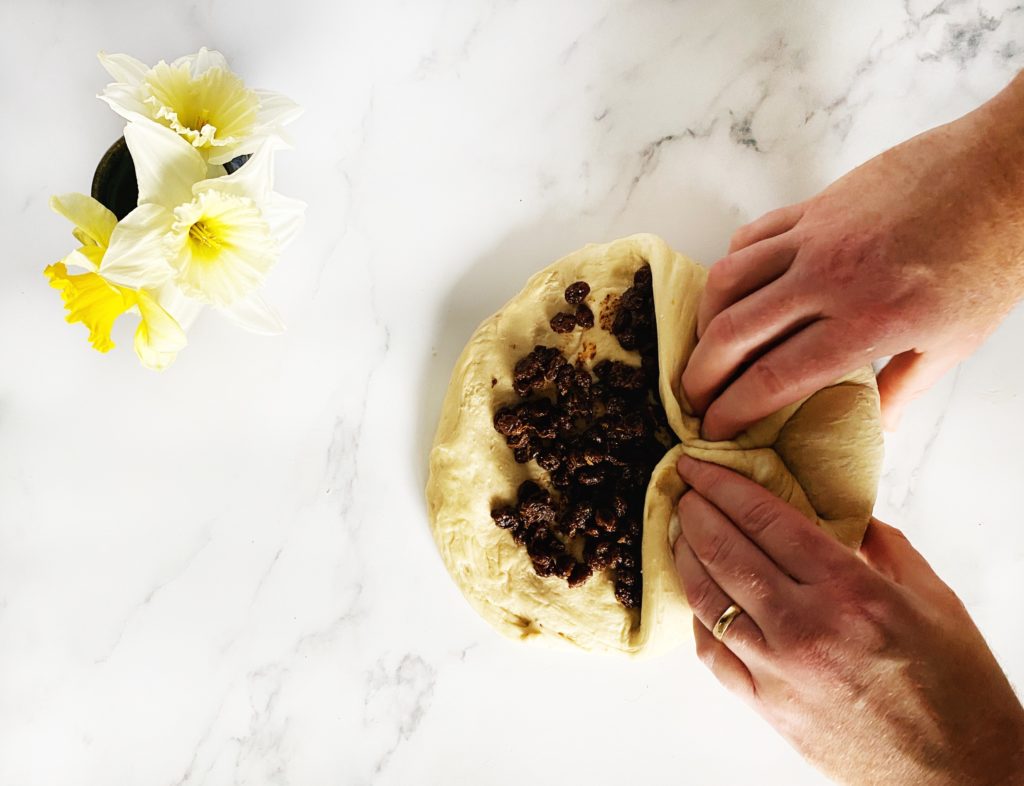
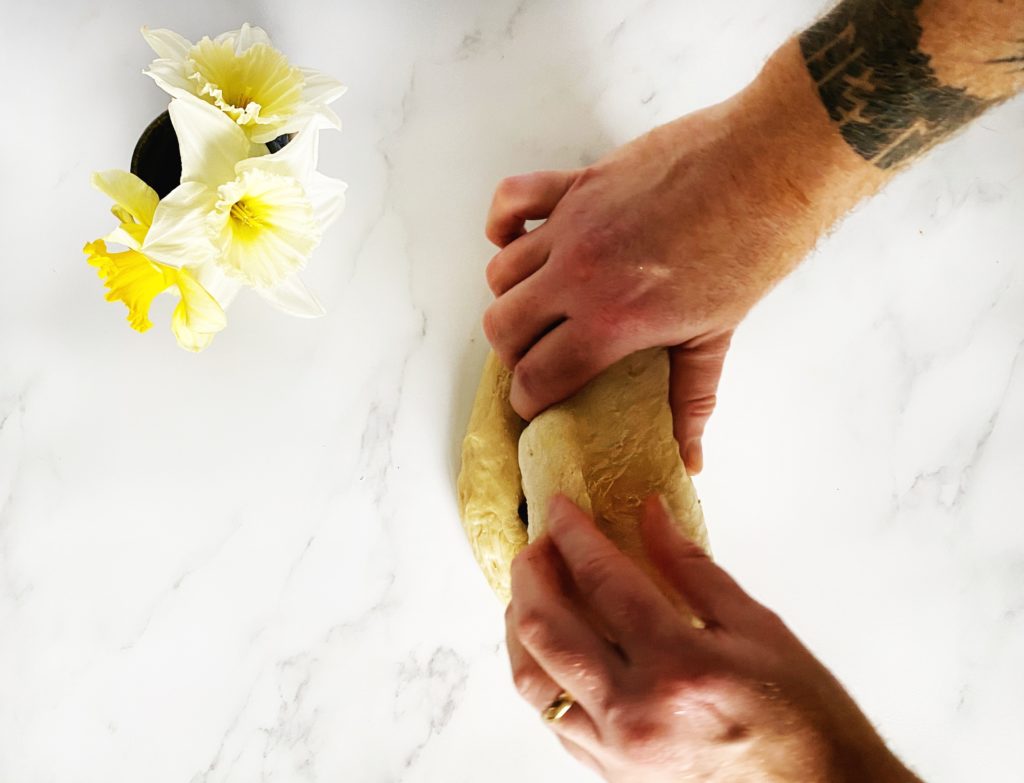
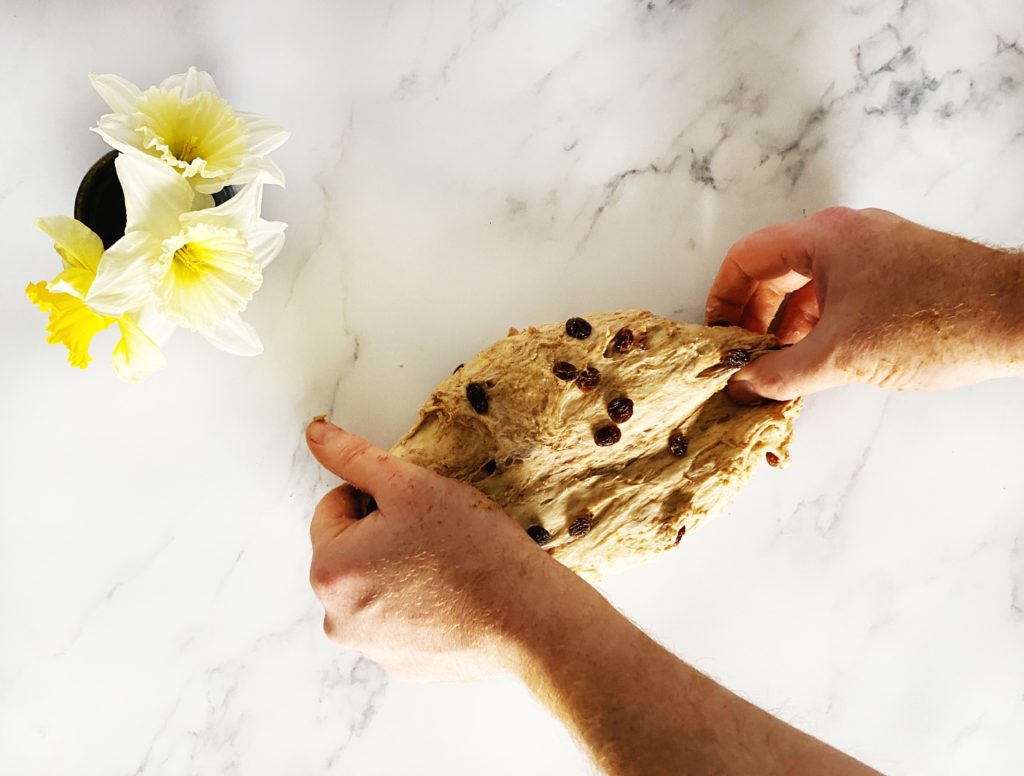
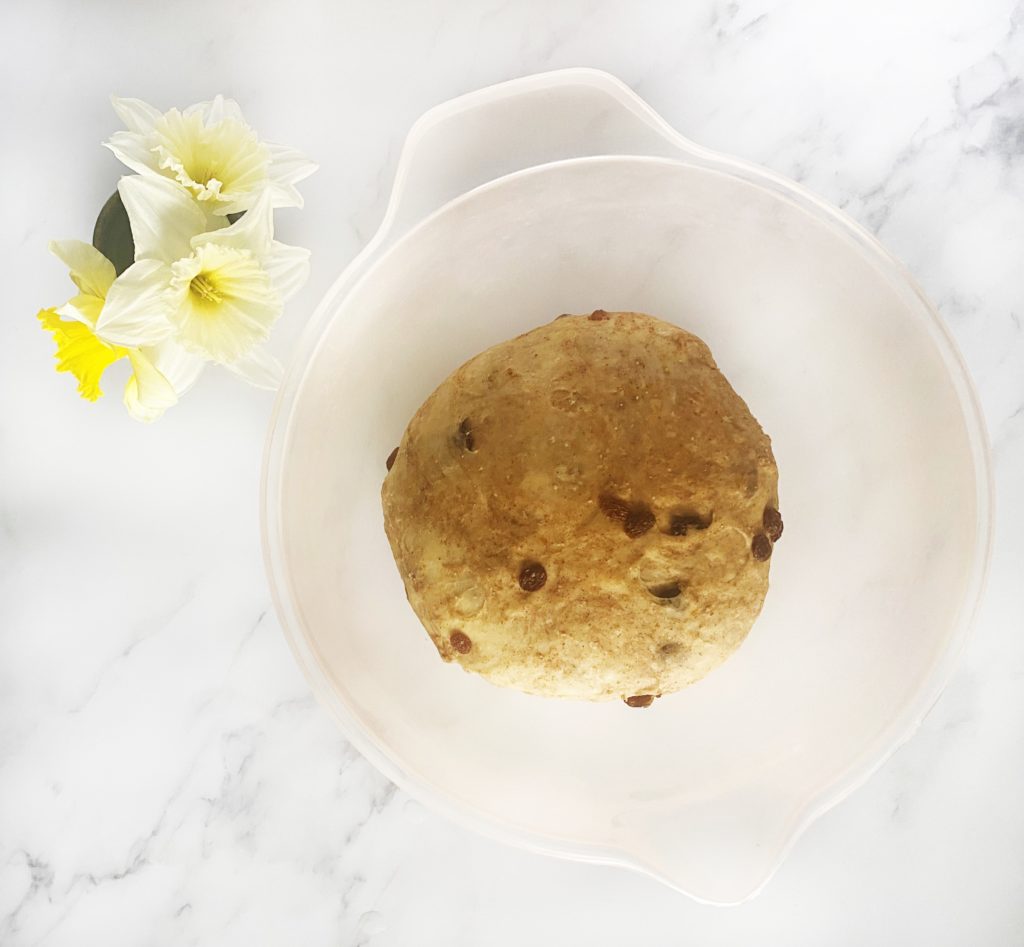
When the dough has doubled in size, stretch it out onto a clean work surface and spread over all of the juicy, spicy sultana mixture. Then roll it up and give the dough an extra knead to incorporate the ingredients. Put the dough back in the bowl to rise again for another hour or so in a warm spot.

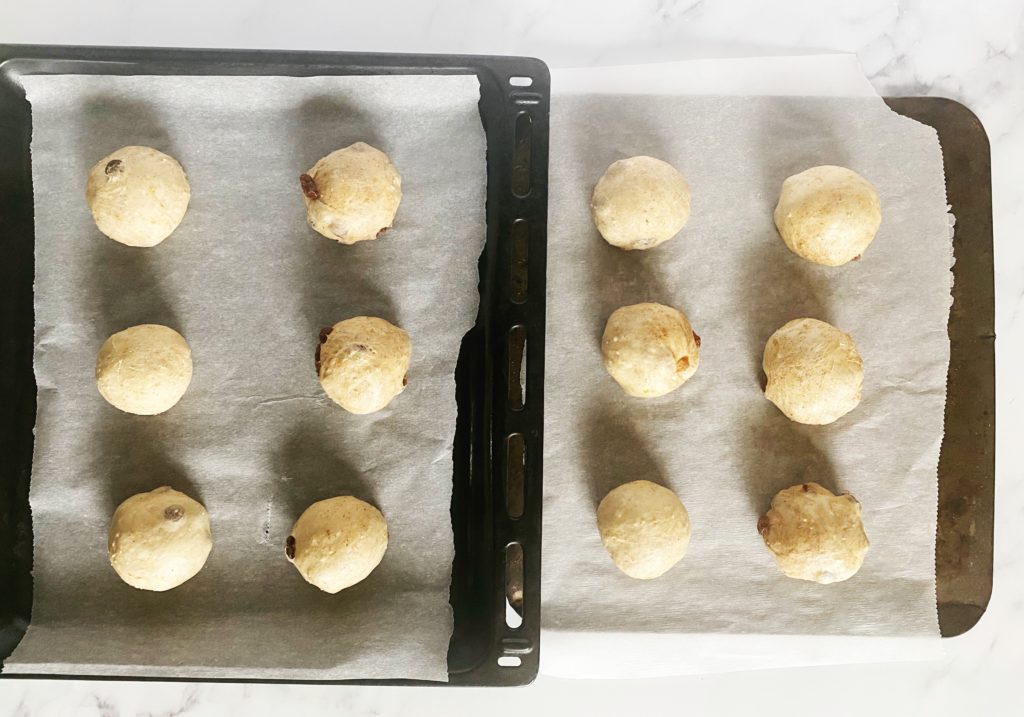
Once the dough has doubled in size again, take it out and divide it in 12 equal pieces. Roll the pieces into neat balls and put them on a lined baking sheets. I space mine out onto two sheets because my oven doesn’t bake evenly so I like to give them room for the hot air to circulate. If your oven is good you can place them together on one large baking sheet, just leave a couple of cm between each one to allow them space to rise. Cover them with the tea towel and allow them to rise for about 45 minutes.

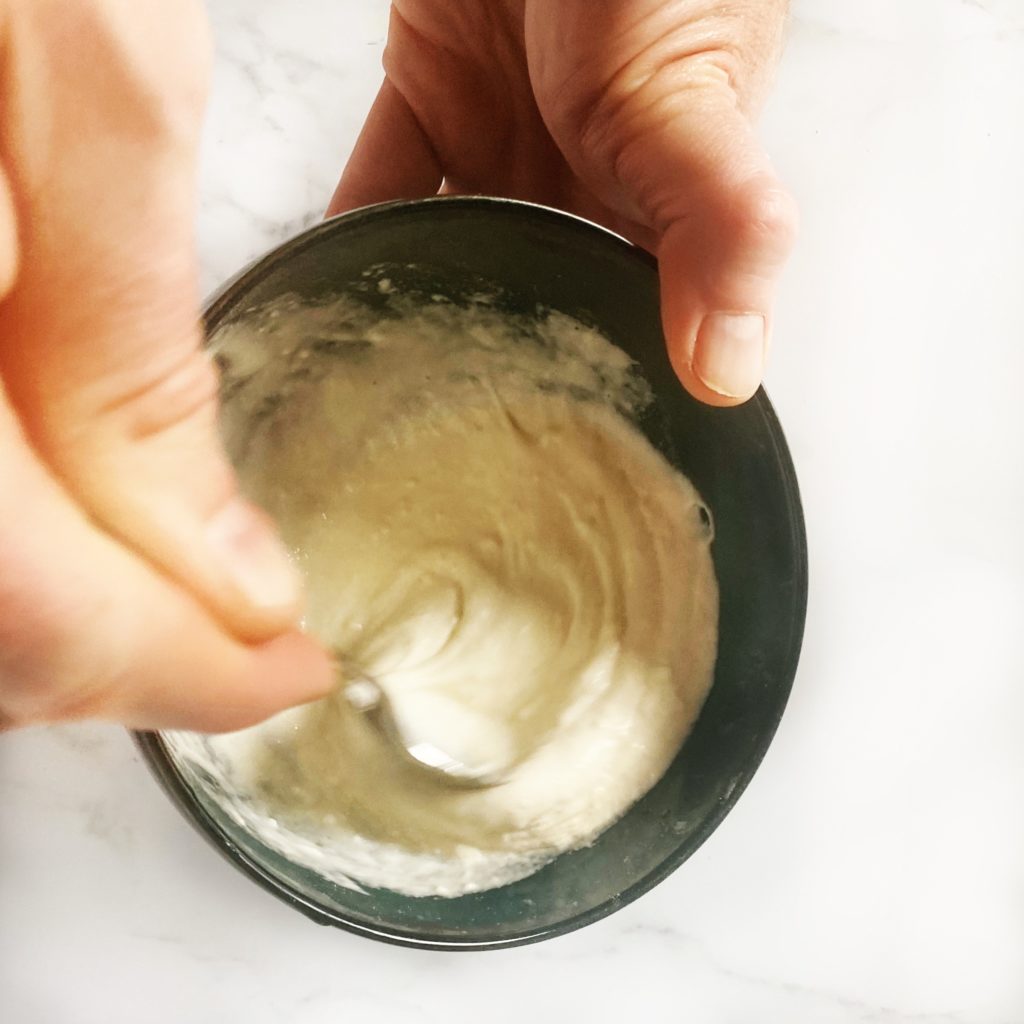
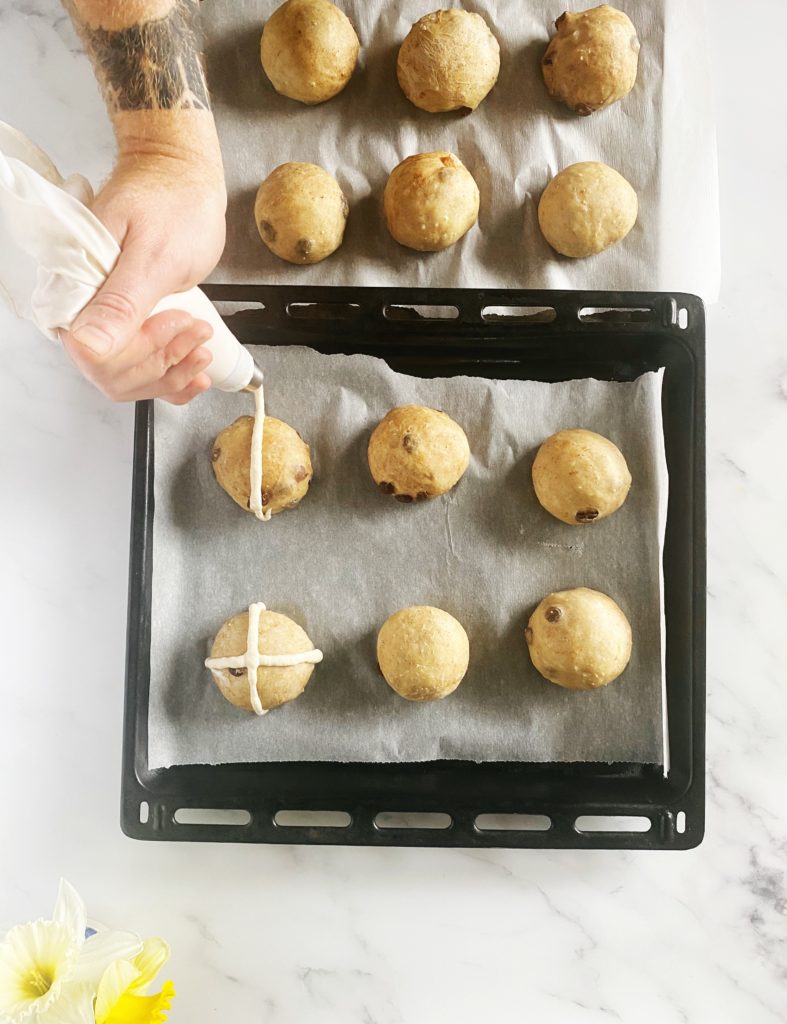
Once the buns have risen, mix about 60g of flour with just enough water to make a paste (aim for the texture of toothpaste). Then spoon the paste into a piping bag and pipe crosses over the buns. You could do other designs too if you like? Signs of spring like eggs, flowers, bunnies or lambs… Then put the buns into a preheated oven at 200C (fan) for 15 to 20 minutes until the buns are golden brown.

*If the buns are looking a bit dry, spray them with a little water just before they go in the oven. Most of the rise will happen in the oven now so you don’t want them to form a crust before having a chance to rise and get fluffy inside.

When the buns are cooked, removed them from the oven and brush them with syrup while they are still hot. I simply mix a couple of tbsps of brown sugar with enough boiling water to make a syrup. You could use maple syrup or warmed, sieved apricot jam instead. Then allow them to cool before eating. They are fantastic still warm and fresh from the oven or if you are eating them the next day they are great toasted. Happy Easter!

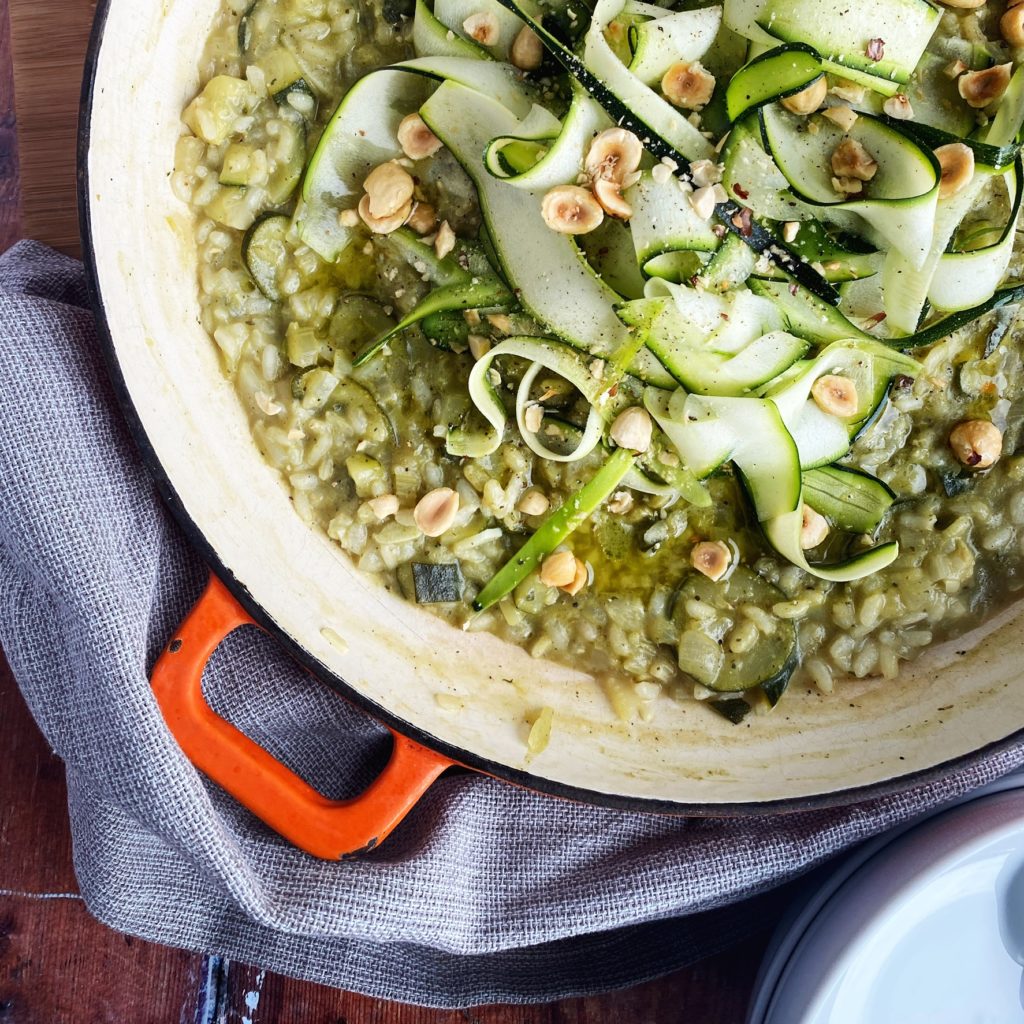
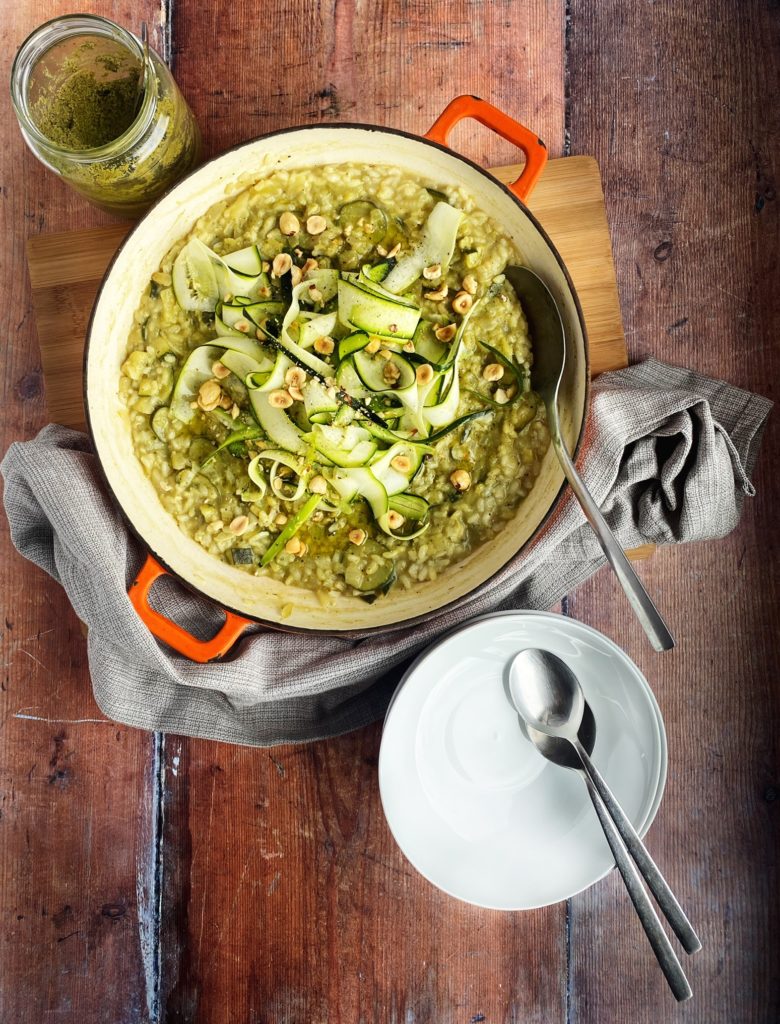
Courgette Risotto

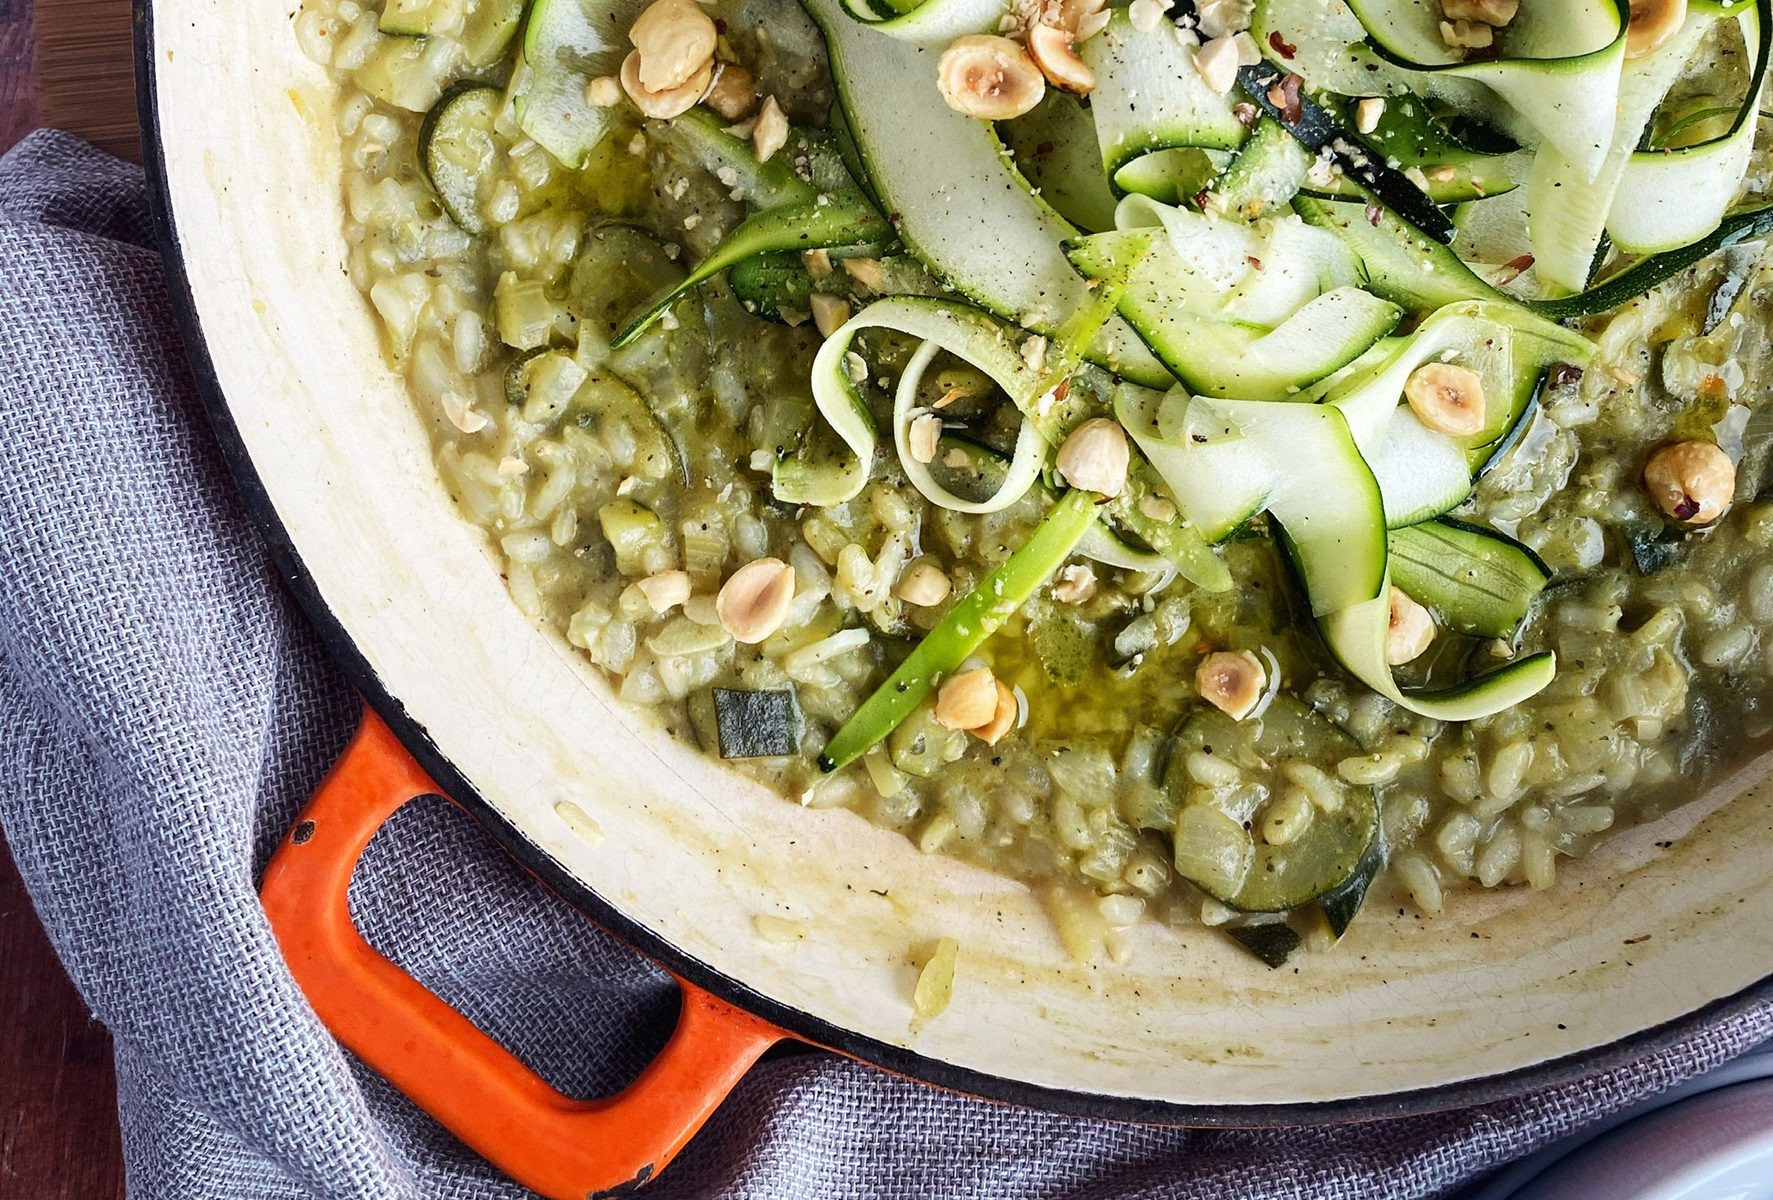
To me a risotto should elevate a single vegetable. It should celebrate it. Add too many ingredients to your risotto and the flavours will mingle and become indistinguishable in the long simmer. Courgettes are incredibly versatile. Fantastic cooked down low and slow into a silky mush, griddled and seared, battered and deep fried, raw… So for interest and texture in this dish I’ve cut each courgette differently. One diced and simmered with the onions into a meltingly soft sauce, one sliced into rounds for texture and body in the risotto and the last one peeled into raw ribbons to go on top. Serve with a swirl of pesto (try my salad bag pesto here), a drizzle of good olive oil and some toasted hazelnuts. Heaven.

Leave a comment if you tried this recipe or show us your photos on Instagram or our Facebook group. We love seeing your amazing recreations. Liz x


Ingredients (serves 4)

  • 1 onion
  • 1 tbsp butter and 1 tbsp olive oil
  • 2 sticks of celery
  • 4 cloves of garlic
  • 3 courgettes
  • 1 mug of risotto rice (or however much you like to serve 4)
  • 1 lemon
  • 1 stock cube
  • salt and pepper to taste
  • 3 tbsp (or more to taste) pesto
  • extra virgin olive oil to serve
  • toasted, chopped hazelnuts to serve

Method

Dice the onion and put it in a wide pan with the butter and oil over a medium high heat. Add a pinch of salt and sauté and soften for around 6 minutes.

Dice the celery sticks, garlic and one of the courgettes and add them to the pan to soften too. Cook, stirring often until soft and golden. Around 10 minutes.

Rinse and add the risotto rice to the pan with the zest and juice of the lemon (or a glass of white wine). Crumble in the stock cube and add a generous grind of black pepper. Stir well to coat the rice in the seasoning then add a mug of warm water.

Slice the second courgette into rounds and add it to the pan. Simmer and stir until all the water has been absorbed then add another mug of water. Keep simmering and stirring.

Meanwhile use a vegetable peeler to slice as many ribbons from the third courgette. Chop up the middle bit and add it to the pan. Keep simmering and stirring and add another mug of water. Taste and adjust the seasoning with more salt, pepper or lemon once the rice started to swell up and become softer.

Once the risotto is cooked (the rice should be soft and creamy but still with a little bite) turn off the heat. Stir through a few tbsp of pesto, pile on the raw courgette ribbons, drizzle everything with extra virgin olive oil and scatter over the toasted hazelnuts.

Take the pan to the table and serve with the jar of pesto handy to add extra swirls through the bowls of anyone who wishes for more.

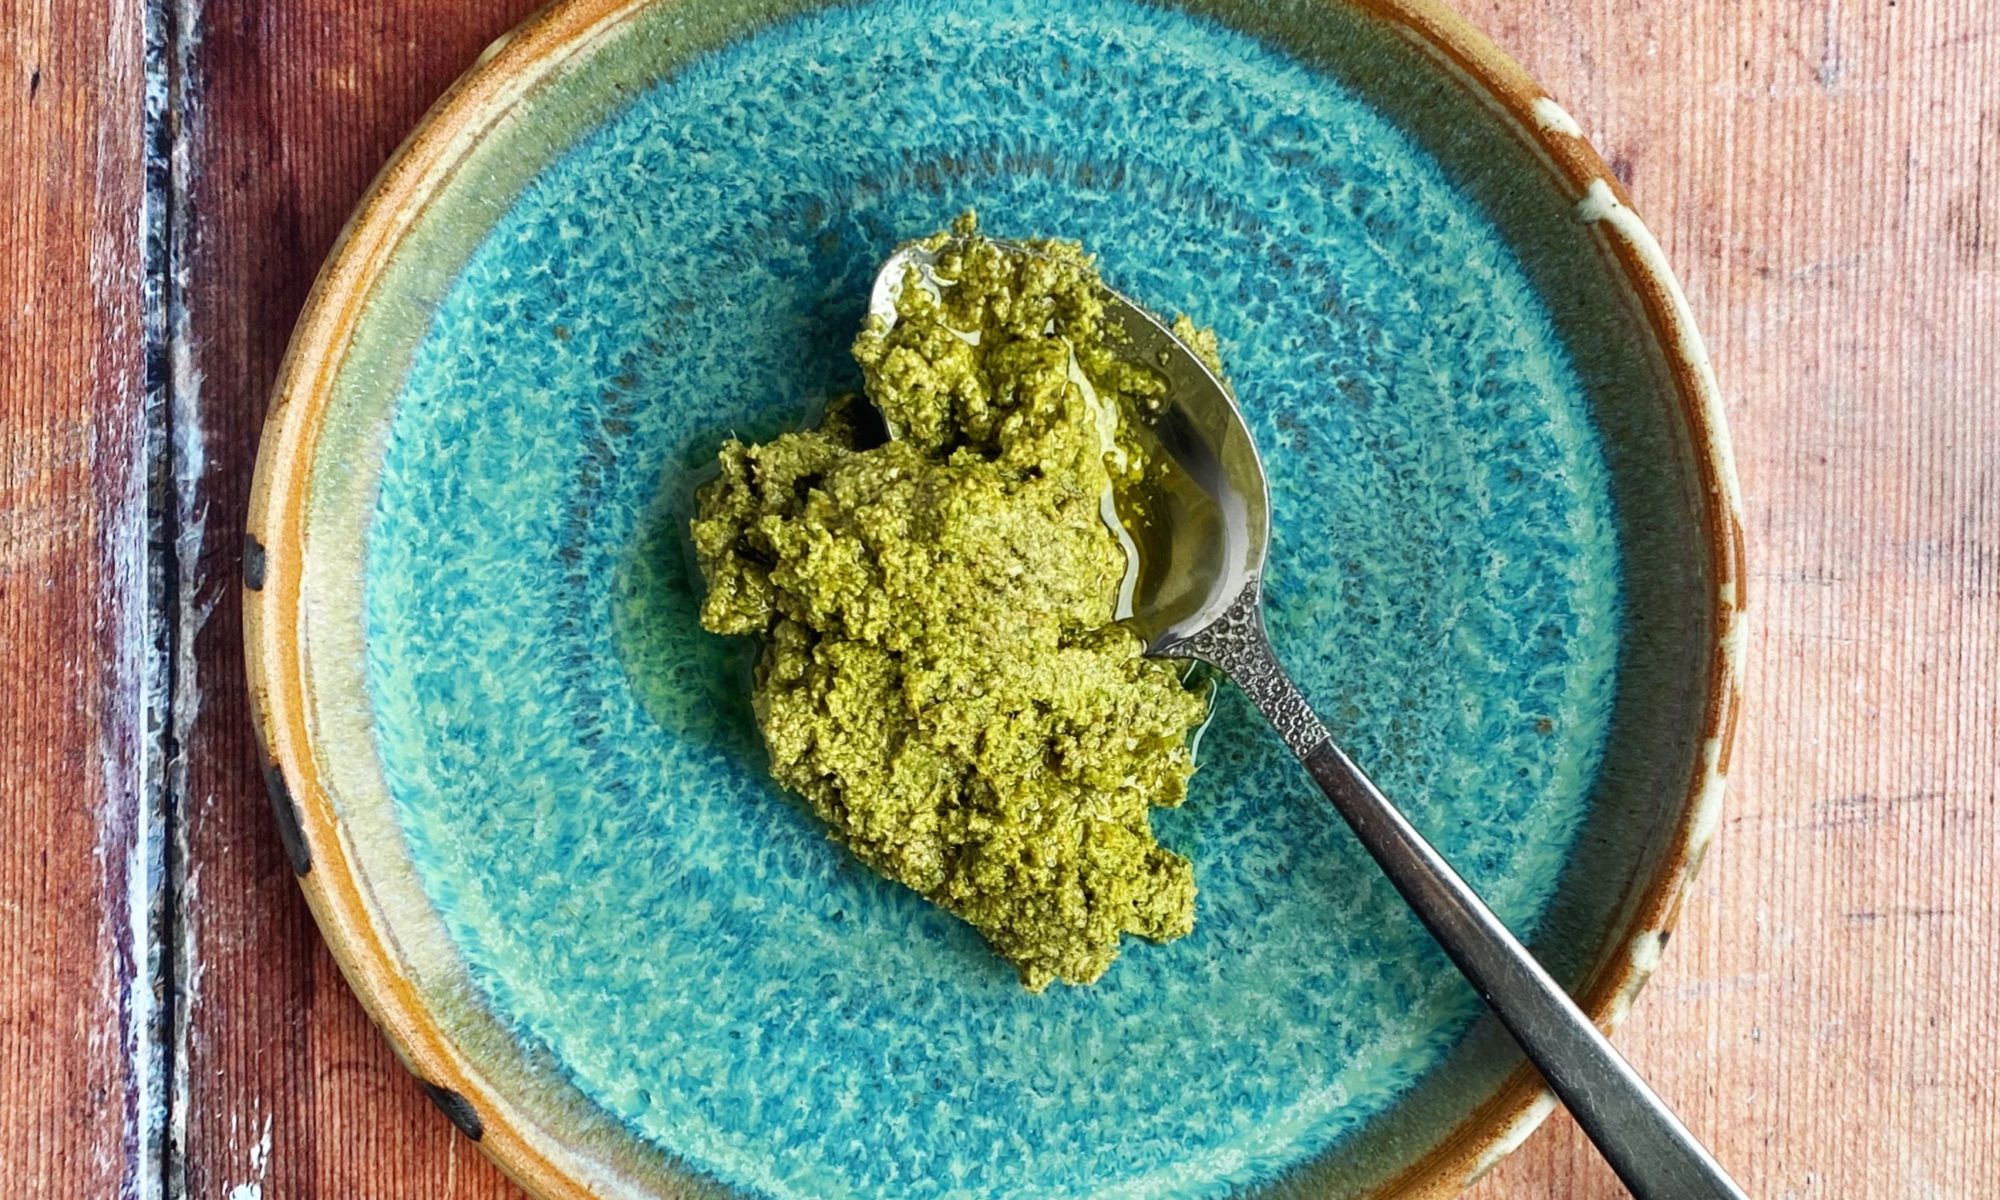
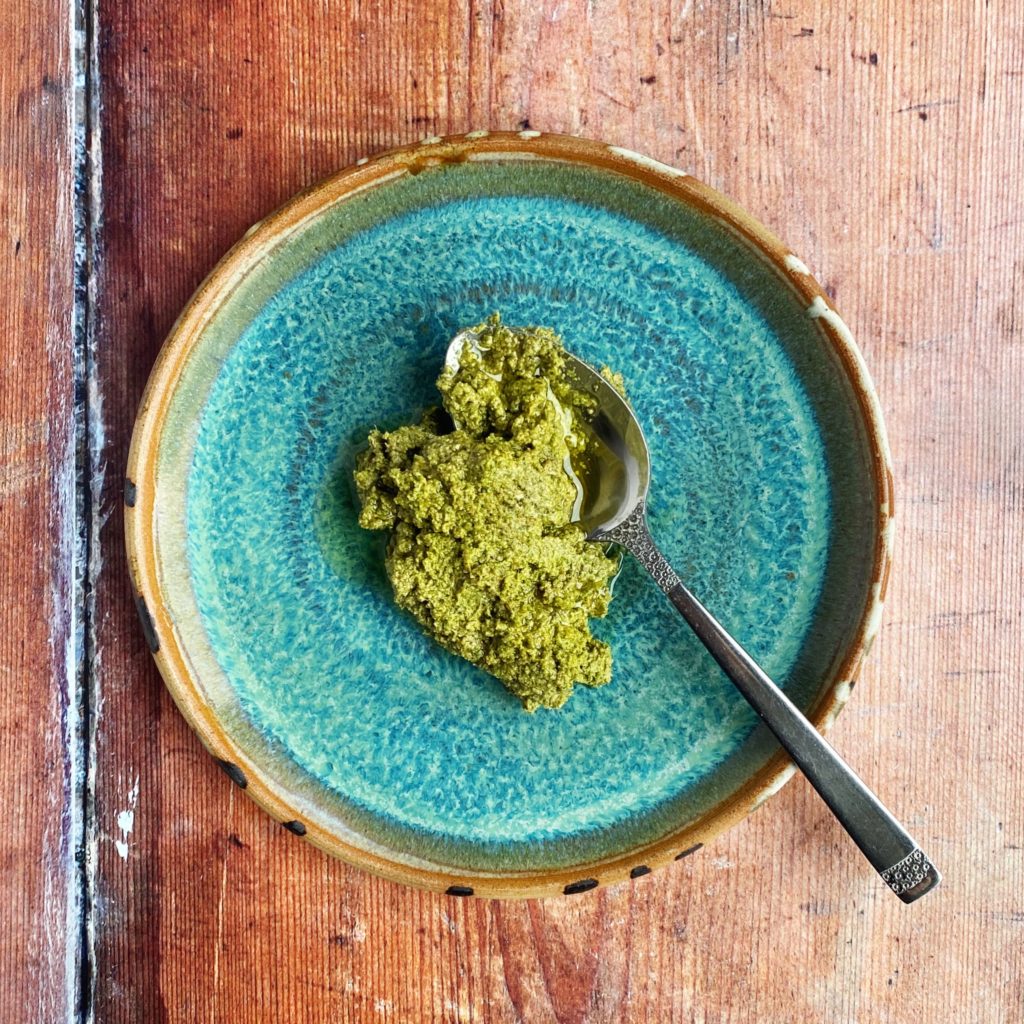
Salad Bag Pesto

One of the most common ingredients that get wasted are salad leaves. The mixed bags of salad leaves really don’t stay fresh long, really they should be eaten within 3 days. So if you don’t get around to eating a salad, perhaps the weather changed and you were more in the mood for a hot meal, there are a few ways you can use them up in a different way. Whatever you do, don’t throw that bag of slightly sad looking leaves away! Salad leaves can be blended into a soup in place of spinach or watercress or make this very flexible salad bag pesto! If you have any fresh herbs around the place, chuck some of those in too.

Read more about food waste in my blog post on the subject here. Liz x

Ingredients

  • mixed salad leaves (and odds an ends of fresh herbs if available)
  • sunflower and pumpkin seeds (or any nuts or seeds you like)
  • lemons
  • garlic
  • olive oil
  • salt
  • nutritional yeast (or odds and ends of cheese)

Method

I’ve deliberated not given amounts as pesto is a very fluid recipe. You can taste and adjust it as you go. You should aim to have around half the volume of the mixture as nuts or seeds. So if you have about a mug full of salad leaves that need using, toast about half a mug of nuts or seeds.

Toast the nuts or seeds in a dry frying pan to bring out their flavour. Allow them to cool.

The put them in a food processor. I used a blender because my food processor is broken – it works ok but I prefer a food processor for pesto because I don’t want the mixture to be too smooth in the end.

Add a crushed or grated glove of garlic, a shake of nutritional yeast, a big pinch of salt and all the salad leaves.

Then add lemon juice (you can add the zest of the lemon too if you like, or save it in the freezer for something else). Start with a small amount of lemon juice, you can always add more later.

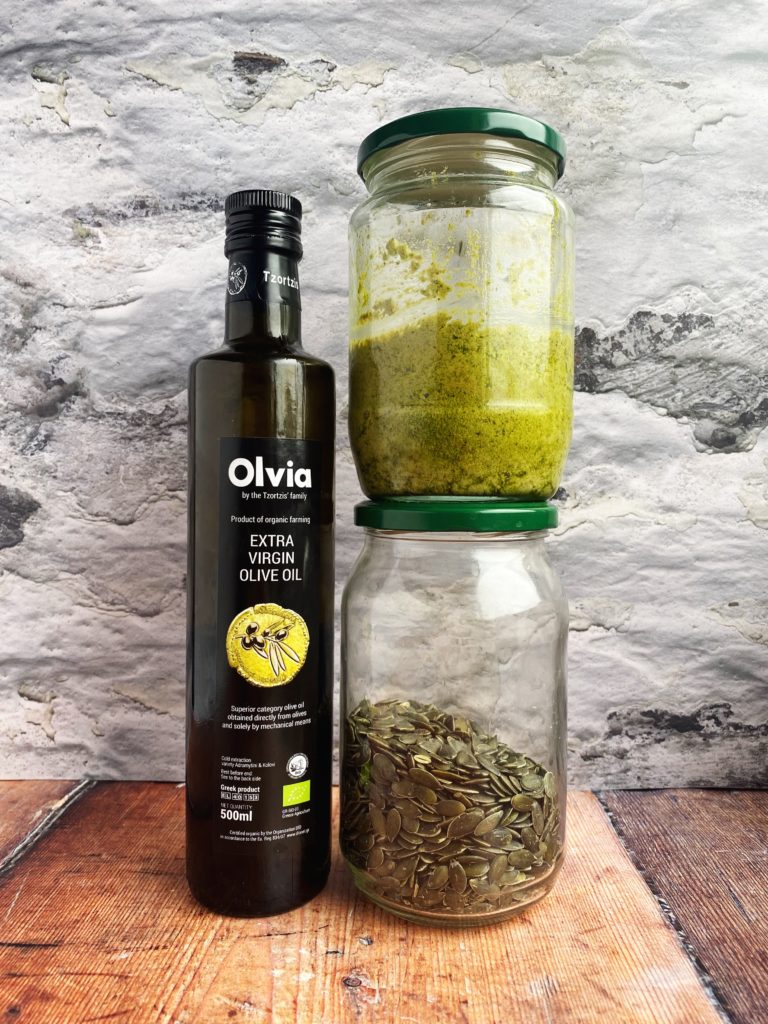
Add a very generous amount of olive oil. A quality extra virgin olive oil is best for pesto.

Pulse the mixture, scrape down the sides and pulse again until you reach a loose, rough paste. Add more olive oil as you go if needed.

Taste and adjust the seasoning with more salt of lemon juice as you like. Then store in a clean jar in the fridge. To make it last longer, cover it with a thin layer of olive oil to protect it from the air. Use it up within a week.

Pesto is not just for pasta! Use it for a dip, stir it into hummus or mayo, spread it into wraps or sandwiches, toss it through roasted veg or steamed greens, dollop it on your grainy salads…