Summer Fruit Crumble Slice

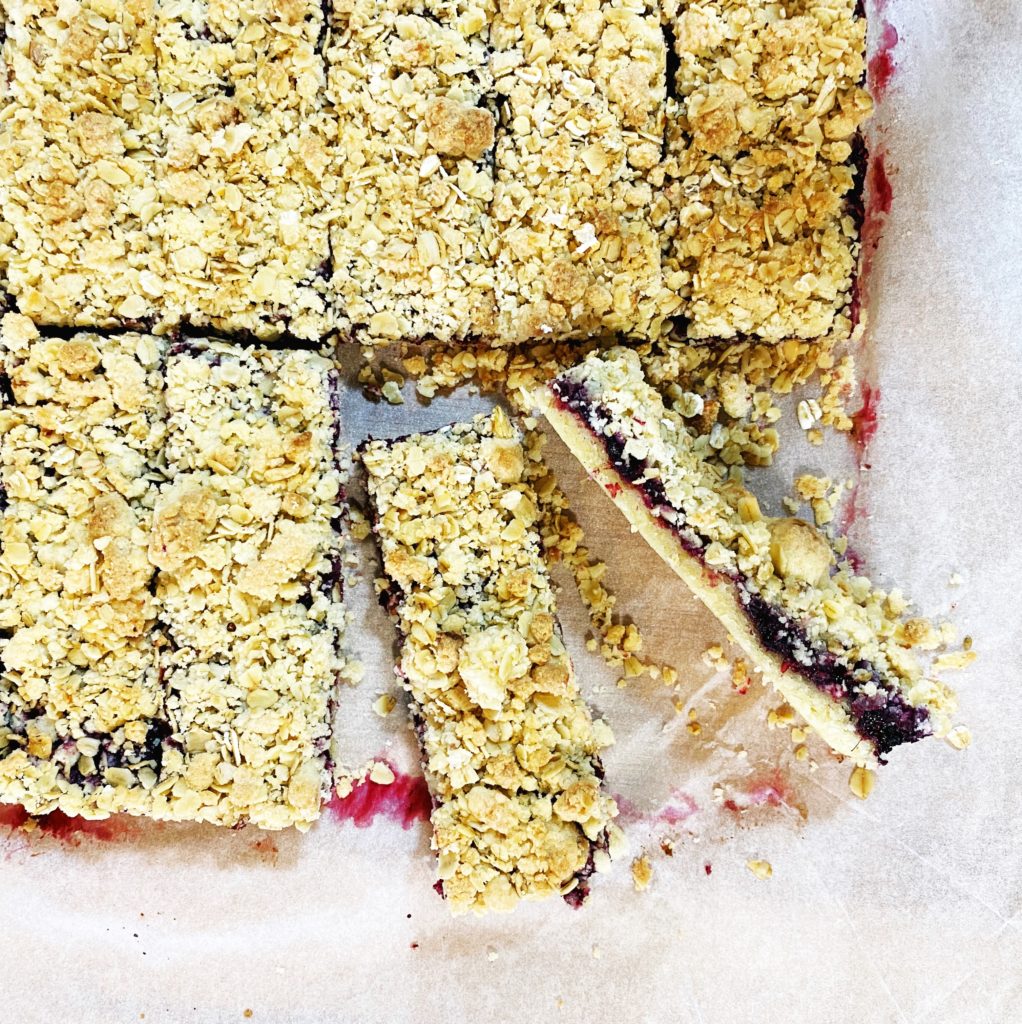
This fruity number is just the thing to pack into a tin and take round to a friends garden to have with a cuppa! Use any summer fruit you like, berries or stone fruit work well, and it’s best to cook the fruit down with a little maple syrup into a rough ‘jam’. Very soft fruit like strawberries, raspberries or plums could just be sliced and sprinkled raw on top of the biscuit layer before adding the crumble mix, but I do find a more jammy fruit layer helps the crumble mix stick to the biscuit a bit better. I tend to cover the dish in the oven with a baking sheet or a layer of baking parchment during the last 15 minutes or so to prevent it from browning too much. 

Liz 

Ingredients

  • 125g caster sugar
  • 250g butter/margarine
  • 375g plain flour
  • 100g porridge oats
  • 150g fruit
  • maple syrup to taste

Method

  1. Start by cooking 150g fruit in a small pan until just soft and starting to collapse. Taste and sweeten with maple syrup or any sweetener you like (if needed). Then put it to one side to cool while you make the biscuit dough.
  2. Pre-heat the oven to 175C and line a deep baking dish with baking parchment. I used a dish approximately 25x35cm but any medium sized baking dish will do. Just bear in mind, if it’s a smaller dish, the biscuit will be deeper so will need longer in the oven.
  3. Weigh out the butter, sugar and flour into a large mixing bowl. Rub it together with the tips of your fingers until you achieve a wet-beach-sand-like texture that comes together into dough when squeezed. A quicker way to do this is to pulse the ingredients together in a food processor with the ‘S’ blade attachment.
  4. Tip roughly 2/3rds of the dough into the lined dish and press it firmly into a neat, even layer. Ensure you get into the corners of the dish.
  5. Add the oats to the remaining 3rd of the dough and mix into a rough crumble.
  6. Spoon the fruit onto the biscuit layer and then sprinkle the crumble over the top. Lightly pat the crumble into the fruit.
  7. Then bake for approximately 30 minutes at 175C fan. The time can vary depending on your dish size. I tend to cover the dish with a baking sheet or extra piece of parchment for the last 15 minutes or so to prevent the crumble from browning too much. Just keep an eye on it and see if it needs it or not. No two ovens are alike in my experience!
  8. Remove from the oven and allow the biscuit to cool in the dish. Then carefully transfer it to a chopping board and cut it as you like. 
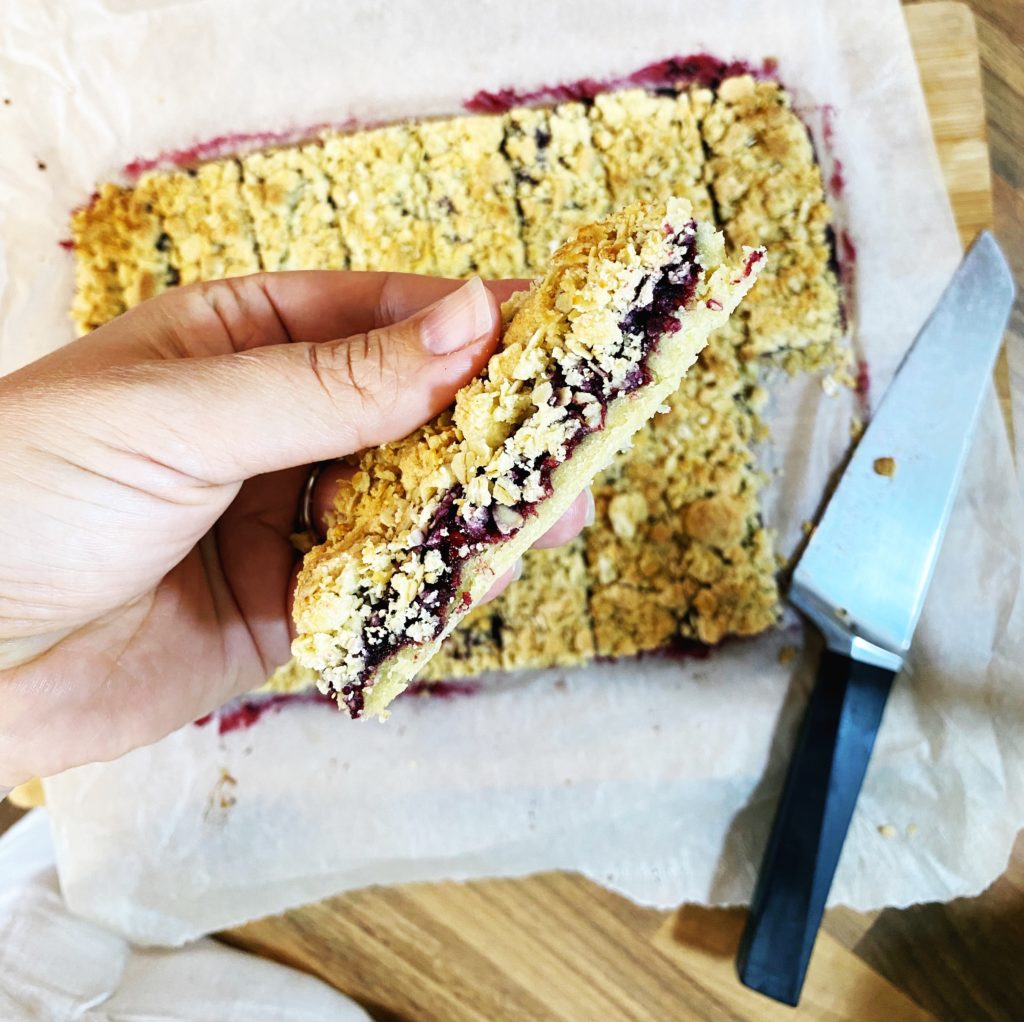
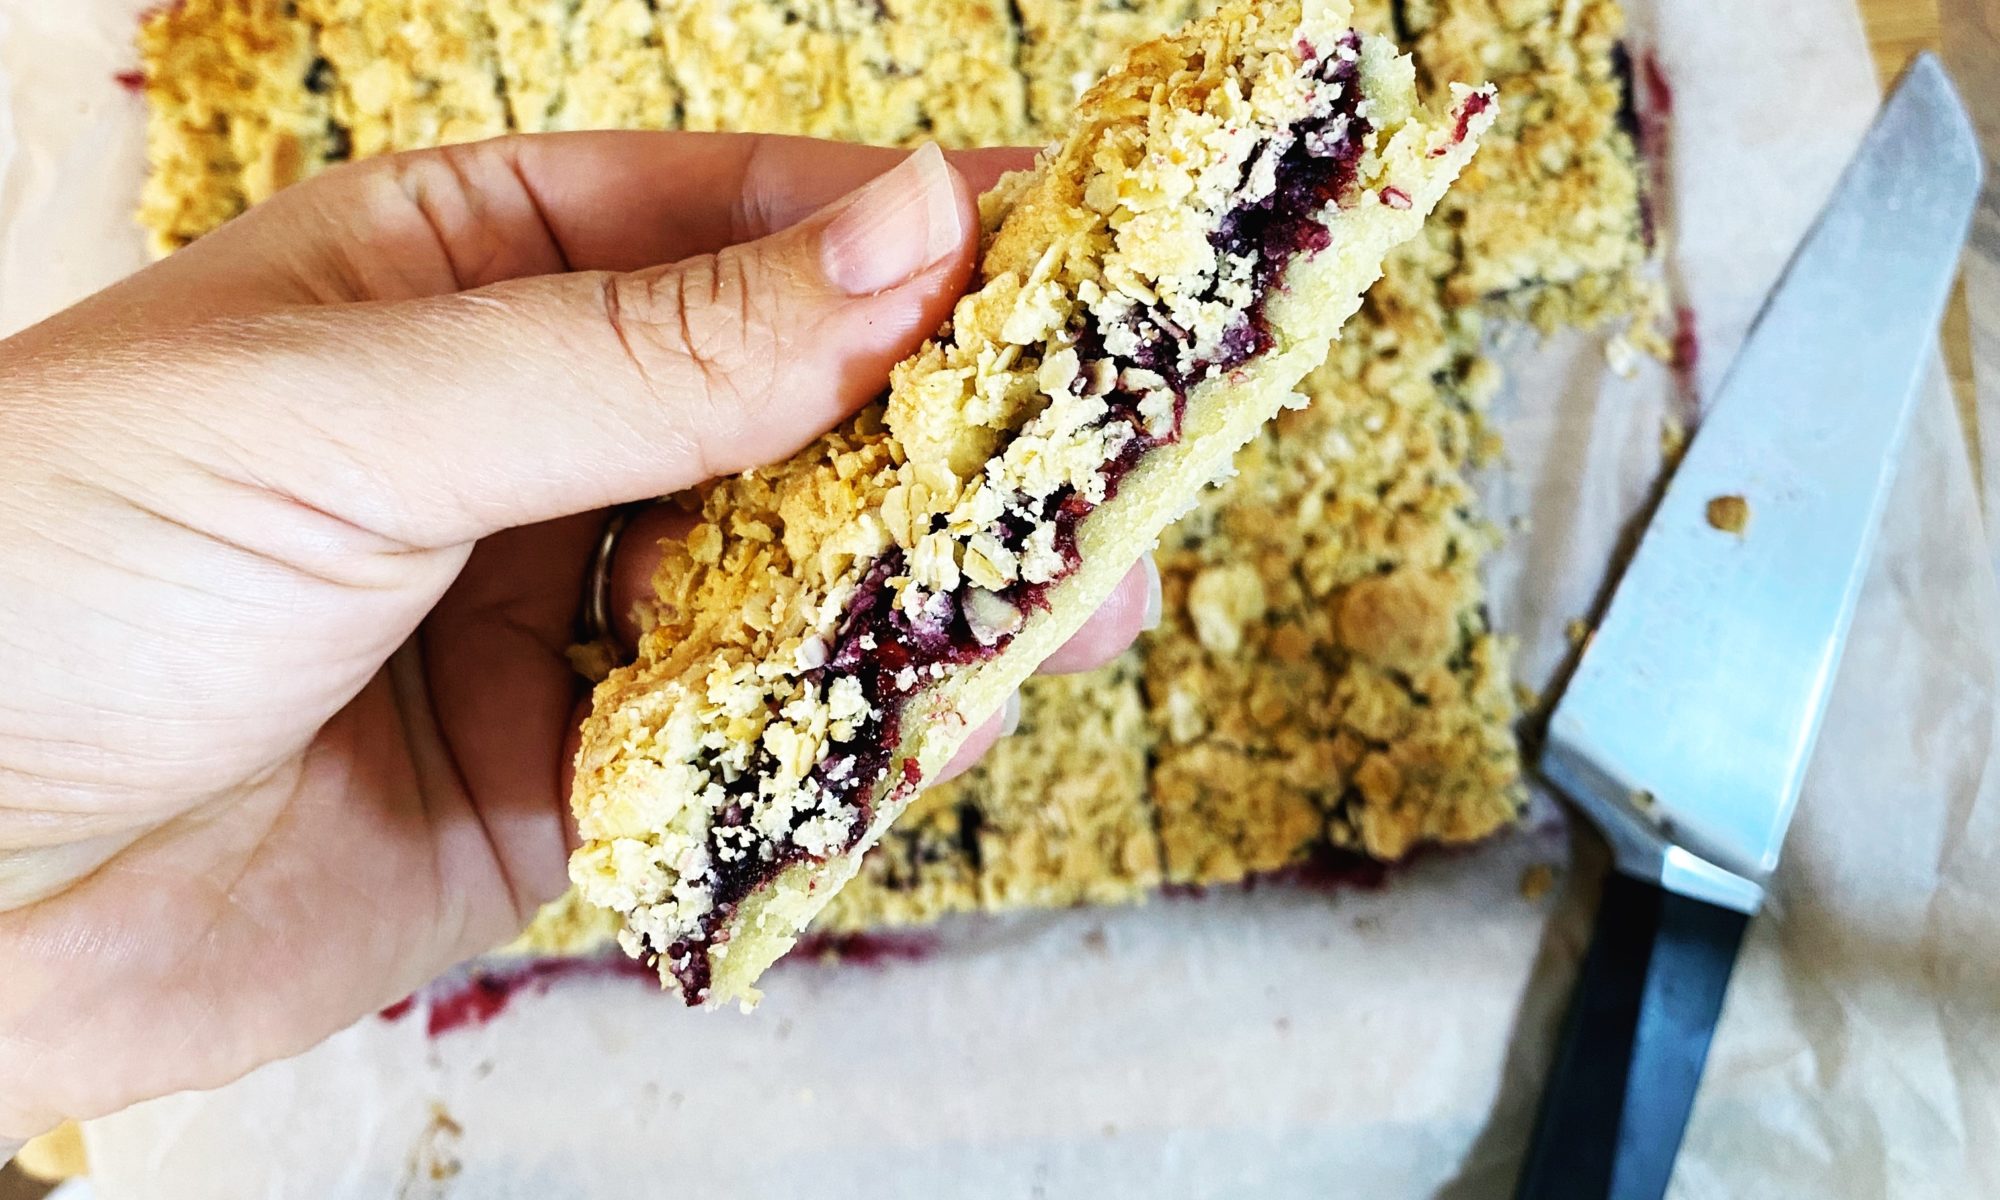
  9. You should end up with a melt-in-the-mouth shortbread base, a fruity layer and a        buttery, oaty, crumbly layer. Delicious!
  10. The biscuits keep well in an airtight container in the fridge for a week. Enjoy!

Blackberry & Pear Clafoutis

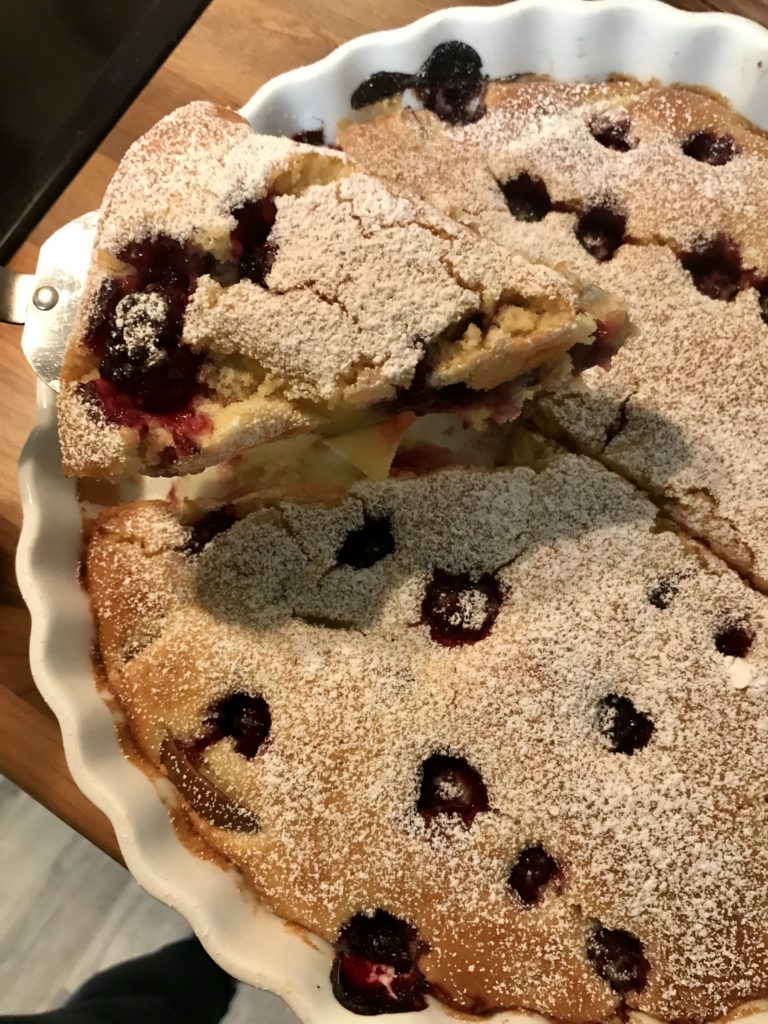
Clafoutis is a classic French cake which is actually more like a pudding. Traditionally made with cherries, it’s best served scooped out of the flan dish whilst still slightly warm, with whipped cream or natural yoghurt – I recommend plant based versions of those of course! It is also delicious served like a cake – cold, in slices – but doesn’t stay fresh much longer than 2 days. If you plan to serve it cold, then I recommend baking it in a lined or loose-bottomed cake tin so that it can be turned out onto a plate in one piece. Otherwise bake it in a flan dish or baking tray for the pudding version. This is one of those cakes that can easily be made gluten free by doing a straight substitute with gluten free flour. I always add a little extra liquid when using gluten free flour as it tends to need more hydration than regular wheat flour, so up the oat milk a little if you make it gluten free.

If you’ve not baked with aquafaba before, it’s a bit of a revelation! Aquafaba is the viscous liquid result of boiling beans or chickpeas. You can get it by draining a tin of white beans or chickpeas over your mixing bowl. Aquafaba is a really useful product which is normally washed down the sink. It’s an egg white replacement and with a little effort can even whisk up into meringue. I usually make sure I get the unsalted tins of beans/chickpeas for baking cakes, but the salted version also works absolutely fine. Salt actually enhances the flavours of fruit and sweet dishes, but I usually just use a pinch. So if you are using the aquafaba from a salted can of beans/chickpeas, then leave out the recommended pinch of salt and just taste the batter and see if it could do with a little extra sugar before you bake. I make a savoury version of this recipe too which I will share another day, think cherry tomato or asparagus clafoutis…perfect for summer lunches with salads.

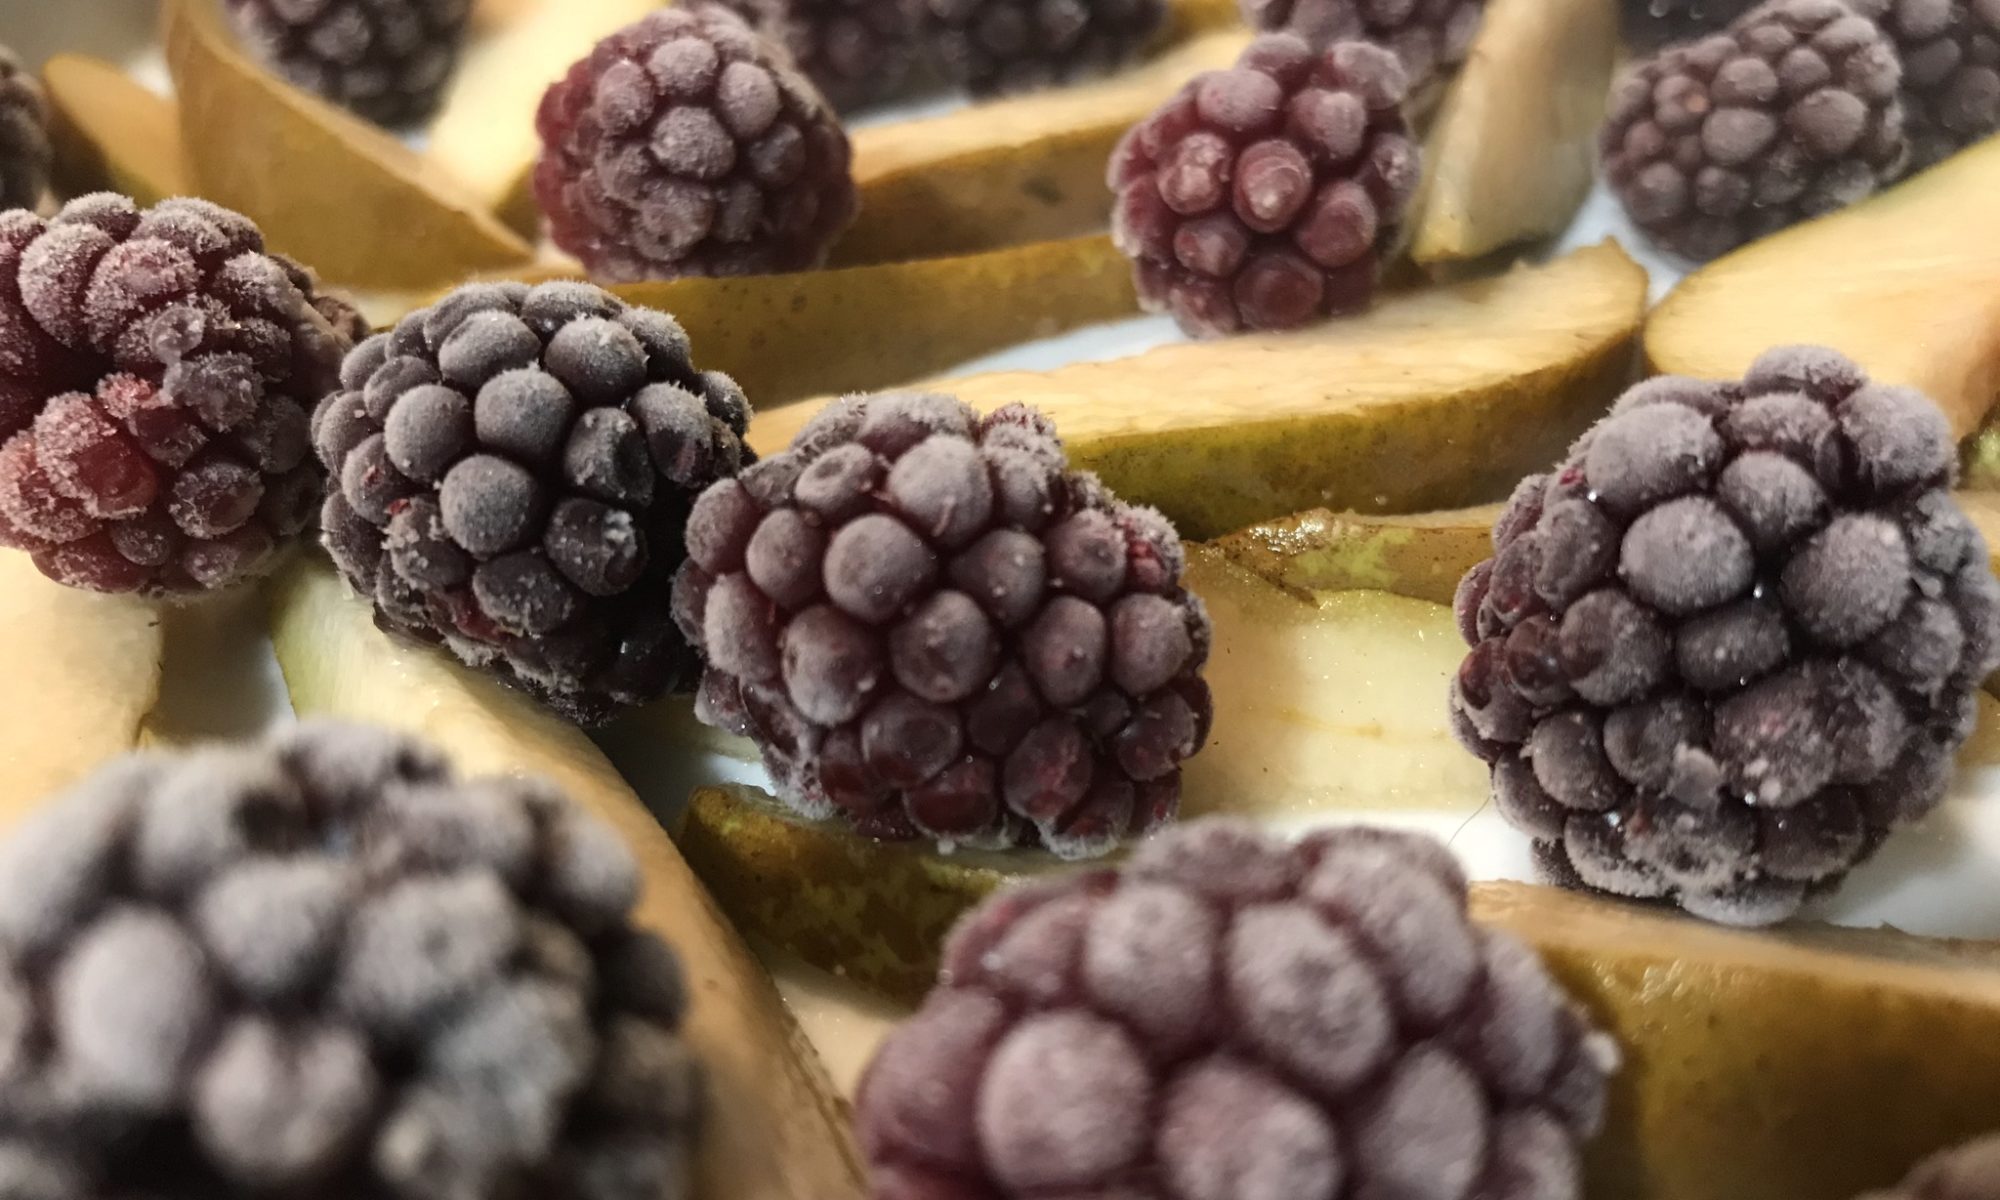
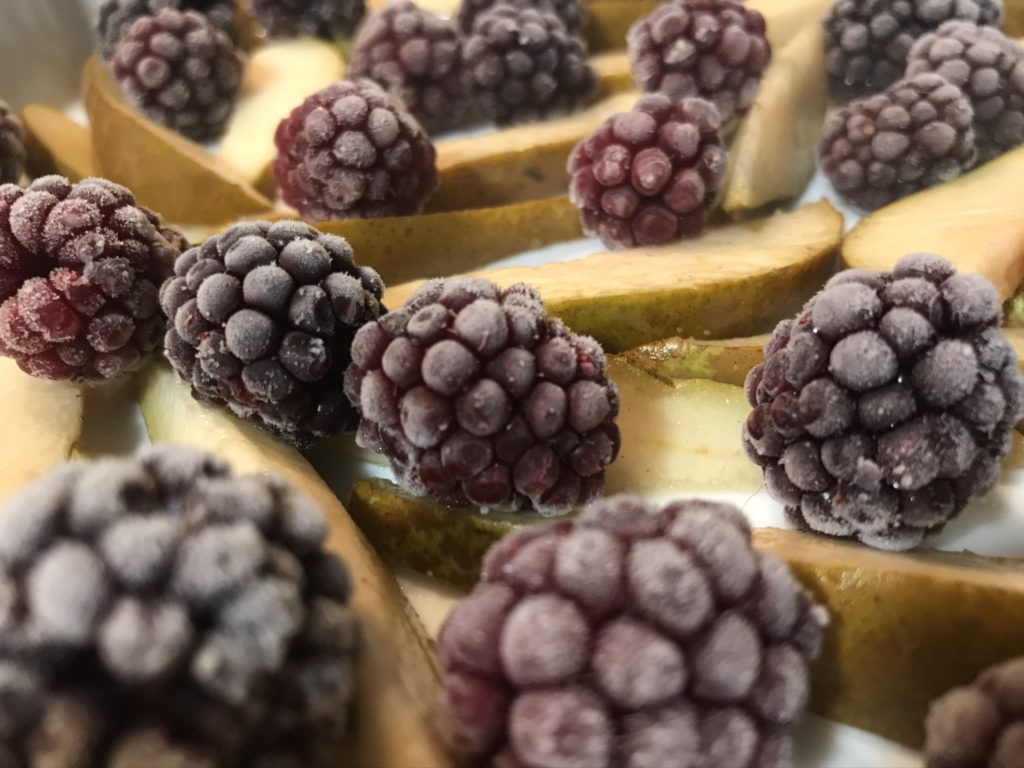
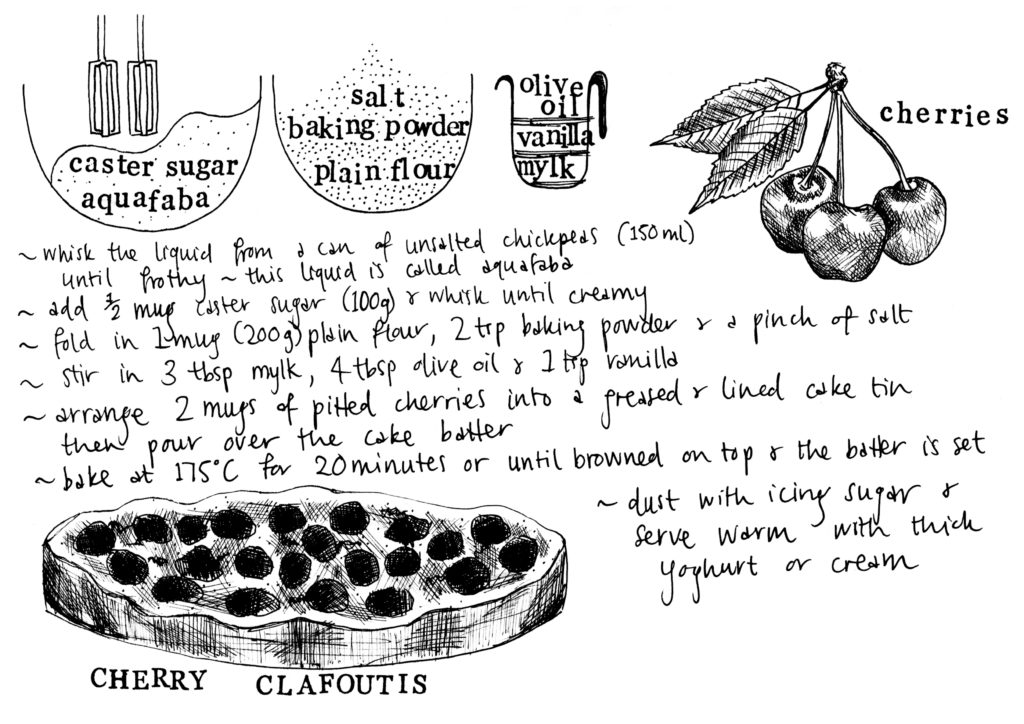
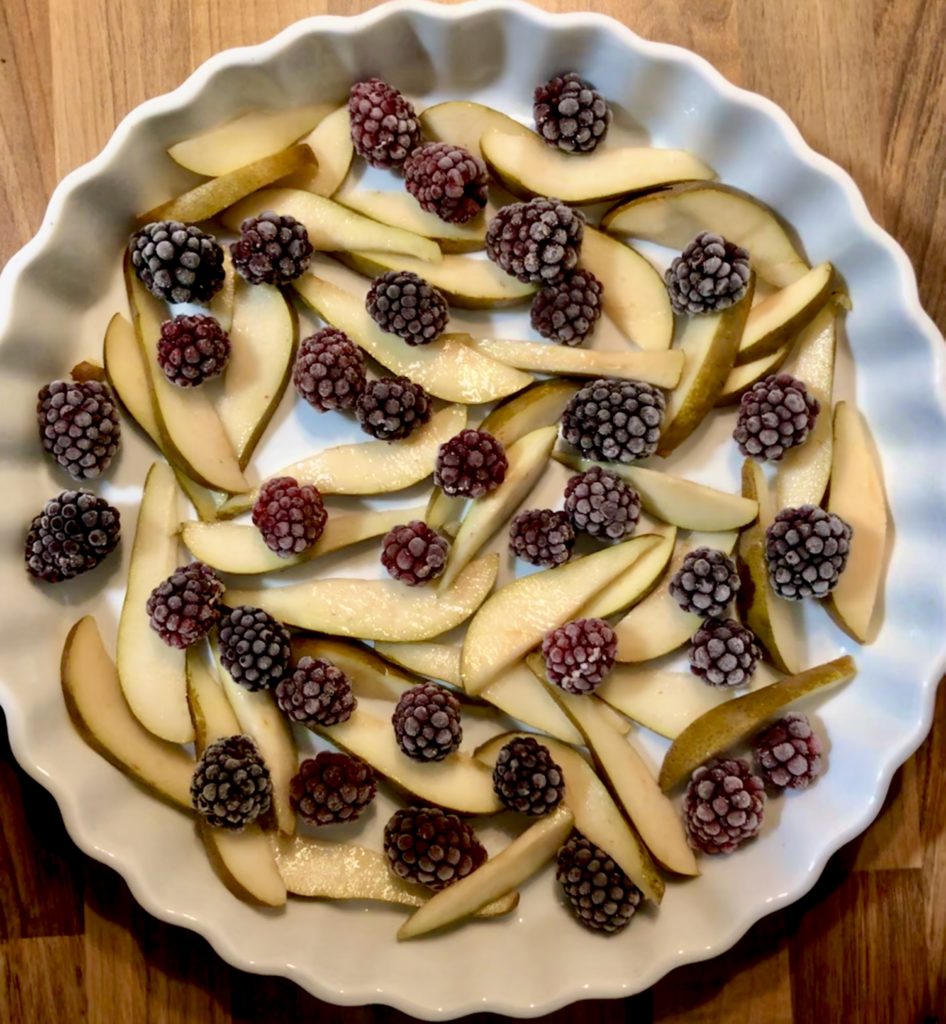
The pears from the farm are so delicious and in season right now. So I’ve made this seasonal variation of my cherry clafoutis (recipe illustration from my book below) with pear slices and frozen blackberries. You can use any fruit you like of course. In Spring I love making a rhubarb version where I drench the raw rhubarb chunks in elderflower cordial and then sprinkle some flaked almonds on top of the batter before baking. Raspberry clafoutis has got to be my kids favourite. What fruity combinations will you try?

💚 Liz

Did you make this recipe? Let us know how it went in the comments below and share it with your friends. If you like this recipe, you’ll love my book. Add it to your usual order at Green Earth Organics.

Illustration from my cookbook, Cook Draw Feed – available to add to your next order here.

Ingredients (serves 8)

  • Pears – 3 or 4 ripe
  • Blackberries – frozen or fresh – a couple of handfuls
  • Aquafaba – from 1 tin of white beans/chickpeas, normally around 150ml
  • Caster sugar – 100g
  • Plain flour – 200g
  • Baking powder – 2 tsp
  • Salt – pinch (leave out if using aquafaba from a salted tin of beans
  • Oat milk – 3 tbsp
  • Olive oil or Rapeseed oil – 4 tbsp
  • Vanilla – 1 tsp
  • Icing sugar – 1 tsp or so for dusting
  • Whipping cream or Yoghurt to serve

Method

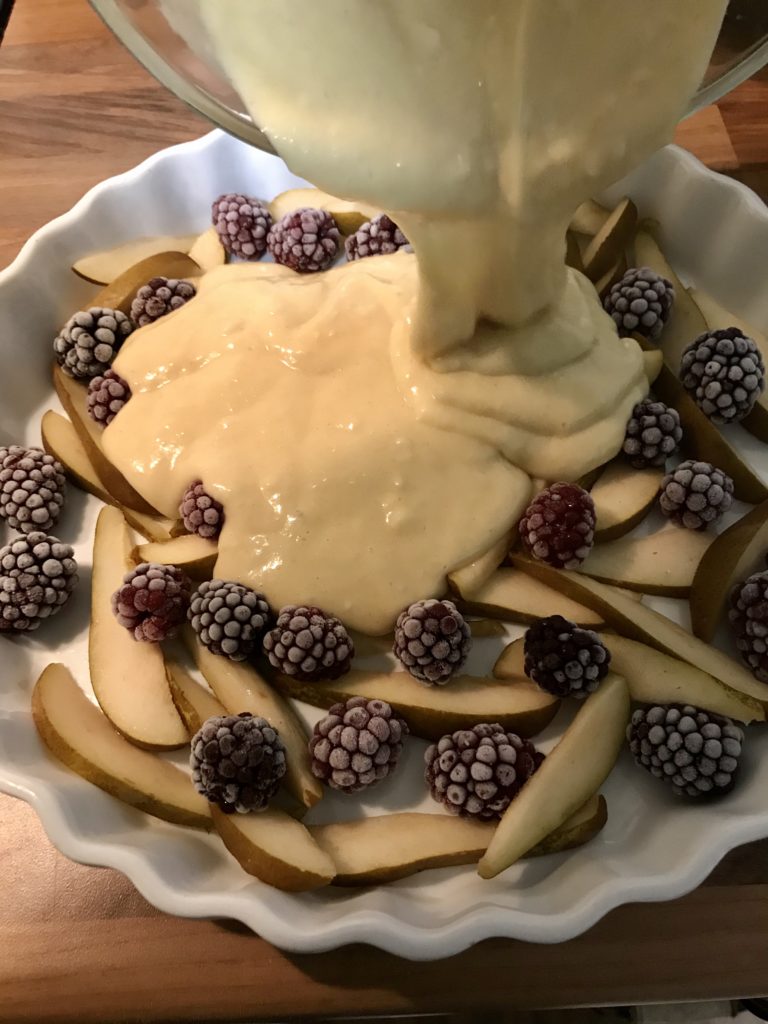
This pudding is really simple to put together. Core and slice your pears and arrange them in a flan dish or baking tray. Sprinkle over some frozen or fresh blackberries. Then make the batter, all in one mixing bowl. You’ll need an electric whisk and a mug to use as a measuring device.

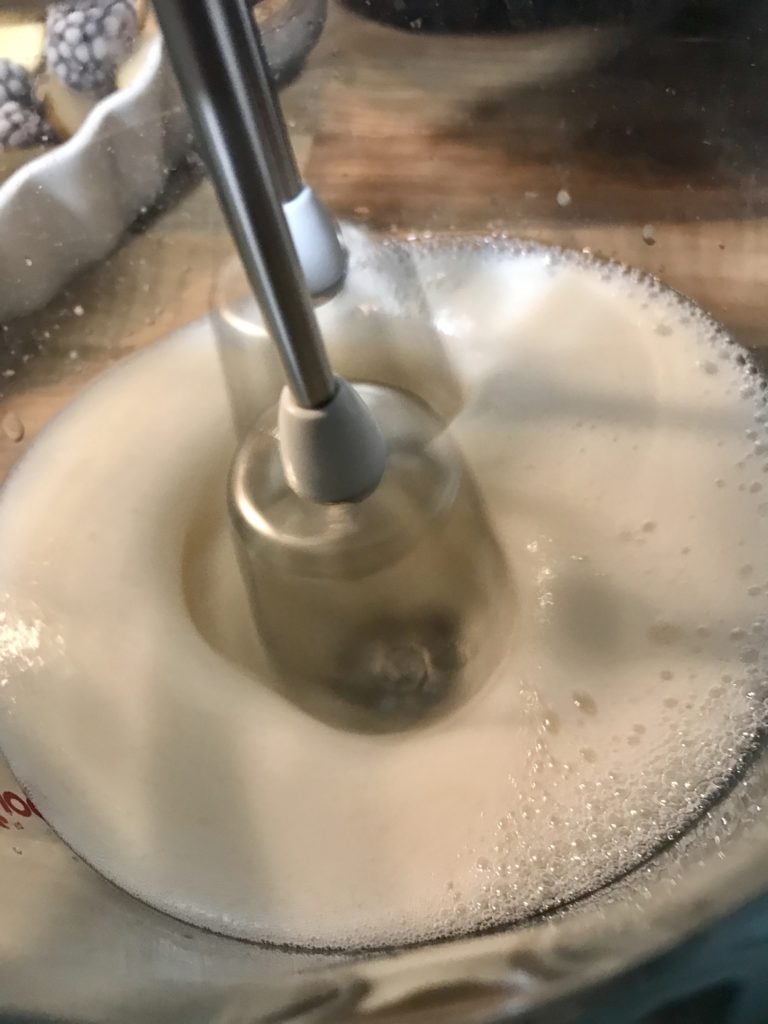
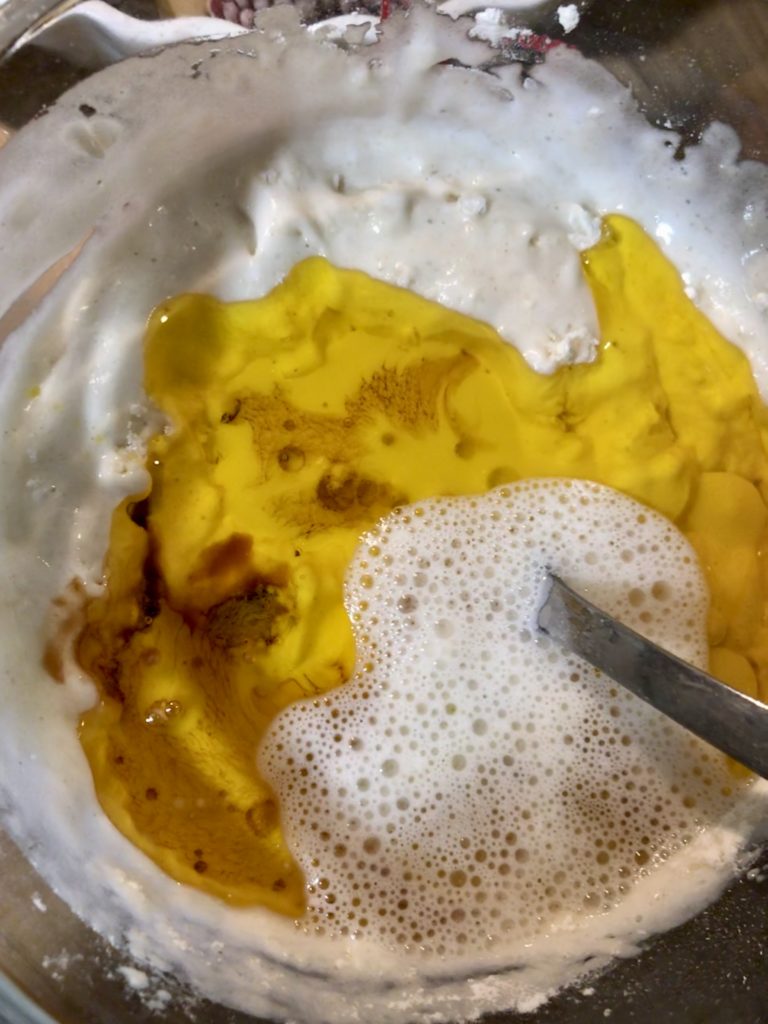
Drain the aquafaba from a tin of white beans or chickpeas into a mixing bowl. Use an electric whisk and fluff up the aquafaba by whisking on high for a few minutes..

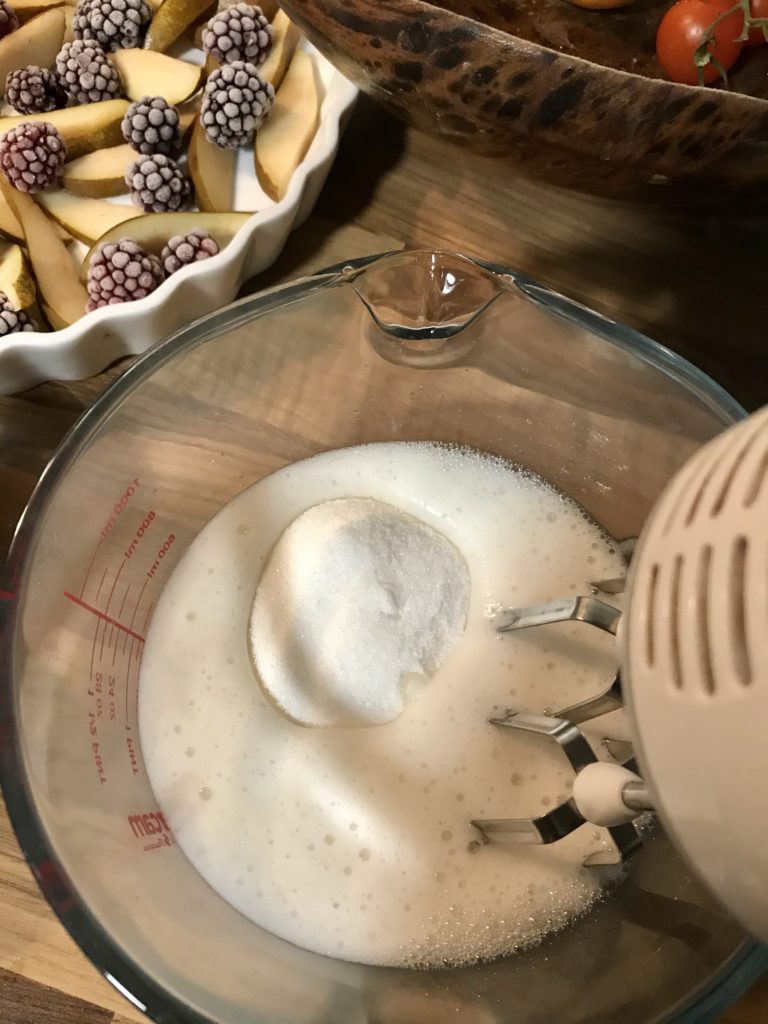
Add half a mug of caster sugar (the cane sugar from our shop works too) and whisk again until creamy. This recipe, like most of my recipes, is very forgiving. I usually don’t bother weighing the ingredients. The aquafaba from a regular tin of beans/chickpeas is normally around 150ml but it doesn’t matter if it’s a bit over or under that. For the sugar, I just half fill a mug and tip it in…but you can weigh 100g if you like.

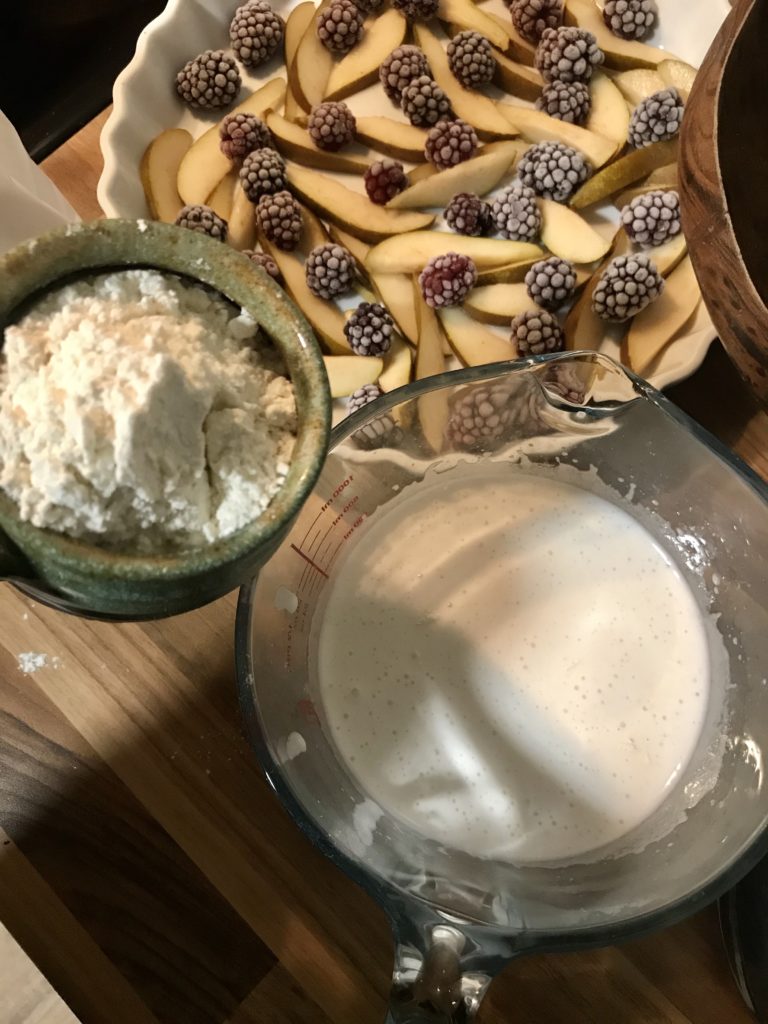
Then fold in a mug (or around 200g) of plain flour, 2 tsp baking powder and a pinch of salt. It doesn’t have to be fully incorporated at this stage. You’ll be adding the liquid next and that will help bring it all together. The trick to a tender cake crumb is not over-mixing the batter, so just gently fold the dry ingredients in.

Then add the 3 tbsp oat milk, 4 tbsp oil and 1 tsp vanilla and gently stir until you have a fairly smooth batter. I used a gorgeous, cold pressed rapeseed oil this time and it gave the batter a beautiful golden hue and was delicious!

Pour the batter over the fruit and gently smooth it out using the back of the spoon. It will spread and rise in the oven so don’t worry if there are any small gaps around the sides of the dish.

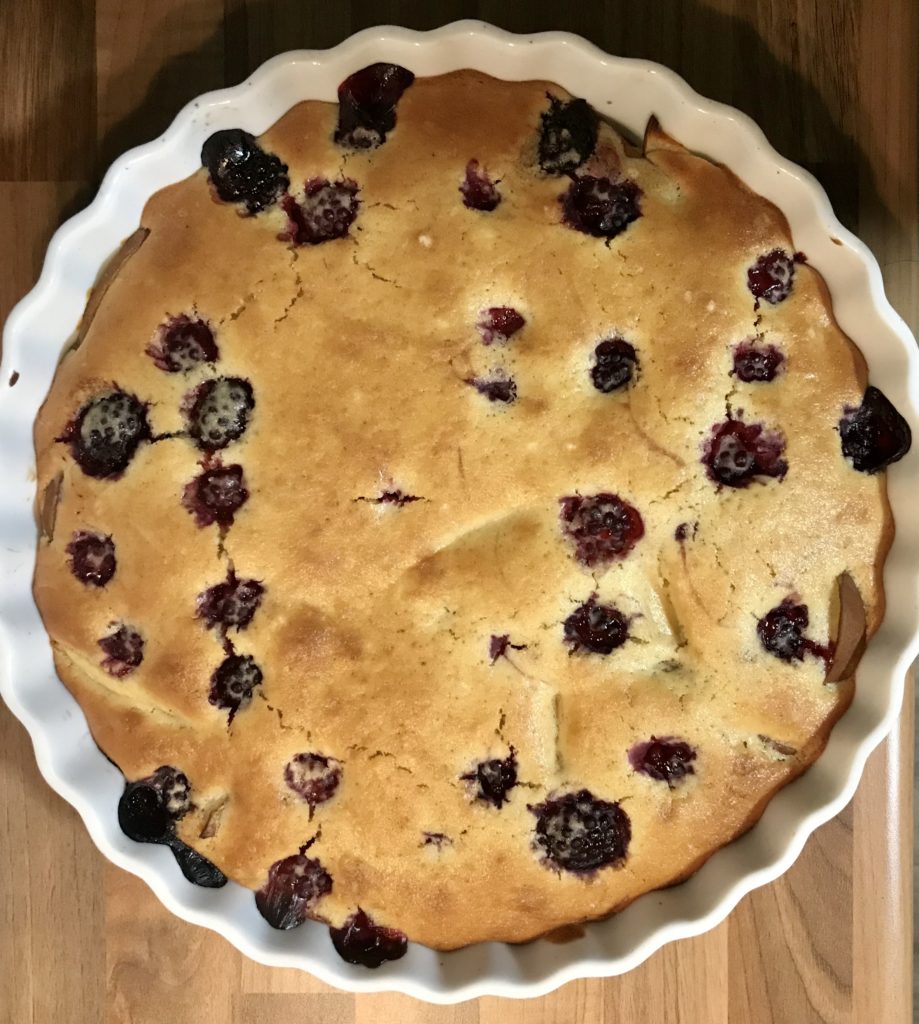
Bake the clafoutis at 175C for 20 minutes or until browned on top and the batter is set. A larger dish will make a shallower cake which will only take 20 minutes, a smaller dish will make a deeper cake which will take longer – just keep an eye on it.

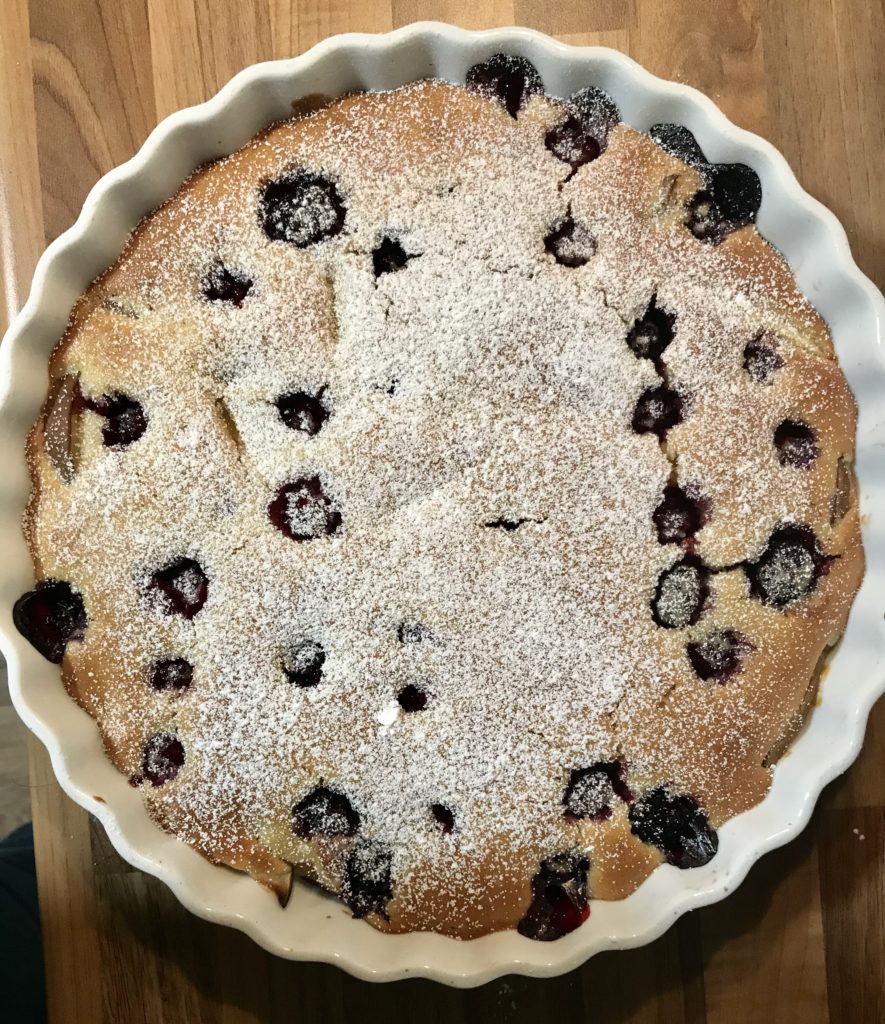
Dust with icing sugar and serve warm as a pudding, or cold in slices as a fruity cake. Enjoy!