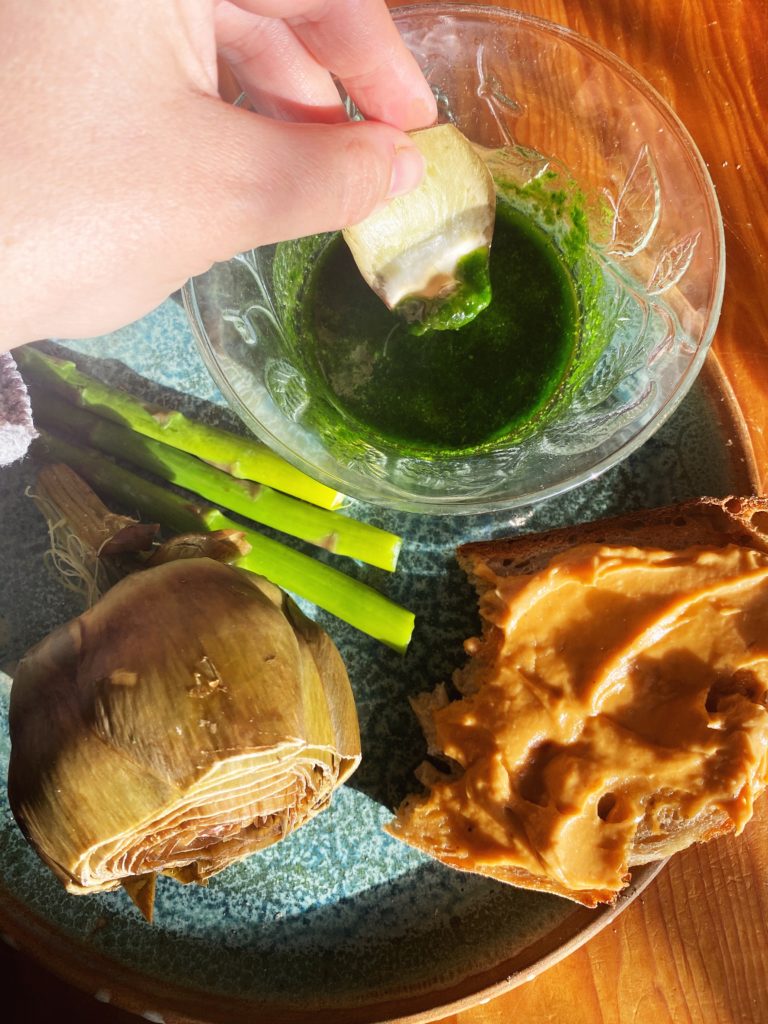
Steamed Artichokes & Asparagus with Wild Garlic Butter

I love perennial vegetables and think we should all be eating more of them! Perennials are vegetables and fruits which are planted once and come back year after year. They could be a key solution in the fight against hunger and climate change. Perennials develop longer, more stabilising roots than annual crops. That and the fact that there is no digging once they are planted means they are the best crops for soil health. Their long, undisturbed root systems have also been shown to sequester carbon in the soil. Undisturbed crops like artichokes, especially organically grown ones, create wildlife havens and putting back a balance of biodiversity in any agricultural land is so important!

So add perennials like asparagus and artichokes (rhubarb, fruits, nuts, olives…) to your order whenever they are in season to show your support to this climate friendly type of farming and to enjoy the incredible flavour and nutrition that comes along with them. Here’s my favourite way to enjoy these two crops every spring. It’s so simple and so delicious.

Liz x

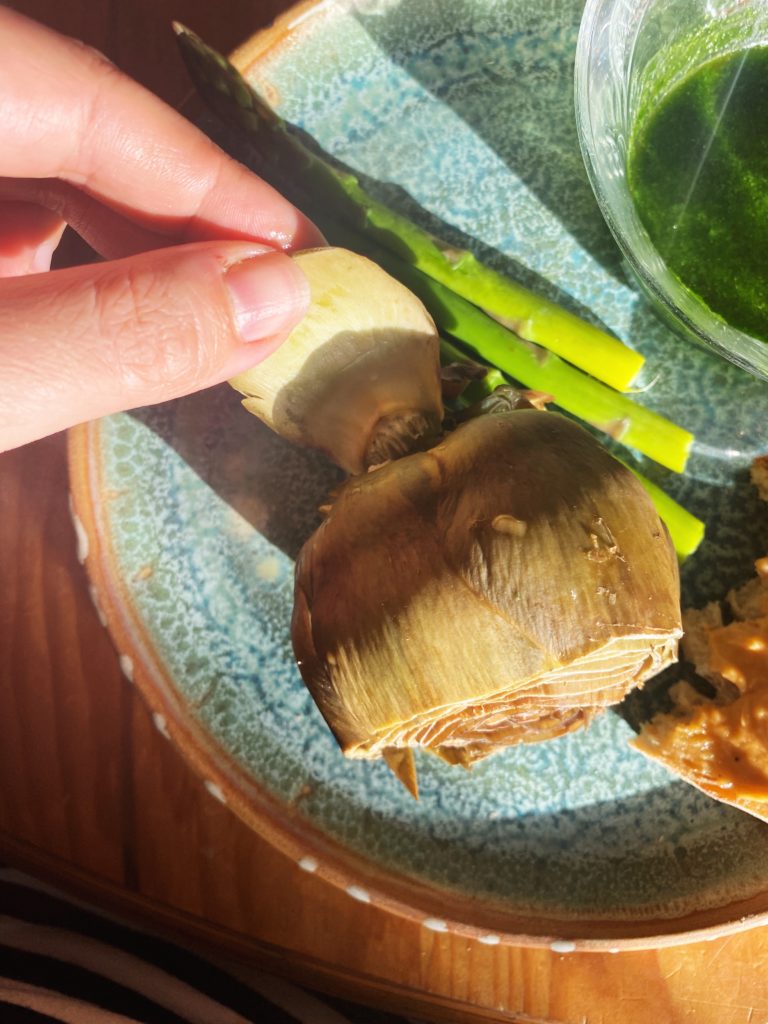
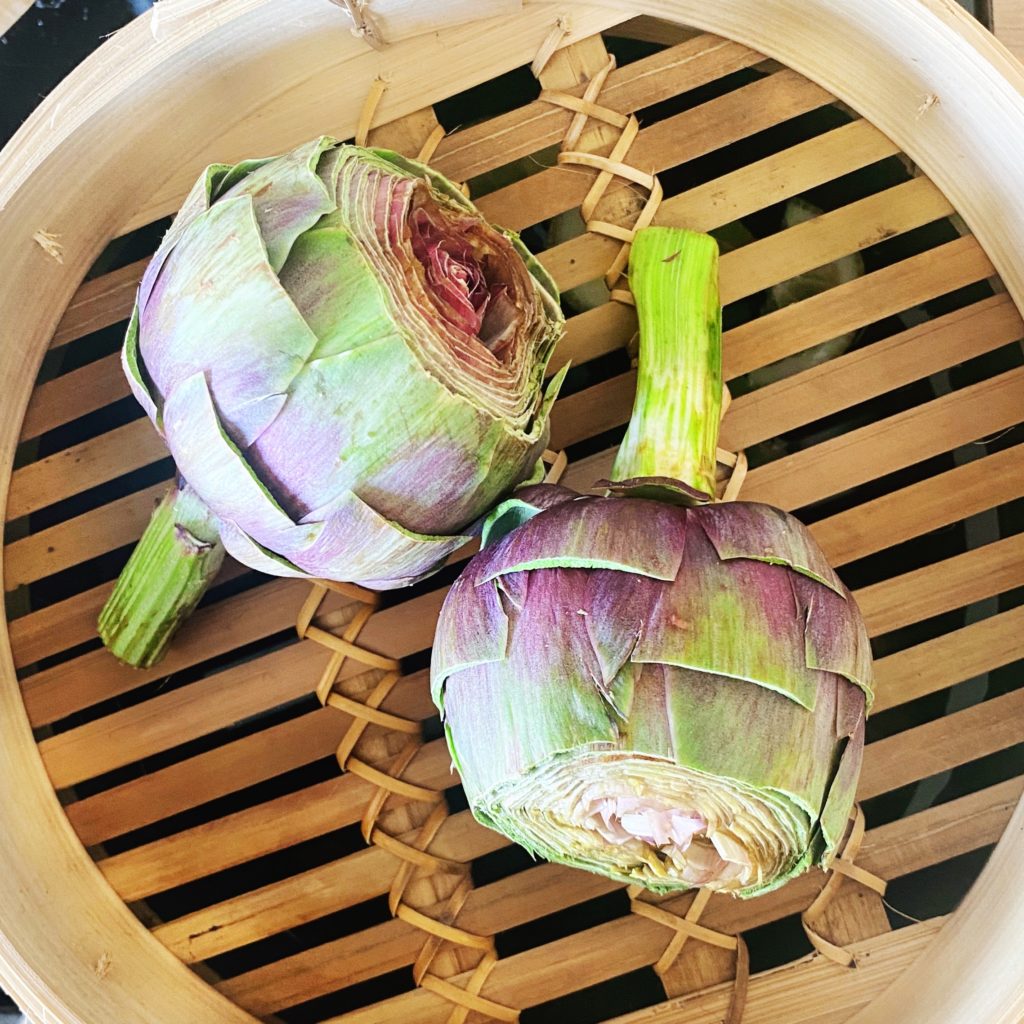
Getting close to the tender heart of the artichoke

Ingredients (serves 2)

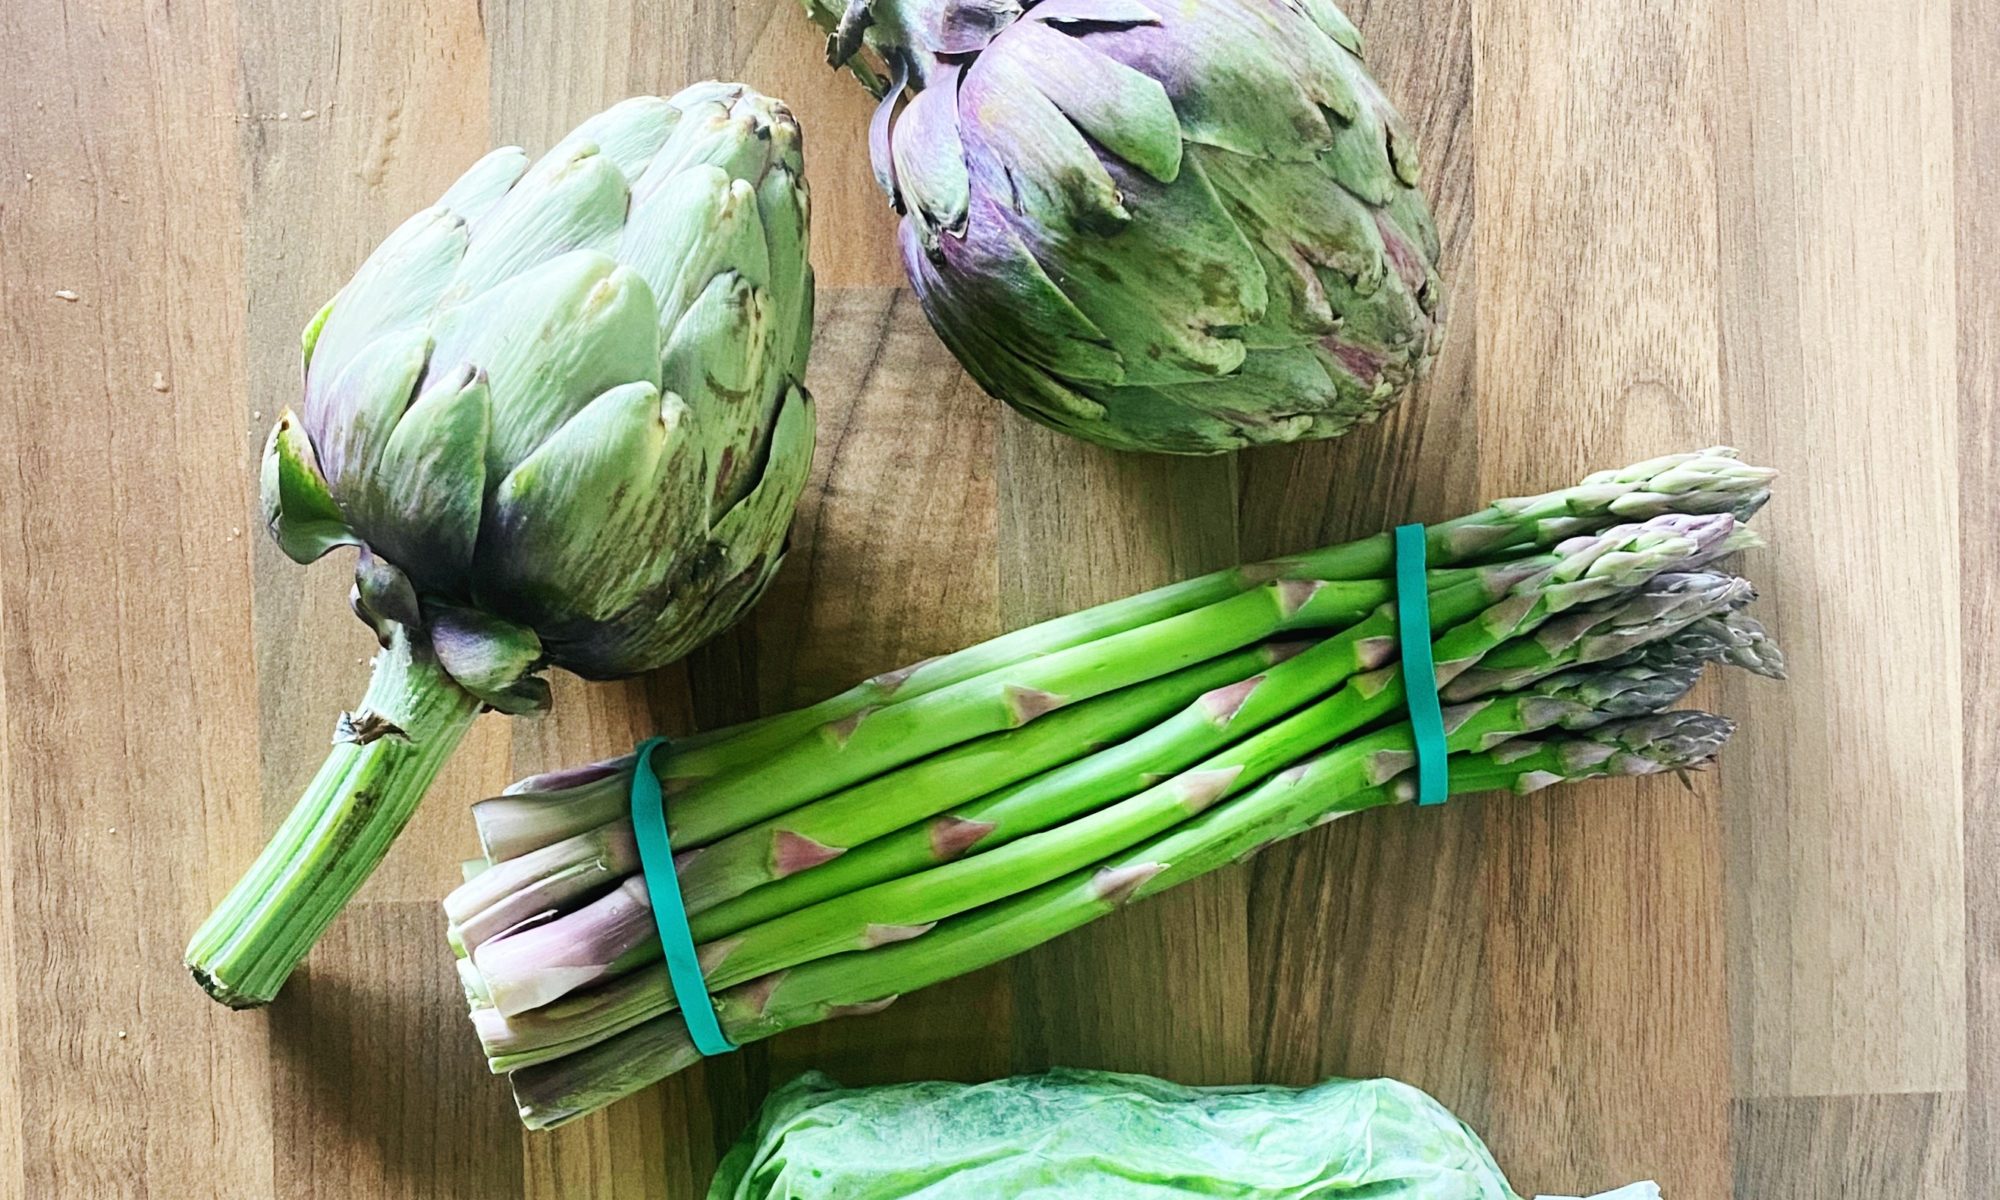
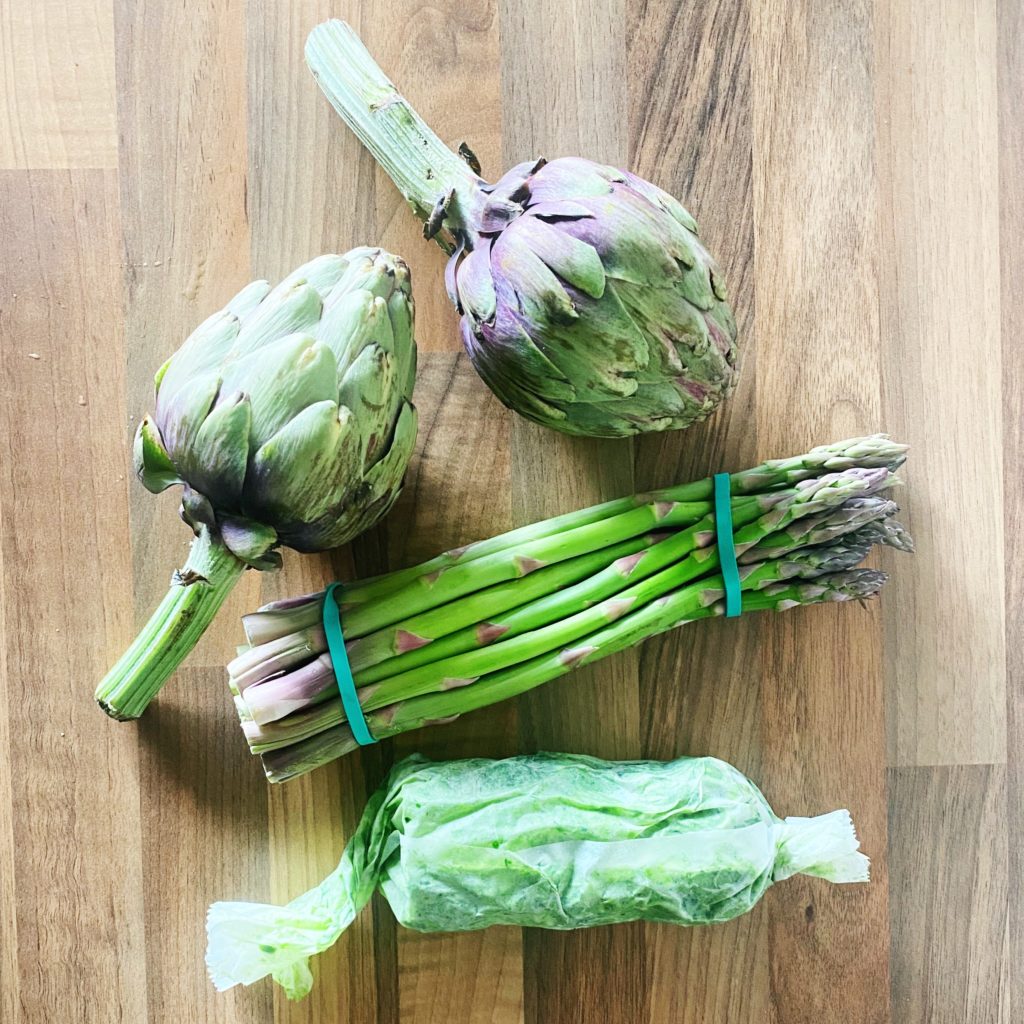
  • 2 globe artichokes
  • 1 bundle of asparagus
  • 2 slices of lemon
  • 1 clove of garlic
  • 2 bay leaves
  • wild garlic butter (wild garlic blended with butter)
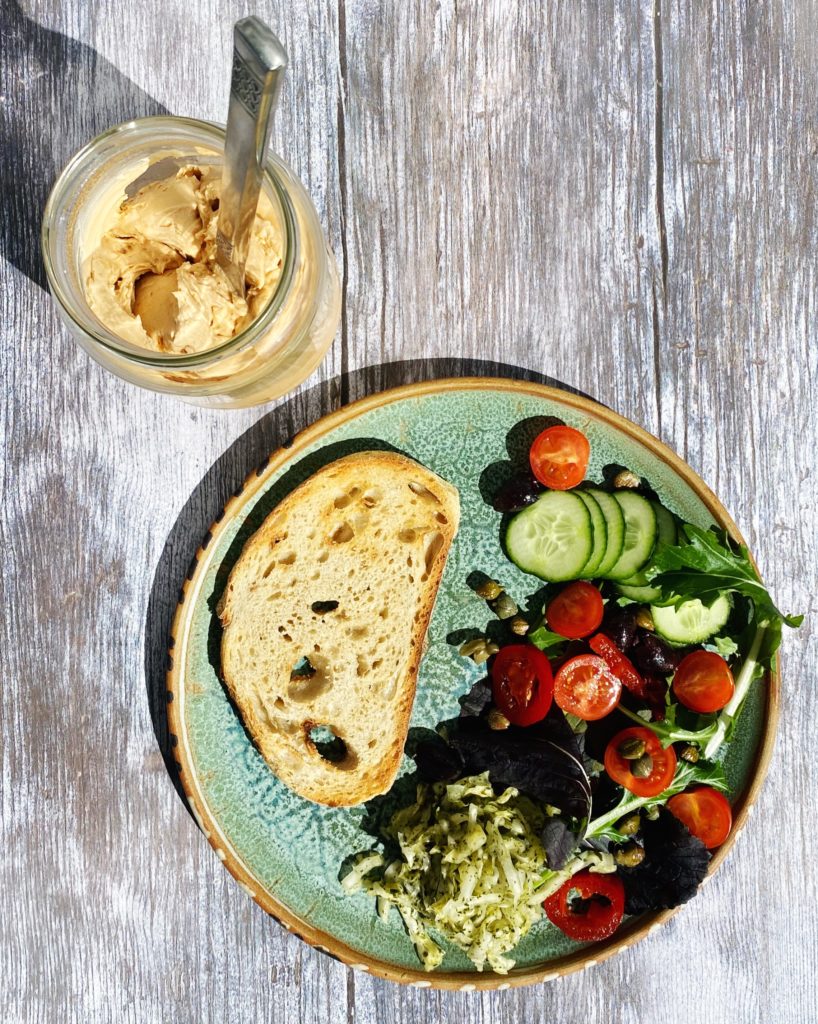
  • toast and cheese (I used my fermented cashew cheese)
Method

Rinse the asparagus and artichokes and get a pot of water under your steamer basket on the hob. I like to add lemon slices, garlic and bay leaves to the steaming water to infuse into the vegetables.

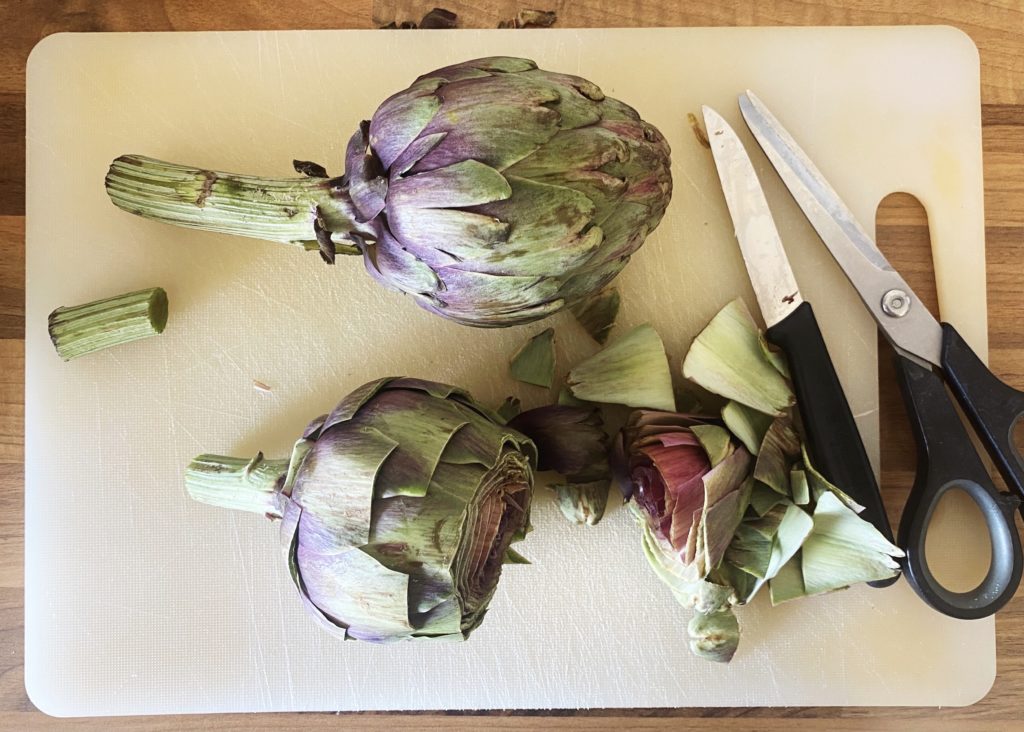
Prepare the artichokes. Slice an inch or so off the tops, remove any small leaves on the steam and trim the steam leaving a good inch or two still attached to the flower head. Use kitchen scissors to cut the spiky top off all the outer petals. You can also use a potato peeler or a sharp knife to peel the stalk.

Put the artichokes into the steamer basket, replace the lid and allow them to steam for at least 20 minutes. They are done when you can easily pull a petal off.

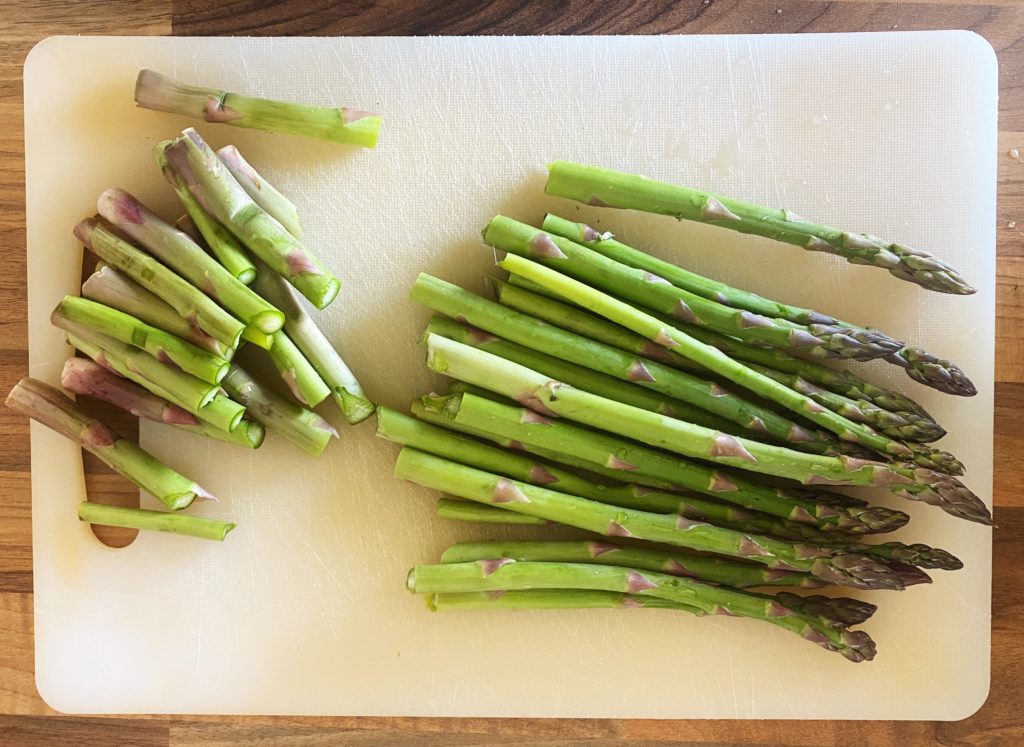
Prepare the asparagus spears by simply snapping off the woody ends. Carefully bend the end and it should break off just past the dried out, tougher woody ends. Those can go in the compost bin or into the freezer to be used in a homemade veggie stock.

Once the artichokes are steamed, add the asparagus spears to the steamer and cook them for just 3-5 minutes or so until they are tender but still with some bite.
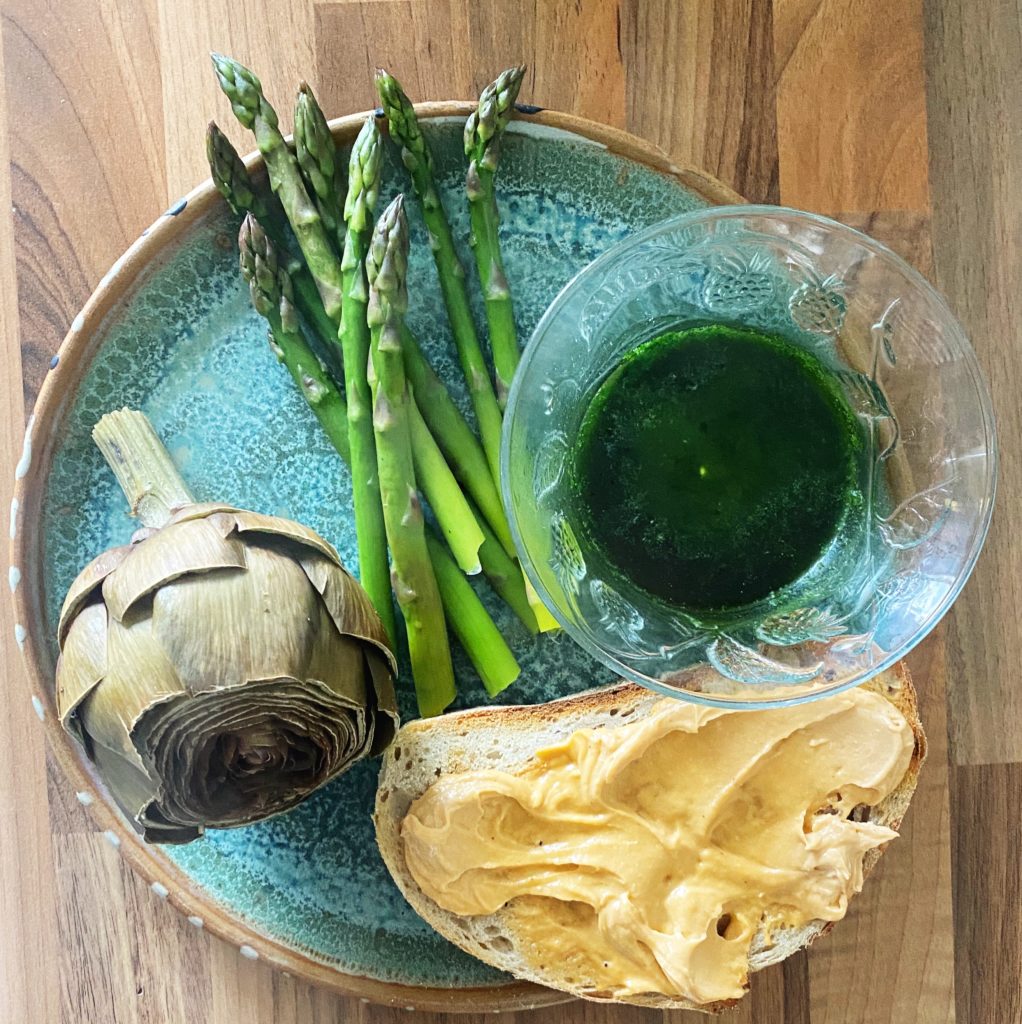
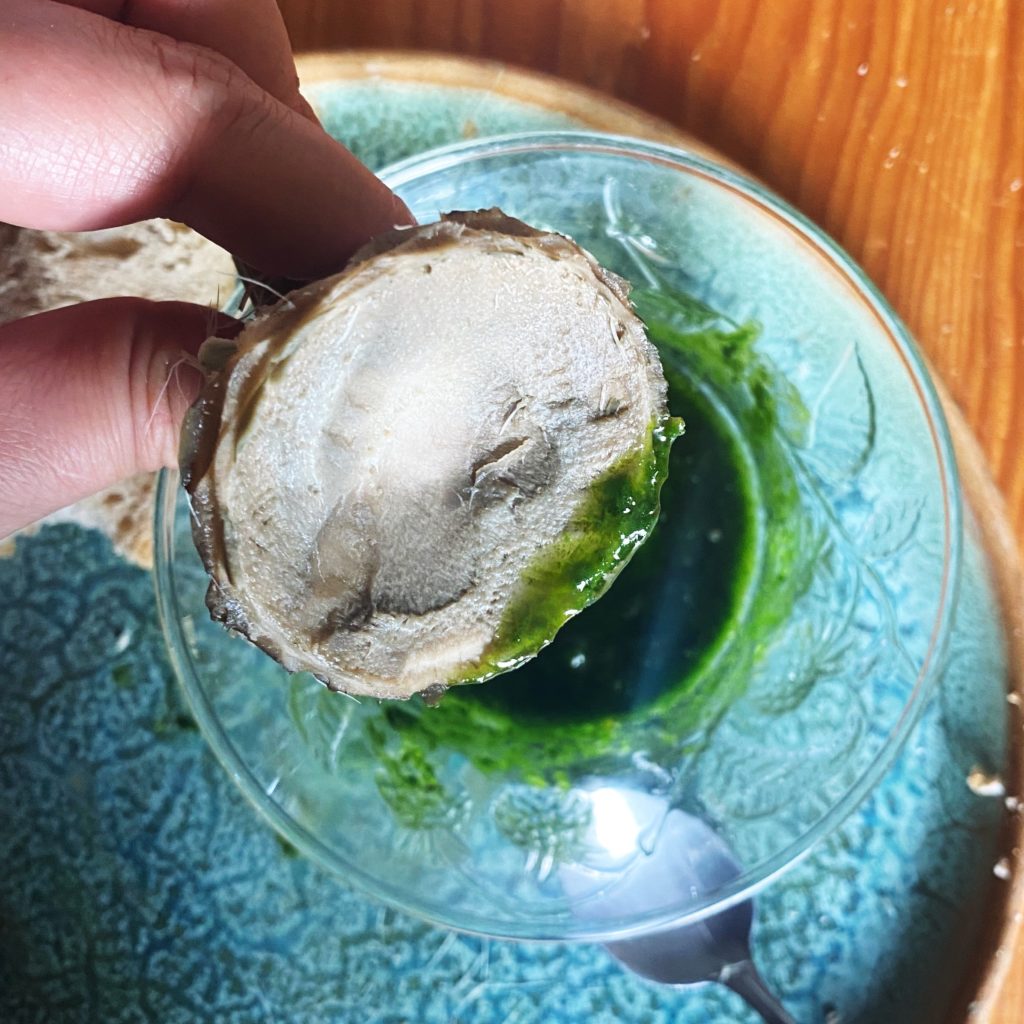
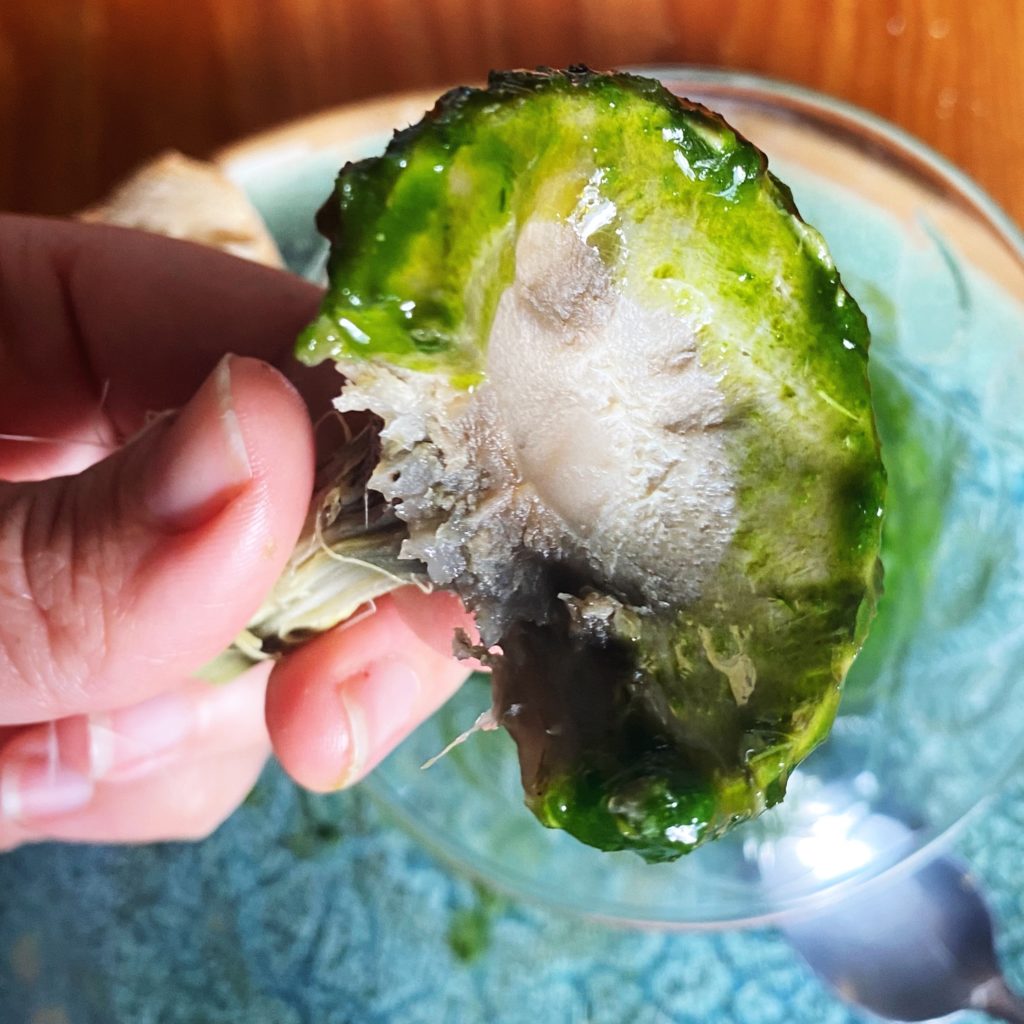
Serve with melted wild garlic butter or your choice of dip (aioli, salsa verde, hollandaise, vinaigrette…) and some toast and cheese. I melted a slice of wild garlic butter for each of us and can highly recommend it.
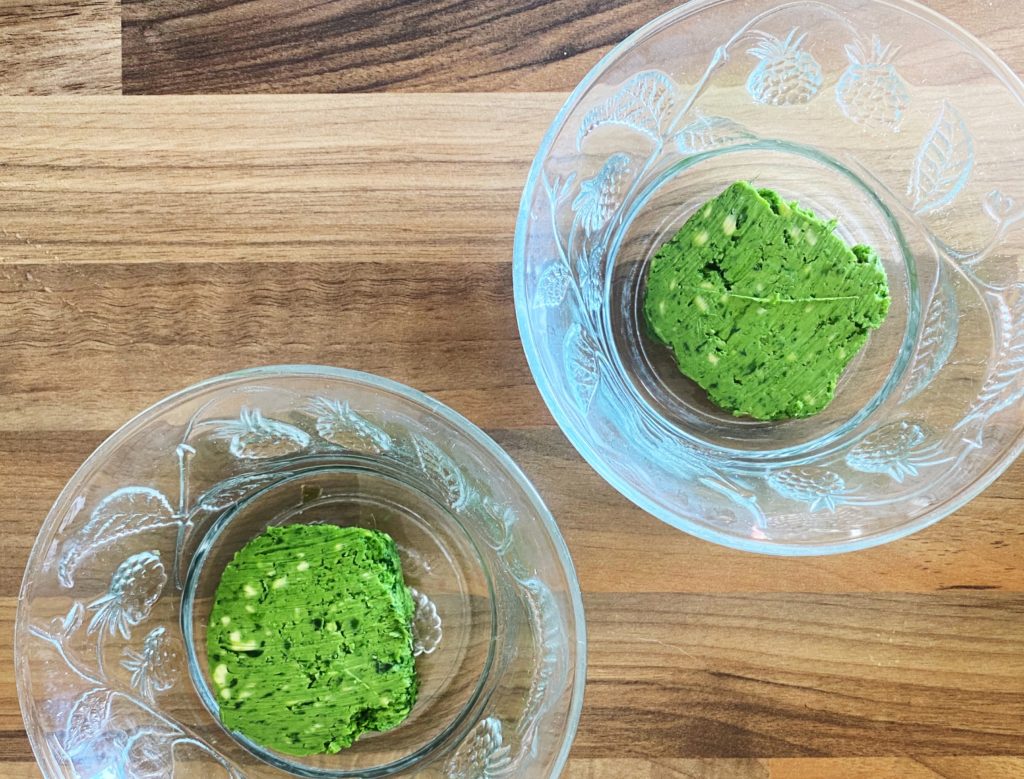
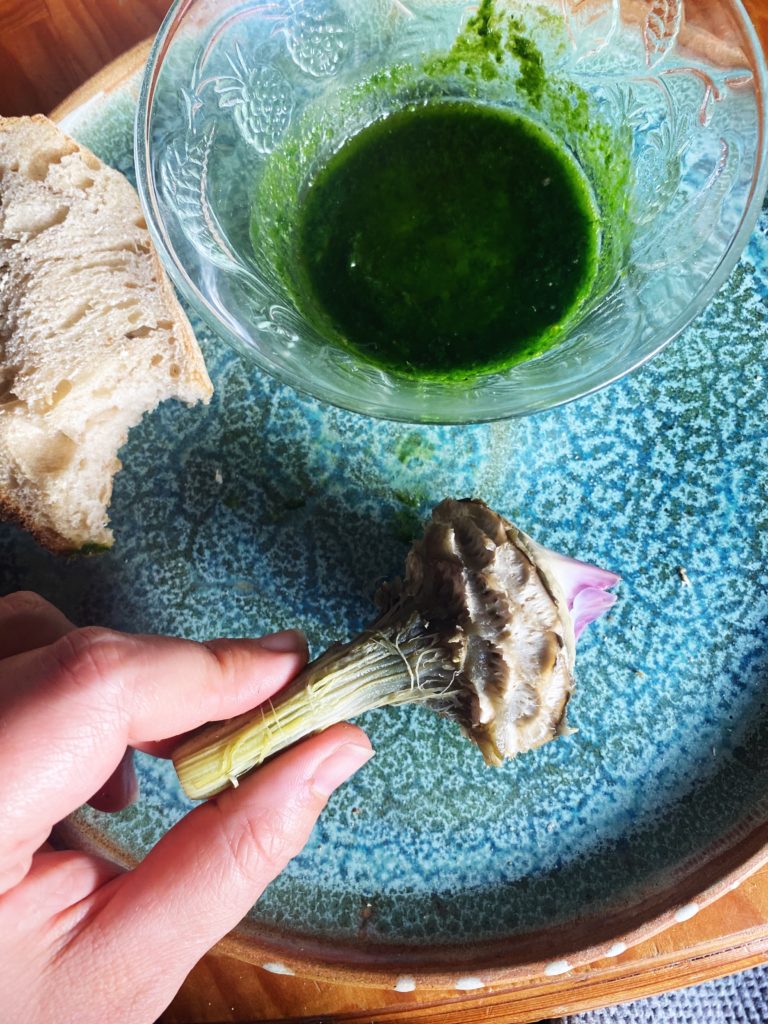
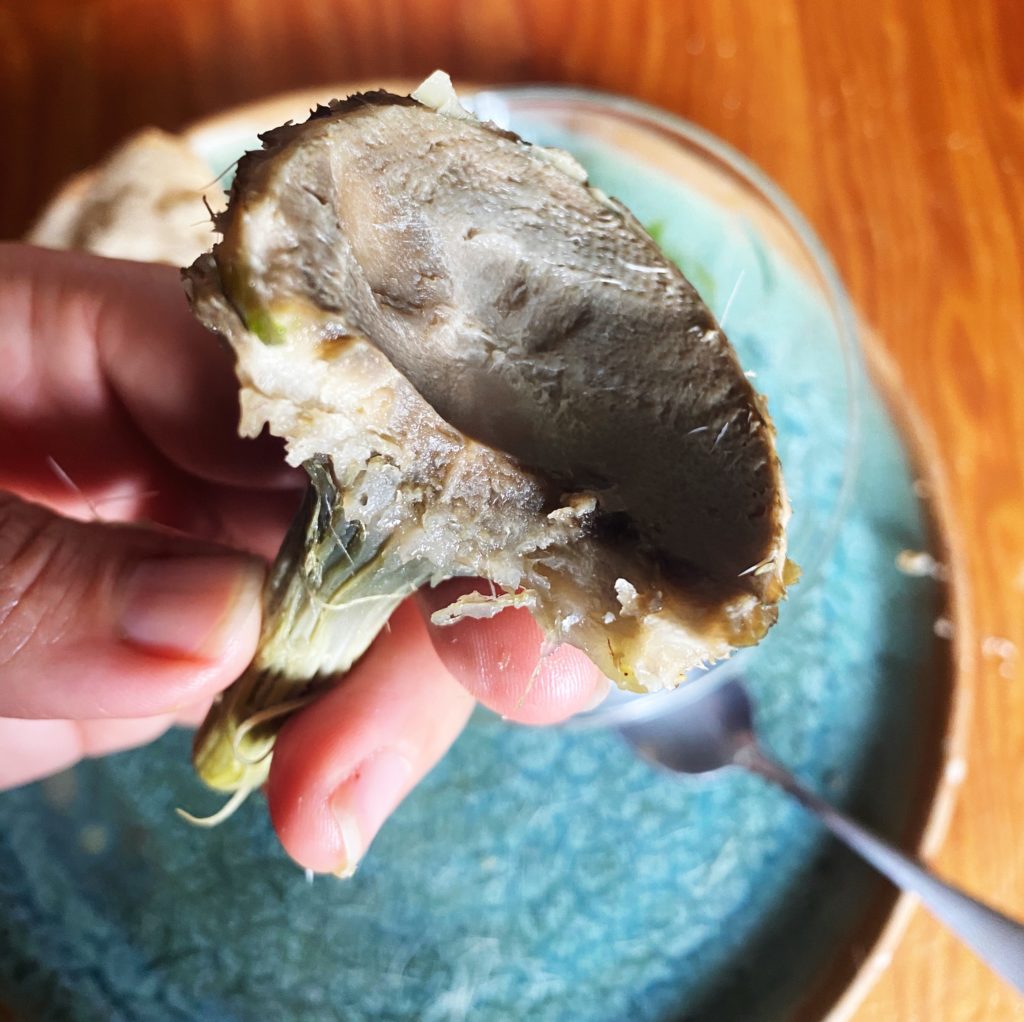
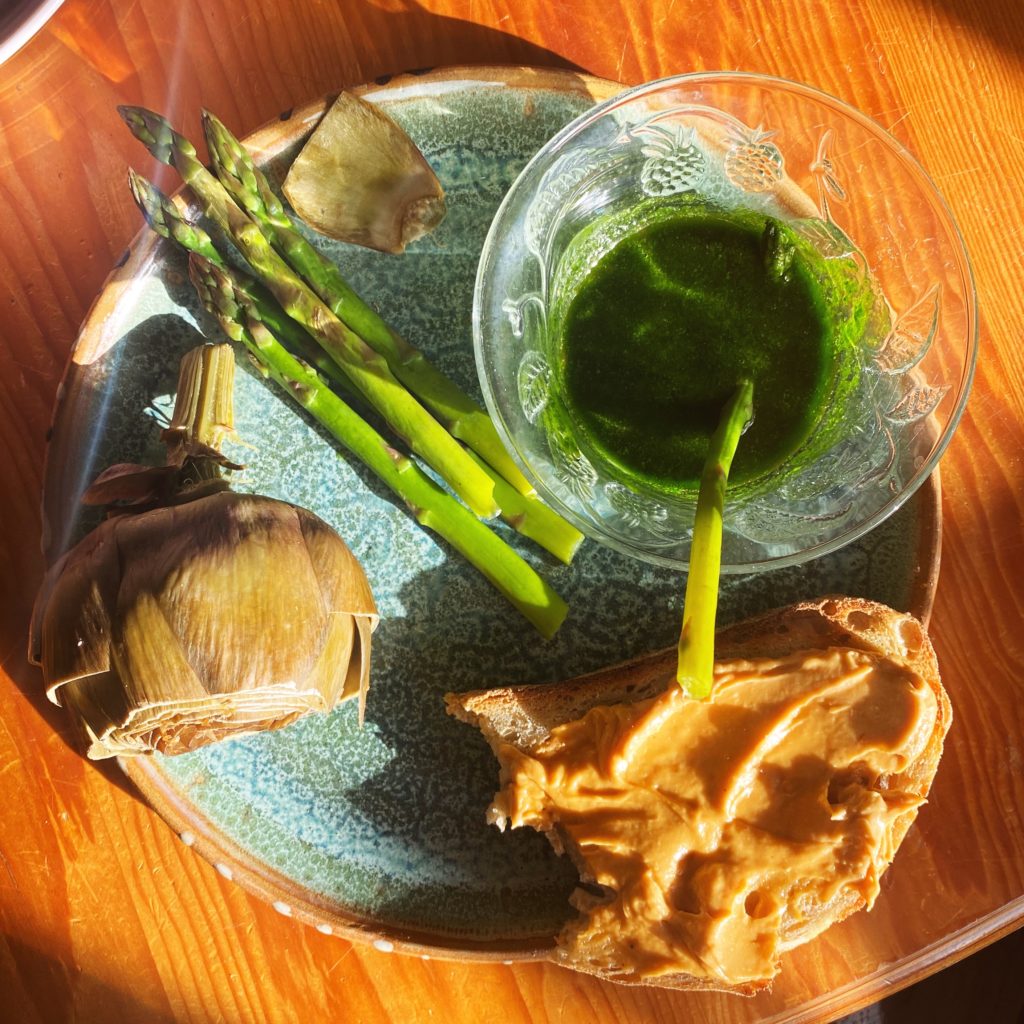
Eat the artichokes by pulling off one petal at a time and dipping it in the melted butter. Then scrape off the tender part with your teeth and keep going until you reach the heart.

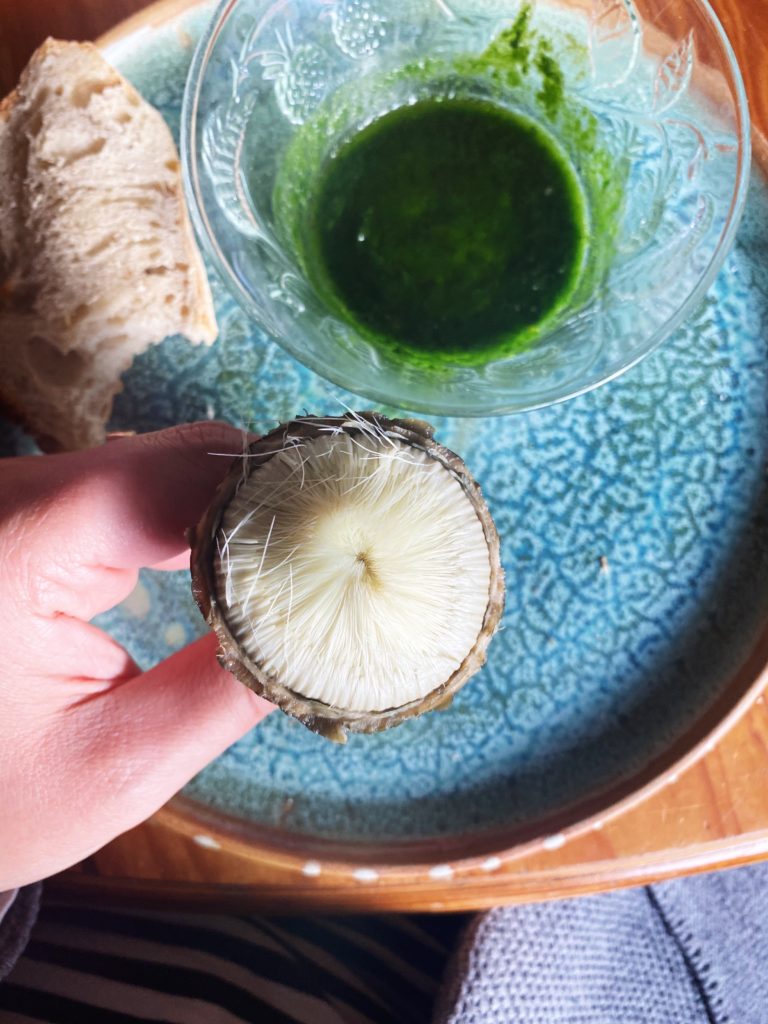
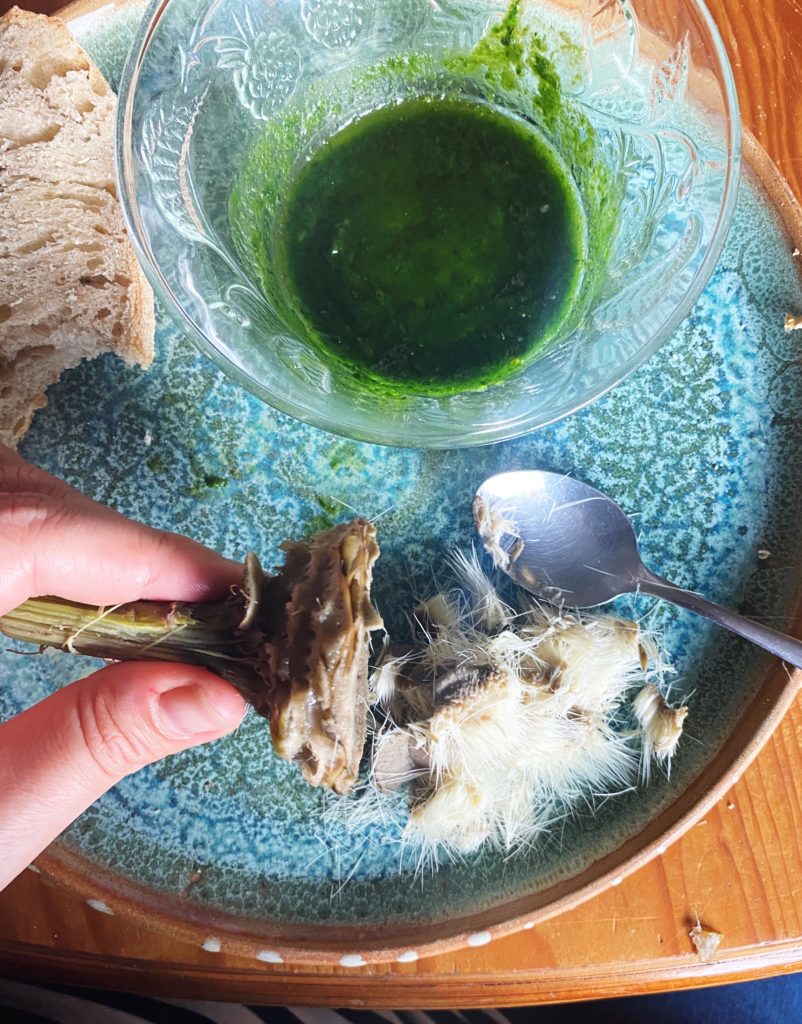
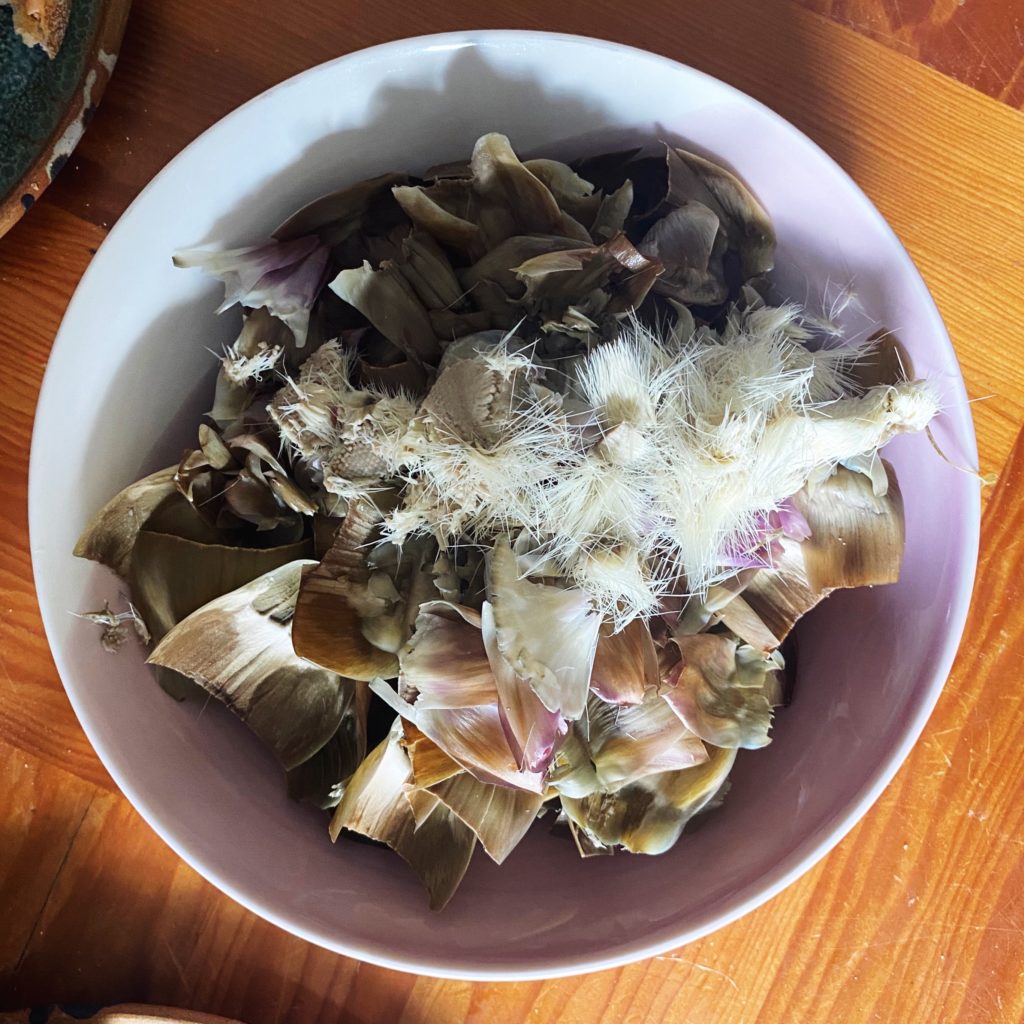
On top of the heart is a fibrous, hairy ‘choke’. Scrape this off using a teaspoon or a knife.

Then eat the delicious heart and as much of the stem that is tender.

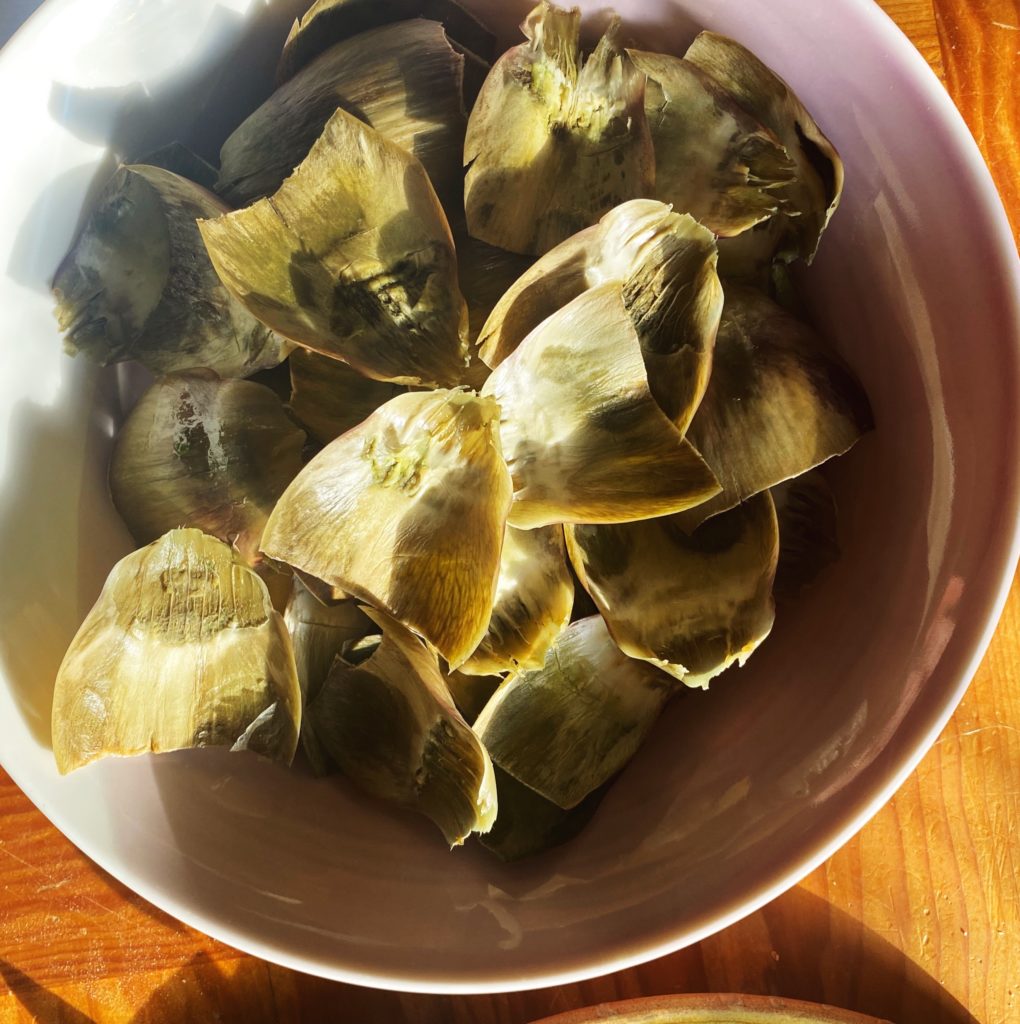
The petals and choke can then be composted. Have a bowl on the table to collect them in as you go.

The asparagus is also incredible dunked in the wild garlic butter. Enjoy!
Kimcheese

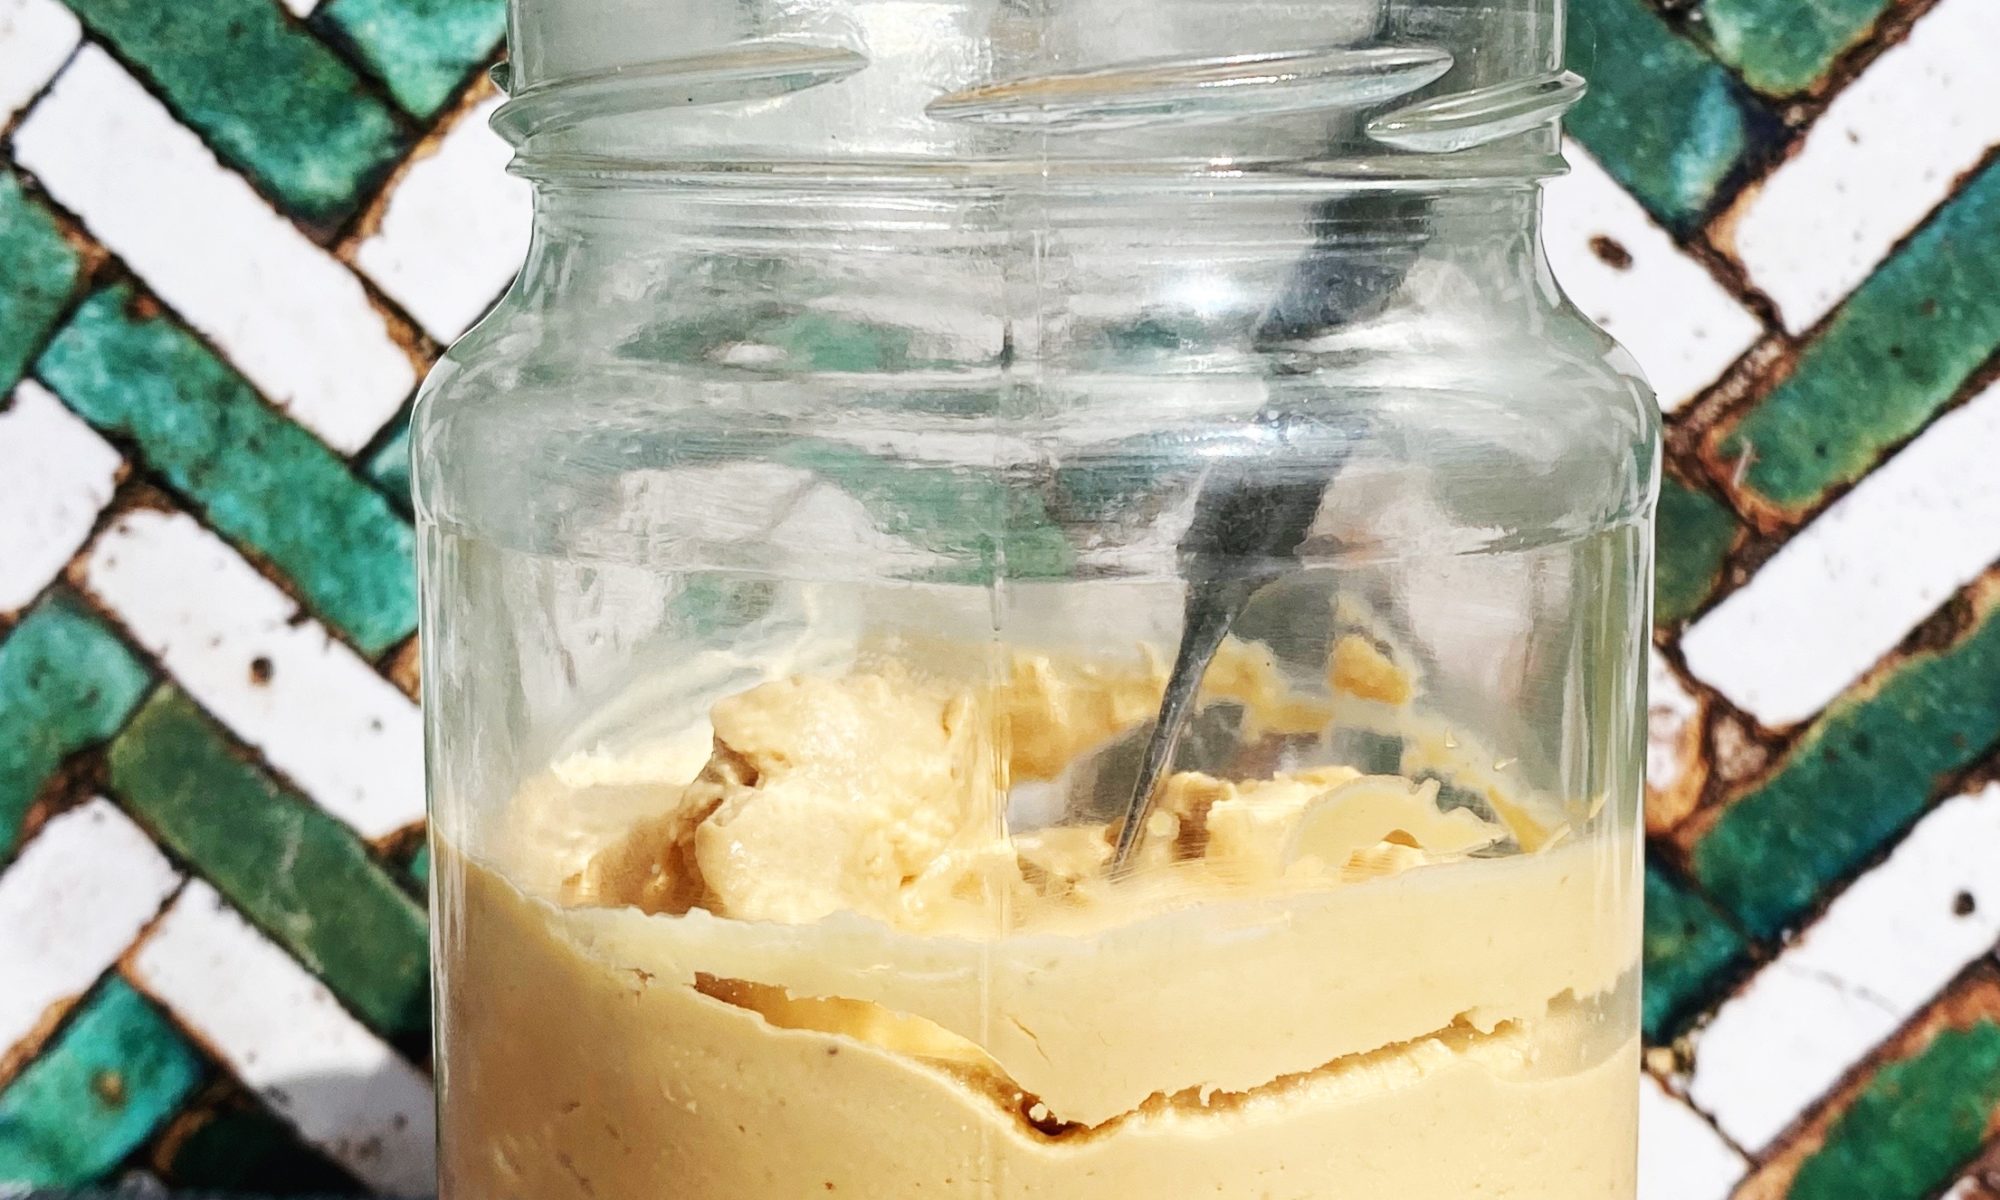
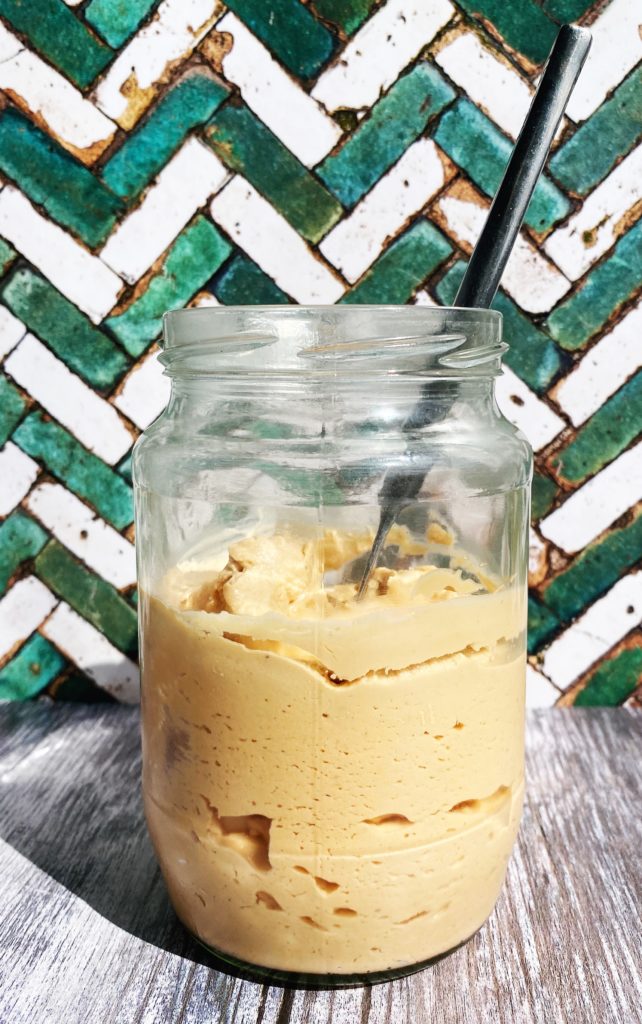
So you’ve made my kimchi and you’ve got a lot of brine left over in the jar after eating it up. Here’s one delicious way to use up that potent, beneficial bacteria infused liquid. Whatever you do, don’t throw it away! If you don’t fancy making this fermented cashew nut cheese with it, drizzle it over rice or noodles or add it to your Bloody Mary in place of tabasco!

Here’s the simple method. If you don’t have your own homemade ferments to inoculate the nuts, then we sell raw, unpasteurised, organic, Irish ferments here which you can add to your next fruit and veg order. You don’t have to use kimchi brine, any left over brine from a fermented product will work.

Liz x

Ingredients

watch the easy method here or read on below

Method

No need for exact measurements. Just put a volume of cashews nuts that you want in your strongest blender.

Add brine from a ferment. It doesn’t really matter how much you add, as long as it is raw and unpasteurised it should have enough bacteria to kick start the fermenting process. Adding more brine will create a stronger flavour of the ferment and a looser, creamier cheese. Less brine will create a thicker cheese.

Blend the nuts and brine until completely smooth and creamy. Taste and add salt to your liking.

Then scrape the cashew cream into a very clean jar. Try to keep it tidy, use a flexible spatular to scrape down the sides and a piece of kitchen paper to wipe around the sides.

Put the lid on the jar and leave it at room temperature in a shady part of your kitchen to ferment to your liking. This could take anywhere between 12 hours and a week depending on how active your starter brine is and how warm your kitchen its. Just keep an eye on it. You’ll notice air bubbles forming as it ferments.

Give it a taste and if it’s sufficiently tangy then it’s ready to be stored in the fridge for about 2 weeks. Use it on crackers, toast or bagels, wraps and sandwiches, as a dip with salad and crudités… anywhere you like soft, creamy, tangy cheese. Enjoy!
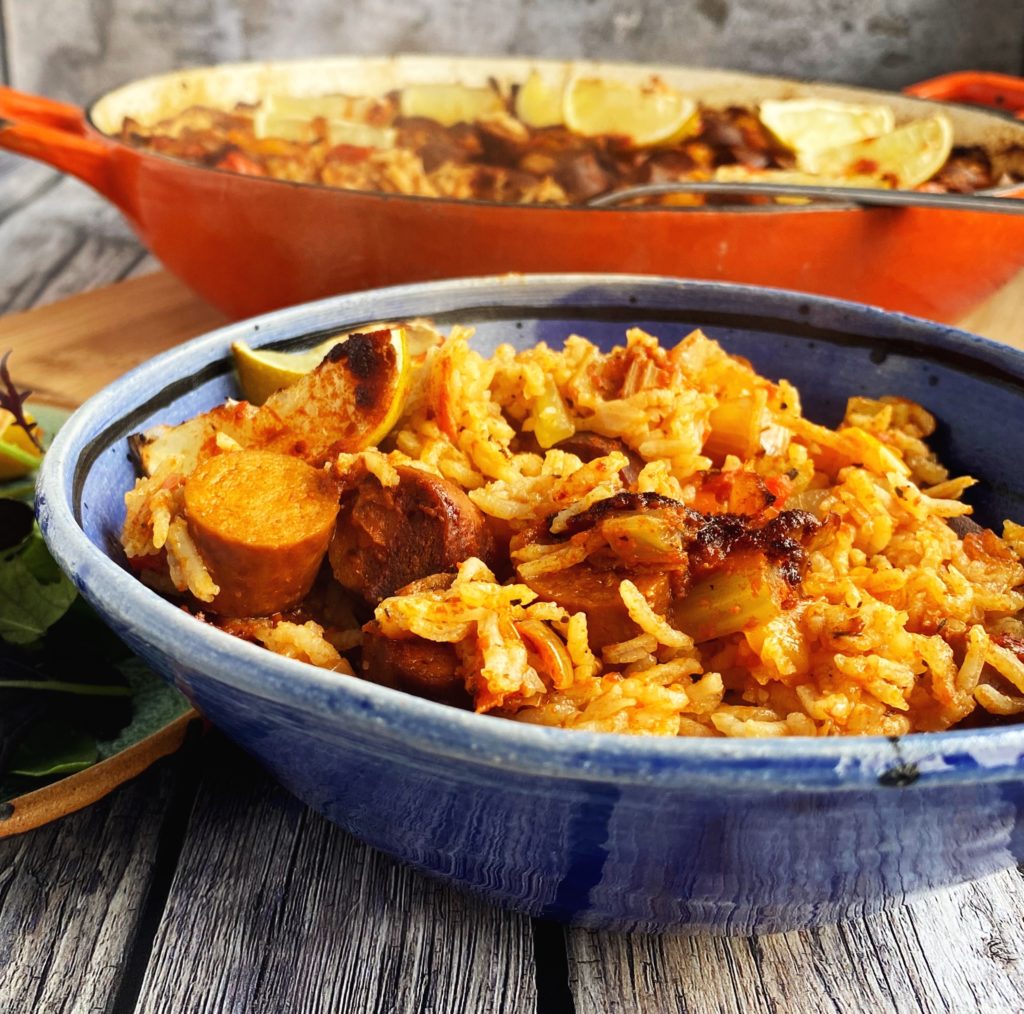
Jambalaya

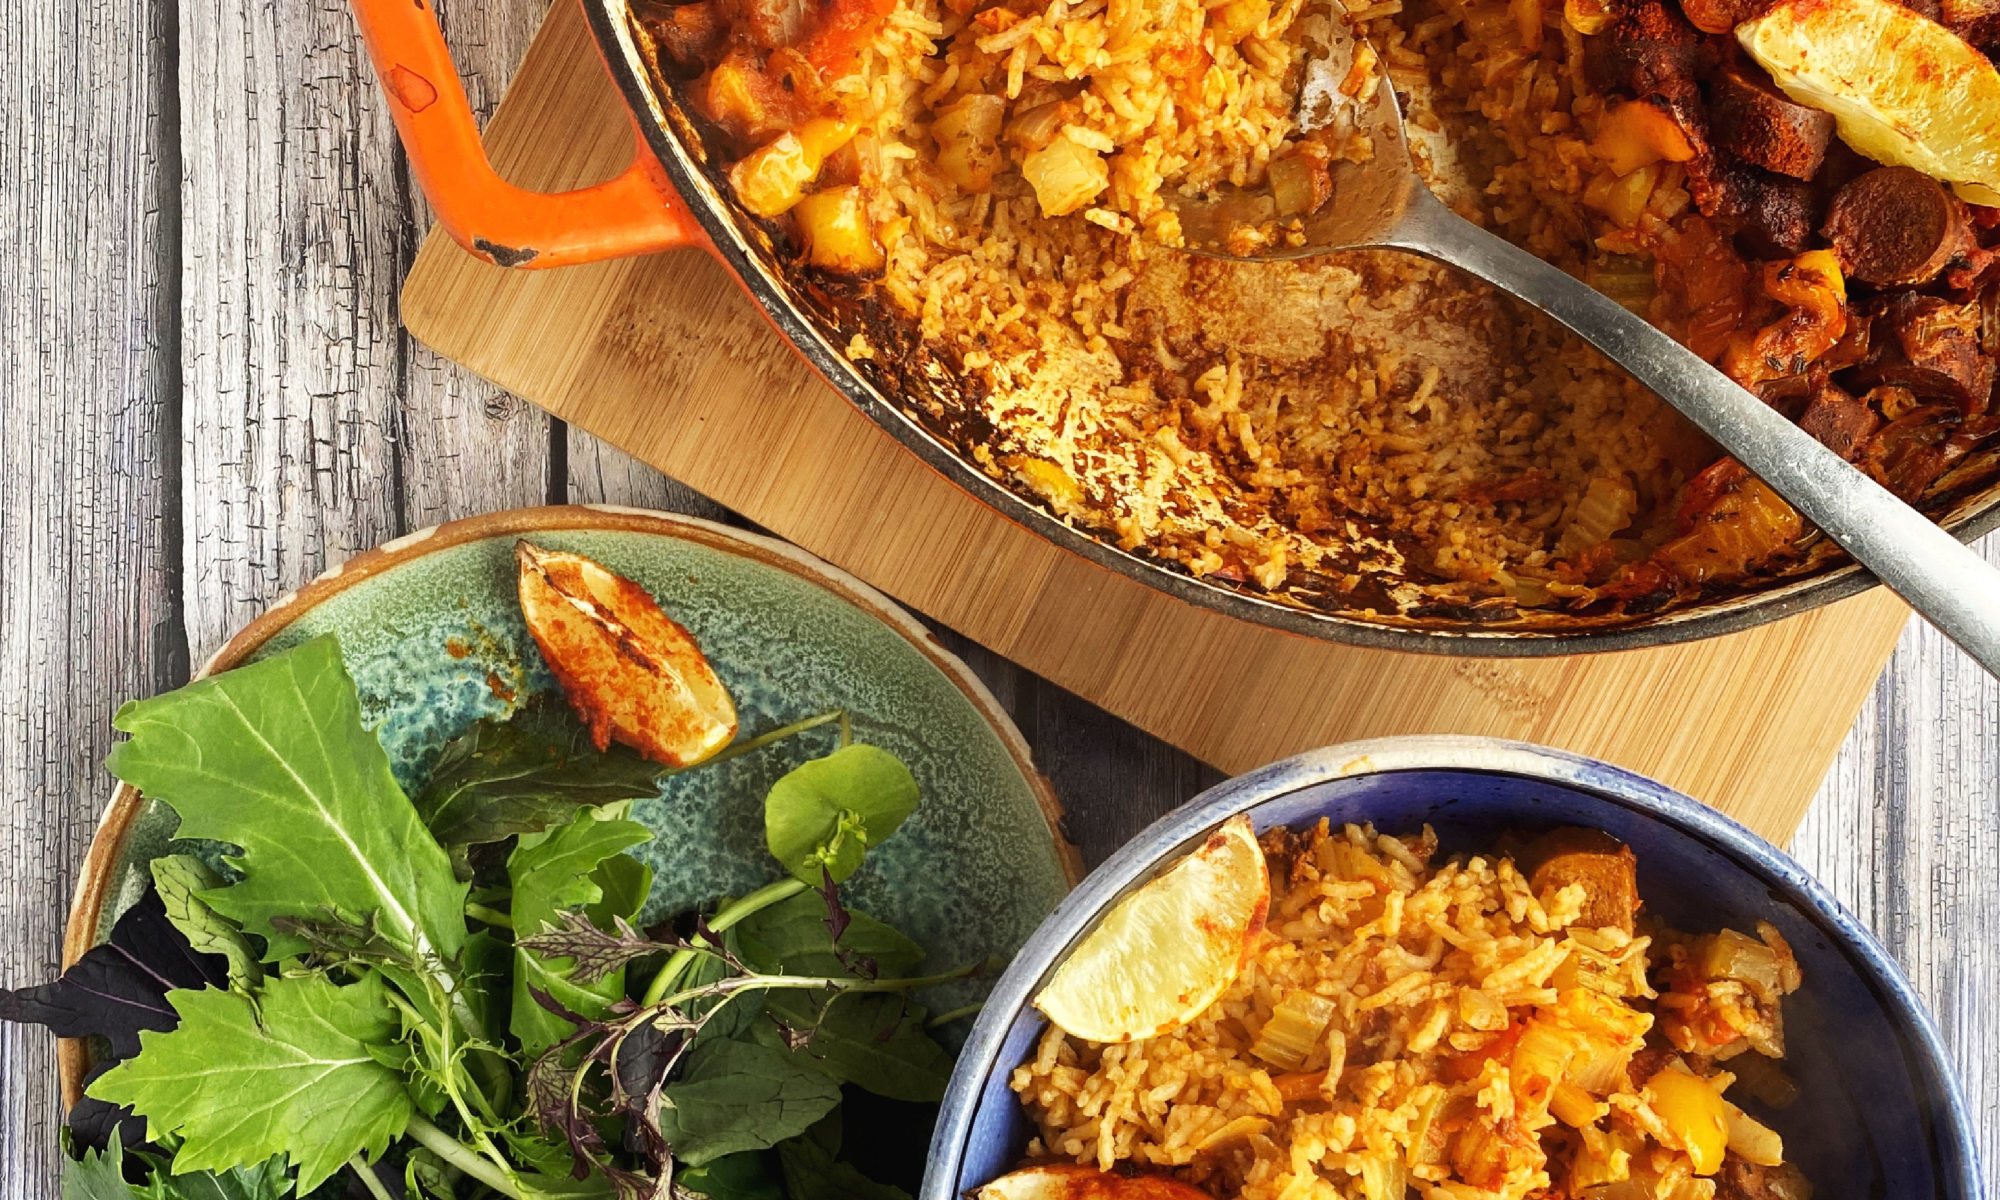
Jambalaya is a delicious one-pot rice dish from Louisiana, a cultural melting pot with French, Caribbean and African influences. It’s a little like a paella but some of the ingredients and seasonings are different. Rather than saffron, the main flavours are cayenne pepper and thyme with smokiness from the sausages and smoked paprika.

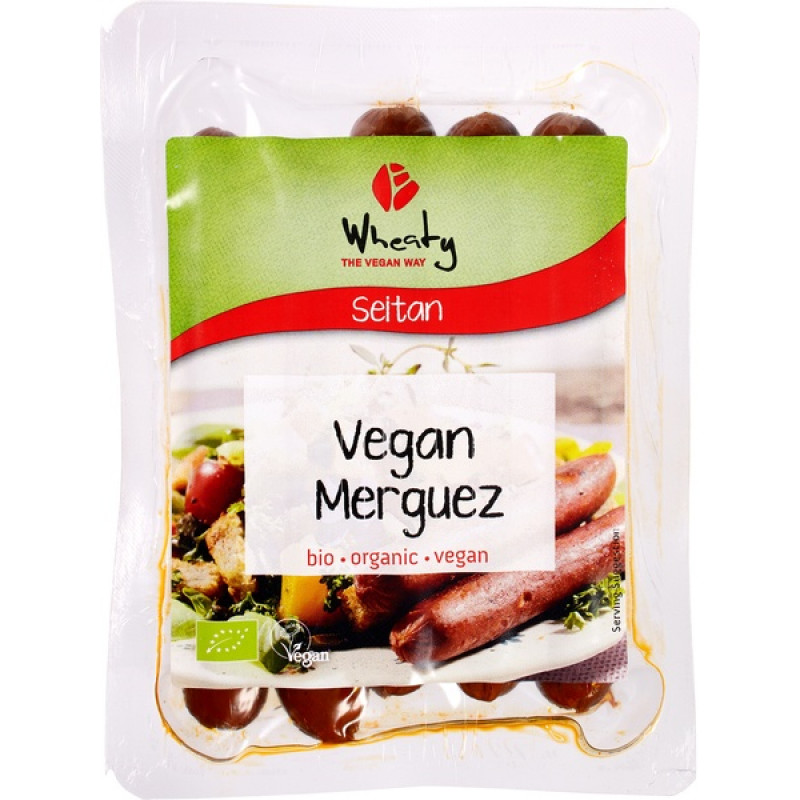
We just added these new vegan smoked sausages to our shop so I just had to try them in a jambalaya and they work perfectly! Head to our shop and add them to your next fruit and veg order to give them a try. Liz x

Ingredients (serves 4)

  • 2 tbsp olive oil (plus extra for drizzling)
  • 1 onion
  • 3 sticks of celery
  • 2 peppers (any colour of a mix)
  • 4 cloves of garlic
  • 2 packs of smoked sausages (or substitute with mushrooms and red beans plus some extra smoked paprika)
  • salt and pepper to taste
  • 2 heaped tsp smoked paprika (plus extra)
  • 1 tsp cayenne pepper (or to taste)
  • 3 tsp dried thyme (or fresh is even better)
  • 1 tsp dried oregano
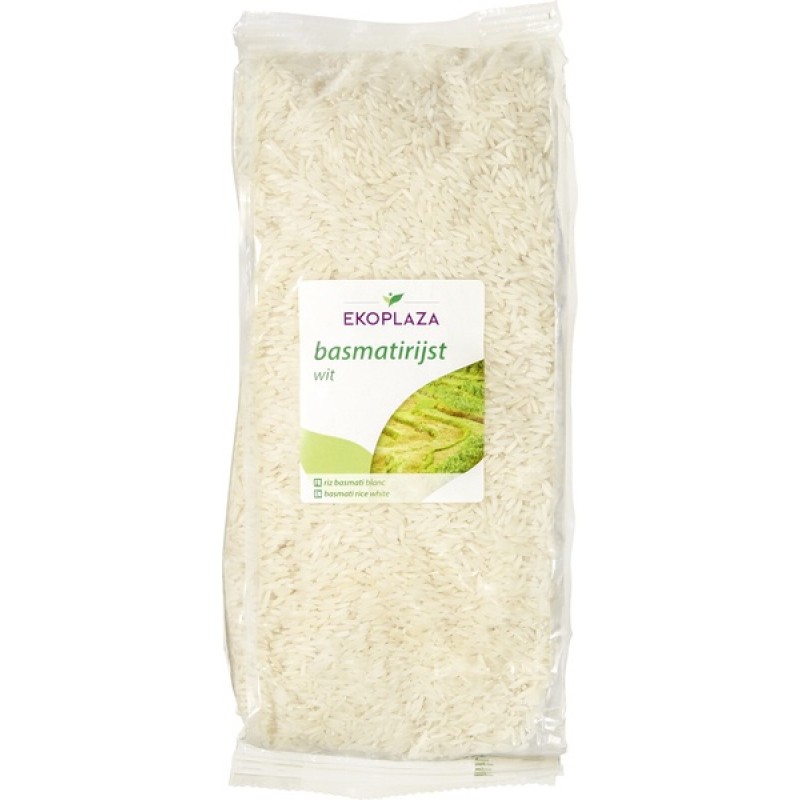
  • 1 mug basmati rice
  • 1 tin chopped tomatoes (or 4 chopped fresh tomatoes)
  • 2 limes
watch how it’s made here or read on below

Method

Pre-heat your oven to 200C and find an oven and hob safe pan with a lid. Alternatively you could use a baking dish and some tin foil or a baking sheet. Instead of sautéing on the hob, the base ingredients can be roasted in the oven.

Start by dicing your onion, celery and peppers and sautéing them with the olive oil until just starting to soften.

Then chop the garlic and add it to the pan.

Cut the smoked sausages into bite size pieces and add them to the pan too. Then sauté everything together, stirring often, to seal the ingredients and so they start to caramelise and take on some colour. This takes about 10 minutes.

Add the herbs and spices to the pan and season with salt and pepper – stir to combine.

Rinse the mug of basmati rice and add it to the pan along with the tin of chopped tomatoes. Add two tins of water then stir to evenly disperse all the ingredients. Taste the broth and adjust the seasoning if needed with more salt or spices.

Put the lid on the pot and let it come up to a gentle boil. As soon as it is hot and bubbling, move the pan into the oven, lid on, so that the rice can bake and absorb all the liquid. This should take about 20 minutes for white rice.

Once the rice has absorbed all the liquid, remove the lid and you can serve it as it is or return it to the oven for a further 5 minutes with wedges of lime, a drizzle of olive oil and a sprinkle of smoked paprika. This creates a delicious crust on the rice and lightly charrs the lime wedges, making them sweet and extra juicy.

Serve with the roasted lime wedges to squeeze over the rice and a simple green salad. Enjoy!
Rekindling our Connection with Food

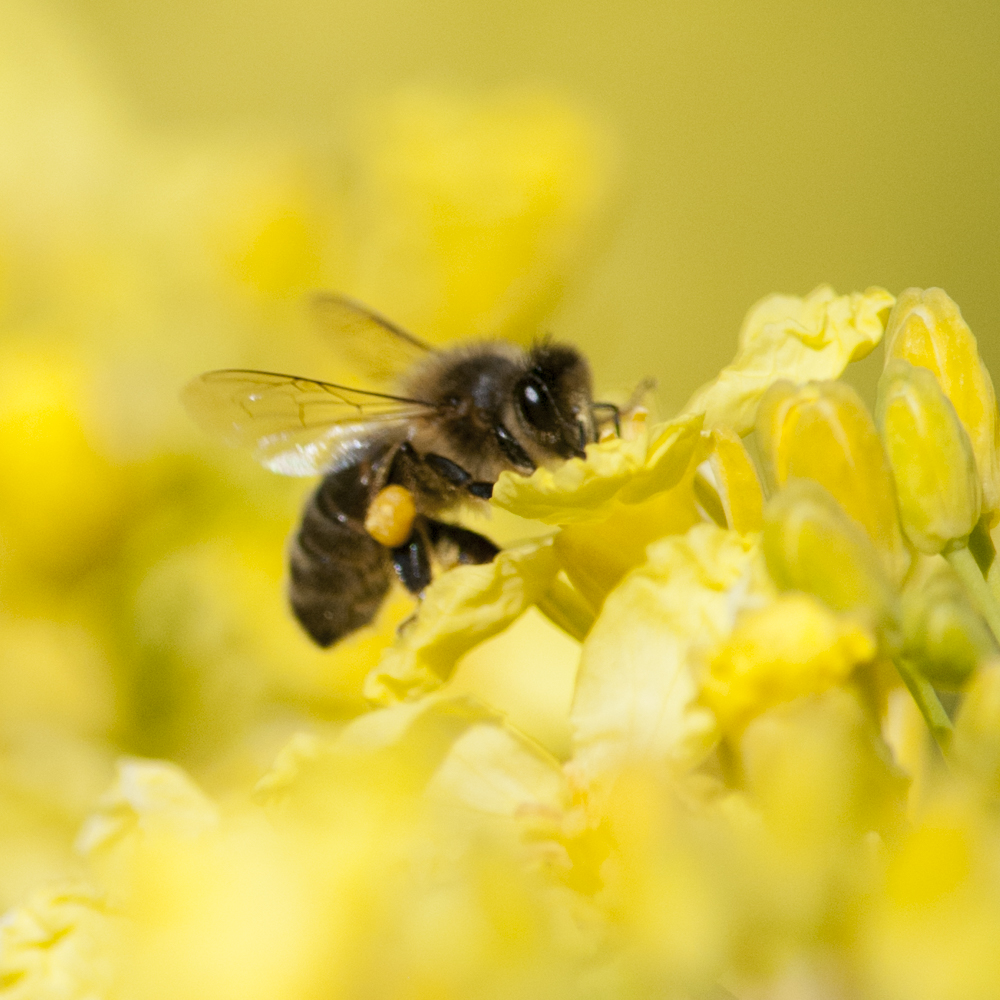
Bees and other pollinators enjoying the kale we leave to flower each year

The art of producing food is marvellous and tough, and on sunny days it is a privilege.

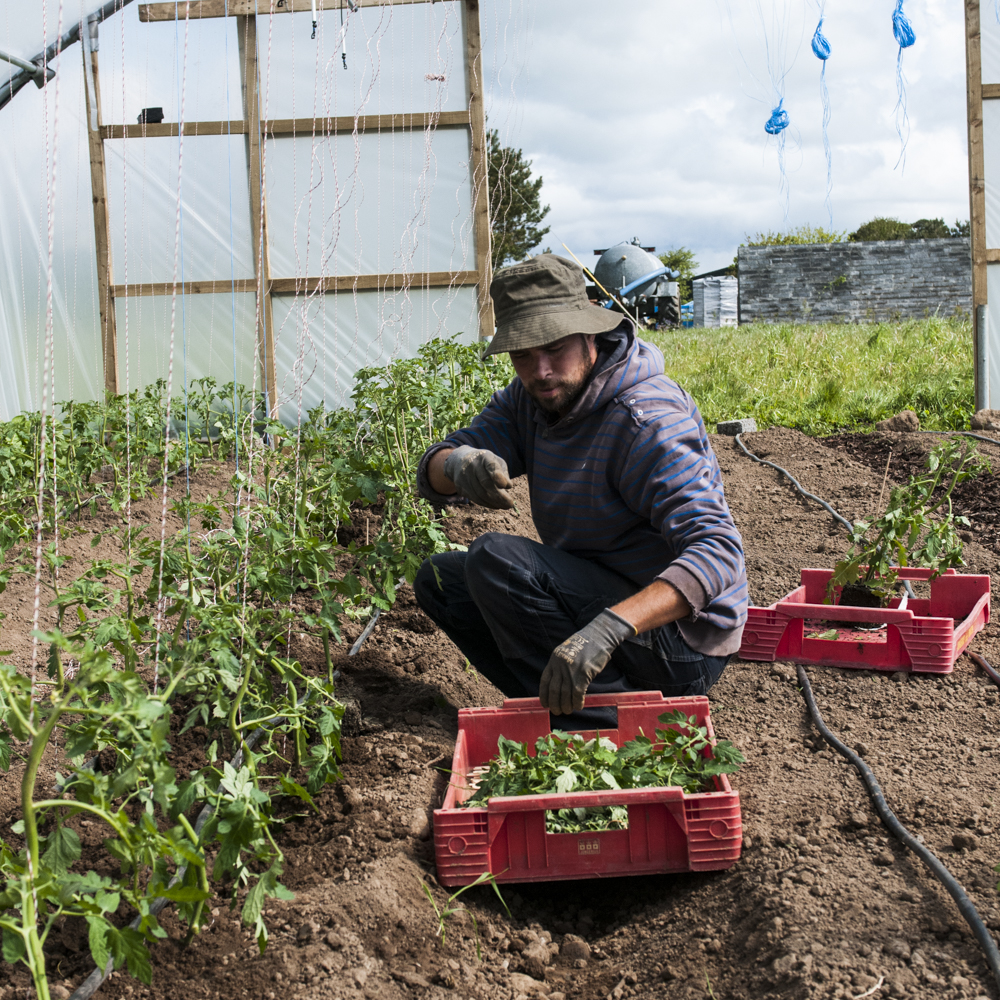
We talk about food all the time here, we grow it, we sow the seeds, we watch the plants grow, we fertilise the soil, we control the weeds and hope we have the right mix to ensure the plants grow healthy and pest free.

We spend the time in between managing the crops, maintaining the land, planting trees, growing hedging, sowing wildflowers for the bees, harnessing the power of the sun, these are all things we do.

We see first-hand the connection between the fresh produce and the cooked food on our plate. We can see how the process of growing healthy food from healthy soil creates local employment and impacts on our locality positively. Sustainable agriculture is good for all and it benefits the environment immeasurably.

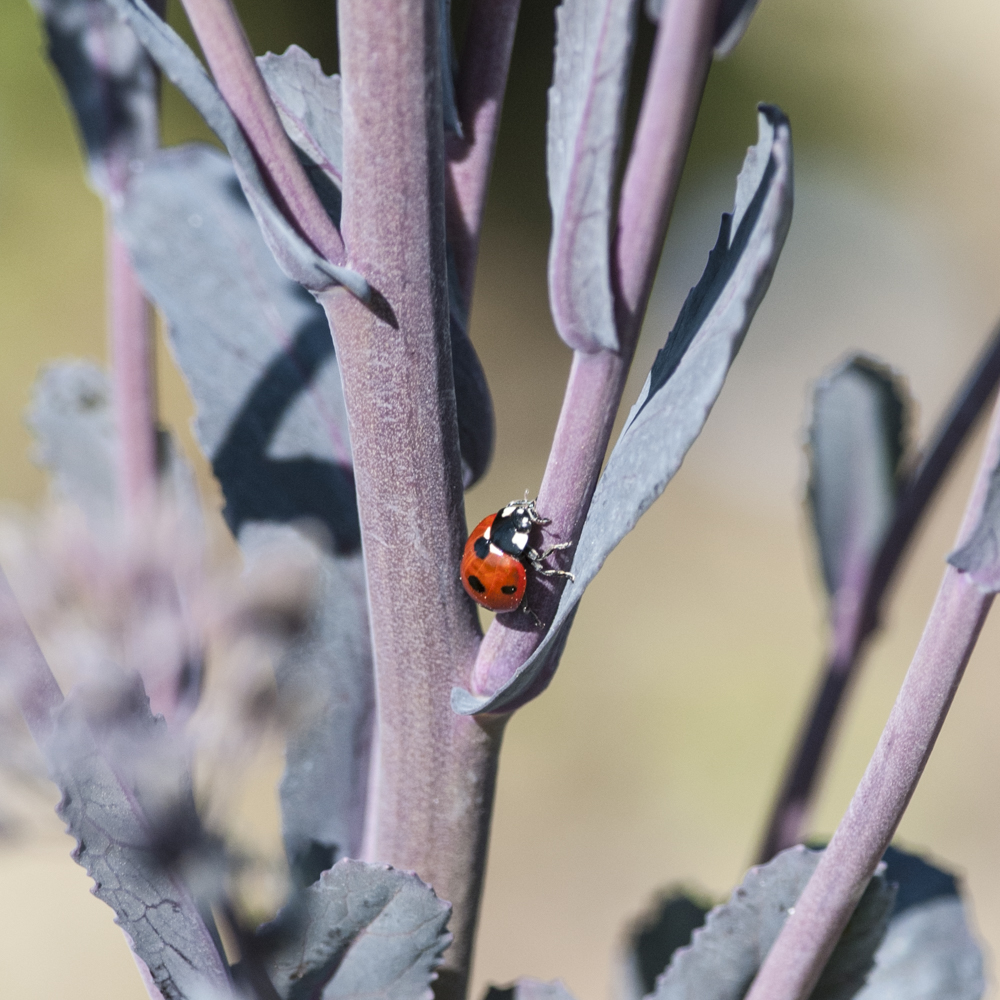
Natures’ pest control – a healthy balance on predators and prey naturally occurs on organic farms

We see more bees, and flies, and insects on our farm and we feel there is a balance as we rarely see an out-of-control pest issue. We see more birds, and wild life, we see the land thrive, just this week I saw a giant hare saunter past one of our polytunnels.

Not only that, but organic food is so much better for us, of course it hasn’t been sprayed and so is free of harmful chemicals, but it is also just better nutritionally.

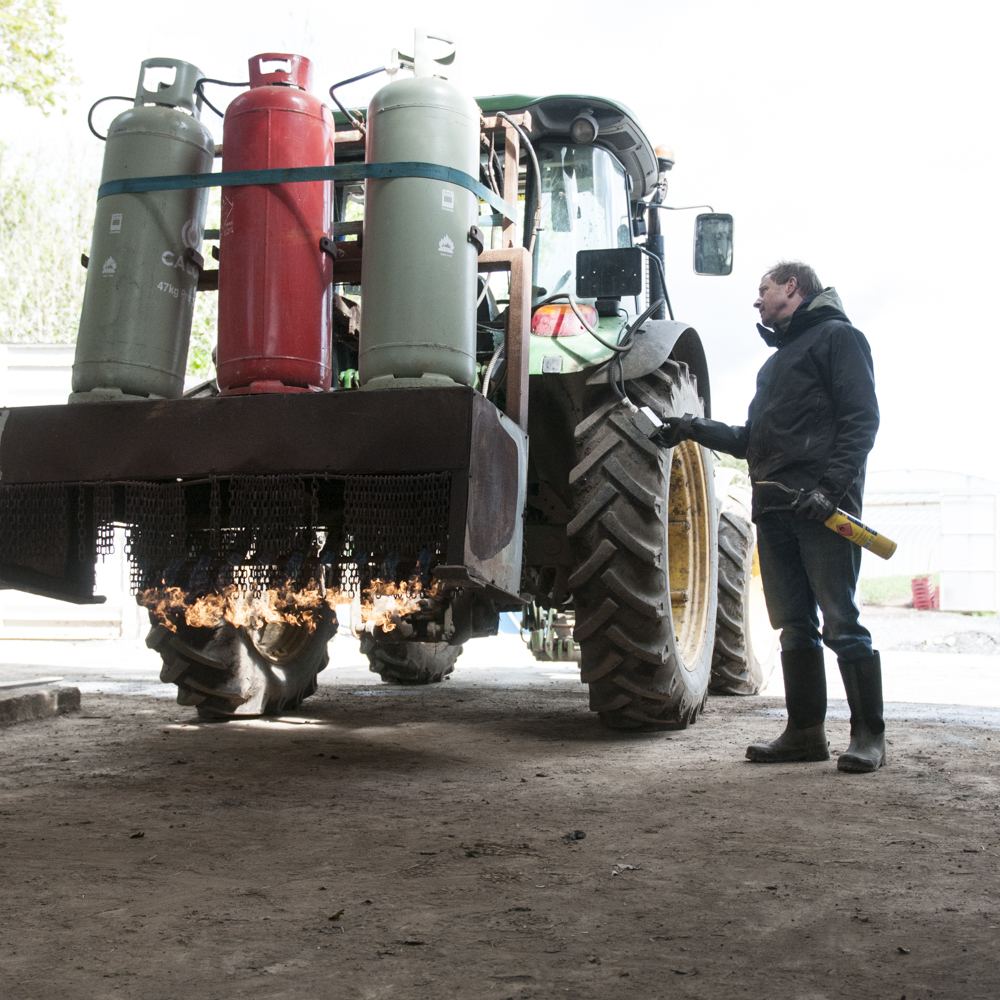
Weed burning rather than spraying chemicals before we plant out this years’ crops

A comprehensive study carried out by David Thomas has demonstrated a remarkable decrease in mineral content in fresh produce over 50 years, comparing food grown in 1941 to food grown in 1991. To the extent that today you would need to eat 6 apples to get the same nutritional value you got in 1941 from eating 5 apples. In some cases mineral levels have dropped by as much as 70%.  

The use of highly soluble fertilisers, pesticides and herbicides and the intensive production of food has led to land that is lifeless and food that is less healthy and less nutritionally dense, this reflects the remarkable connection between our food and the health of our soil. 

There is no way we could know this, as a population we are in danger of losing our connection with the land and our food. This is not our fault, the food system that is championed by supermarkets and giant food producers has made it this way. 

Imagine though if we could see the impact of our positive choices, if we could somehow rekindle that connection with our food? Over the past year it seems we have been remaking that connection.

We are reconnecting with our food by cooking and touching and smelling and seeing how our food is grown. We are redeveloping that connection with nature and this is something we can pass onto our children, we can show them that there is a great, fun and fantastically positive way to live and eat. Although from what I have seen recently it is the children who are teaching us!

Kenneth

Wild Garlic Butter Parathas

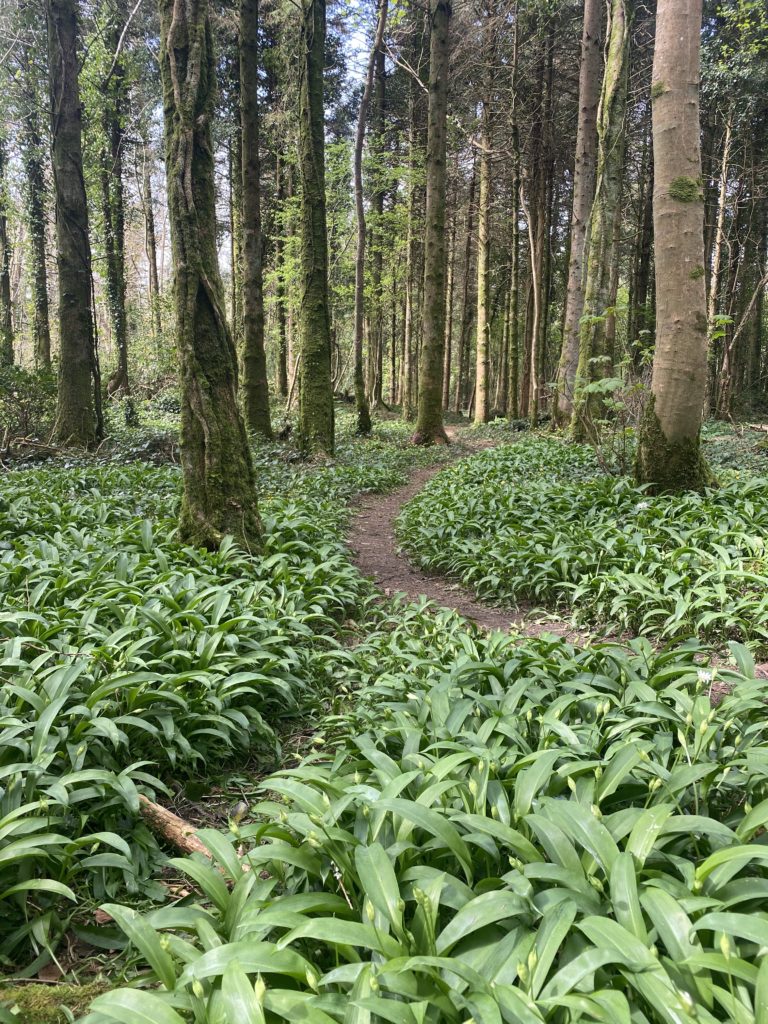
Wild garlic is in season now and abundant in the woods around Galway. Do you have any growing near you? It’s one of my favourite things to forage and it’s long, pointed green leaves, white flowers and garlicky aroma are pretty much unmistakable. But, as with all foraging, please make sure you know what you are picking before you head out! Never pull the plant out by its small bulb, simply pinch off the green leaves and leave plenty for wildlife and biodiversity.

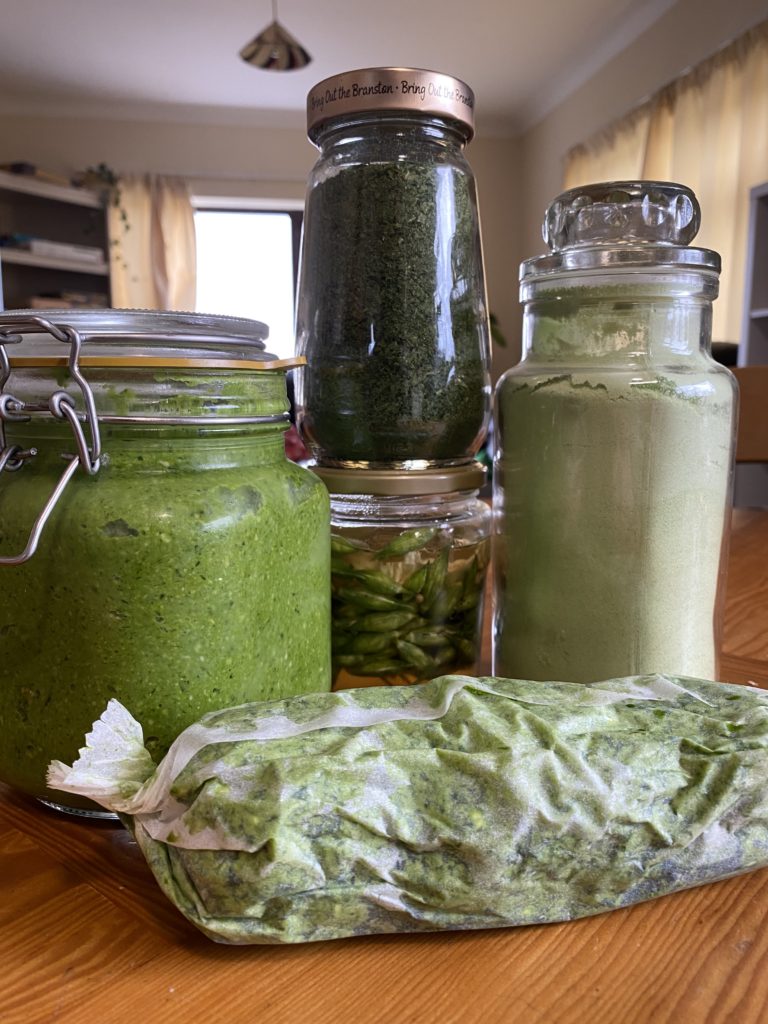
This year I made my usual batch of wild garlic pesto along with dehydrating some and turning it into a powder, blending some with salt and dehydrating it to make wild garlic salt, any flower buds that made their way into my bag were pickled and I blended a few handfuls with a couple of blocks of vegan butter which is absolutely incredible! I have used it in baked potatoes, roasted mushrooms, garlic bread and now this, our new obsession – parathas!

Parathas are laminated Indian flatbreads, flakey, buttery and oh so delicious! Here’s my easy recipe which we eat alongside red lentil dal and Indian pickles. Give the recipe a try and let me know what you think! Liz x

Ingredients (makes 8 parathas)

  • 2 mugs of plain flour plus a little extra for dusting/rolling etc (you can use plain flour, strong bread flour or an authentic atta flour)
  • 1/2 tsp salt
  • 1 mug of water (or enough to make a soft dough – different flours have different rates of absorbency so add a little at a time and adjust with more flour/water as needed)
  • Optional extras like a tsp of nigella seeds, cumin seeds, brown mustard seeds, turmeric and black pepper are nice to add if you like
  • butter/wild garlic butter/coconut oil – melted

Method

Start by making your dough. Measure the flour and salt (and optional extra spices – we used nigella seeds this time) into a large bowl and mix to combine.

Add the water and mix into a sticky dough. Then tip out onto a lightly floured work surface and knead well until the dough is smooth and stretchy. Add more flour/water if needed to get the right consistency. Put the kneaded dough back into the bowl and cover it with a damp tea towel. Let it rest in the fridge so that it is easy to roll out – 30 minutes to an hour is normally sufficient.

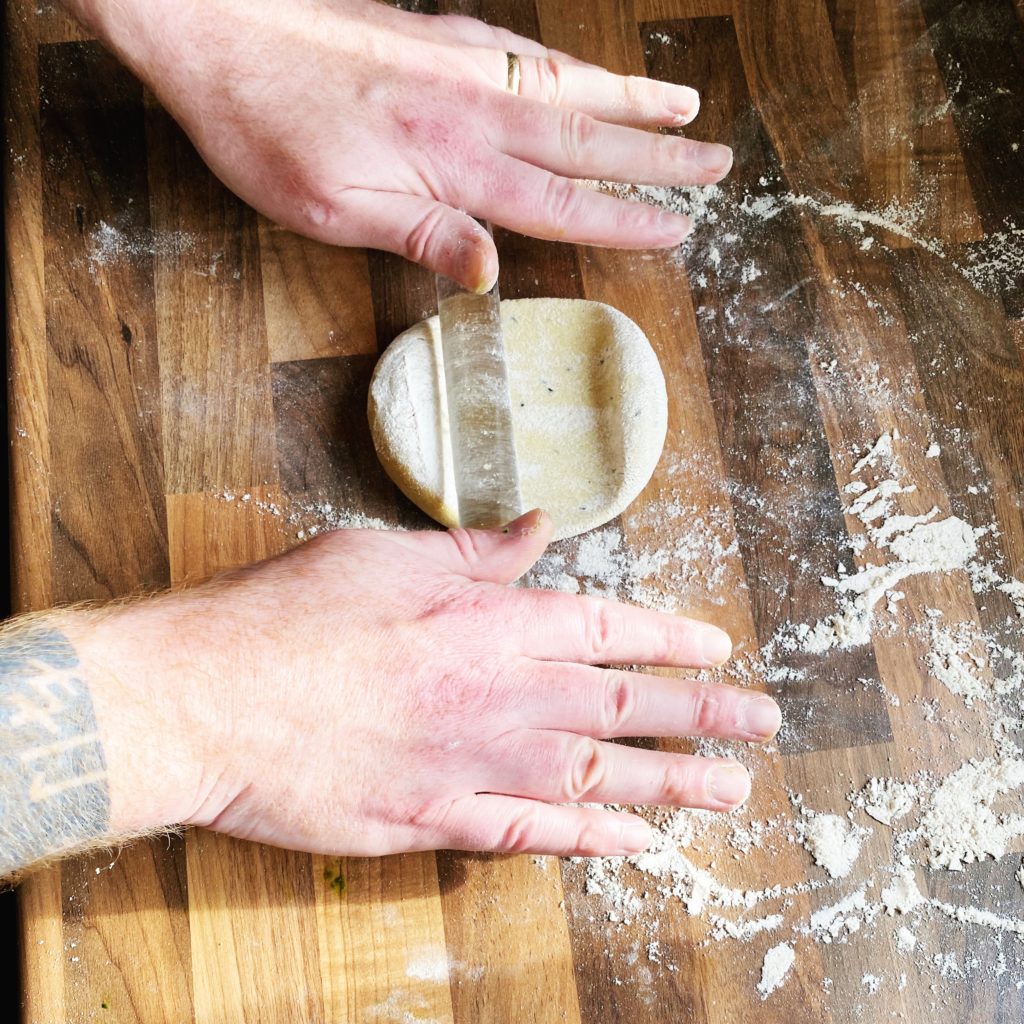
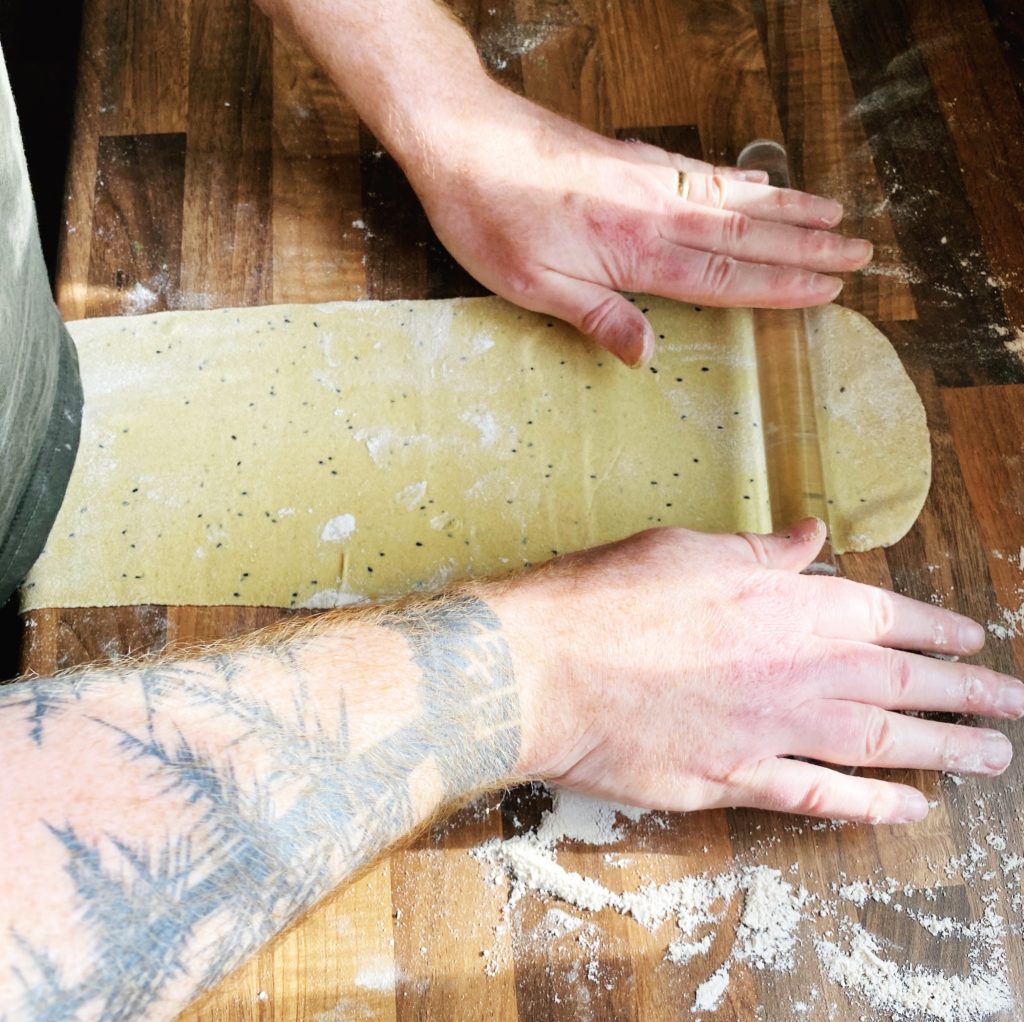
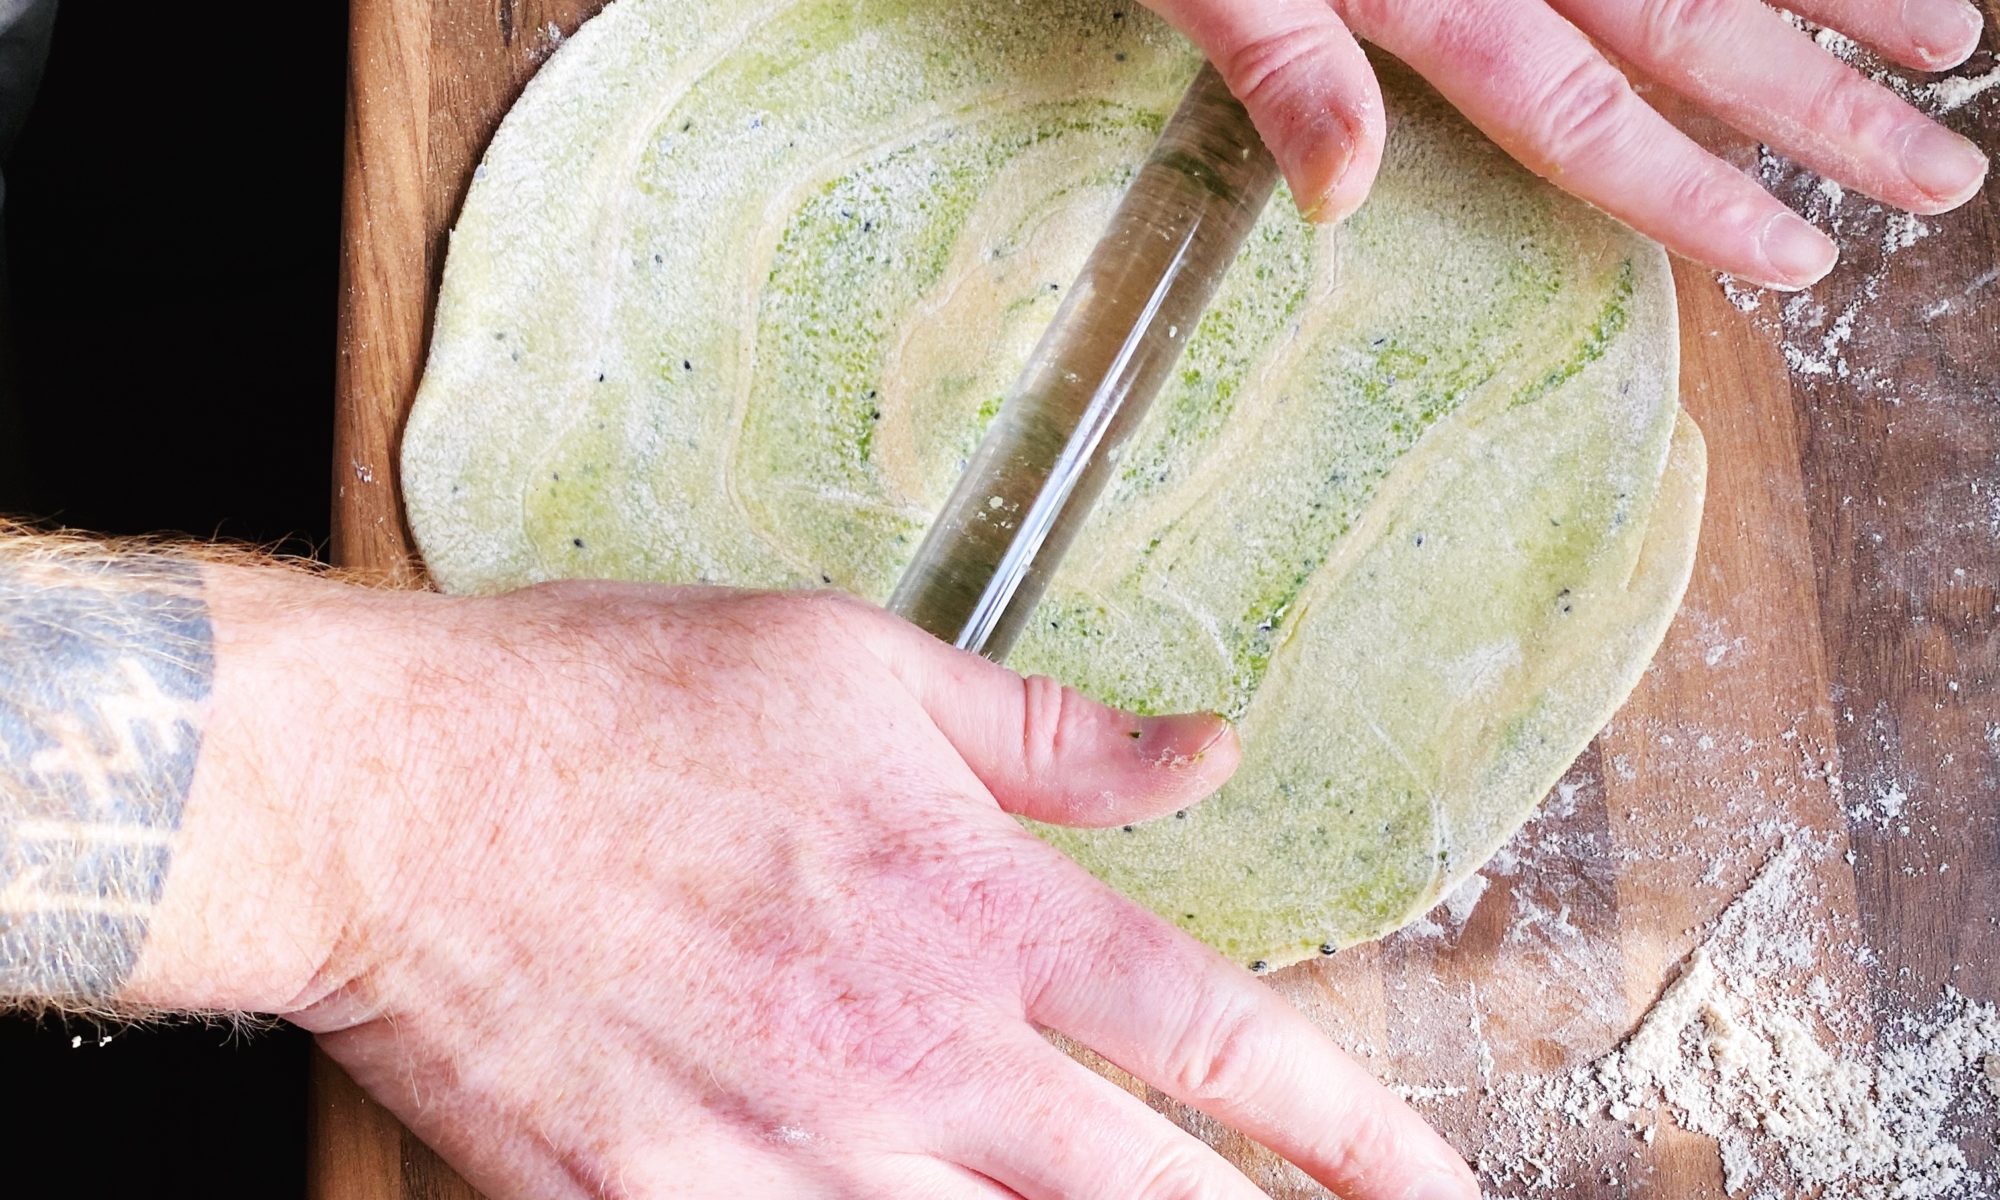
Then divide the dough into 8 even balls and roll them out into long oblongs.

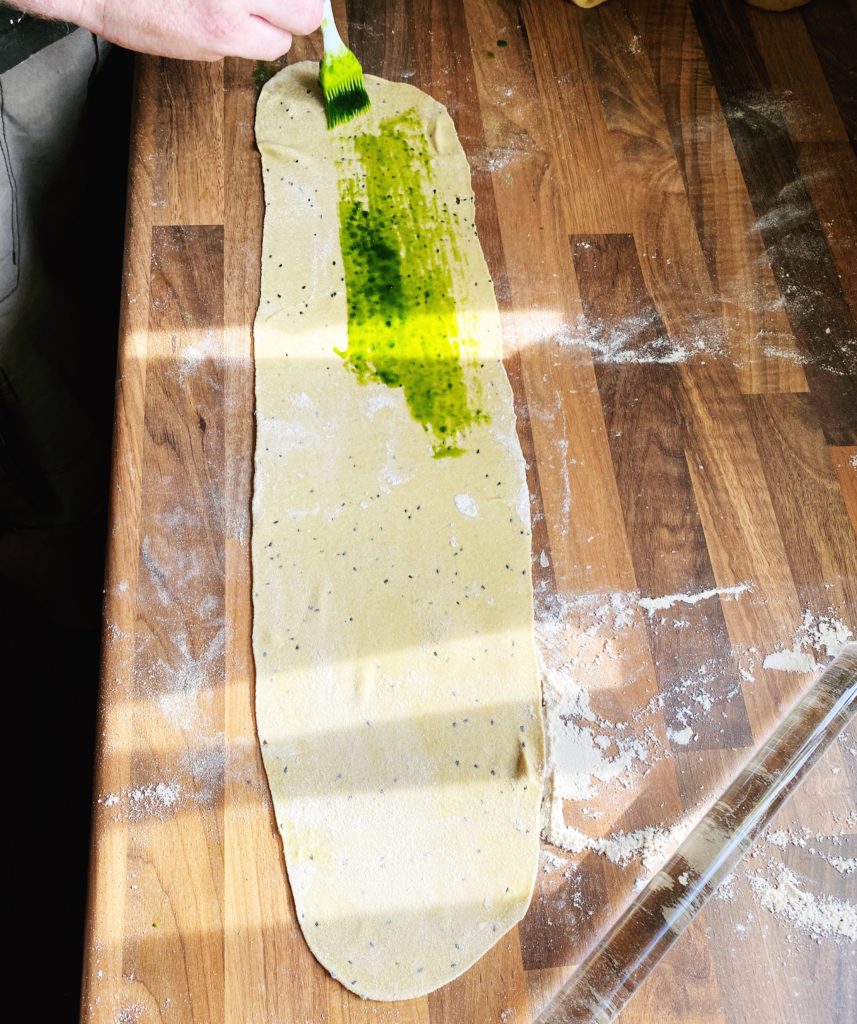
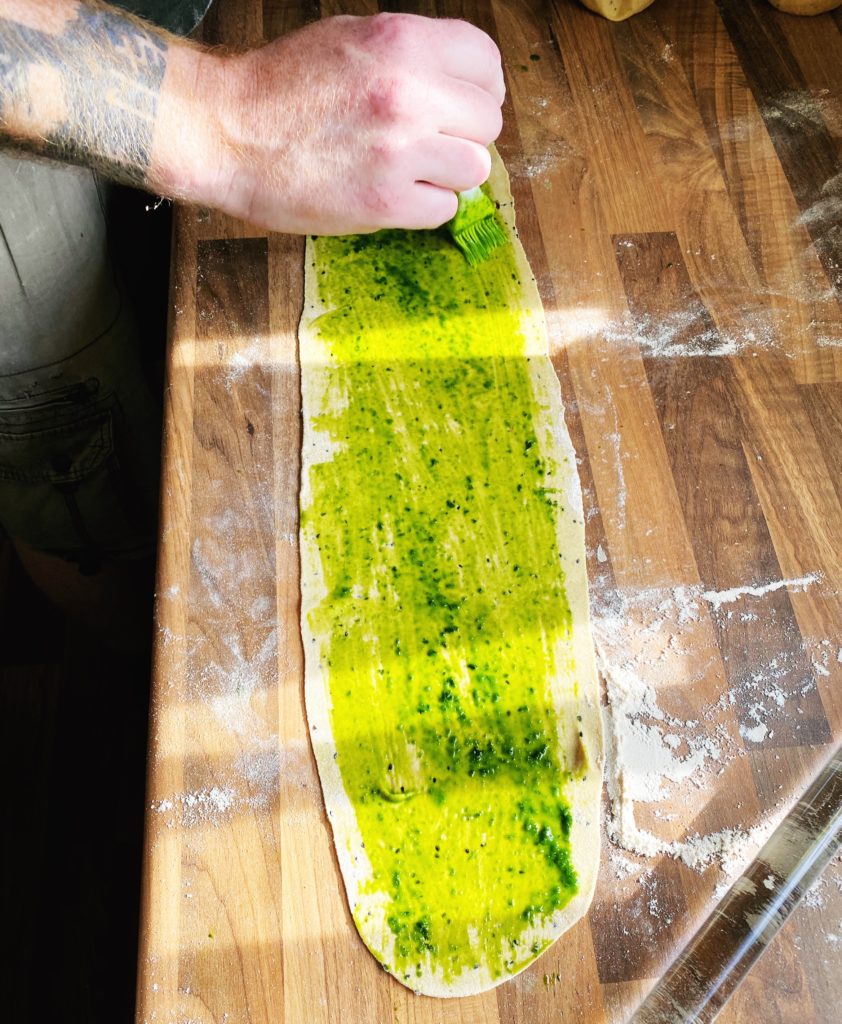
Melt your butter/wild garlic butter/coconut oil and brush it all over the surface of the dough.

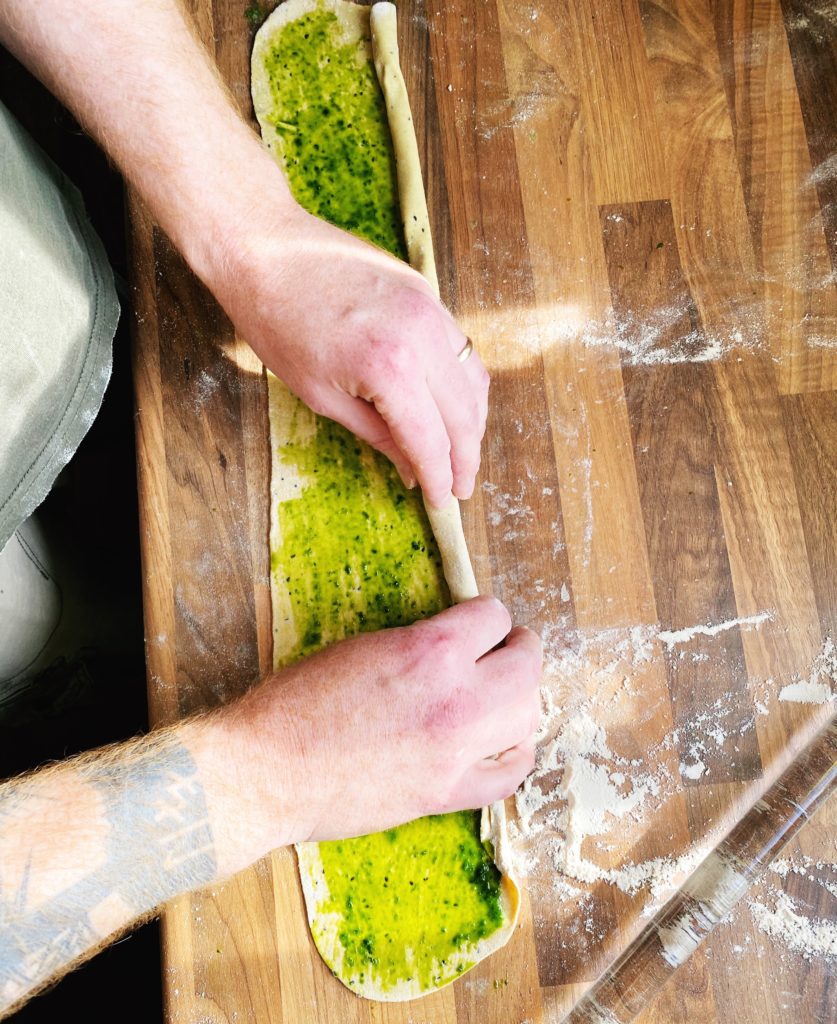
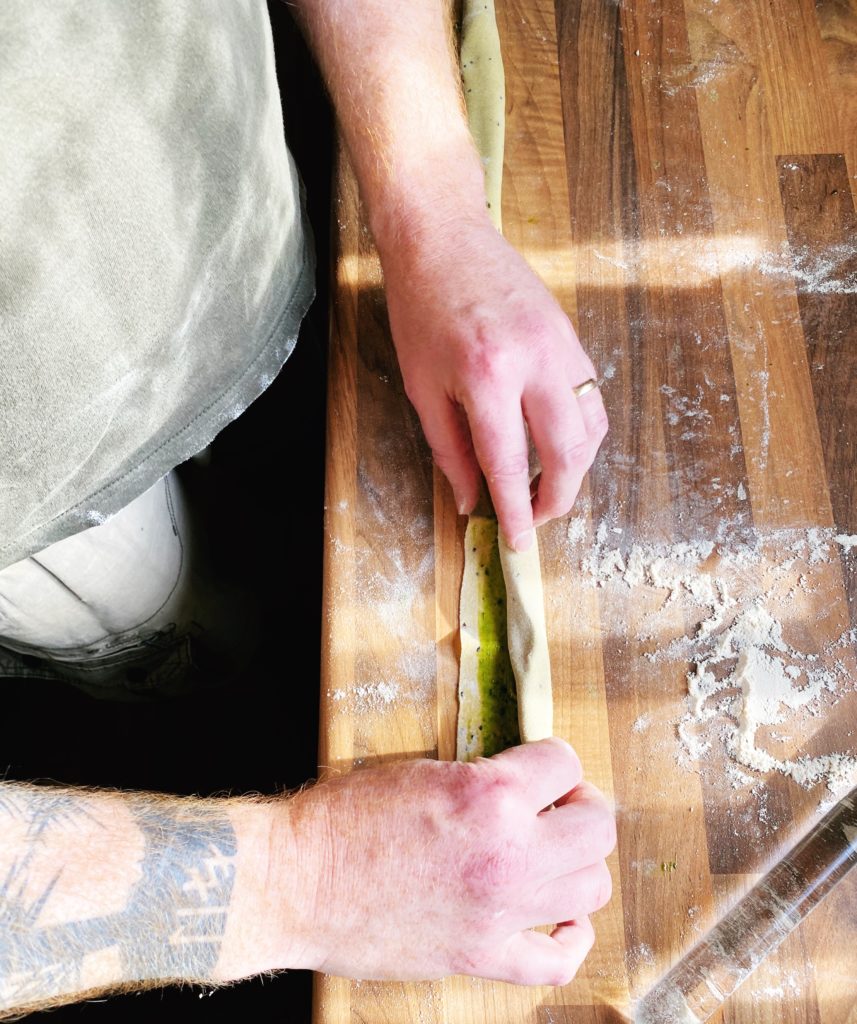
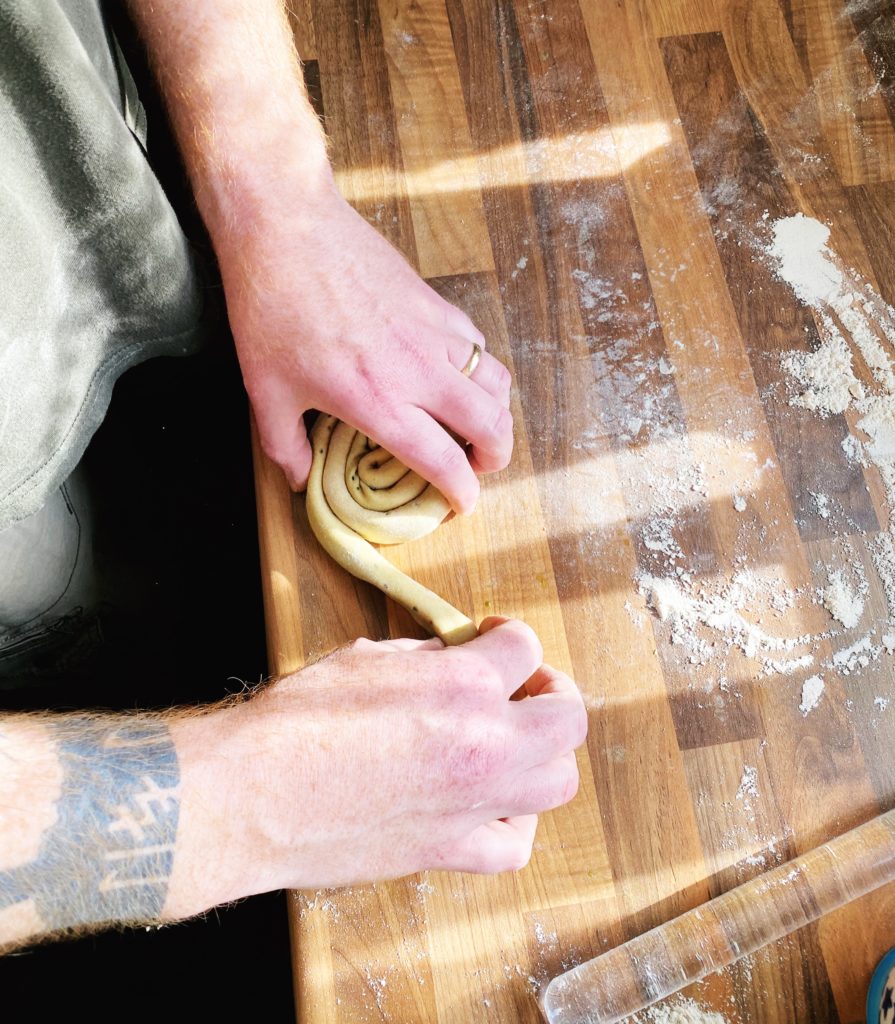
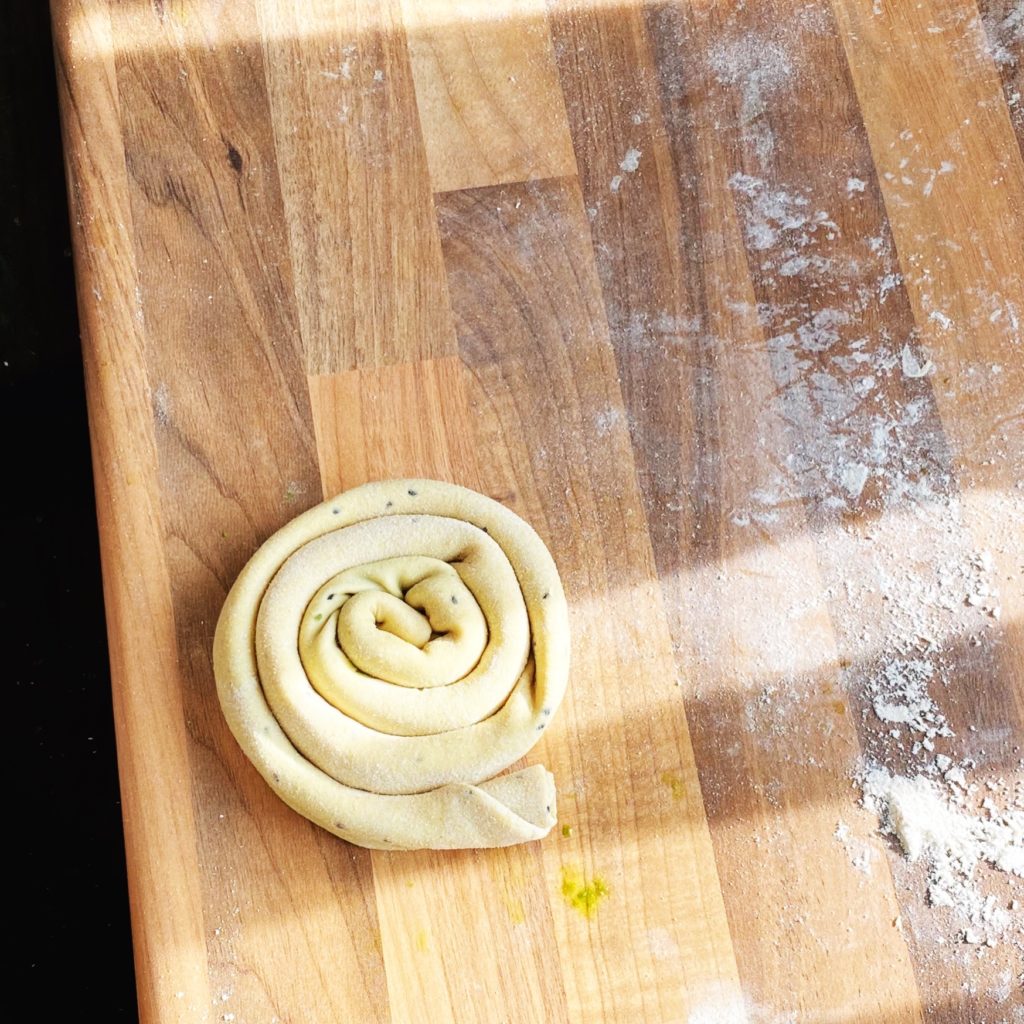
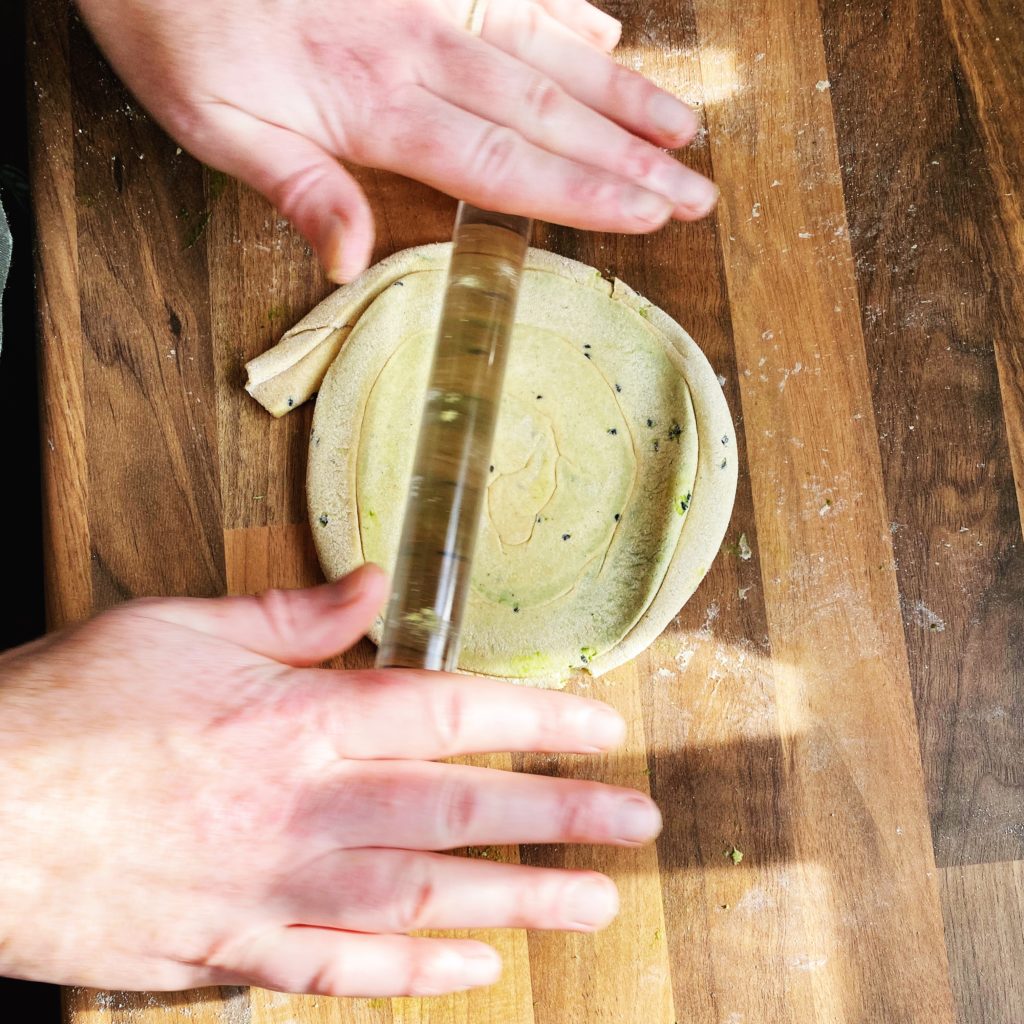
Then roll up the dough lengthways and coil it into a spiral. This way you have created loads of layers of fat in your dough which will make a flaky, layered flatbread.

Sit the coils on a platter covered with a tea towel ready to roll out. Heat up a frying pan to medium-high and melt a little oil or butter in the pan.

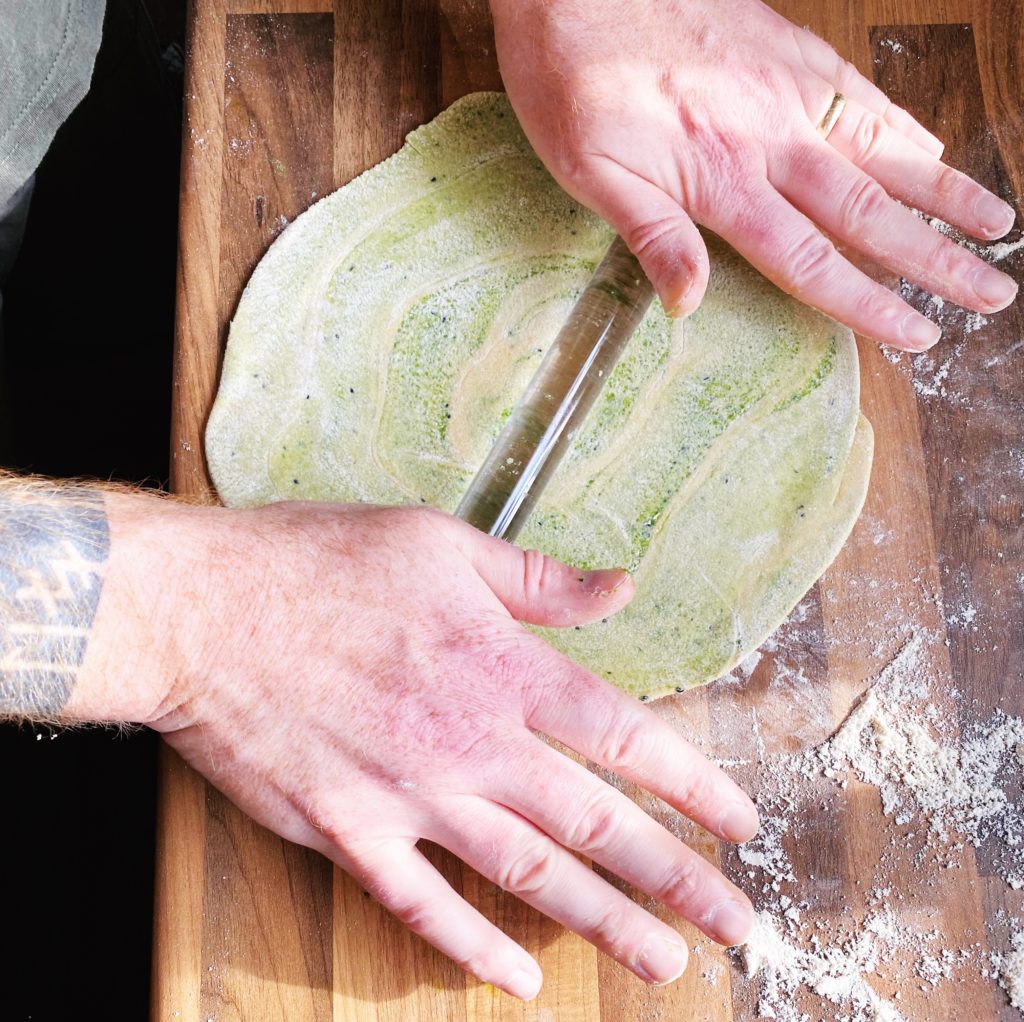
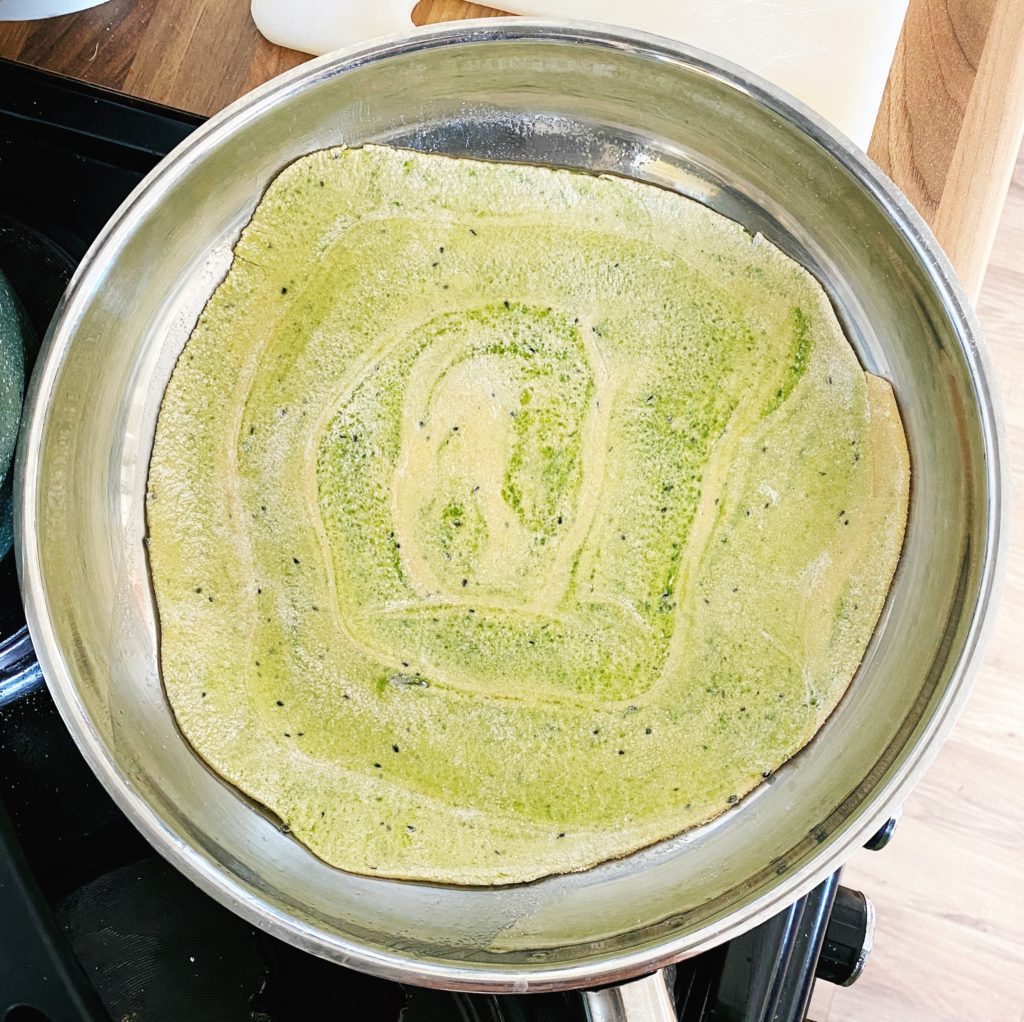
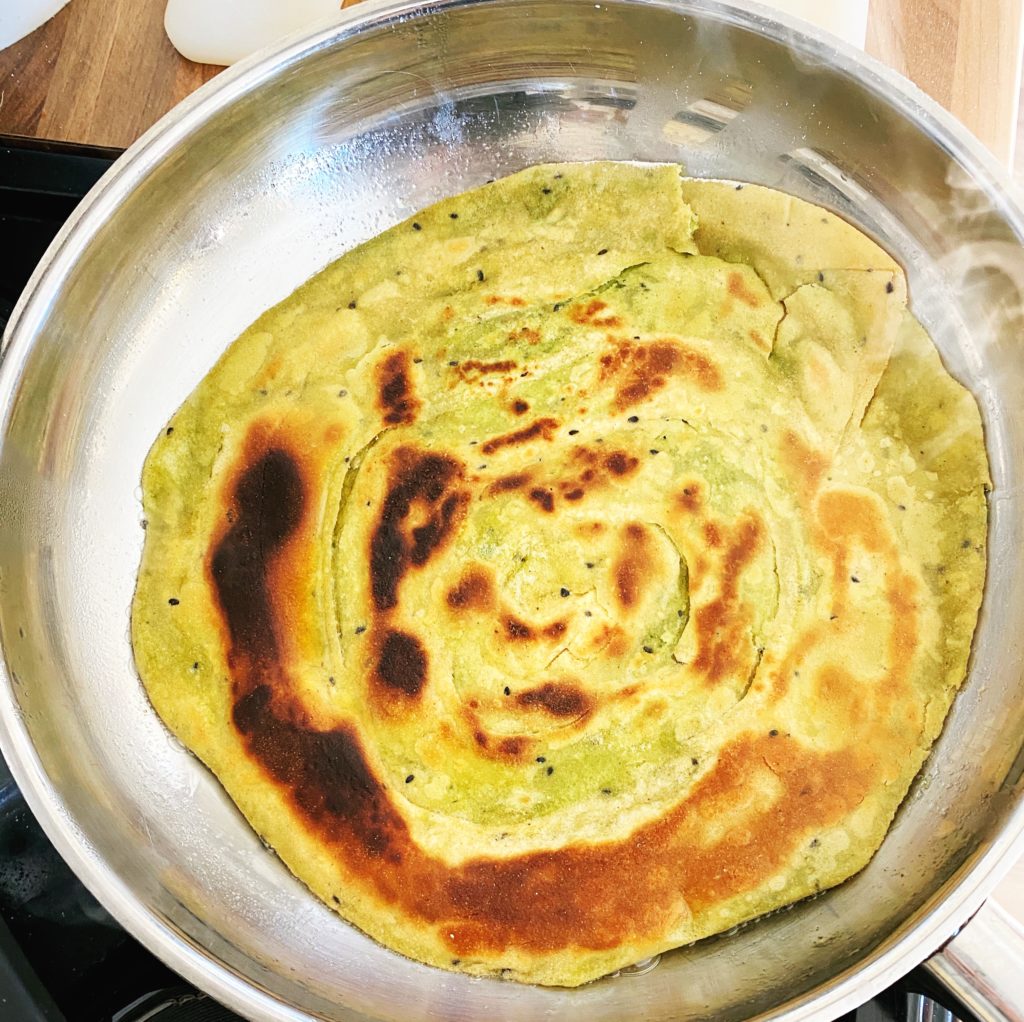
Then roll out the first coil on a lightly floured work surface into a thin, layered flatbread. Swirl the fat around the pan to evenly coat the bottom then add the paratha to the pan. Fry until golden brown and starting to blister then flip and fry the other side.

Keep stacked up on a plate covered with a tea towel. Then warm them up in the pan when you are ready to serve. Tear and eat – scoop up dal, chutneys etc. Enjoy!
Sustainable Growth

During the week I had a very big decision to make and as with all big decisions it is never black and white. It may seem as you look in from the outside that it is, but rarely when looking in from the outside does one see the whole picture. But having a vision and idea of what is important can help make those decisions a little easier. 

We have spent 15 years this May creating a business from nothing. The team and the people who have come and gone over the years have worked hard, and there is no question in my mind that Green Earth Organics would not be where it is today if it wasn’t for these people, the long hours and hard work.

The farm and business have grown a lot over the last 15 years, and we are proud to say that a culture of empathy and respect has also grown. There will always be times when we do not get it right (and no doubt there has been plenty of them, more often than not some would say), but the intention of the business is genuine and pointing in the right direction.

The idea of environmental preservation and respect for our fellow human being has always been right at the heart of what matters here. This can sometimes get stretched when you are faced with the harsh financial pressure of the world of business, and it is true that out in this world the bottom line is all that counts. 

We would be forgiven then for thinking that profit and the bottom line is all that matters. But we would be wrong because therein lies the seeds of greed. It is this thinking that has landed the planet in the precarious situation it is currently in.   

And yet, it would be extremely naive to think that profit does not matter and that it is all about picking wild-flowers and lying in the long grass. Simply put, without a healthy, profitable business our little community would not exist.

I know, as does anybody who has ran a business (or a household for that matter), that there is constant pressure to succeed and deliver and that at times there can be intense financial pressure. But there can also be times of remarkable reward in feeling satisfied of a job well done or having done your best despite the odds.

Green Earth Organics was born out of the need to do right in the world and love for the land and our vision is pretty simple:

“Using food as a force for positive change by putting the well-being of our environment at the centre of every decision we make.  We believe that producing food with respect for nature and for the multitude of creatures we share this planet with is the only way to farm. We believe that we can do this by providing an alternative to the mainstream, by growing and providing healthy sustainable food, by conducting our business in an ethical and sustainable way, with respect for all at its heart.”

We could not do any of this if it were not for your support.

Thank you!

Kenneth

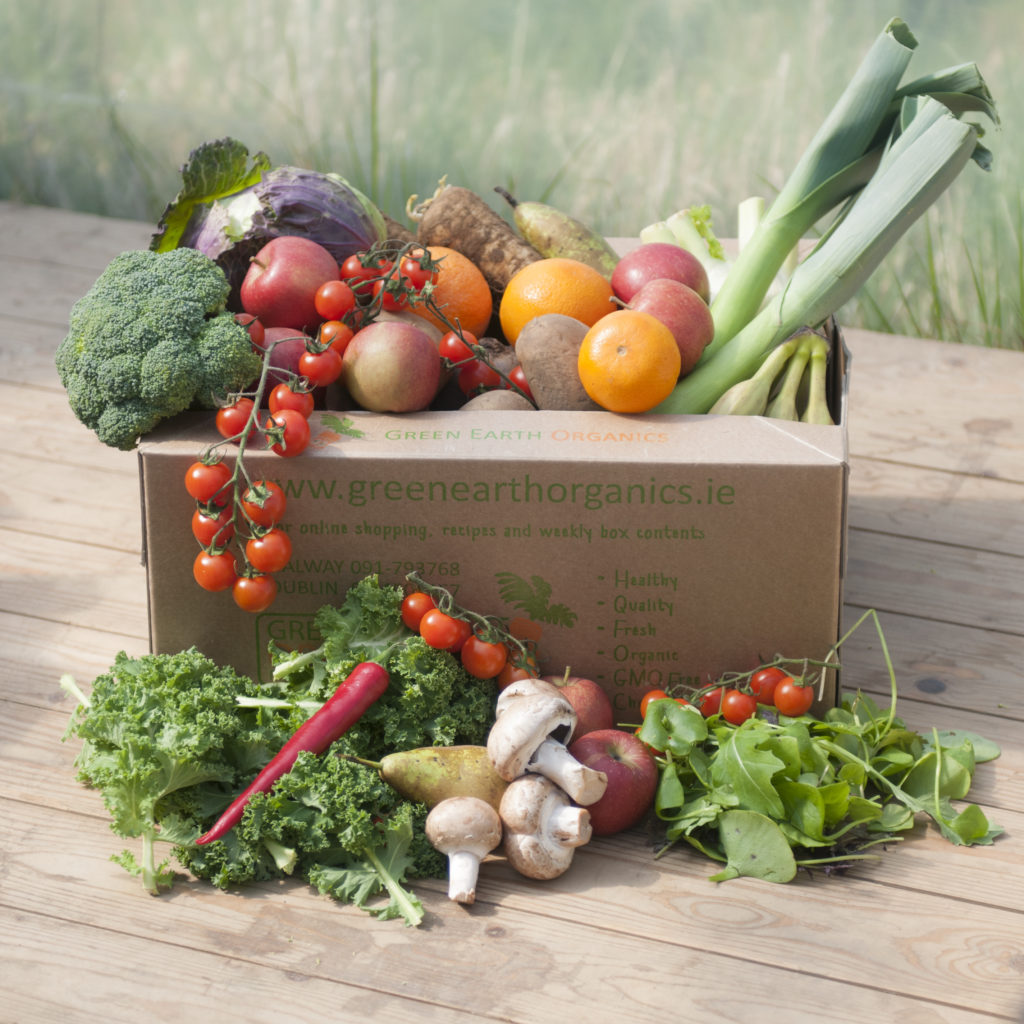
PS We have some amazing, exciting changes to tell you about.  We have listened to what you said and have reduced our minimum spend to €30, we have also added FREE delivery for all orders over €100 always – so stock up on your organic groceries with us and get everything you need delivered to your door in one, efficient delivery. Finally, you will see our website has changed and now you can create a regular repeat order and never forget to order again!

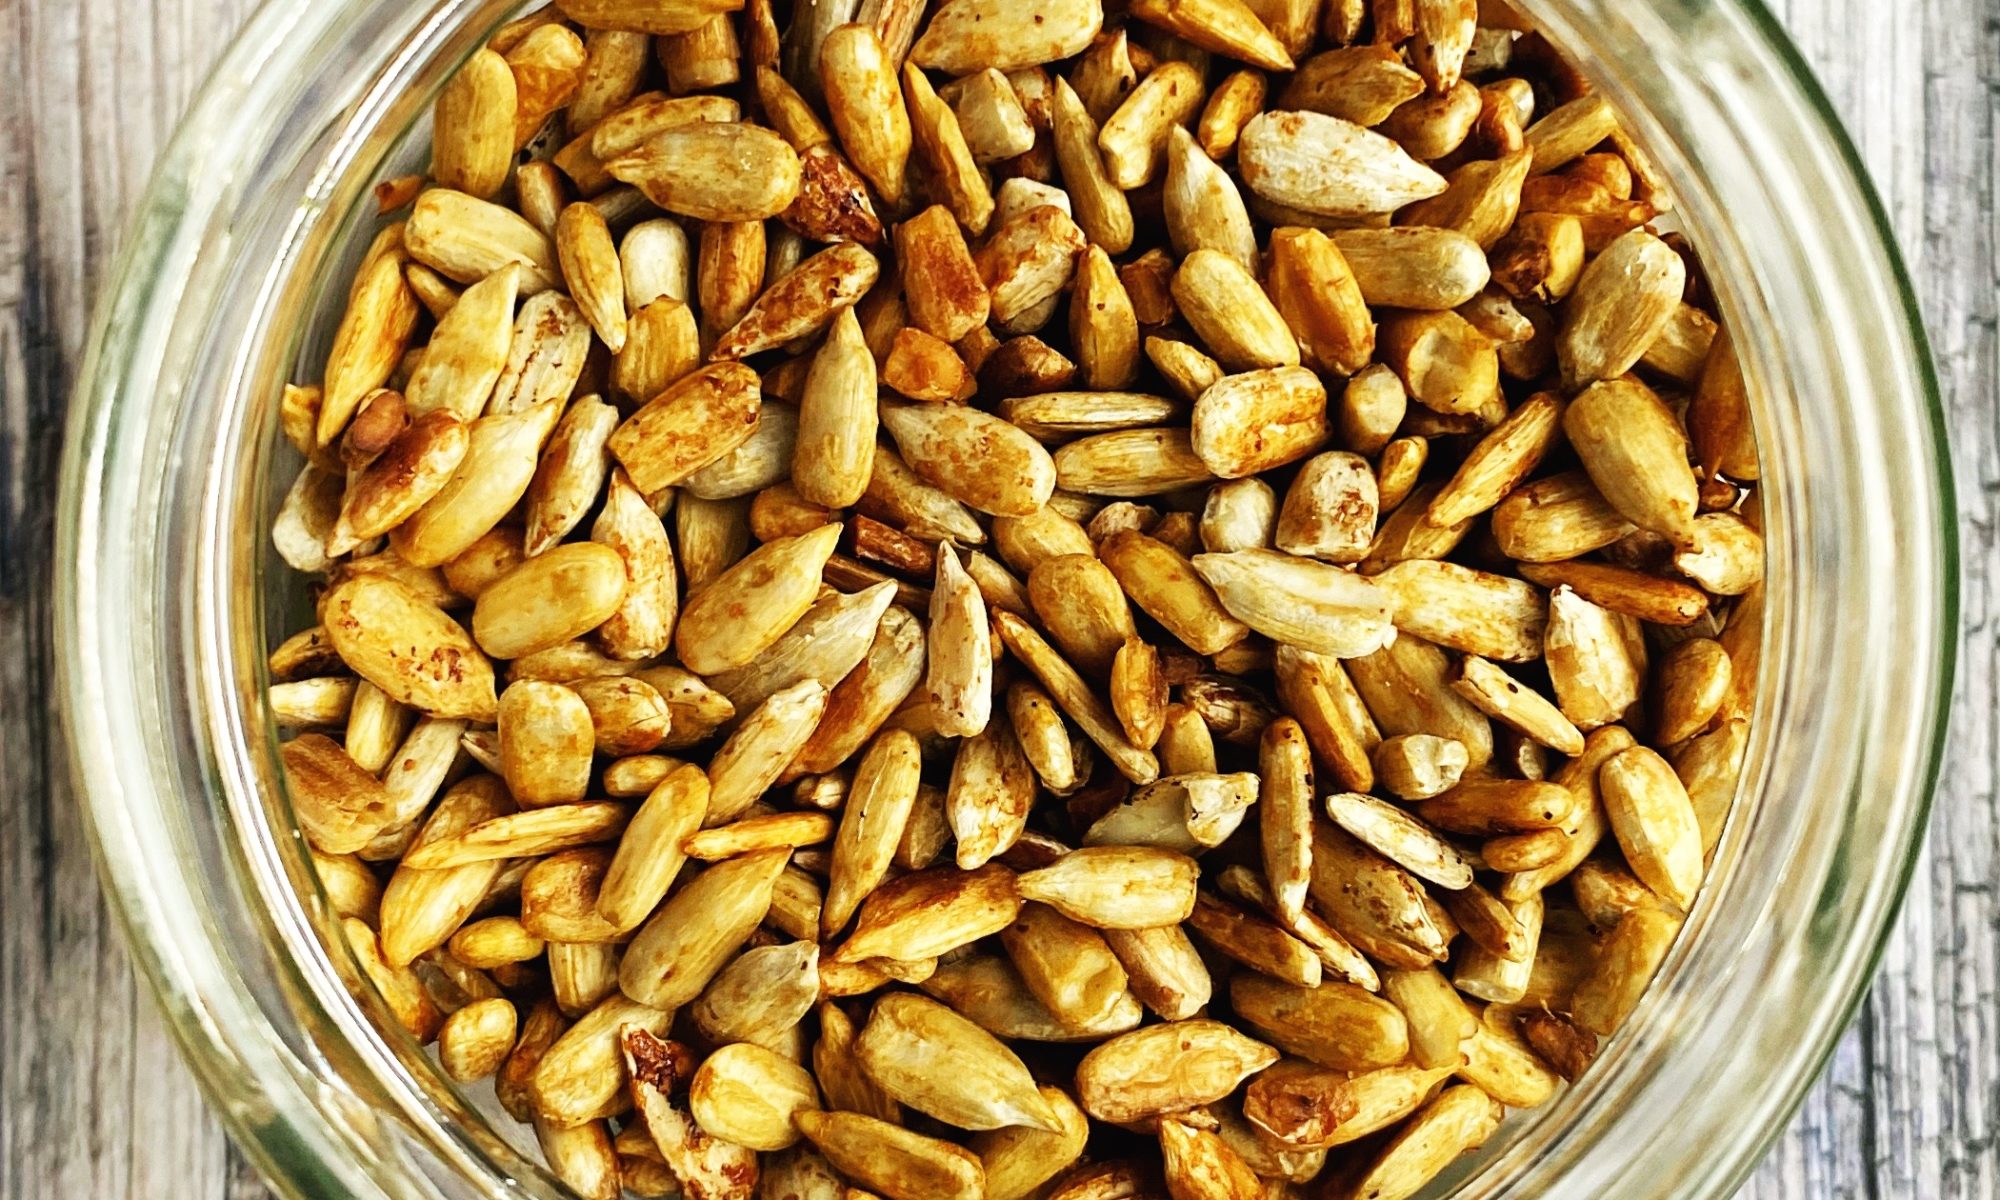
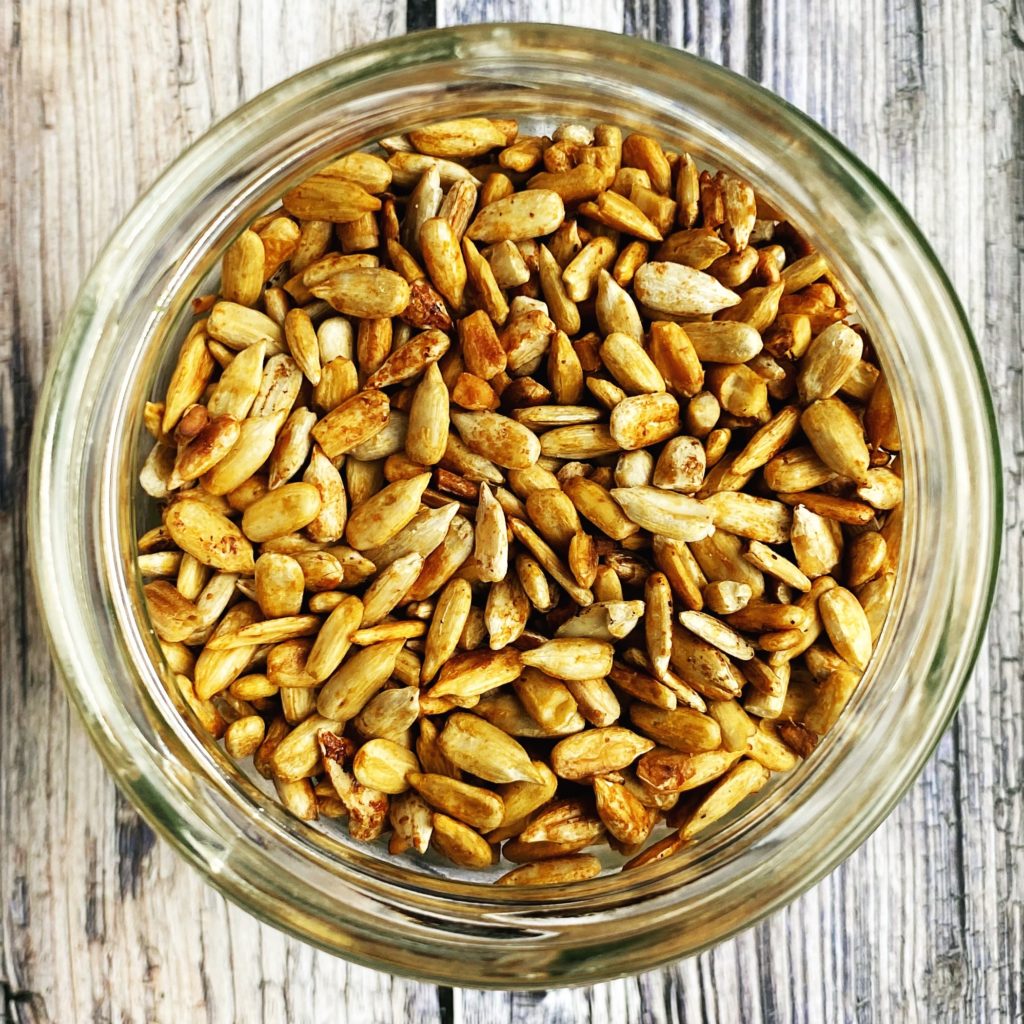
Soy Sauce Toasted Sunflower Seeds

These simple seeds are so savoury, crunchy and moreish! The perfect salad or soup sprinkle. Here’s a quick video tutorial to show you the easy method. Otherwise read on below. You can buy organic seeds and soy sauce (or gluten free tamari) from our website along with the best organic fruit and veg. We deliver to every address in Ireland.

Liz x

Ingredients

  • seeds of your choice (sunflower, pumpkin, sesame or a mix)
  • soy sauce (or tarmari if you are avoiding gluten)

Method

Measure out your seeds into the jar you’d like to store them in. Make sure you leave some space in the jar though as they will expand as they are toasted.

Tip the seeds into a dry frying pan on a high heat. Keep them moving with a wooden spoon and toast them until they are taking on some colour, starting to crackle and pop and smell incredible!

Once they are toasted well, add a splash of soy sauce and quickly stir to coat all the seeds in the salty seasoning.

Take the pan off the heat and let the seeds completely cool down before returning them to the jar and securing the lid.

They should stay fresh for at least a month in the jar. Sprinkle them on salads and soups or eat them as a snack. Enjoy!
Earth Day & The Hungry Gap

People often ask, why do you produce your own food? Why do you grow it when it is so much cheaper to import it? It is a very easy answer, and the reasons are twofold: I love what I do, it is in my blood (we are third generation farmers) and I would not do anything else.

Secondly because it simply is the right thing to do. Having food grown locally makes sense, it cuts down on carbon emissions, it is fresher, it provides local employment, it improves biodiversity, and we are lucky enough to have the opportunity to do it. We need more people to do it.

With Earth Week starting today and Earth Day falling on the 22nd, it is a good time to reflect on our habits. We have seen such a shift to supporting local food over the last 12 months and this is one of the most wonderful changes we as individuals and families can make. It’s impact on the planet cannot be overstated, understanding where and how our food is produced can help us make better decisions and lead to a cleaner healthier planet.

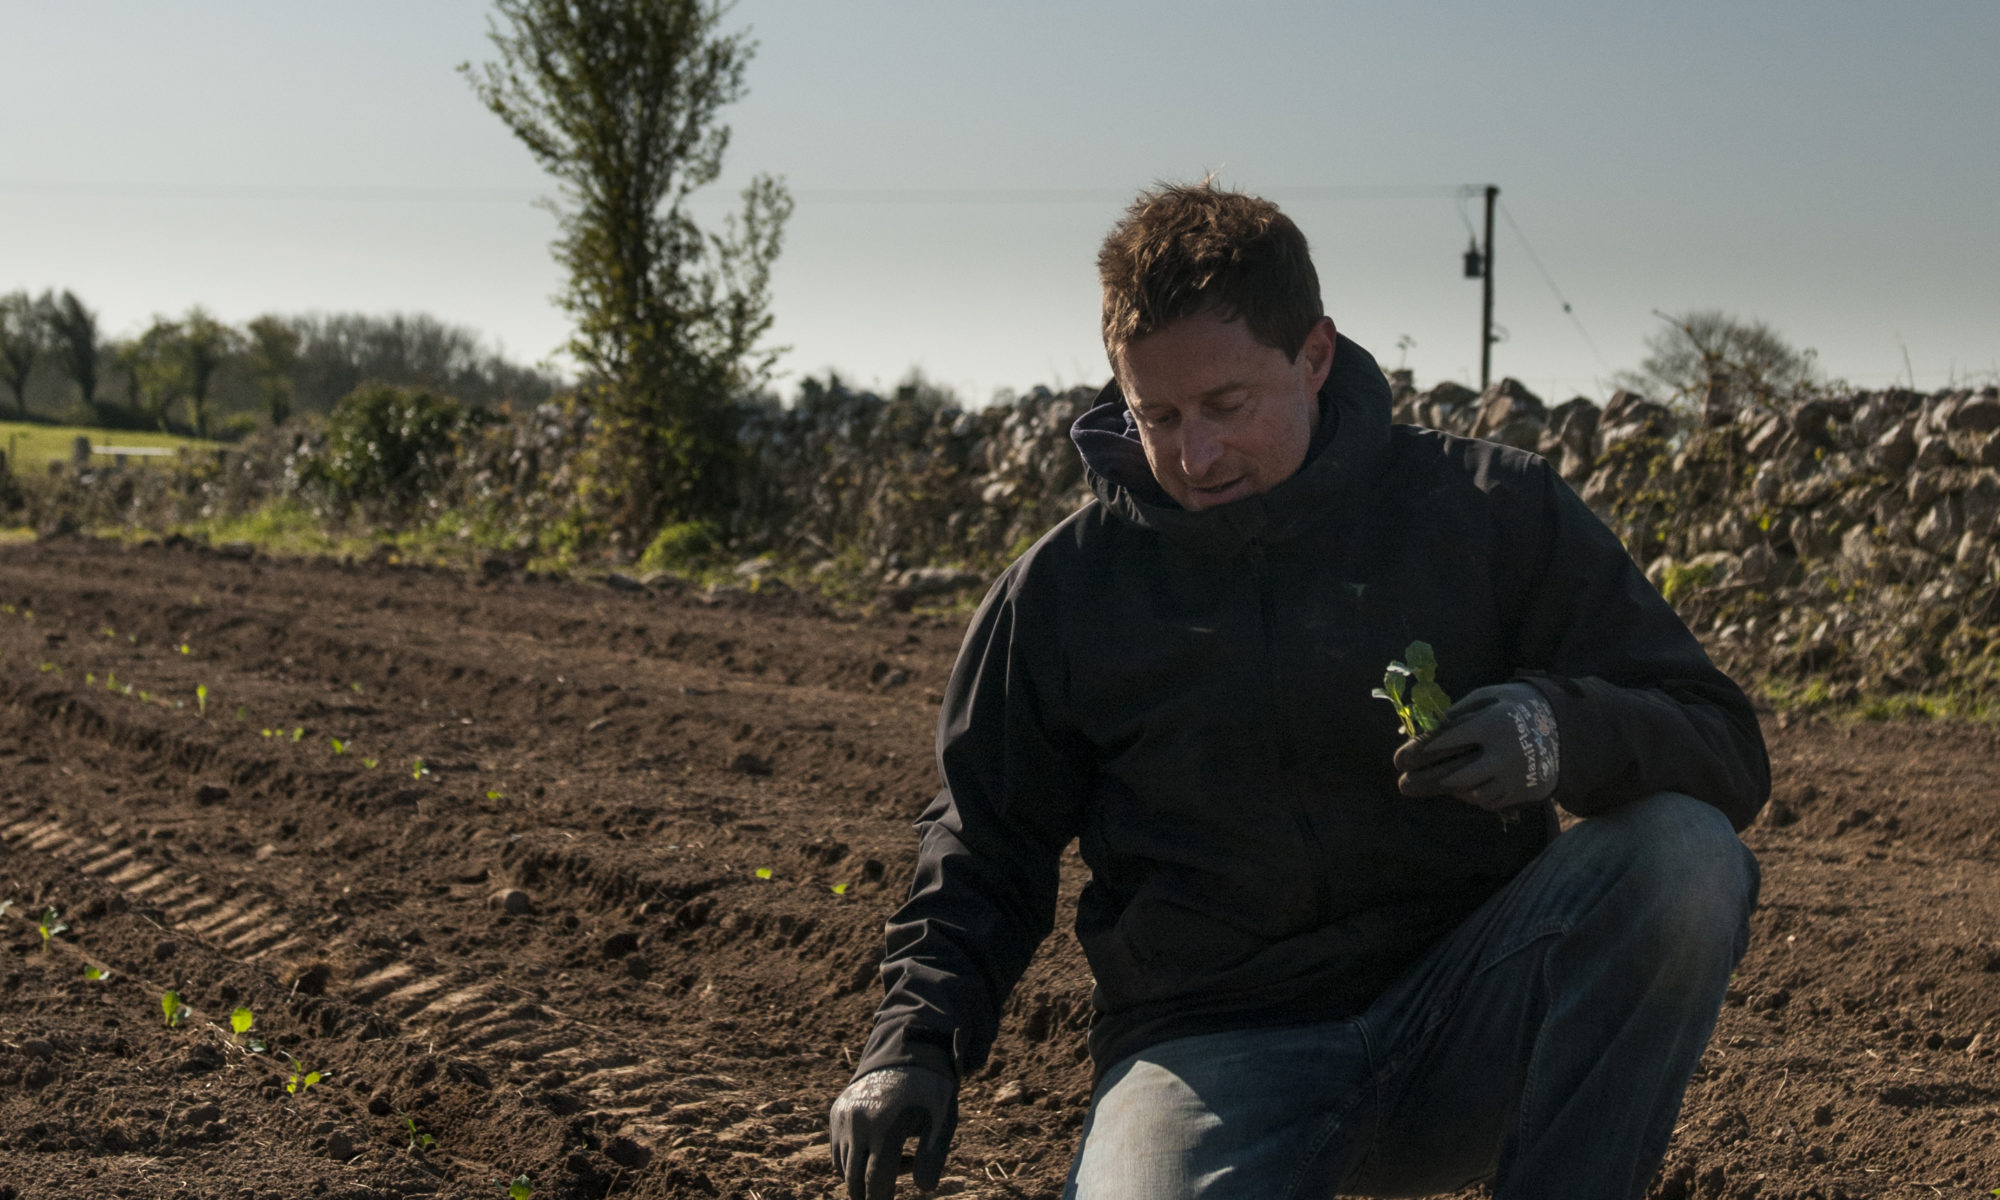
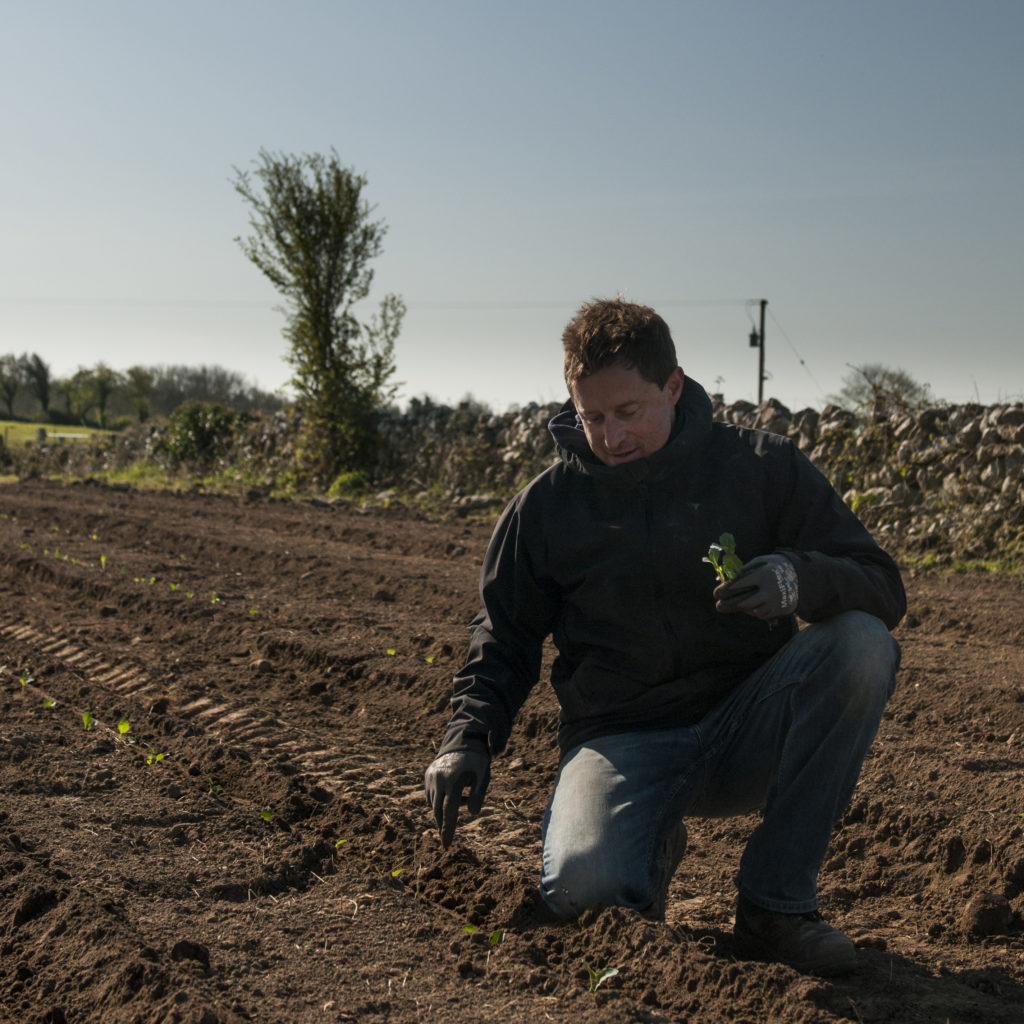
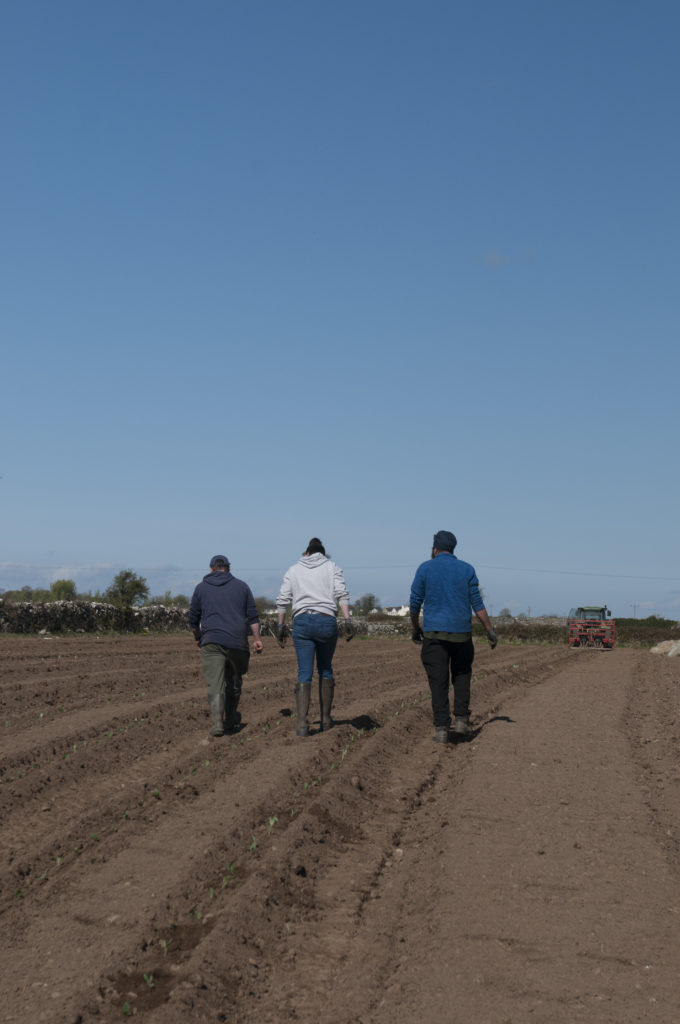
Today as I write this, after a day in the fields, I feel lucky to be a farmer. Days do not come much better than this, the sky is blue, the sun is shining the birds are singing and we are on schedule with our planting. In the West of Ireland days like today are to be relished and enjoyed, and there is the added bonus that our office is a 5-acre field, I like that.

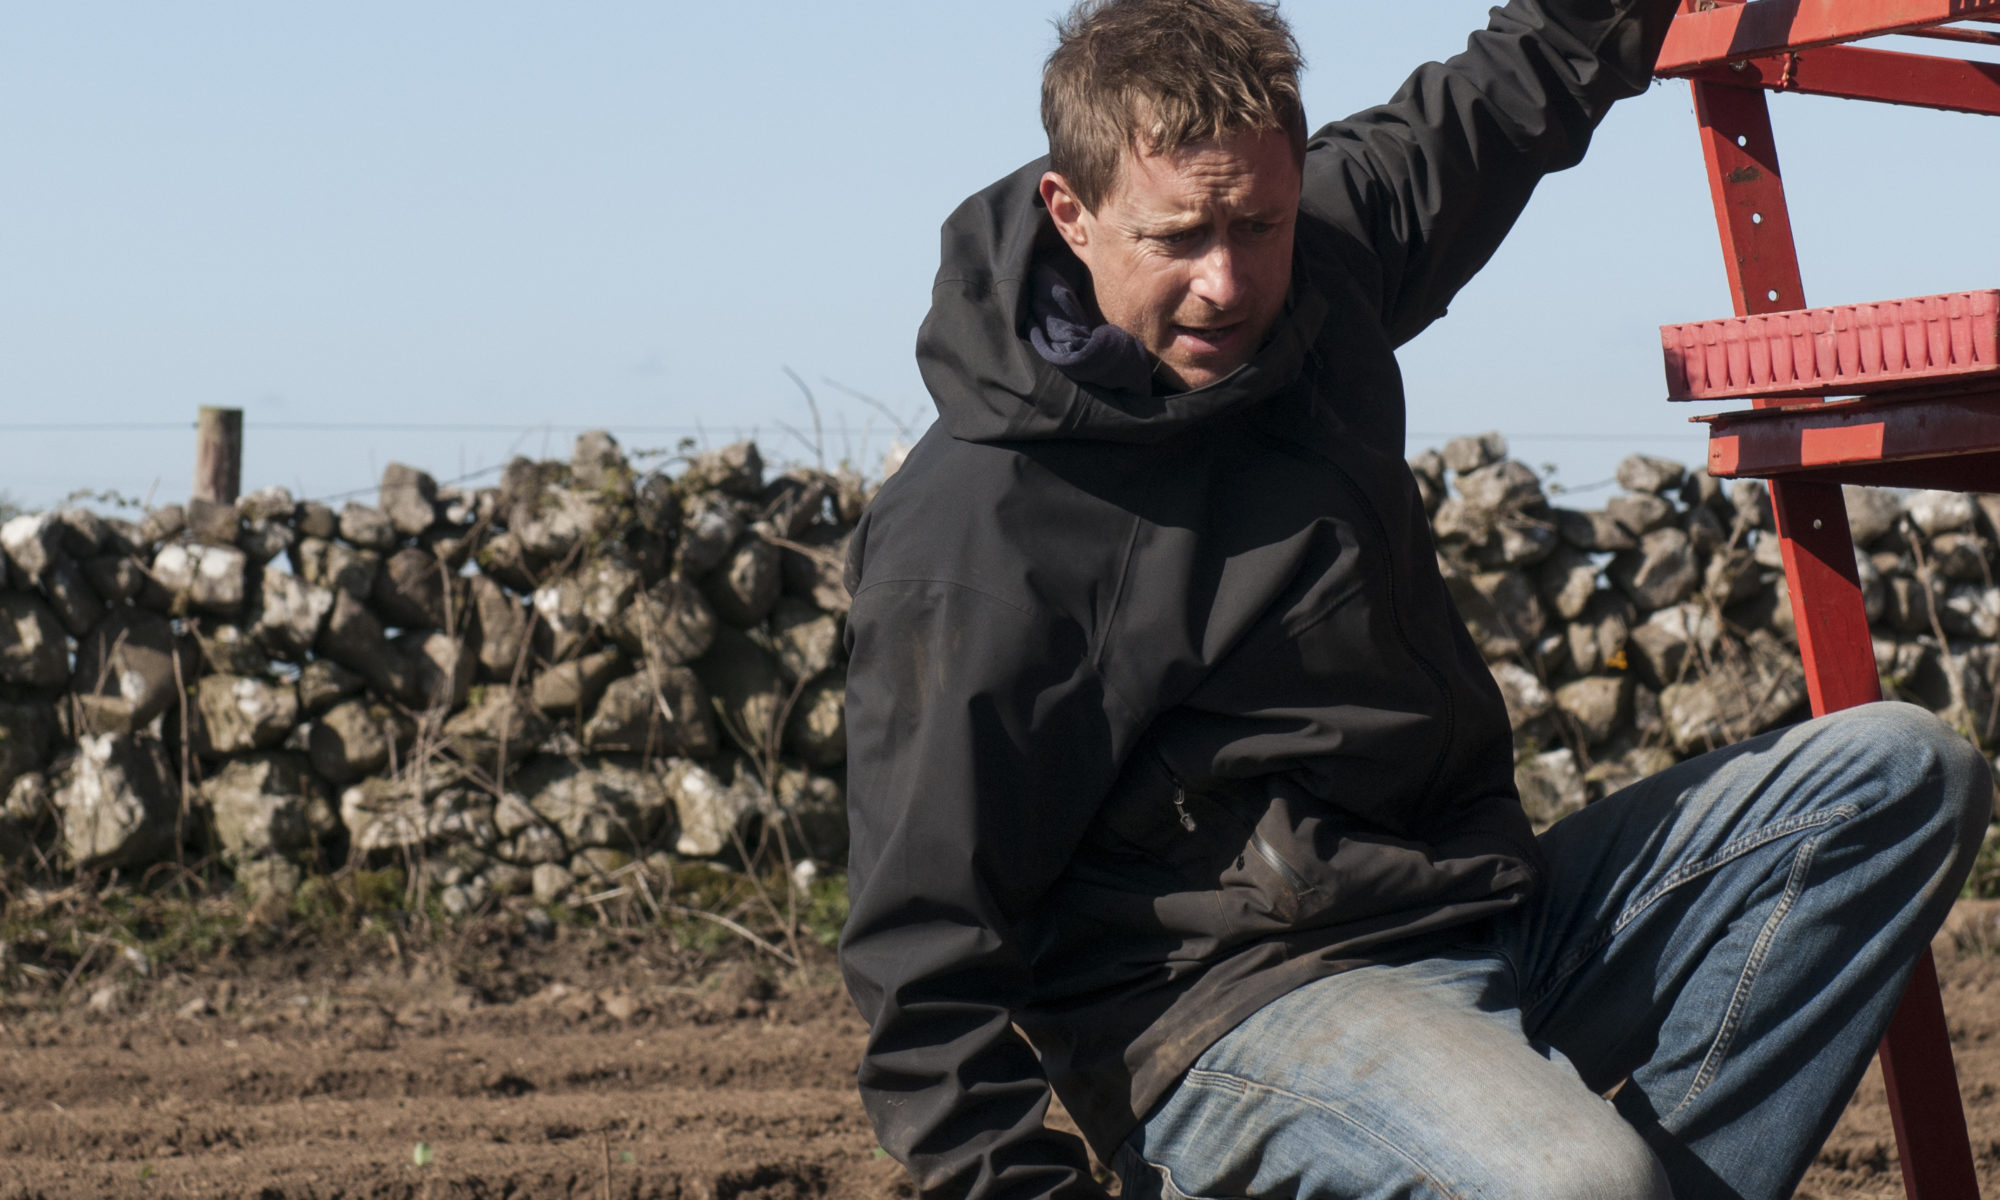
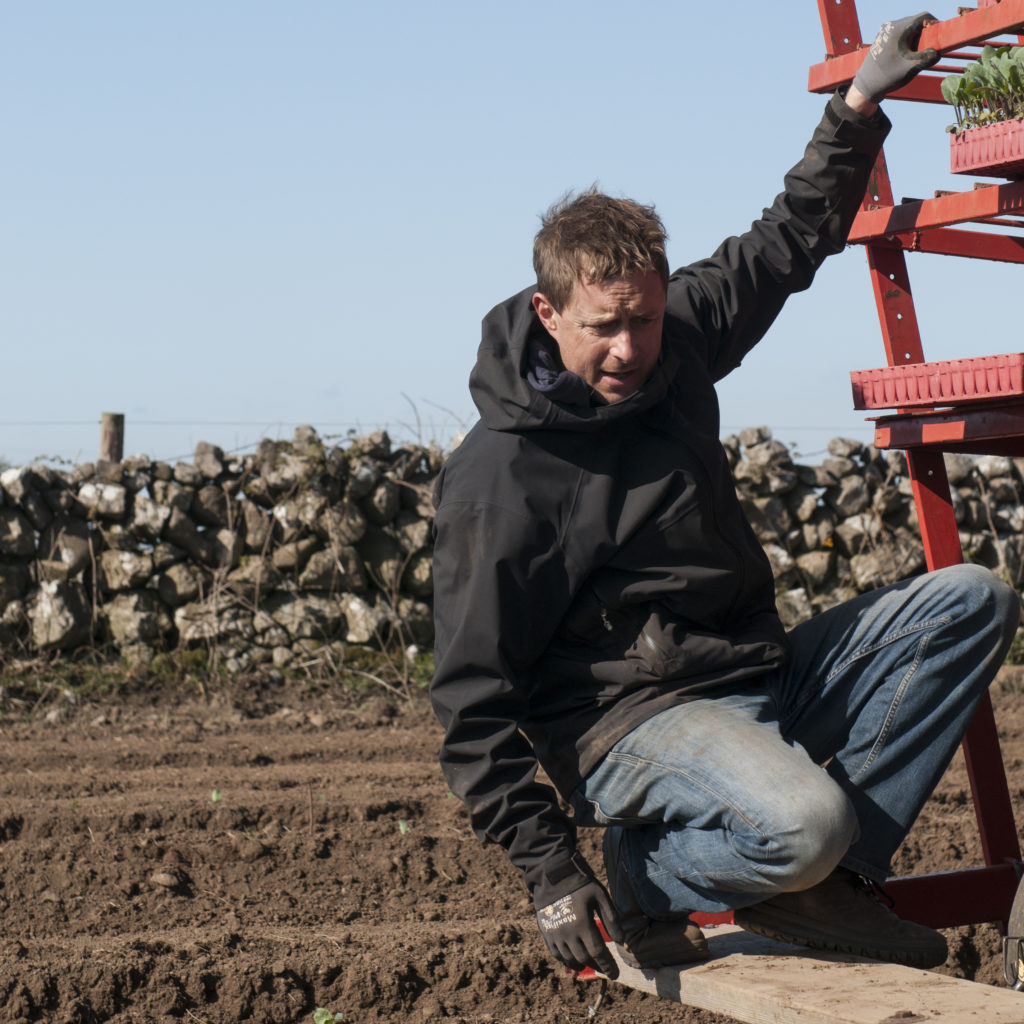
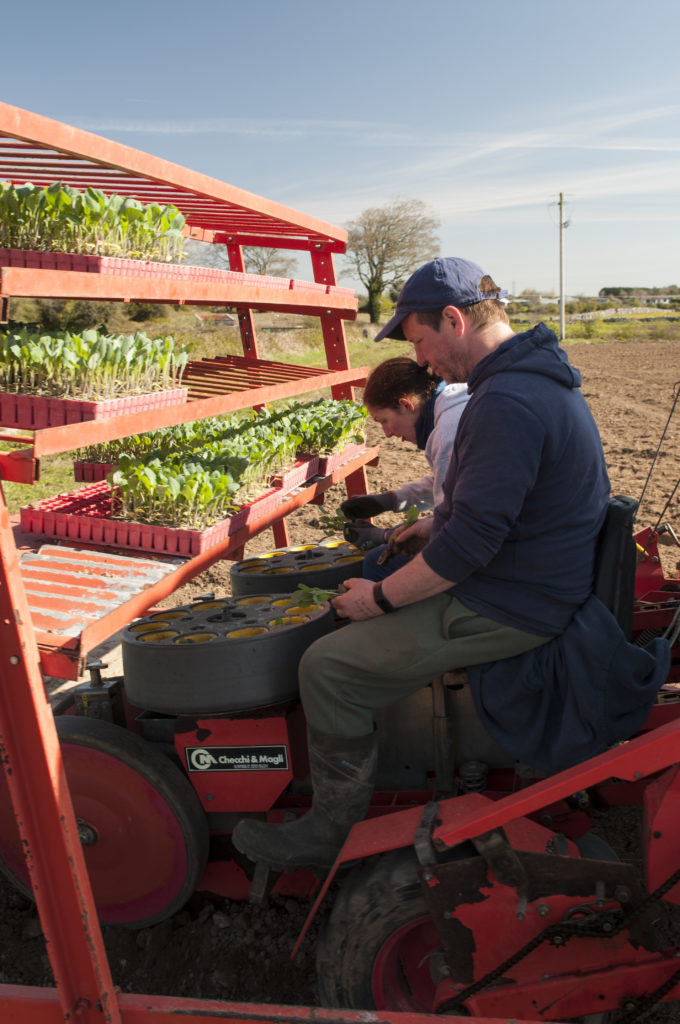
If there was one small thorn in my side, it is the planting machine. It is temperamental old and cranky and every year there is a requirement to find mutual common ground between (sometimes also cranky) farmer and machine, this year that ground has been hard to find and has led to a few choice expletives.

Nevertheless, if farming has thought me anything and it teaches a lot, is that perseverance with an air of optimism generally gets you through.

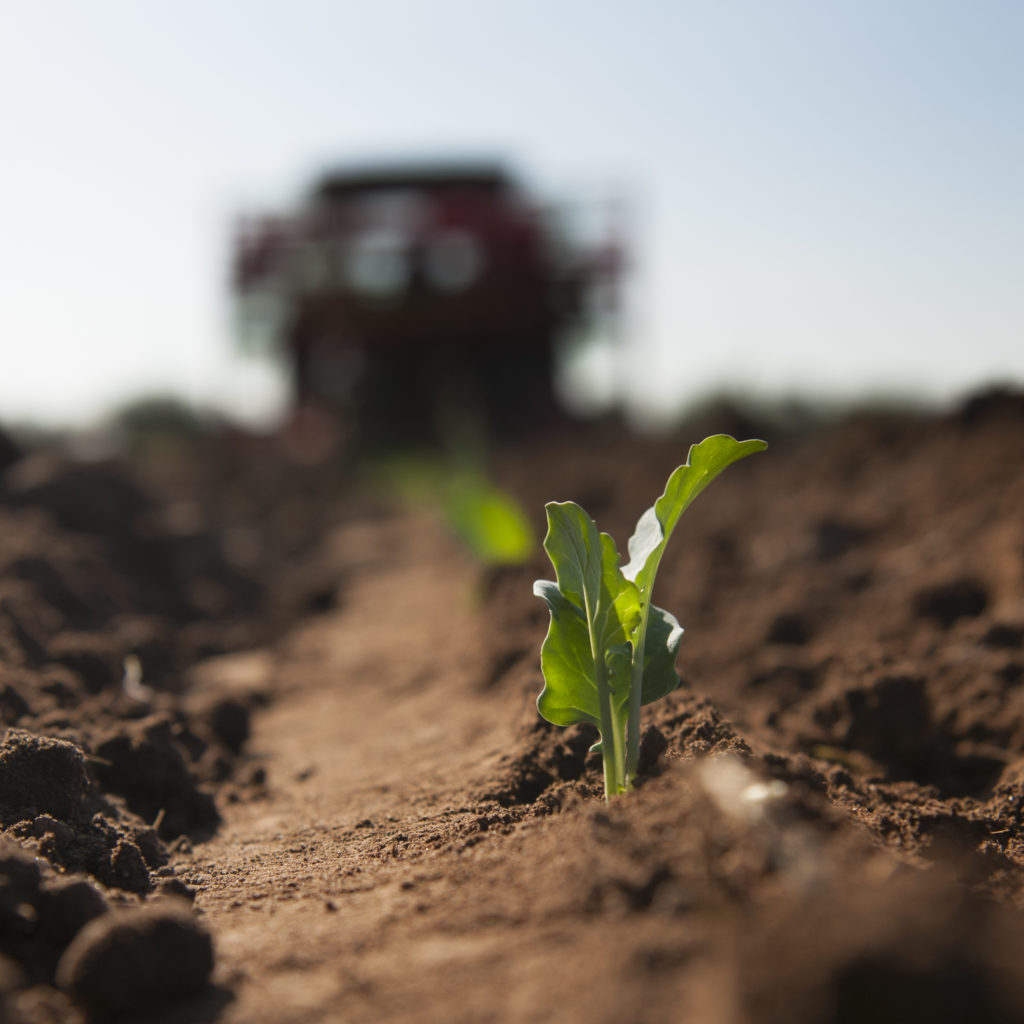
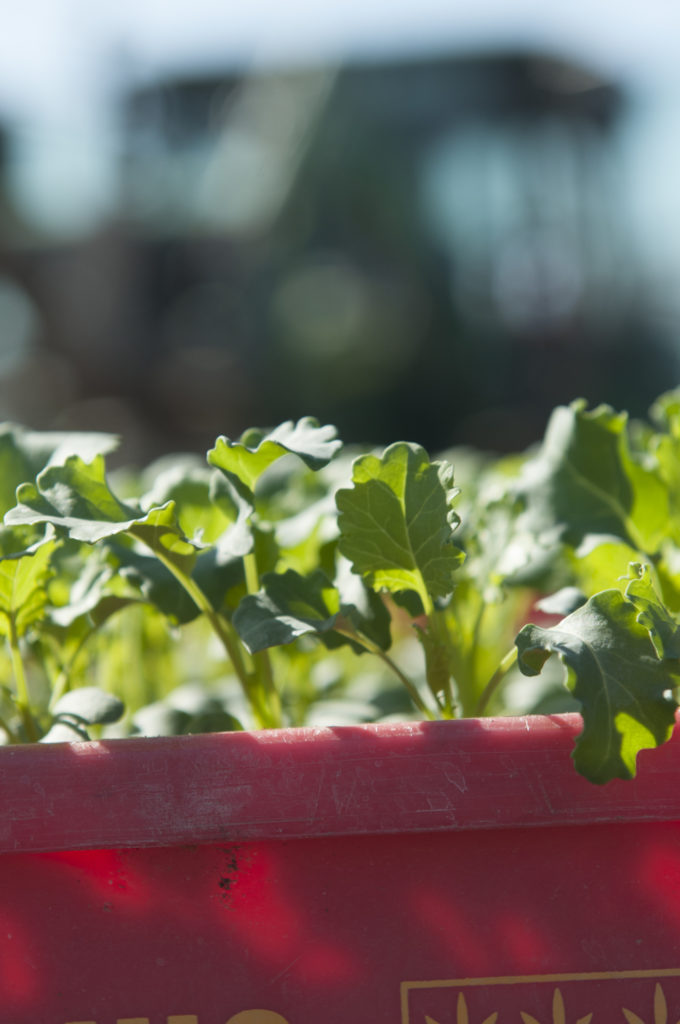
It is funny to think that just this week we finished harvesting the last of our kale which was planted nine months ago and today we planted the very first kale for the new year. This kale will take at least 8 weeks to reach harvestable maturity. We have also been very busy planting cabbage, Romanesco, broccoli, lettuce, and celery.

Myself being the impatient individual that I am can sometimes expect that we should have more IRISH food at this time of the year especially when the sun shines. But nature and farming do not work like that, and right now we are slap bang in the middle of what we call the “Hungry Gap”. There is a lull in IRISH food supply, of course that does not mean it is not available, it is, and we have loads, leeks, mushrooms, potatoes, spinach, salad, radish, and parsnips. But for the next few weeks it gets difficult.

Every year we get a little bit earlier and a little bit smarter with our planting and this year is the earliest yet, but even so, there are weeks starting now when supply is tight. Take tomatoes for example, we have our plants ready for transplanting, but harvest is at least 8 weeks away.

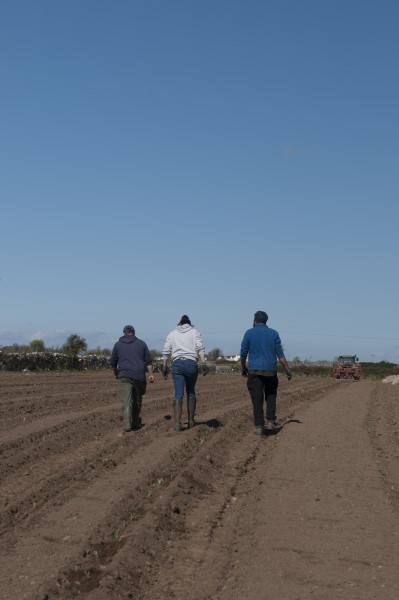
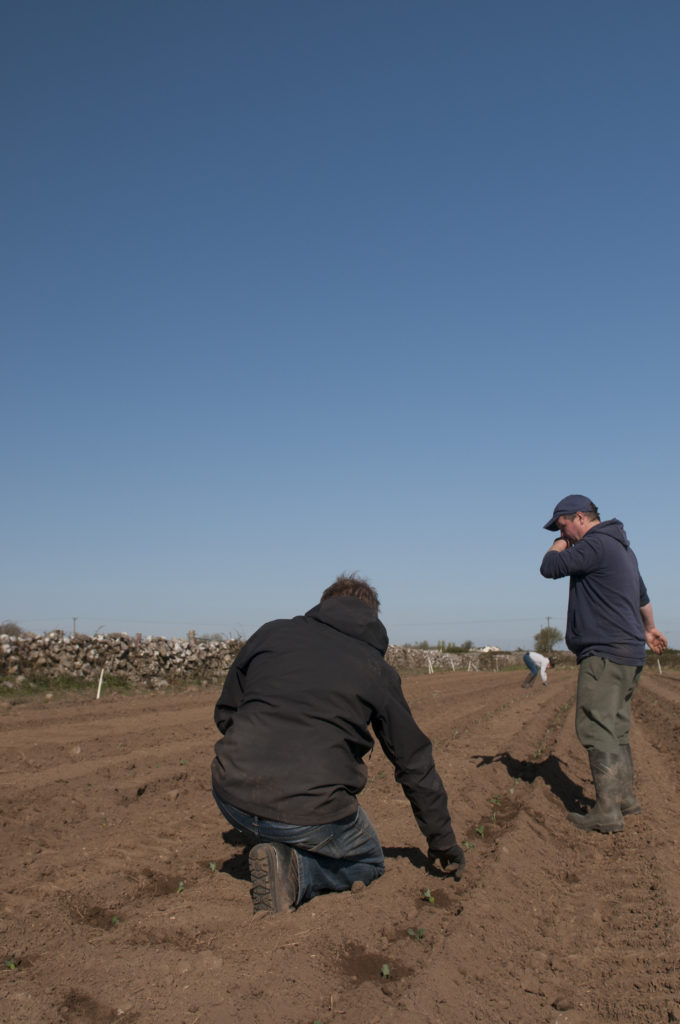
Right now, on our 40-acre organic farm there is a tremendous amount of work going on behind the scenes. For the last 2 months we have been busy ploughing, tilling, fertilising, planting, covering, uncovering, watering and sowing. All of this to lead to a rich harvest of local organic food in the weeks ahead, but it takes time, and it does not matter how impatient I am, nature cannot be sped up, it travels at its own pace.

So, although we are heading into the hungry gap now, be reassured that you are supporting a truly local food growing effort both here on our farm and through all the other amazing IRISH organic farms and producers across the country that we support. Remember in the famous words of Margaret Meade “Never doubt that a small group of thoughtful, committed citizens can change the world; indeed, it’s the only thing that ever has.”

As always, thank you for your patience and perseverance!

Kenneth

PS Don’t forget to do a little something for Earth Week, whether it is supporting more local food producers, or learning more about how your food is produced, driving less, turning off lights or eating less meat, what can you do? Just raising our awareness is a powerful tool in the fight for our planet.

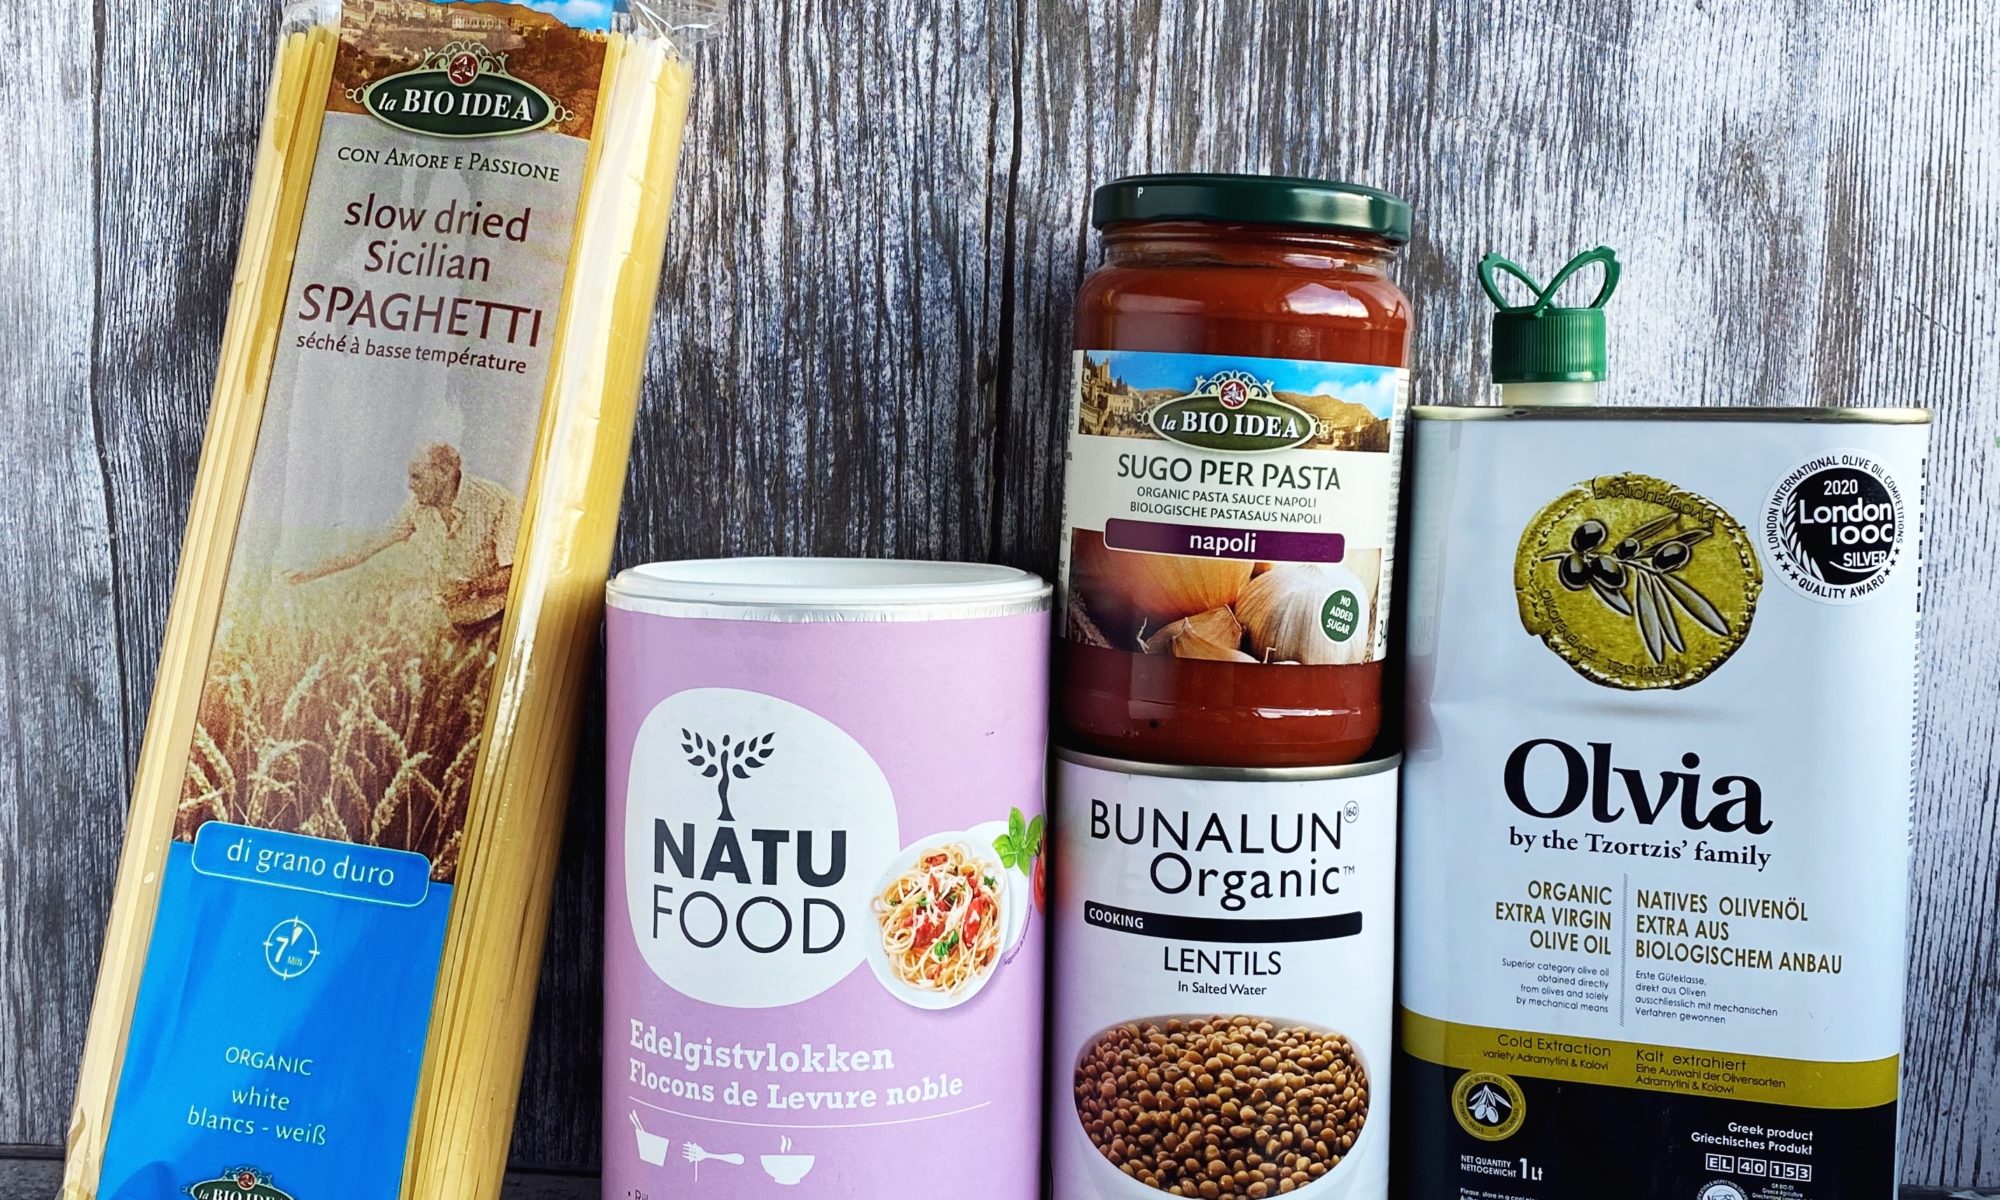
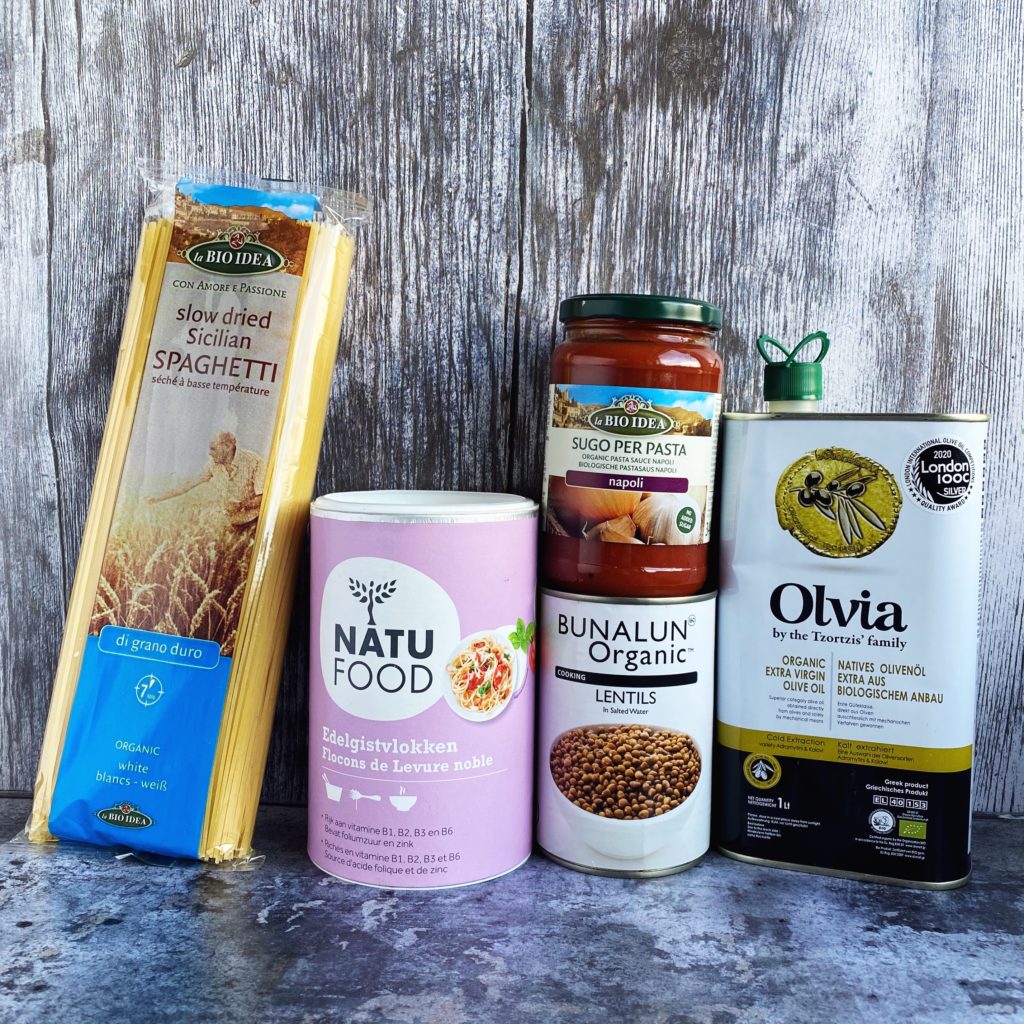
FAST FAKEAWAYS – Spaghetti with Lentil Ragu

We all have those days when we really really can’t be bothered to cook. Ordering a takeaway is such a nice treat, but it can take forever to arrive and be quite pricey. So on those days where you have no energy and your family is hangry, there’s always our ready made organic sauces for a bit of a shortcut. Look out for my ‘fast fakeaway’ recipes (if they can even be called recipes) using our range of organic, ready made sauces. I promise they are all super simple and extraordinarily tasty!

First up is this simple spaghetti with lentil ragu. This meal serves 4 or 5 people generously, takes less than 15 minutes and costs under €7 to put together.

Liz x

Ingredients (serves 4-5 hungry people)

Method

Simply bring a large pot of water to the boil. Add a tbsp of salt and the packet of pasta to the boiling water and give it a quick swirl to stop it from clumping together.

Then tip the contents of the jar of pasta sauce into a small pot. Half fill the jar with water, replace the lid and give the jar a good shake. Then add the contents to the pot again.

Drain and rinse the tin of lentils in a fine sieve. Then add that to the pot of sauce.

Simmer the sauce while the pasta cooks. Taste for seasoning and adjust if needed. I find the jar of napoli sauce is perfectly seasoned.

Once the pasta is cooked to your liking, drain it and stir in the sauce. Add an optional drizzle of extra virgin olive oil to the pot.

Divide the pasta into bowls (alongside a simple salad or some steamed greens perhaps?) and top each bowl with a pinch of nutritional yeast for that parmesan cheese like flavour and extra nutrition.

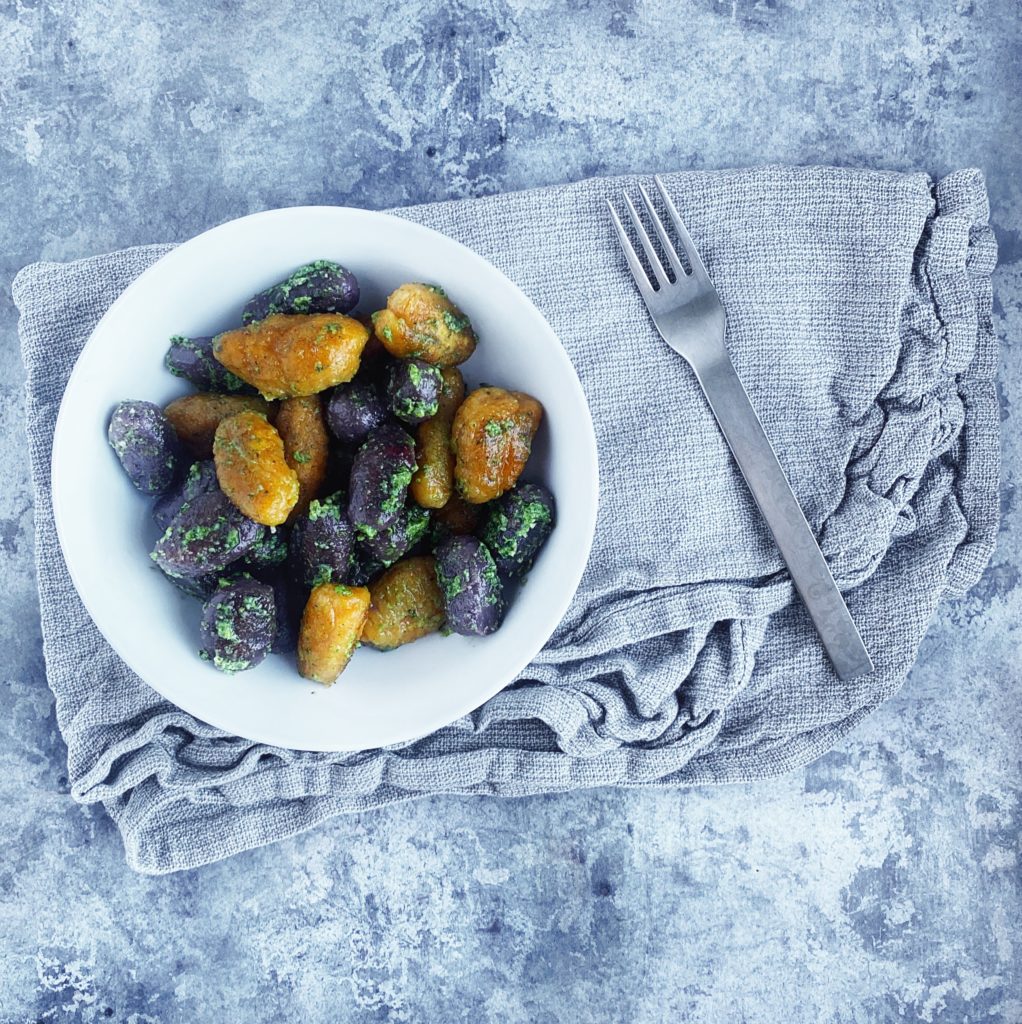
Purple Sweet Potato Gnocchi

The best current gut health science advises that we should be including as much plant diversity in our diets as possible. According to Dr Megan Rossi, one of the worlds leading gut health scientists and researchers, we should aim for 30 diverse ‘plant points’ every week. Do you eat 30 different plants a week? We certainly hope our veg boxes help you along the way to hitting that target.

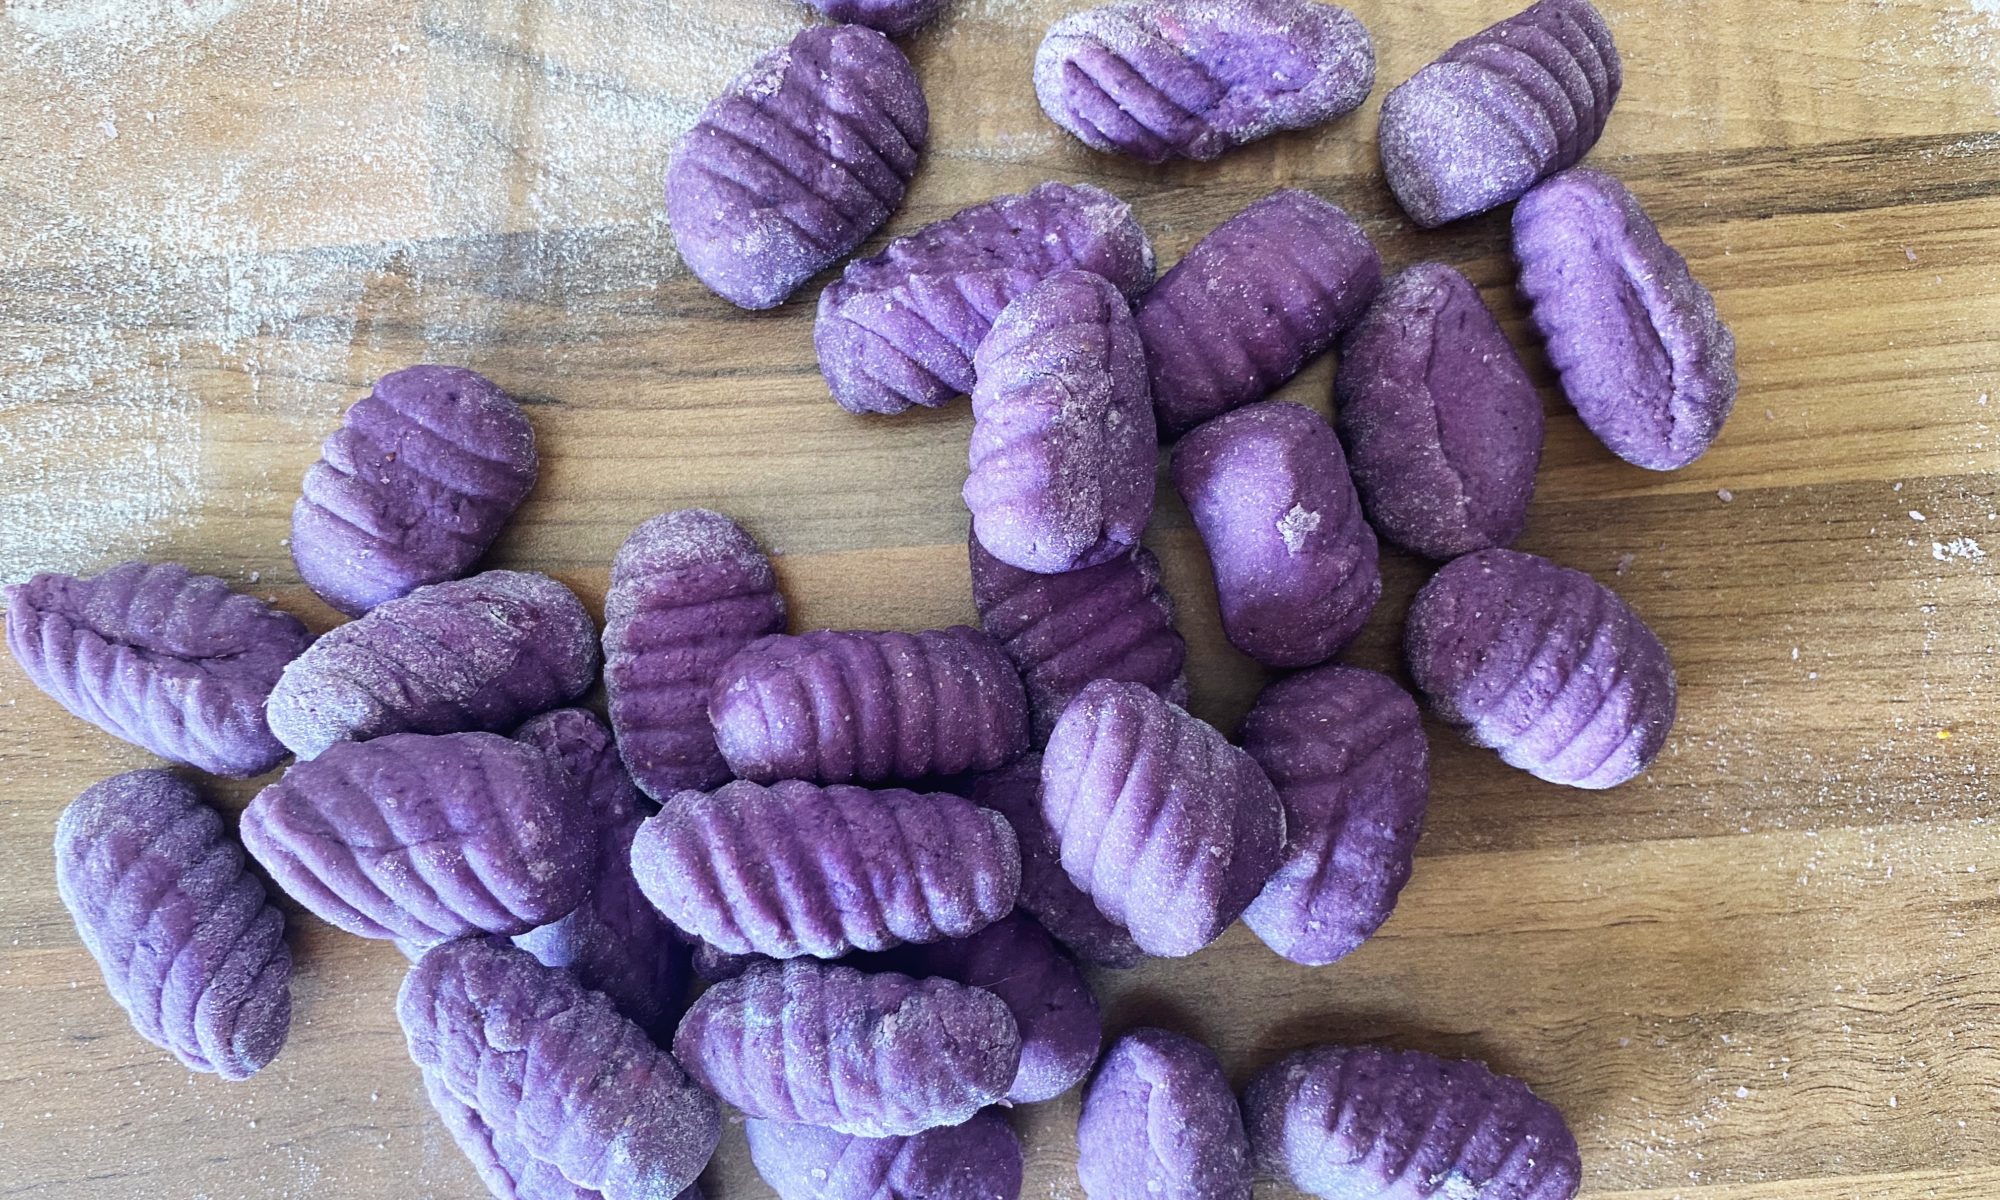
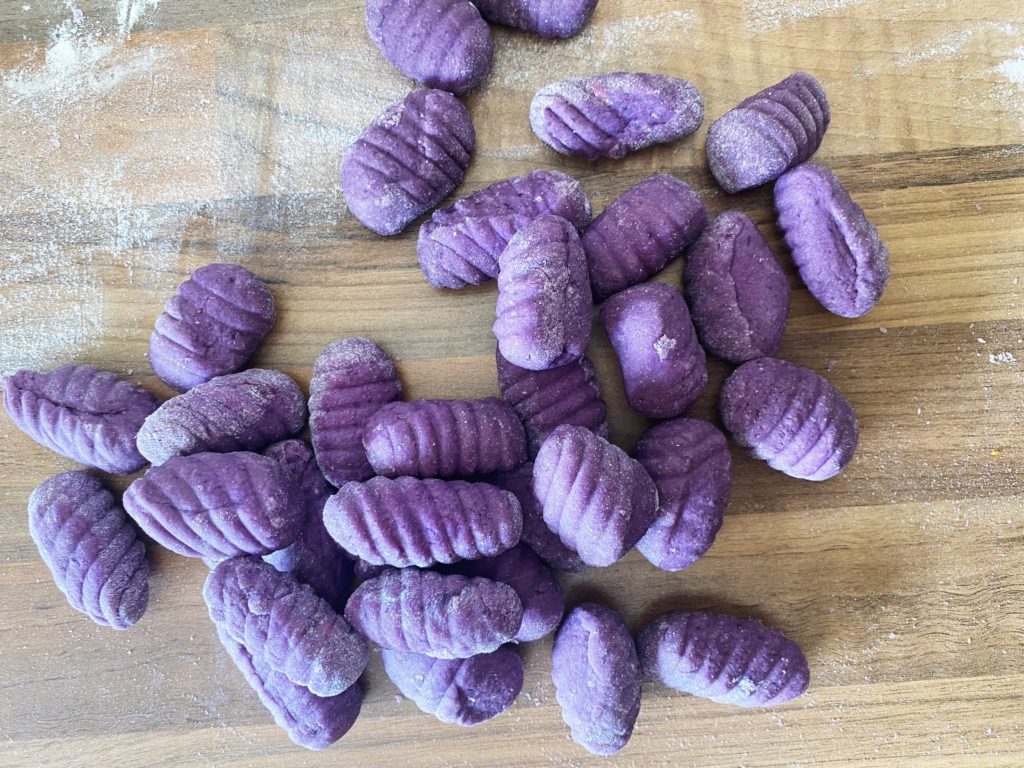
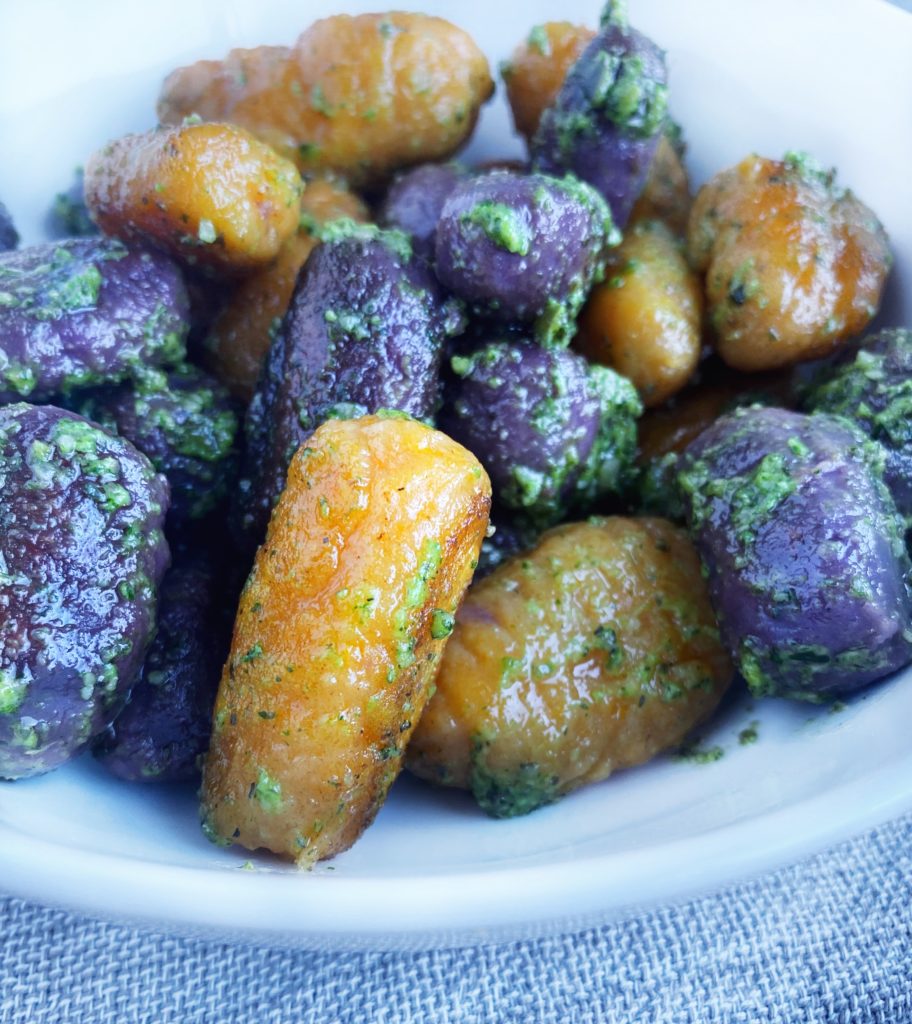
We all know about the importance of eating our greens, but did you know that purple foods are really important to include in our diets too? Purple fruits and vegetables contain antioxidants called anthocyanins? All brightly coloured fruits and vegetables contain antioxidants which help prevent or delay cell damage. It’s best to get a full range of all the different types of antioxidants out there, so in the spirit of eating the rainbow, I’ve been trying out one of the new vegetables we have in, the vibrant, purple sweet potato! I’ve already made an irresistible classic – baked purple sweet potatoes with a bean chilli – and I couldn’t not make some gnocchi. Here’s the surprisingly simple recipe. I made a batch of butternut gnocchi at the same time for even more plant diversity on our plates. How will you eat purple sweet potatoes?

Enjoy! Liz x
Ingredients

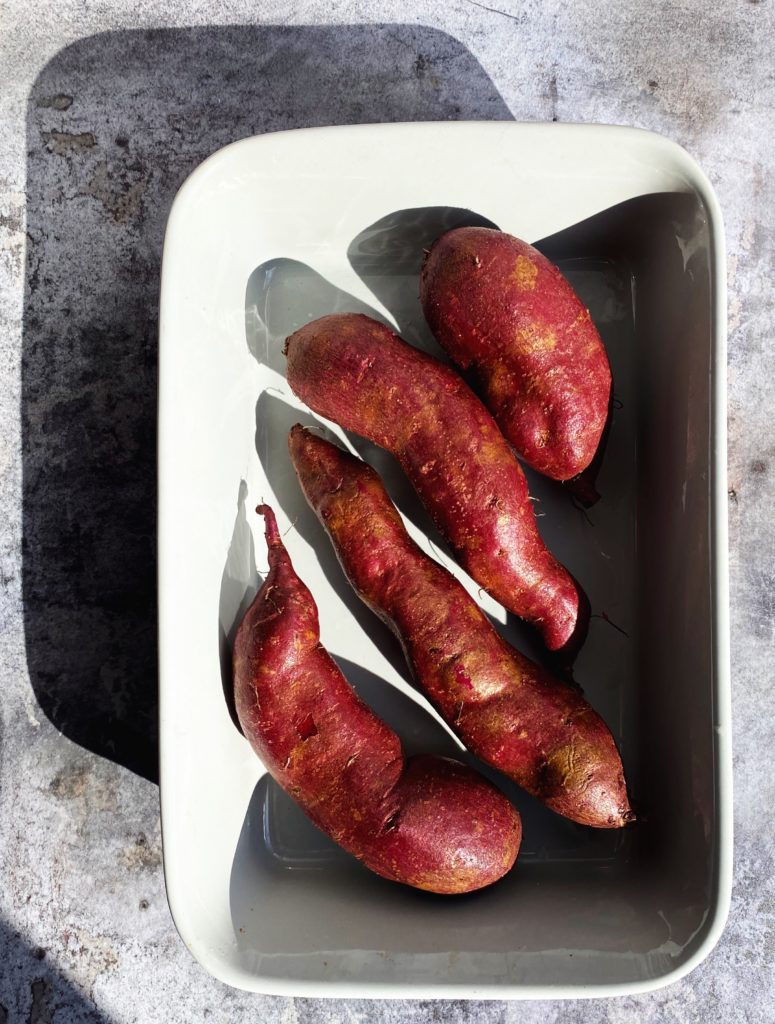
  • purple sweet potatoes (one per person)
  • plain flour (amounts vary – see method)
  • salt to taste
  • butter/oil for frying
  • pesto to serve (make your own or we deliver a choice of organic pestos, add them to your fruit and veg order here)

Method

Pre-heat your oven to 200C. Scrub one sweet potato per person. Prick the potatoes with a fork and bake them in a tray in the oven until soft all the way through. Sweet potatoes cook faster than regular potatoes, so test them after 20 minutes.

Allow the potatoes to cool to a temperature you can handle. Then peel them or slice them in half and scoop out the soft flesh.

Mash or puree the baked sweet potato flesh in a large mixing bowl until smooth. Season the mash really well with salt (bearing in mind you will be adding flour).

Then start adding flour, a little at a time, and mixing it into the puree until you reach a soft dough consistency*. I generally use plain flour or strong white bread flour but most flours work. You can easily make these gluten free by using a plain flavoured gluten free flour like rice flour or a plain gluten free flour blend.

Tip the dough onto a floured work surface and gently knead into a smooth, soft ball. Do not overwork the dough, you want to keep it tender.

Bring a large pot of water to boil. Get a frying pan and some butter or oil ready too.

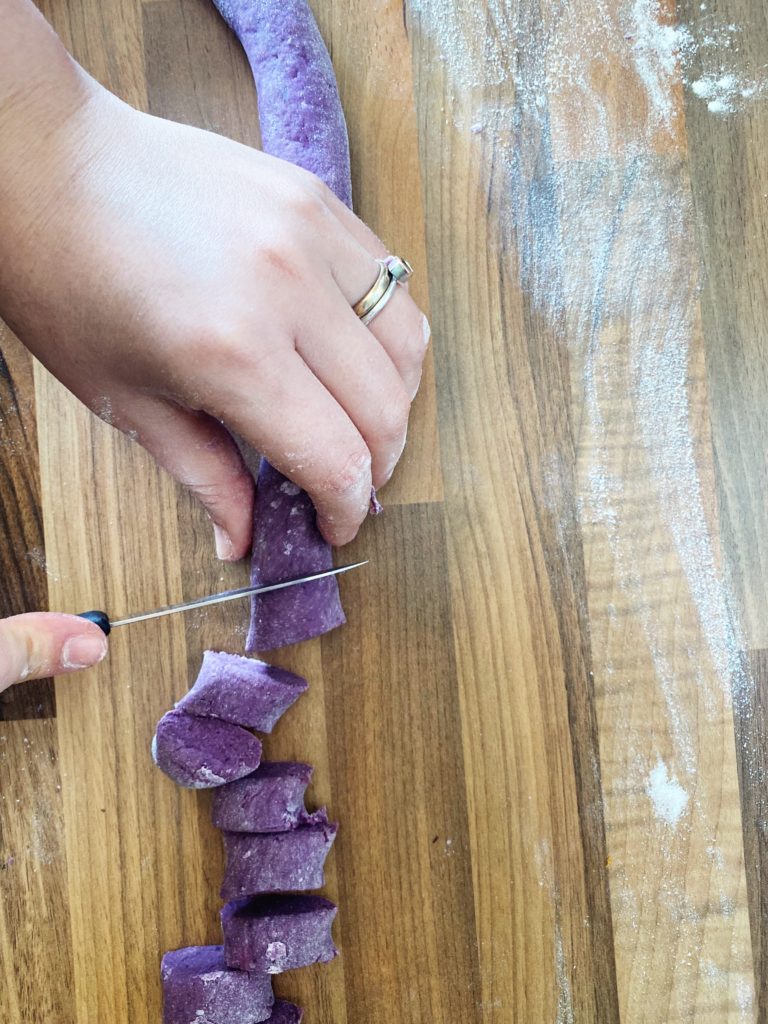
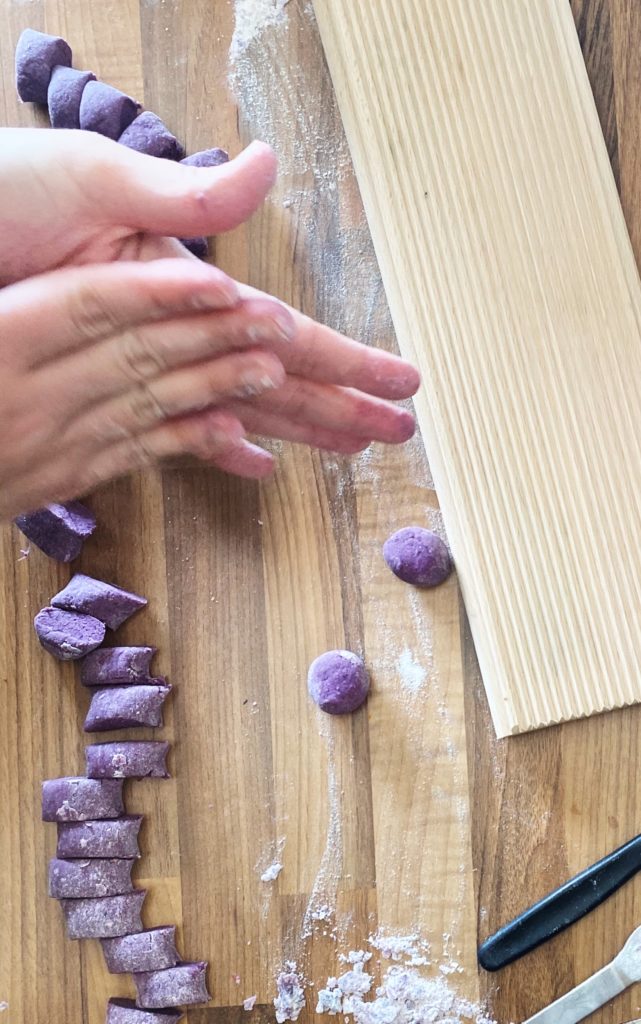
Roll the ball of dough into a long snake about 2 cm thick. You may wish to divide the dough into manageable pieces, depending on how big a batch you are making.

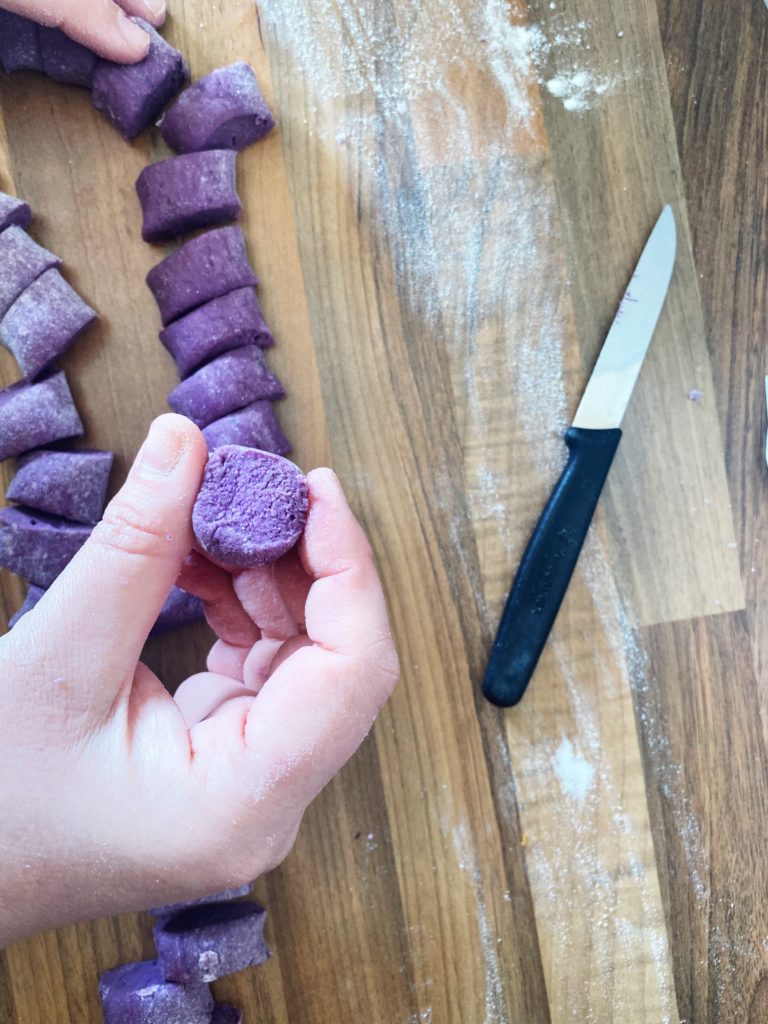
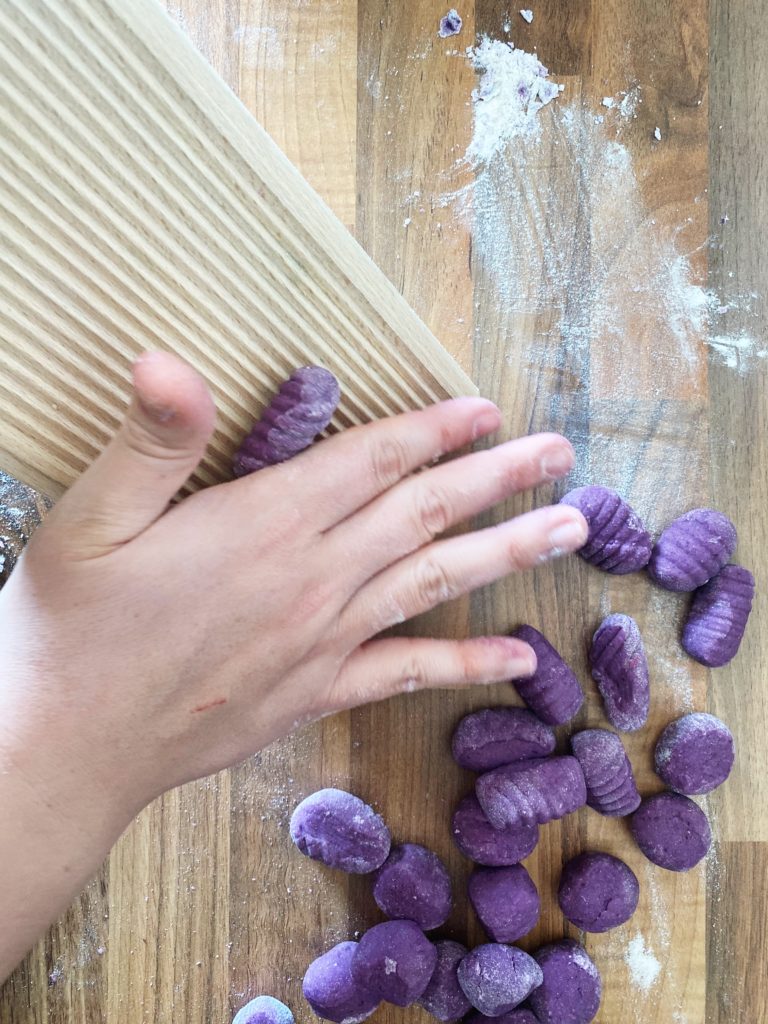
Cut the snake into bite sized pieces. You can leave the pieces in the pillow shapes they are, or roll them into balls then over a gnocchi board to make little grooves. Alternatively you can roll the pieces over the back of a fork.

Boil the gnocchi in the pot of boiling water in small batches. Once they start to float to the top of the pot, scoop them out with a slotted spoon and fry them in the frying pan with a little oil or butter until they are hot and crispy and take on some colour.

Toss the hot gnocchi with some pesto (you can loosen the pesto with a little of the pasta water if needed) and enjoy with some peppery salad leaves.

*I made a batch of butternut squash gnocchi at the same time. The method is the same. But as butternut squashes generally contain more water than sweet potatoes, they need a fair bit more flour to turn into dough.