4 Ways With…Cauliflower

“Cooking from scratch is the single most important thing we can do…to improve our health and general wellbeing.” – “Eat food, not too much, mostly plants.”

Michael Pollan

At Green Earth Organics, we are on a mission to help you Eat More Veg and Cook From Scratch. These two phrases are the cornerstones of good health, not just for us but for our planet too! Cutting down on processed food, ready meals and animal products and preparing and eating lots more whole, organic, fruit, veg, beans, nuts and grains is not only great for our health, it means less packaging, less harmful emissions from factories and animal farms and a lot less unhealthy, unnecessary ingredients.
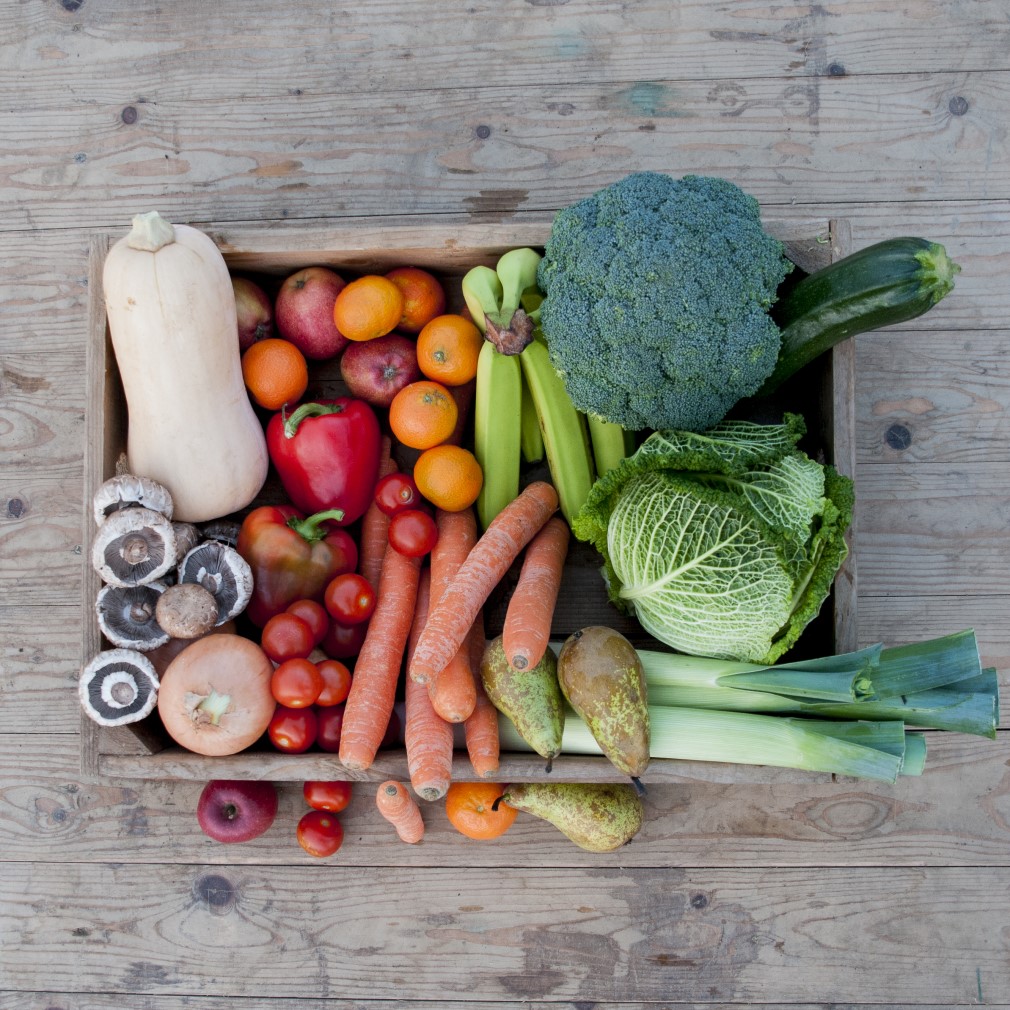
With our modern, busy lifestyles, it can seem like too much effort to shop for groceries, fruit and veg and get into the kitchen and cook from scratch after a long day at work. It is easy to just take something out of the freezer and microwave it or pop it in the oven. But you owe it to yourselves to cook from scratch. You are worthy of home cooked, healthy food and it will positively impact the rest of your life. It doesn’t have to be complicated to be delicious and satisfying.

So as well as making it easy for you to get the good stuff straight to your door with our weekly veg box subscriptions, we are starting a new weekly series called ‘4 Ways With…’ This series will showcase a seasonal vegetable or other ingredient and demonstrate four simple ways to prepare or cook it. We want to inspire you and give you the confidence to get into the kitchen and whip up a simple but satisfying meal. Follow us on Instagram or subscribe to our YouTube channel to watch the videos each week. Please feel free to comment and share your favourite seasonal recipes with us and the rest of our community. We love to see what you make from our weekly boxes. Liz x
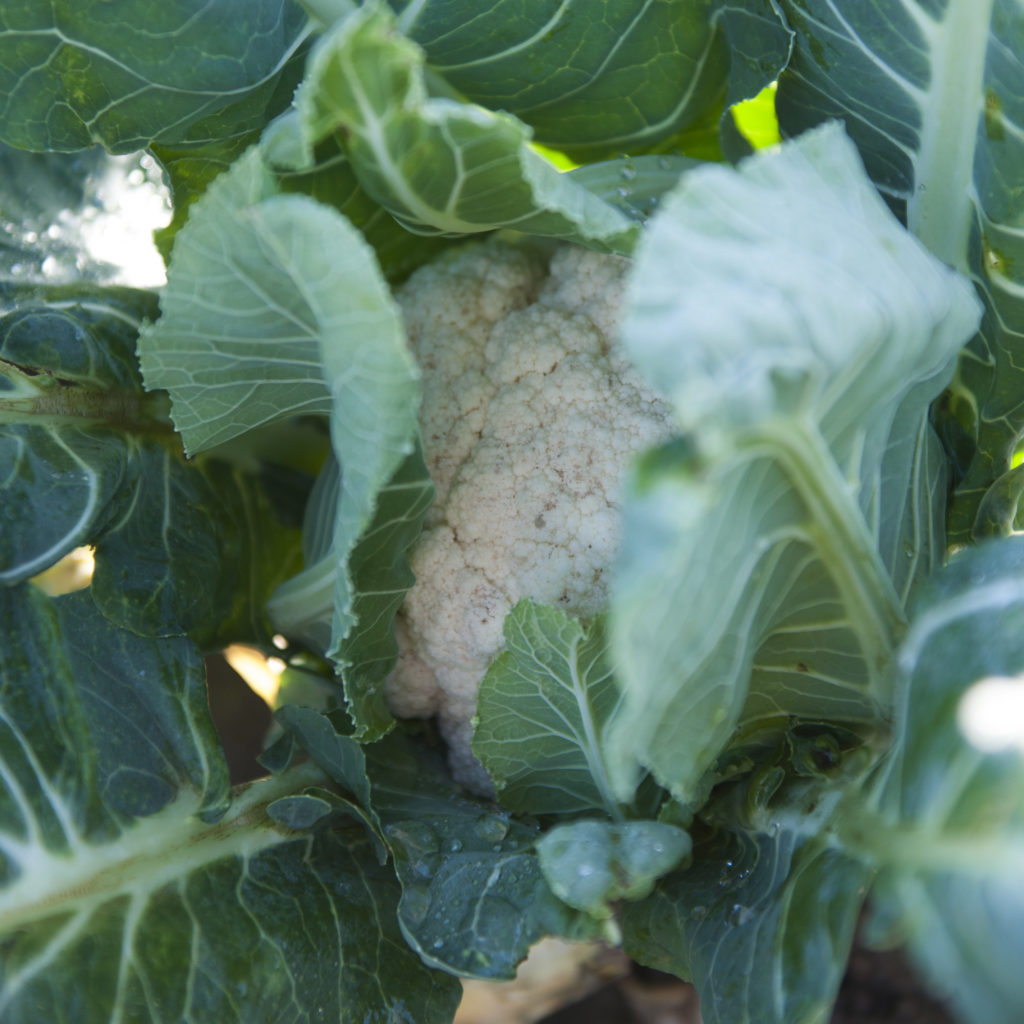
4 Ways With Cauliflower

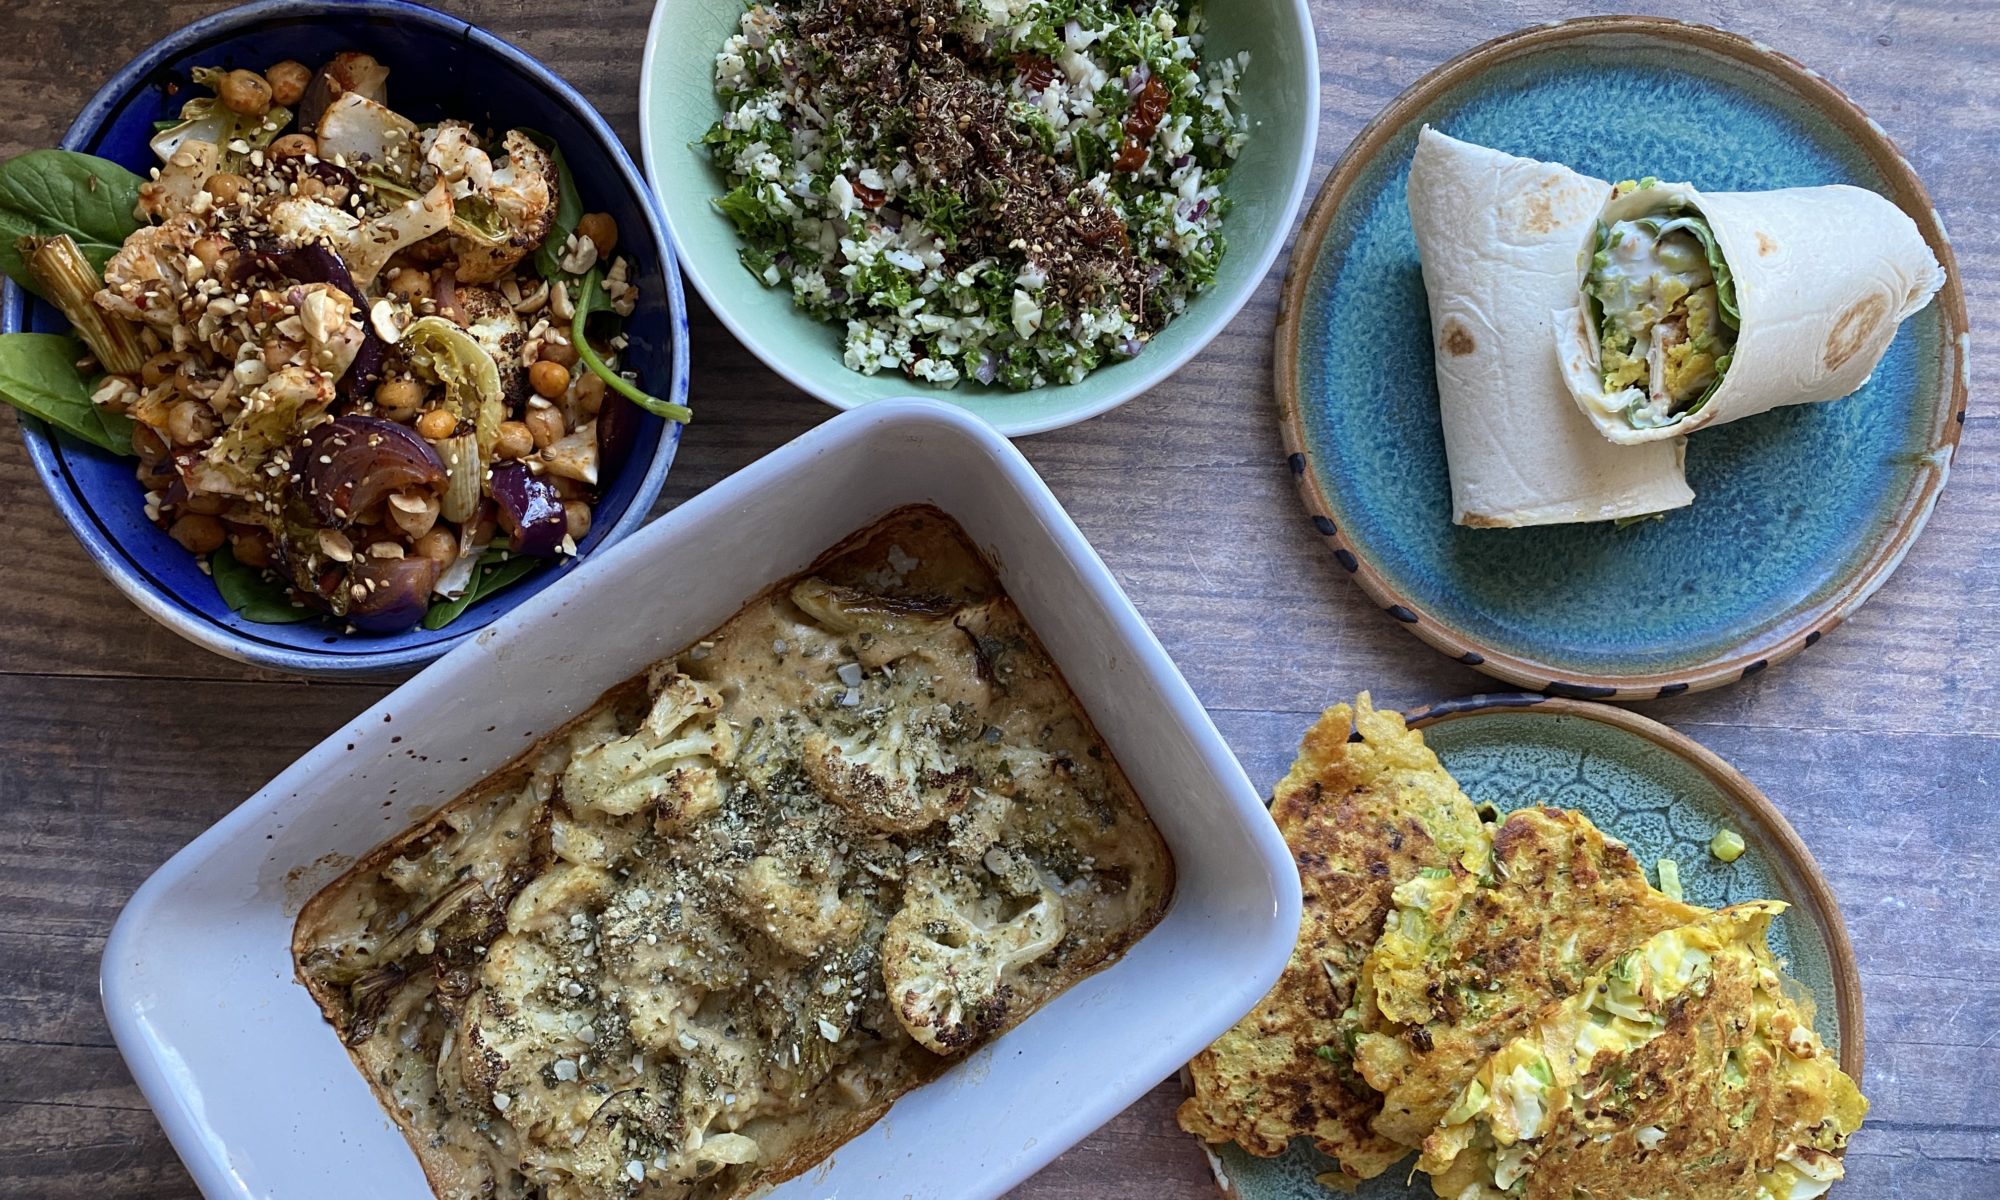
First up is the humble, but every versatile, cauliflower. Cauliflower has had one of the biggest ‘glow ups’ of all vegetables over the last 10 years. Once simply boiled and relegated to the side of the plate, cauliflower is now the captain of the vegetable patch! Roast it covered in Middle Eastern spices, blitz it into a rice or cous cous alternative, turn it into steaks, batter and deep fry it and transform it into a fried chicken substitute, even use it as a gluten free pizza base! If you’ve got a need for a vegetable to pretend to be something it’s not, cauliflower is your man. And it is delicious. Cauliflower is a bit of a blank canvas and is very good as a vehicle for delicious herbs and spices. It is absolutely fantastic in a curry or to top my baked biryani. Here are just 4 of the many ways I use cauliflower regularly. Vegan Cauliflower Cheese, Winter Tabbouleh, Spicy Roast Cauliflower and Chickpea Salad and Curried Cauliflower Fritters. What is your favourite cauliflower recipe? Let us know below or over on our healthy eating facebook group. Liz x

The recipes shown in the video above are just quick ideas and inspiration for dishes you can create with a cauliflower from your veg box. Below are the same recipes with amounts adjusted for a whole cauliflower in each recipe.

Vegan Cauliflower Cheese (serves 4-6 as a side for a roast)
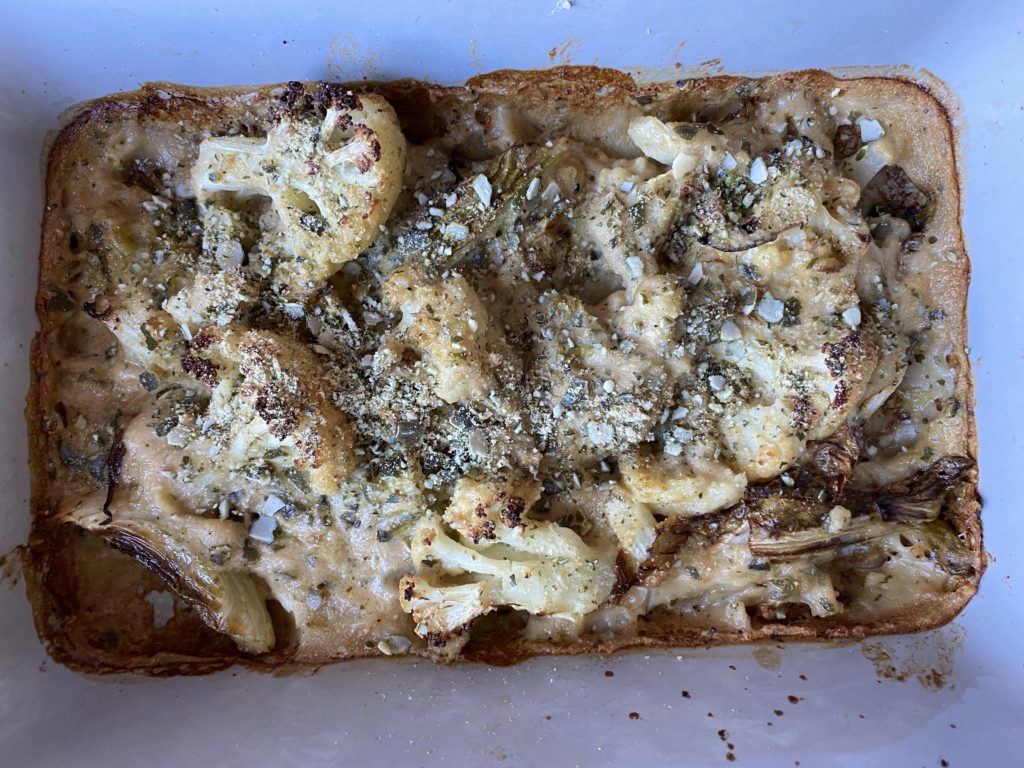
Preheat your oven to 200C. Find a large baking dish which will accommodate a whole cauliflower.

Rinse and quarter the cauliflower and break it into florets. Put them in the roasting dish. Add the sliced leaves and cores too.

Drizzle over the olive oil and season the cauliflower with salt and pepper. Mix well to spread the seasoning evenly. Then pop the dish in the oven to roast the cauliflower for 20 minutes.

While the cauliflower is roasting, prepare your vegan béchamel.

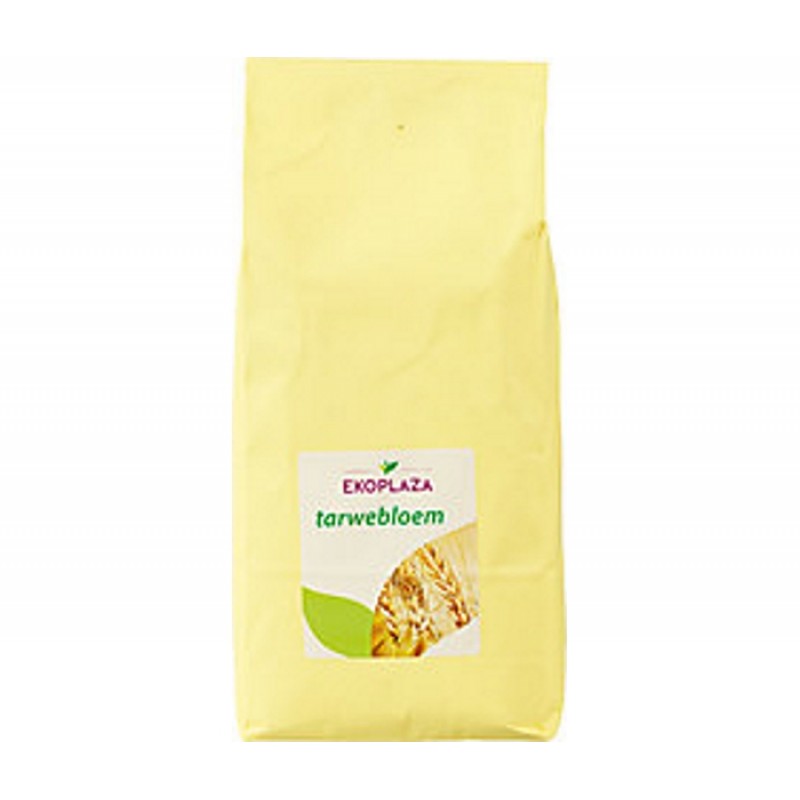
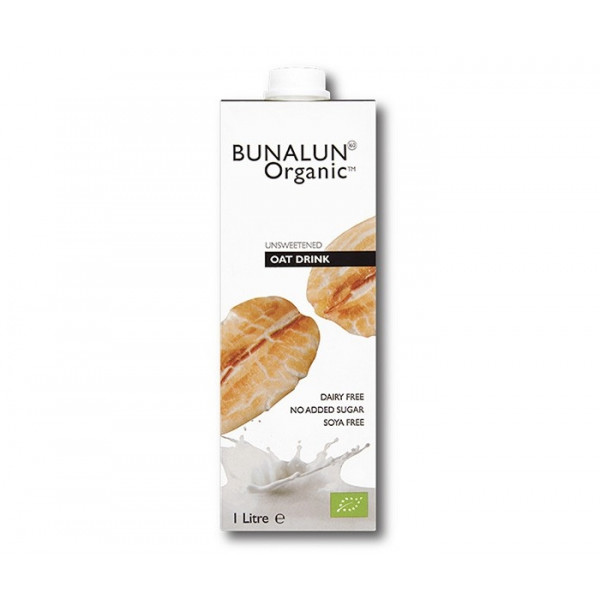
Simply whisk together the flour, nutritional yeast, nutmeg, mustard and oat milk. Add a big pinch of salt and some freshly ground black pepper.

Give it another which and pour the uncooked béchamel over the now roasted cauliflower. Return the dish to the oven to cook for a further 15 minutes or until golden and bubbling.

OPTIONAL EXTRAS: you could add a crunchy topping to your cauliflower cheese before you return it to the oven. I like to roughly blend extra proportions of pumpkin seeds and nutritional yeast. You could also use breadcrumbs.

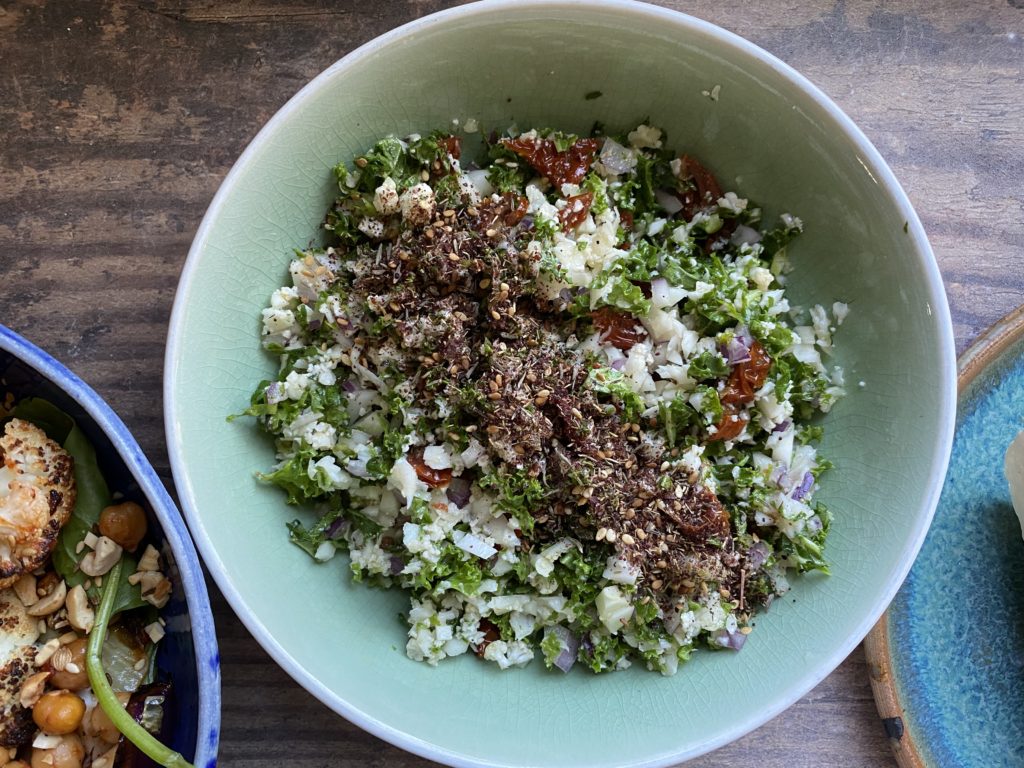
Winter Tabbouleh (serves 6)
  • 1 cauliflower
  • 8 large kale leaves (or use lots of fresh parsley or a mix of the two)
  • 1 red onion (or 4 spring onions)
  • 10 sun-dried tomatoes in oil (plus 4 tbsp of the oil)
  • 1 lemon
  • 1 clove of garlic
  • salt and pepper to taste
  • option extras like chopped walnuts, z’atar or dukka

Grate a rinsed cauliflower into a large bowl. You should end up with a rice/bulgar wheat like grain substitute.

Rinse the kale, remove the tough stems and very finely chop the leaves. Add to the bowl of cauliflower.

Finely dice the red onion (or slice the spring onion) and add it to the bowl.

Slice the sun-dried tomatoes and add to the bowl then make the simple dressing.

Mix the juice of the mon with a small crushed clove of garlic, and 4 or so tbsp of oil from the jar of sun-dried tomatoes. Season with salt and pepper and mix the dressing through the tabbouleh.

Serve as part of a salad bowl with some hummus, roasted vegetables and bread or with a tagine-type stew. It’s very good with something crunchy and nutty/seedy on top too. Simply toasted, chopped walnuts or make a dukka (a mix of toasted nuts, sesame seeds, cumin and coriander seeds) or z’atar (a mix of toasted sesame seeds, dried thyme and ground sumac).

Spicy Roast Cauliflower & Chickpea Salad (serves 4-6)
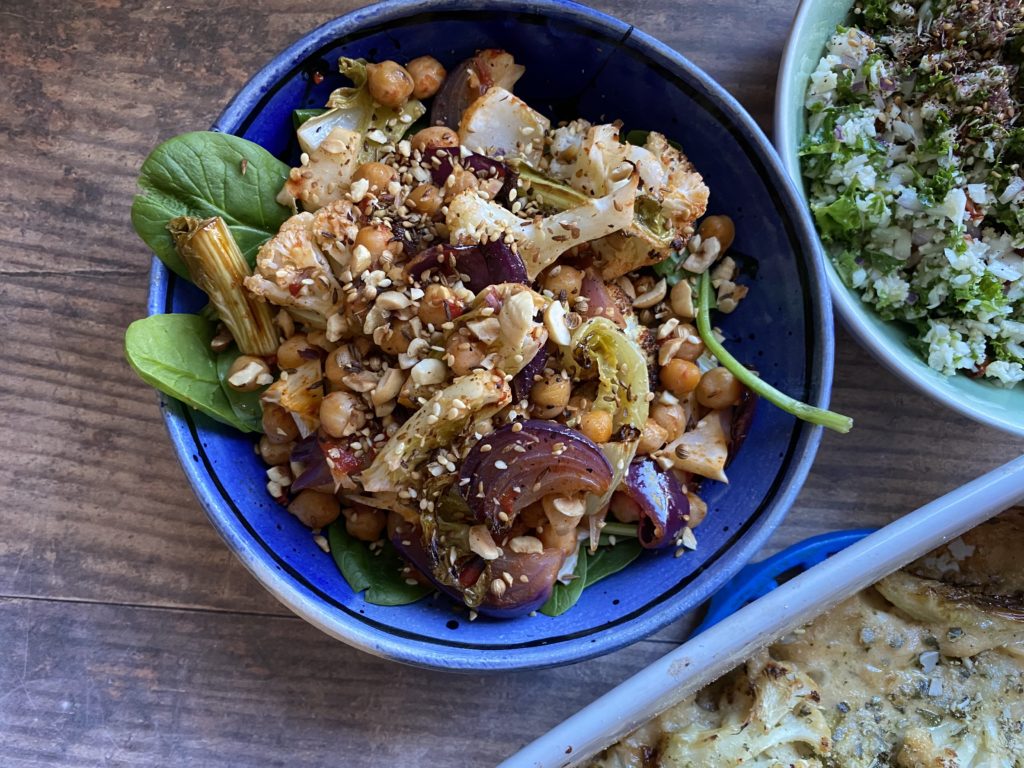
  • 1 cauliflower
  • 2 tins of drained and rinsed chickpeas
  • 4 red onions
  • 4 tbsp olive oil
  • salt and pepper
  • about 6 tbsp of ready made chilli sauce like harissa or sriracha or a mix of your own favourite spices (eg 1 tsp chilli flakes, 1 tbsp cumin seeds, 1 tbsp ground coriander, 1 tbsp smoked paprika and 2 tbsp maple syrup)

Pre-heat the oven to 200C and prepare a large roasting dish.

Rinse and chop the cauliflower (leaves, core and all), peel and slice the onions into thick wedges and drain and rinse the chickpeas.

Put them all into the roasting dish and drizzle over the olive oil. Season well with salt and pepper and add the chilli sauce or your own mix of spices.

Mix well and roast in the oven until the cauliflower is lightly charred and cooked through – around half an hour or so.

Serve warm with salad leaves and a cooling hummus or yoghurt and tahini dip or allow it to cool and keep in the fridge for 4 days for quick salad lunches.

Curried Cauliflower Fritters (makes 12-16 fritters)
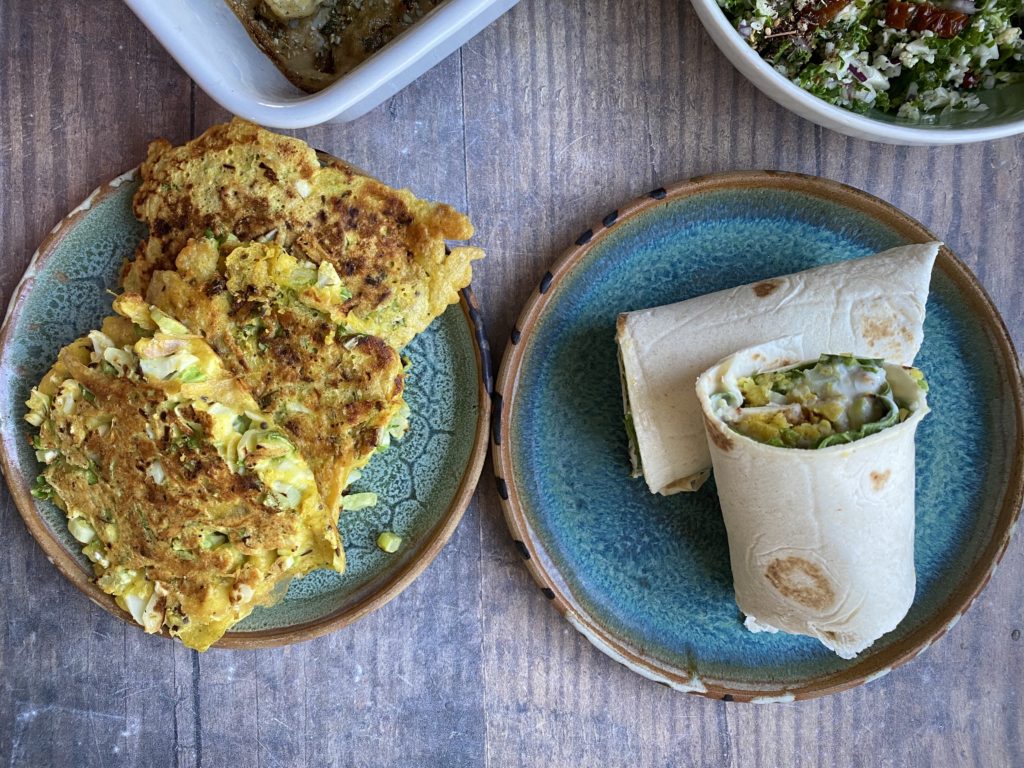
  • 1 cauliflower
  • 1 mug of gram flour
  • 1 tsp each of cumin seeds, brown mustard seeds, chilli flakes, turmeric, salt…some freshly ground black pepper and about 15 fresh curry leaves if you have them
  • vegetable oil for frying

Start with the gram flour batter. Mix the gram flour and spices with a mug of water.

Chop the cauliflower (leaves, core and florets) into small, pea sized pieces and mix it into the gram flour batter. There should be enough gram flour batter to coat all the pieces. If your cauliflower is very large and the mixture seems dry just make a bit more of the batter.

Heat a frying pan to a medium heat with a generous slick of vegetable oil. Fry spoonfuls of the batter in batches and flip them over once golden brown underneath. Ensure the heat is not too high as if it is the fritters will burn on the outside and be raw in the middle. A medium heat allows the fritters to cook slowly all the way through.

Serve warm as a side to a curry or salad or as a sandwich or wrap filling. I like mine in a wrap with some spinach or lettuce leaves, yoghurt and mango chutney.

Leftover mixture will keep well in the fridge in an airtight box for three days.

Flourless Black Bean Chocolate Cake

A page from the Sweet chapter of my book, available to add to your veg order here.

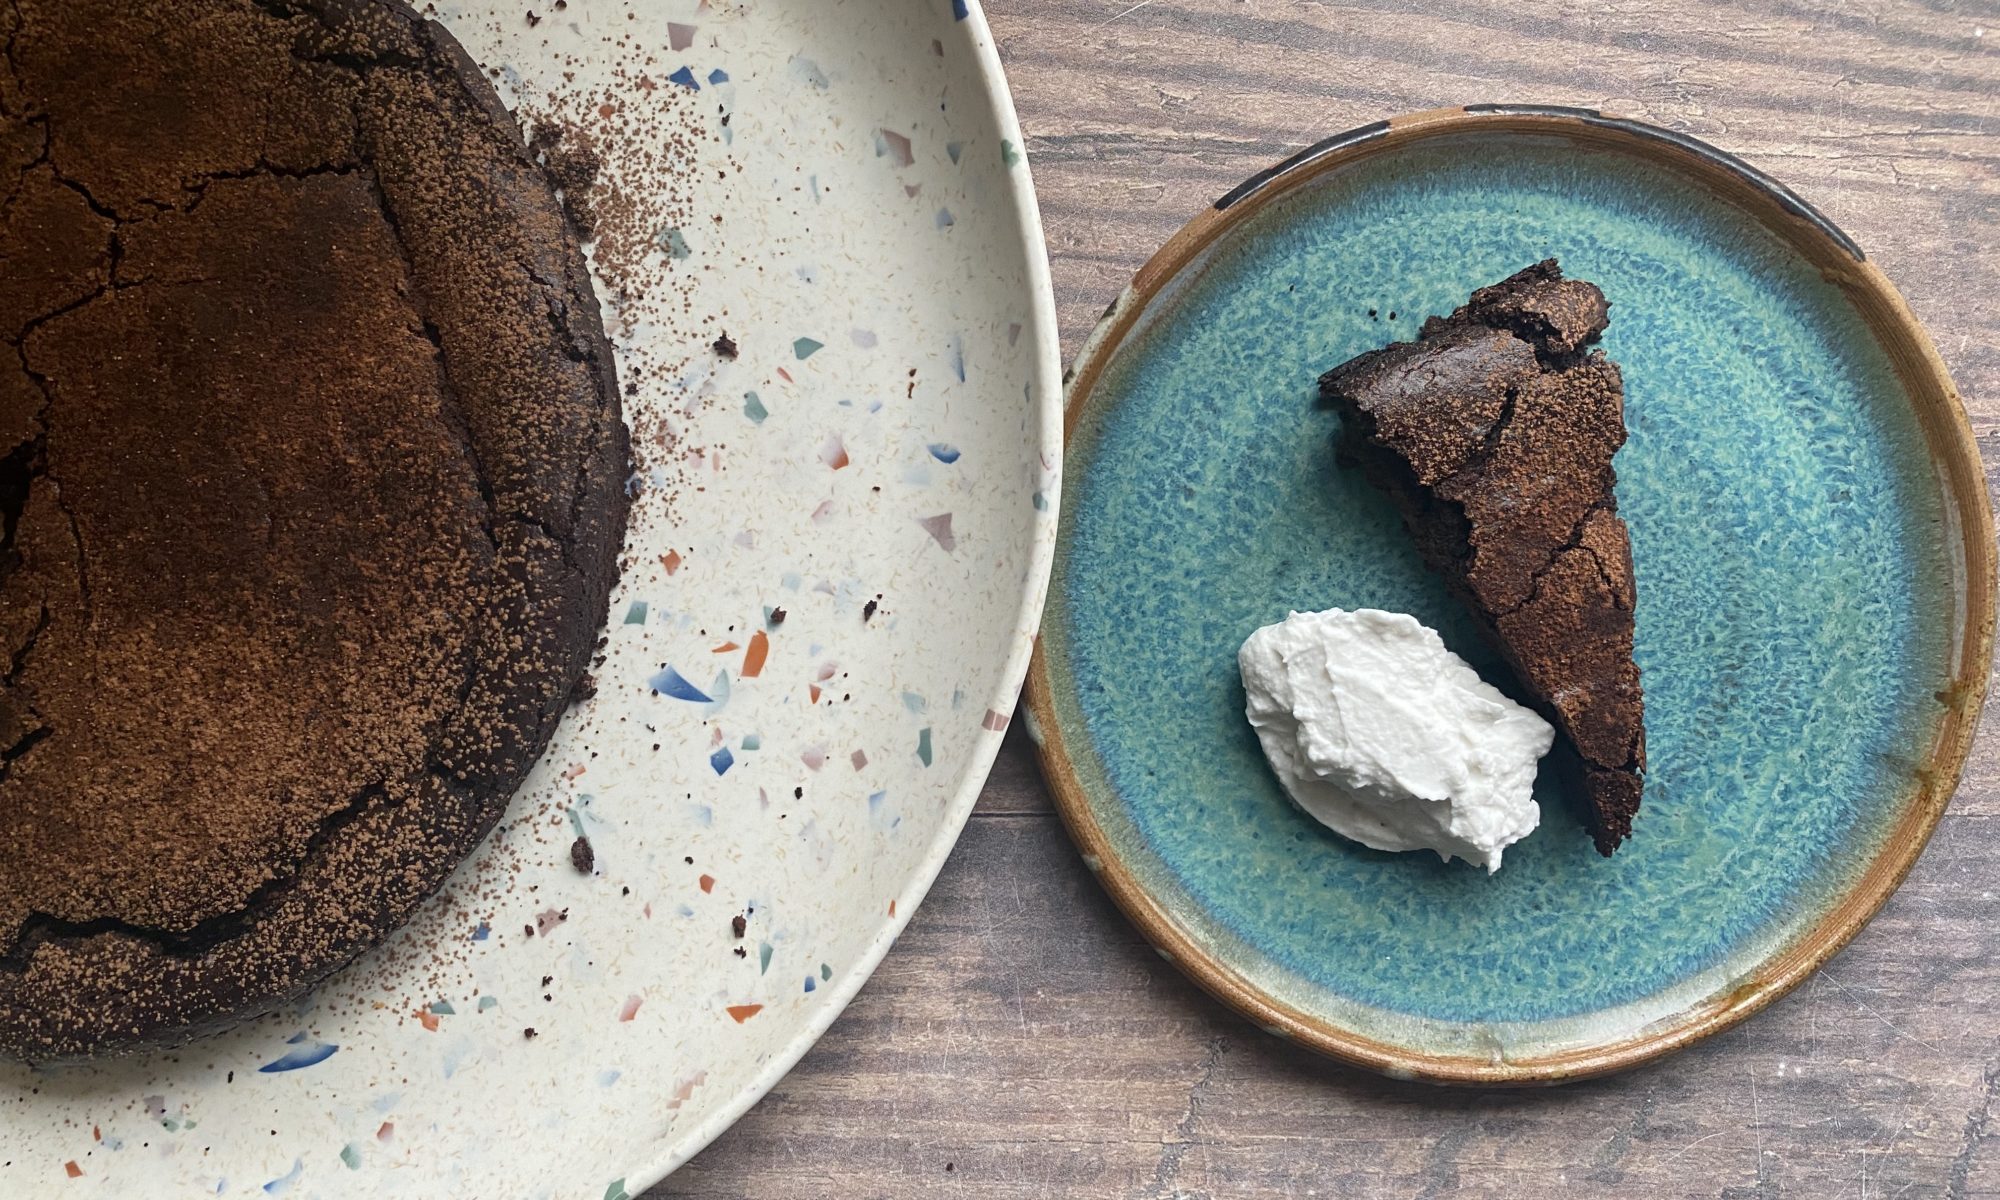
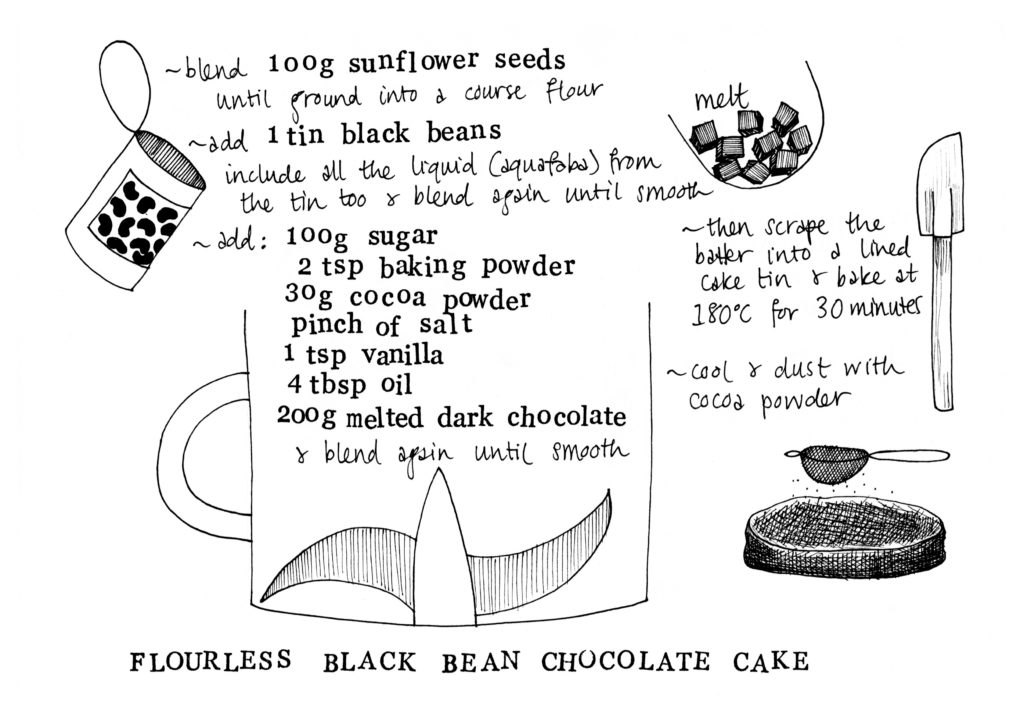
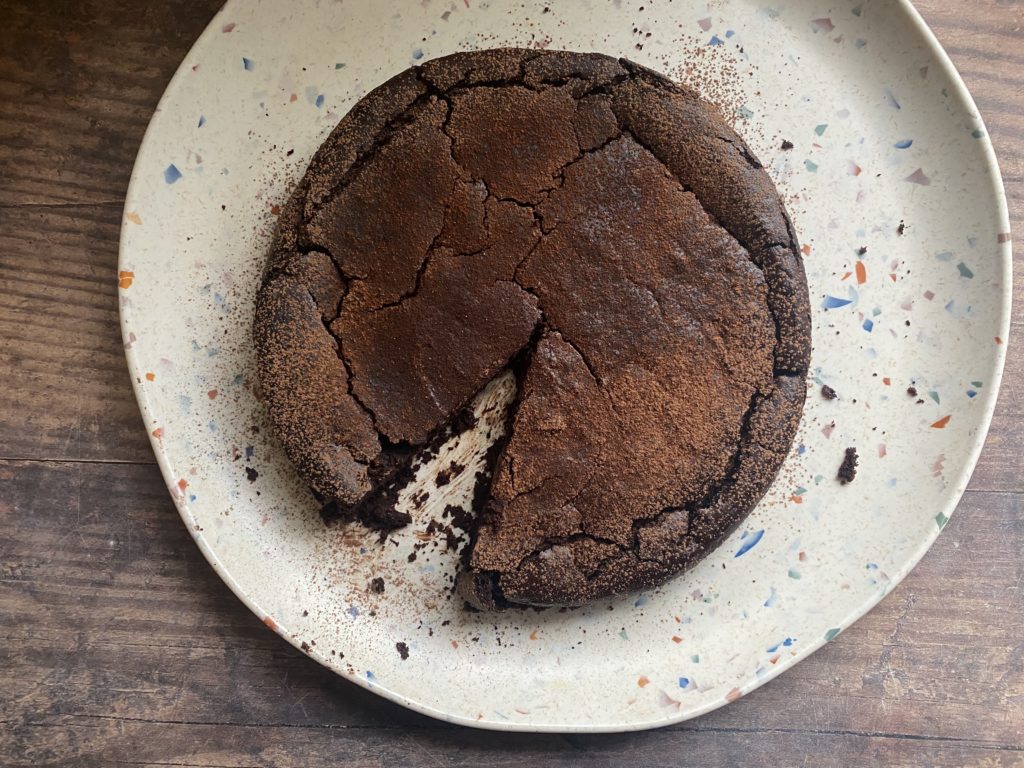
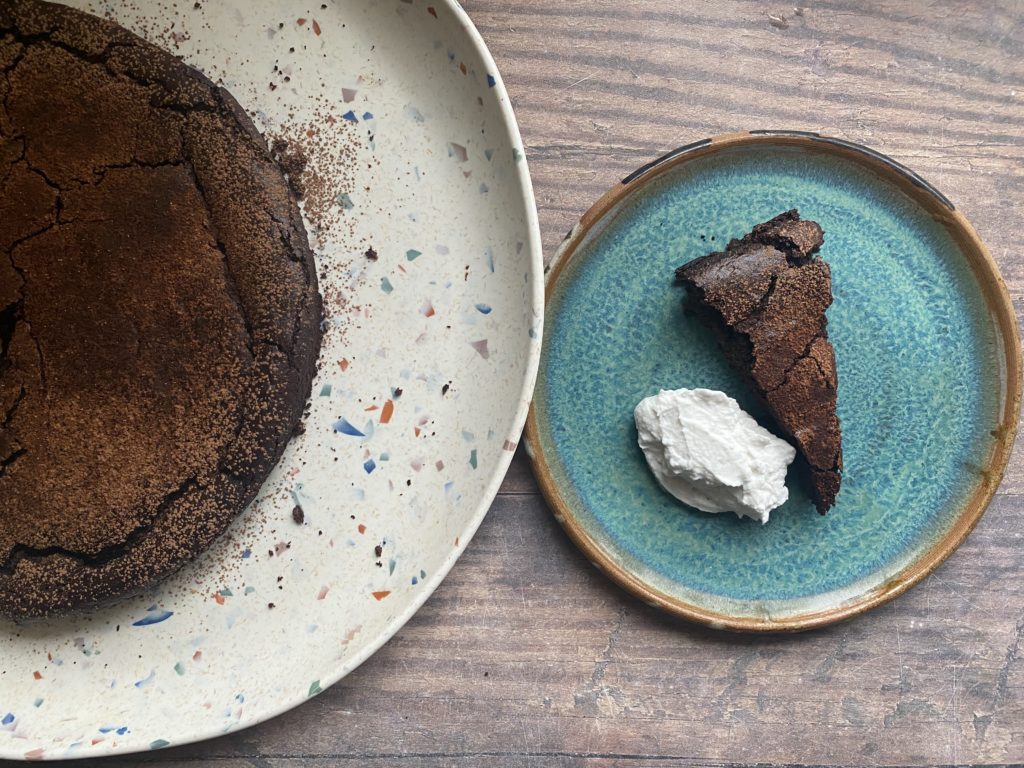
Flourless chocolate cakes are not just great for the coeliacs in your life, they are simply lovely cakes – somewhere between a brownie and a chocolate truffle – and incredibly delicious! The lack of flour means they are naturally rich and fudgy. The bitterness of the dark chocolate makes what would otherwise be quite a sweet and heavy cake, something quite sophisticated and moreish. Perfect served with some whipped coconut cream and a mug of coffee! I wrote this recipe with nut and gluten allergy sufferers in mind, but you can substitute the sunflower seeds with ground almonds if you wish. The recipe illustration above is from my book which is available to add to your veg box order on our website. The recipe video can be found on our Instagram @greenearthorganics1 or at the end of this blog on our YouTube channel. Liz x

Ingredients

Method

Pre-heat the oven to 180C and line a loose bottomed cake tin with a circle of baking parchment.

Pulse the sunflower seeds in a food processor or large blender until they come into a course flour. Careful not to process for too long as that will turn the seeds into butter!

Add the tin of black beans to the blender – including all the aquafaba (that’s the viscous liquid that the beans were cooked and sitting in) from the tin. Blend again until smooth.

Add the sugar (or a sweetener of your choice eg maple syrup), baking powder, cocoa powder, salt, vanilla, olive oil and melted dark chocolate and blend again to combine. To keep it dairy free, check the ingredients in the chocolate – most dark chocolate is dairy free but it’s always worth checking the label. I usually just melt the chocolate in the microwave in little 10 second bursts, checking and stirring between each. You can put the chocolate in a bowl over a small pot of simmering water to melt it gently that way too.

Then scrape the mixture into the lined cake tin, smooth it out with a spatular and bake it in the centre of the oven for 30 minutes or until cracked on top and with minimal wobble.

Allow it to completely cool in the tin before carefully removing it onto a plate and dusting the cake with a tsp of cocoa powder.

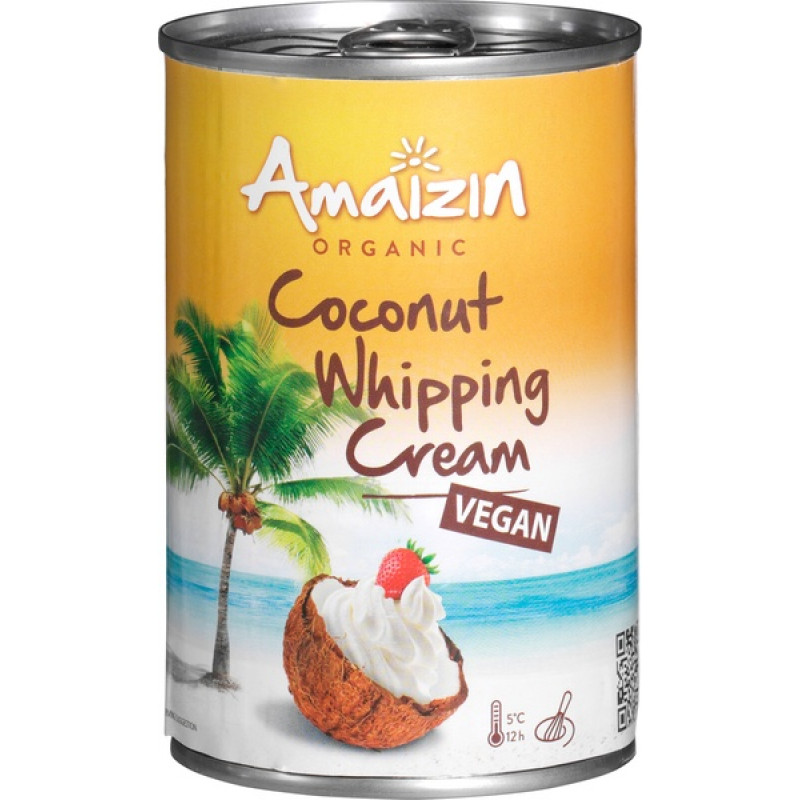
Serve slices of the cake with whipped coconut cream from a tin (we sell these in the grocery section of our shop) – it’s also delicious with fresh, tangy raspberries in the summer, to cut through the richness of the cake.

Enjoy! Don’t forget to tag us @greenearthorganics1 on instagram if you make this recipe and join our friendly facebook group to share recipes and tips.

Butternut Gnocchi Baked in Béchamel

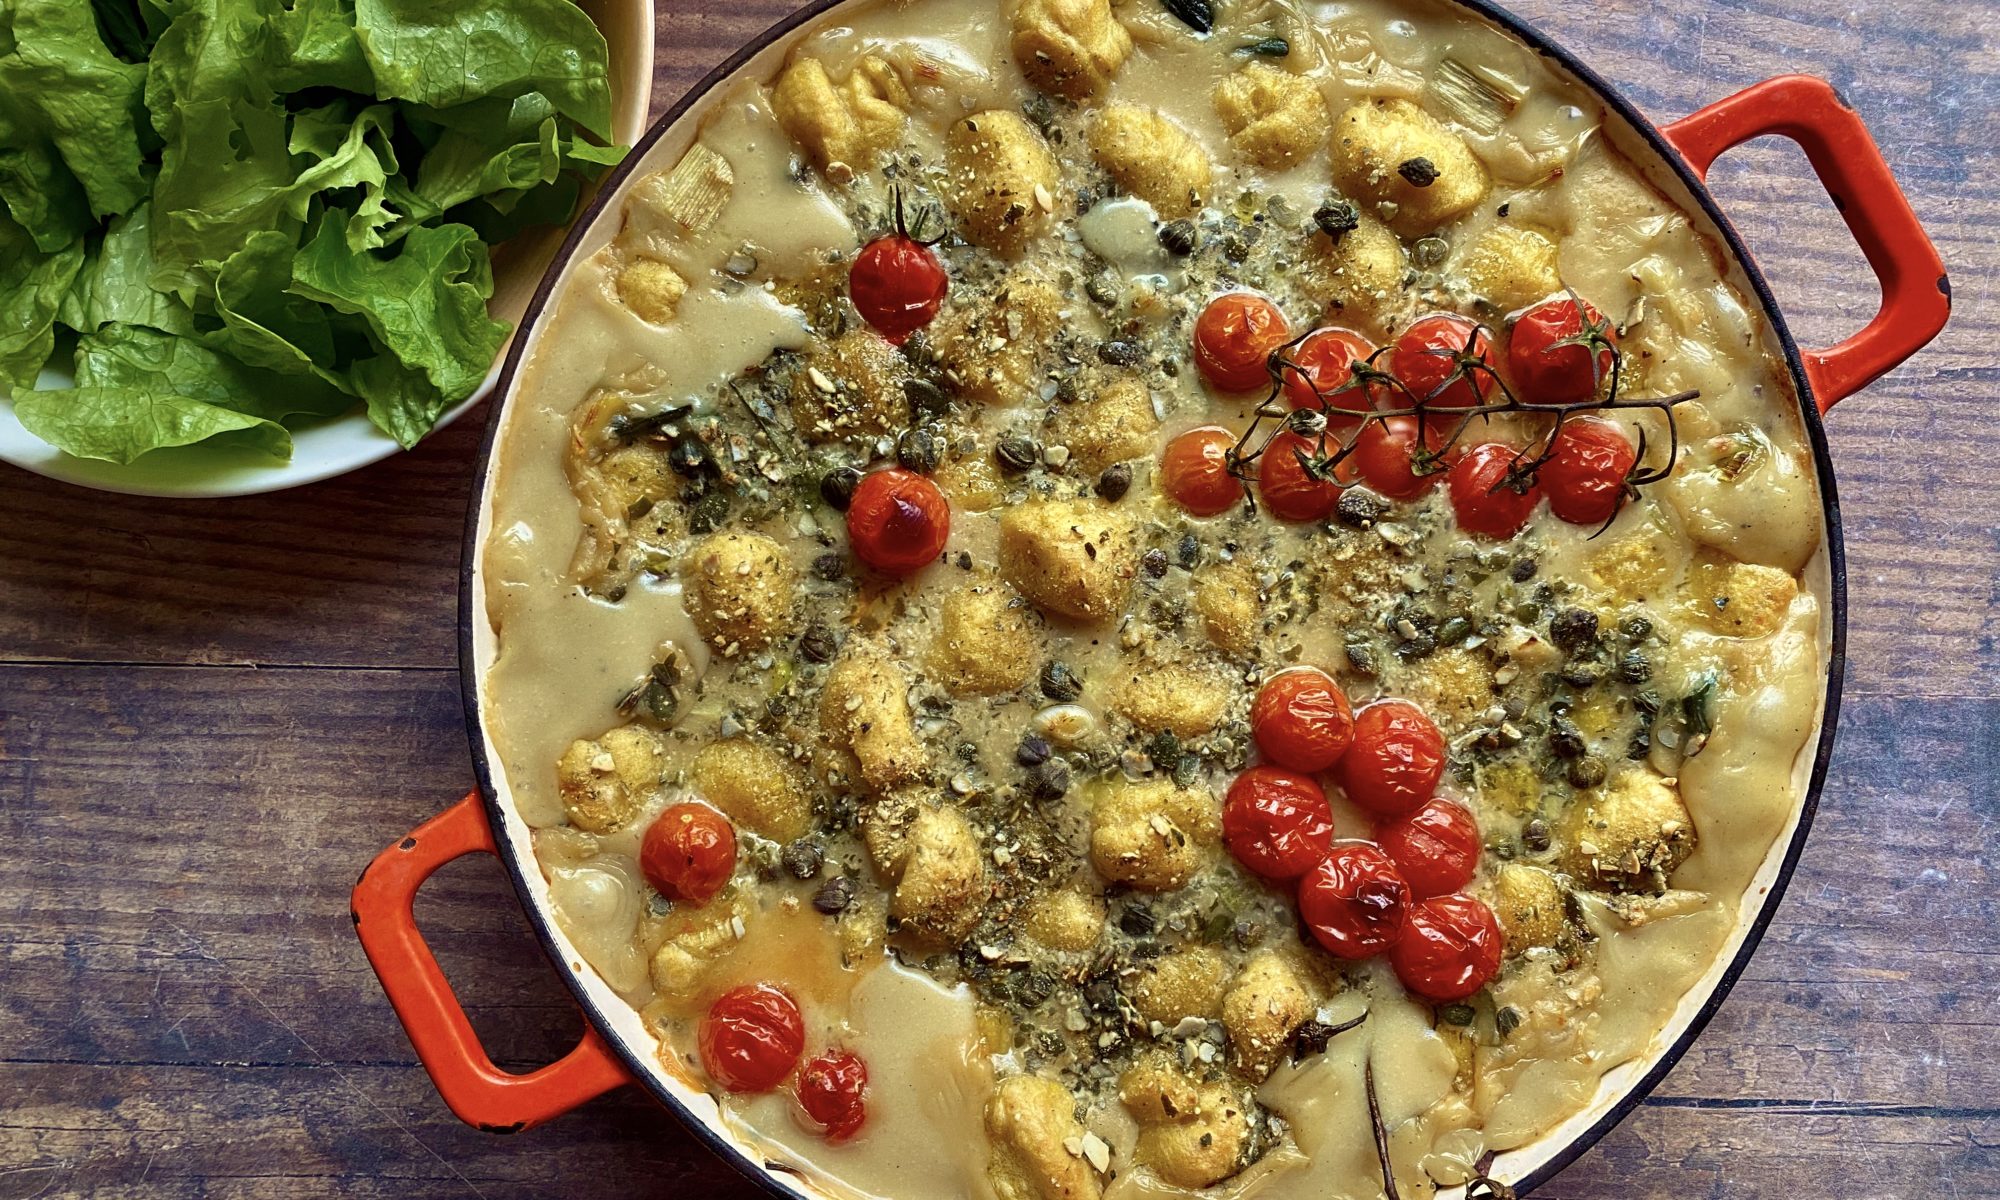
Introducing the slightly more laborious, but much more exciting cousin of macaroni cheese! Béchamel Baked Butternut Gnocchi! This is comfort food at it’s finest.
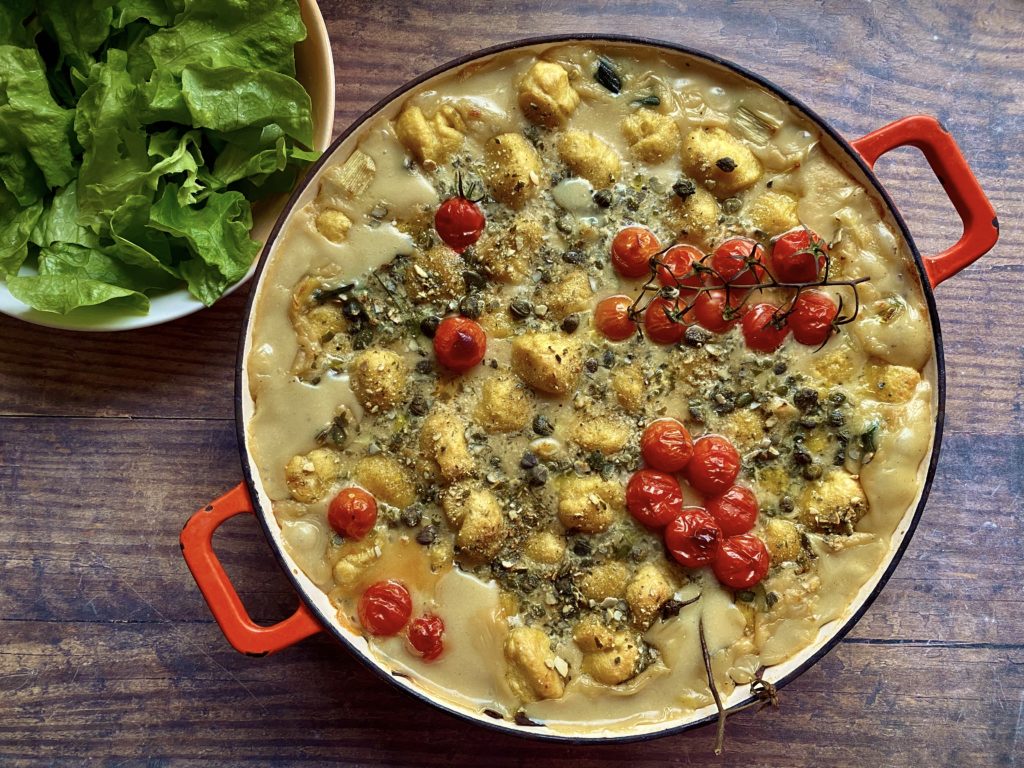
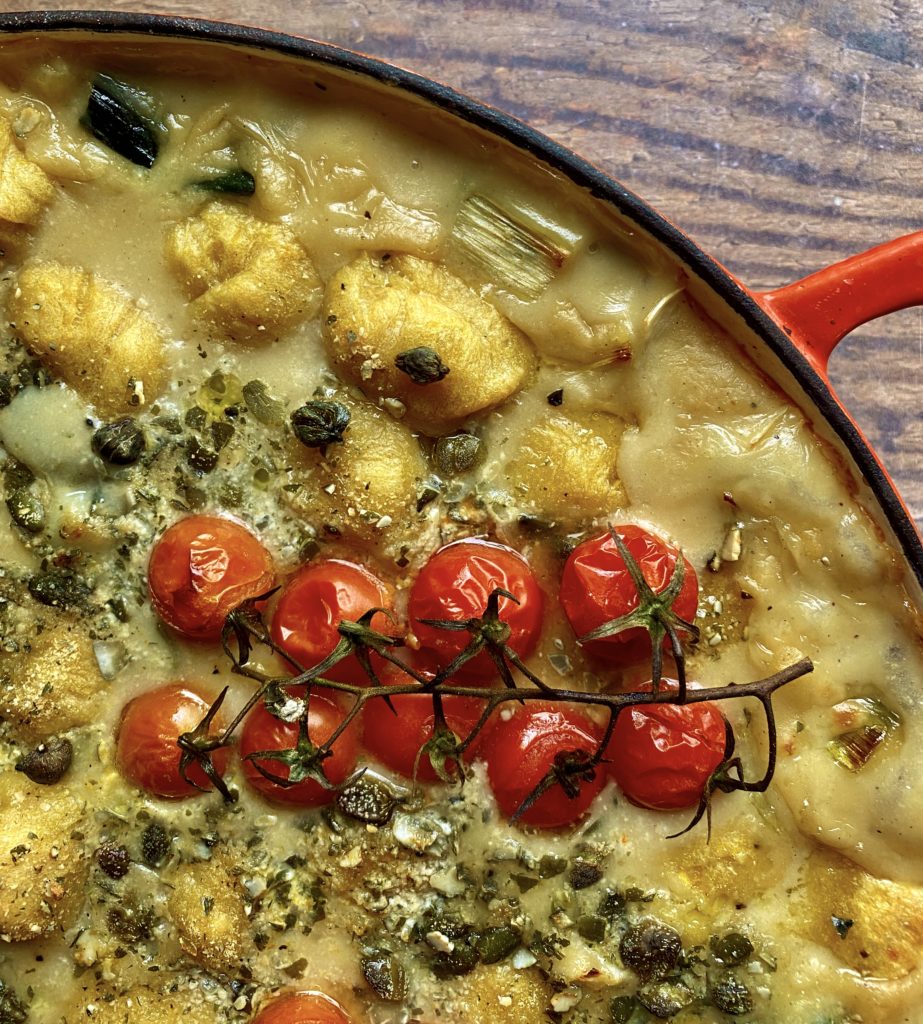
My vegan béchamel sauce is very simple to put together, and for this I’ve simply whisked it up and poured it over sautéed celery and leek. Then I popped in lots of freshly boiled butternut gnocchi (not as tricky to make as it seems), scattered over some tangy capers and crushed pumpkin seeds and baked it until the béchamel was bubbling and thickened! I got some gorgeous cherry tomatoes in my box last week so I placed them on top to roast in the oven. Their bright acidity is the perfect foil to the creamy richness of the béchamel and gnocchi.

I’d love to see your photos if you make this dish. Share them with us over on our friendly facebook group or tag us @greenearthorganics1 on Instagram and don’t forget to share this blog post with your friends. Liz x

Ingredients for the Gnocchi

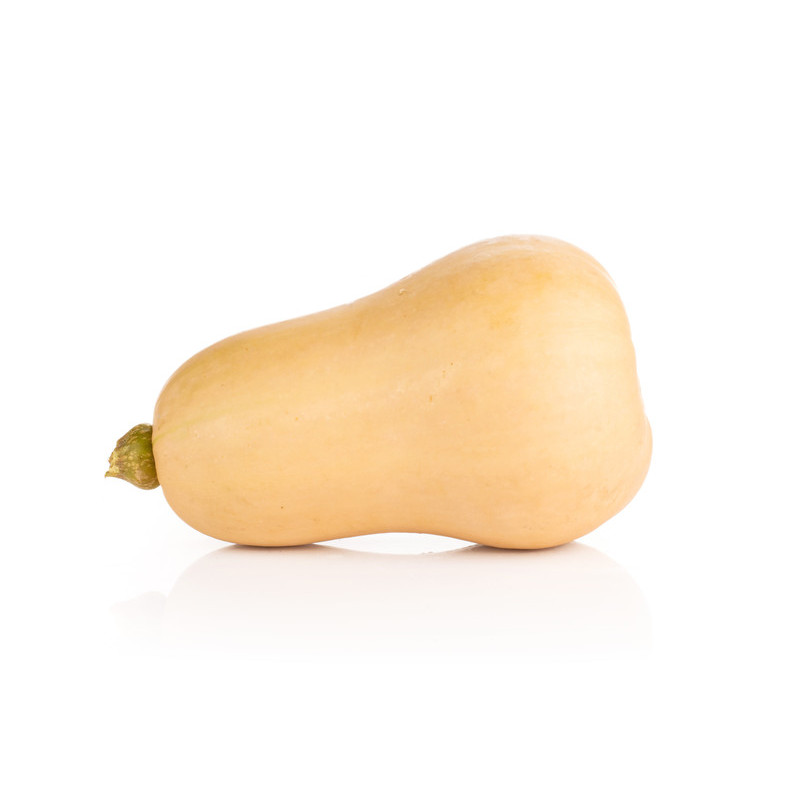
  • 1 butternut squash
  • enough plain flour to bring it into a dough (this varies depending on the water content and size of your squash)
  • salt, pepper and optional herbs or spices (sage/rosemary/thyme/chilli flakes…)

Method

Pre-heat your oven to 200C.

Cut a small butternut squash in half, scoop out the seeds and bake it – cut side down – in a hot oven (200C) until the flesh is soft all the way through. Test it with a small knife, it should easily slide into the soft, roasted butternut. (This normally takes 30 minutes or so. While it’s in the oven, get on with the sauce and preparing the toppings below.)

Allow the squash to cool to the point where you can easily handle it, then scoop out all the roasted flesh and mash or blend it into a smooth purée.

Find your biggest pot, 2/3rds fill it with water and get it on the stove to heat up to a rolling boil while you make the gnocchi.

Season the purée with salt and pepper and taste to check the seasoning. It should be slightly too salty as you are going to fold in a fair bit of flour. You can also add optional extra flavours at this stage. For example chilli flakes and sage or rosemary and lemon zest… or just leave it plain, that’s delicious too!

Then stir in enough flour to turn the purée into a soft dough. You can use plain flour (make sure there are no raising agents in it) or strong bread flour or even a gluten free plain flour blend. Gnocchi works best with white flour rather than wholemeal.

The amount of flour varies depending on the size and moisture content of your squash. Just start with a mug or so, gently fold it in and keep going until it’s the right consistency to be tipped out onto a floured work surface and very briefly kneaded. You want to work it as little as possible to keep it tender, but just enough to bring it together into a manageable ball of dough. It should be soft and sticky, get a helper to keep dusting the work surface and your hands with flour to make it more manageable.

Cut the ball of dough into 4, then roll one of the quarters into a thick snake. Chop the snake into little bites. If you want to make little traditional looking grooves in the gnocchi you can stamp each bite with a fork or you can roll them over a gnocchi board if you have one… or simply roll them into balls.

Then drop the gnocchi into the now boiling water in batches. Gently loosen them from the bottom of the pot with a slotted spoon. When they rise to the top of the water they are done and can be scooped out and placed in the sauce below. I do them in batches of one snake at a time, then while that batch is boiling I get the next snake ready.

Keep going until all your gnocchi dough is used up. If you make too much for the bake, then you can cool down and keep the excess boiled gnocchi in the fridge/freezer and use it another day (pan fry it with a little olive oil or butter and serve with pesto and salad?)

Ingredients for the Béchamel & Toppings

Method

In an oven and hob safe, large, wide pan, sauté the sliced celery, leek and garlic with the butter or olive oil and some salt and pepper until soft. Then turn off the heat. (If you don’t have an oven and hob safe large dish like this, you can just sauté the veg and tip it into a roasting tray instead.)

Then whisk the flour, milk, mustard, nutritional yeast, nutmeg, salt and pepper in a large jug or mixing bowl and pour the mixture over the sautéed celery and leeks.

Boil the gnocchi in batches as above and pop them into the dish on top of the sauce.

In a small blender or large pestle and mortar, crush/blend the handful of pumpkin seeds with a small handful of nutritional yeast for a crunchy, savoury topping. Scatter this over the gnocchi and sauce.

Sprinkle over the capers and cherry tomatoes then pop the dish into the oven (with an optional drizzle of olive oil) to bake until the gnocchi are burnished golden brown and the sauce is thick and bubbling. This should take around 20-30 minutes.

Serve with a simple green salad and an ice cold glass of white wine and enjoy!

Beetroot, Walnut & Lentil Ragu

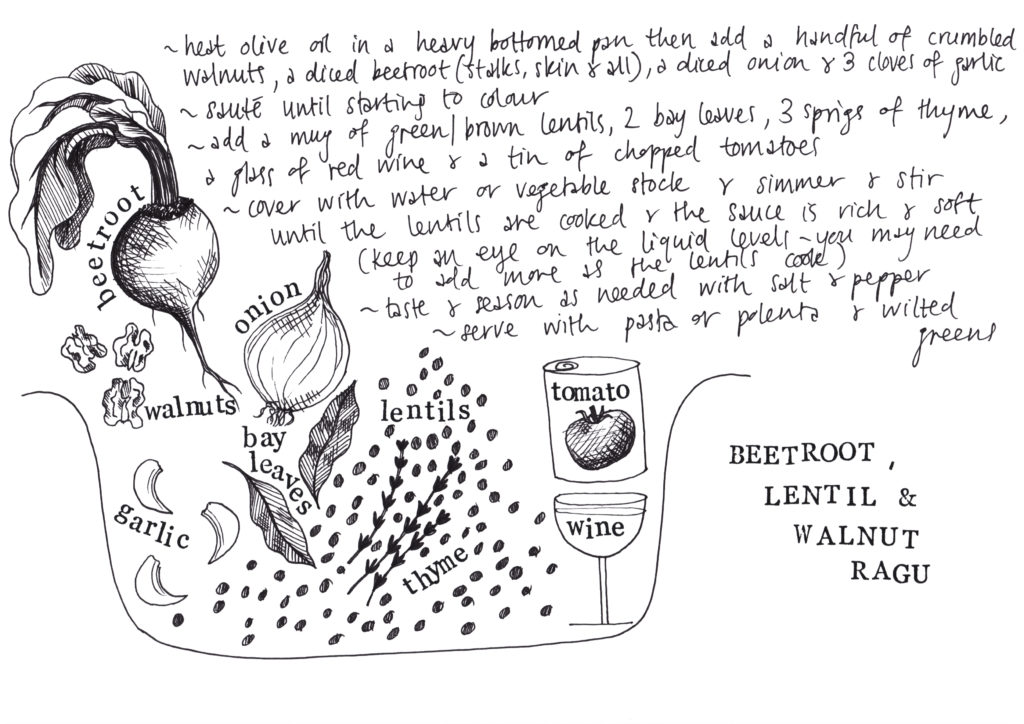
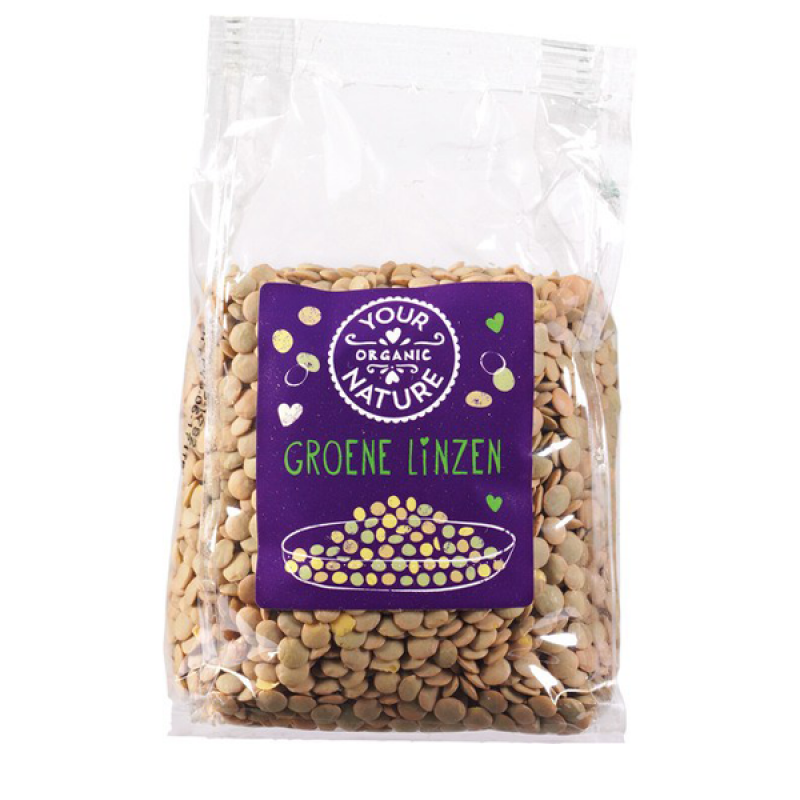
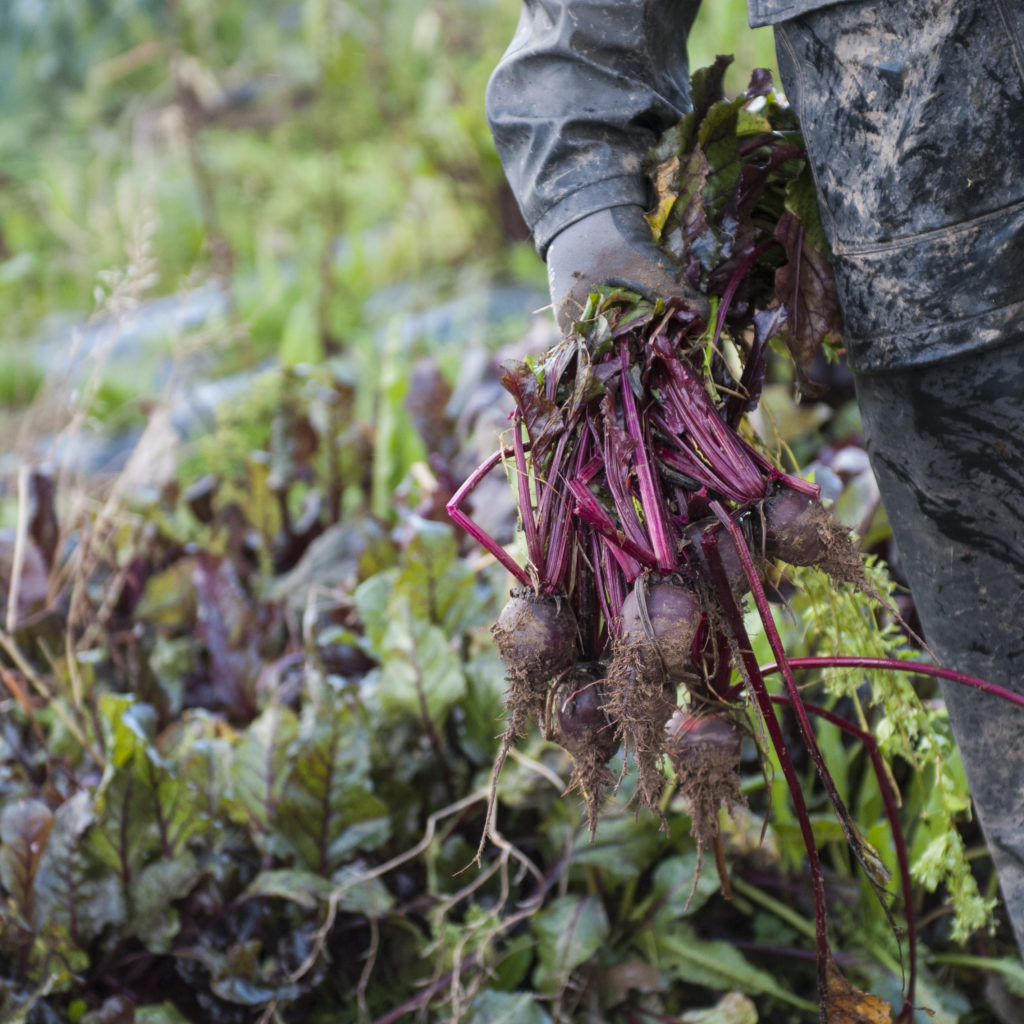
Ragu is a rich, slow cooked pasta sauce, traditionally made with meat and served with a wide pasta like pappadelle or tagliatelle. Of course you can also eat it however you like – with polenta or in layers in a lasagne with a béchamel? I love it with rigatoni, those large, ridged tubes of pasta pick up the sauce beautifully. My version uses earthy beetroots, satisfying green lentils and crumbled, rich, fatty walnuts. Delicious! Did you know we sell organic lentils and walnuts in our grocery section? If you have a slow cooker, this is a good one to get going in the morning and enjoy for supper. Simply boil some pasta and you’ve got a hearty, healthy meal ready to go. The ragu also freezes well so I always make a big batch and freeze some for a rainy day. And we are not short of those right now are we?

If you make this recipe please share it with us on our friendly facebook group, and please feel free to share this blog post with your friends and family of course! The illustration above is from my 2021 recipe calendar. While stocks last I’m including a free one with every book order this month. You can add my cookbook to your shopping here. Thank you.

Liz x

Ingredients (serves 4 generously)

Method

I usually start a ragu with a soffritto. Soffritto is the word for gently cooking diced vegetables (usually onion, celery and carrot) in a little oil until soft to provide a base flavour to build a sauce, soup or stew from. In this case start with 1 diced onion, 1 large diced beetroot (or 2 small – just give it a scrub and don’t bother peeling, also finely chop & add the purple stalks from any leaves should you be lucky enough to have some – save the green leaves to wilt as a side), 3 diced cloves of garlic and a generous handful or two of crumbled walnuts. If you have celery to hand then definitely add a few diced stalks for extra depth of flavour! 

Sauté the diced vegetables and nuts in the tbsp of olive oil in a large pot until soft. Then add a mug of green lentils, 2 bay leaves, 3 sprigs of thyme, a glass of red wine & a tin of chopped tomatoes. If you prefer more Italian herbs with this sauce then sub the thyme with some fennel seeds and a pinch of dried oregano. Add a tin of water or veg stock to swirl out the last of the tomatoey juices from the tin. Season with salt and black pepper.

Simmer until the lentils are cooked through then taste and adjust the seasoning if necessary. This will take a minimum of 30-40 minutes, but if you have time to simmer for longer, the flavours will be richer. This is one of those sauces that is even better the next day. Keep an eye on the liquid levels as the lentils will absorb a lot. Add more water/stock as needed and give the pot a stir every now and then to prevent sticking.

Serve tossed through pasta or in a warm bowl with soft polenta and wilted greens. 

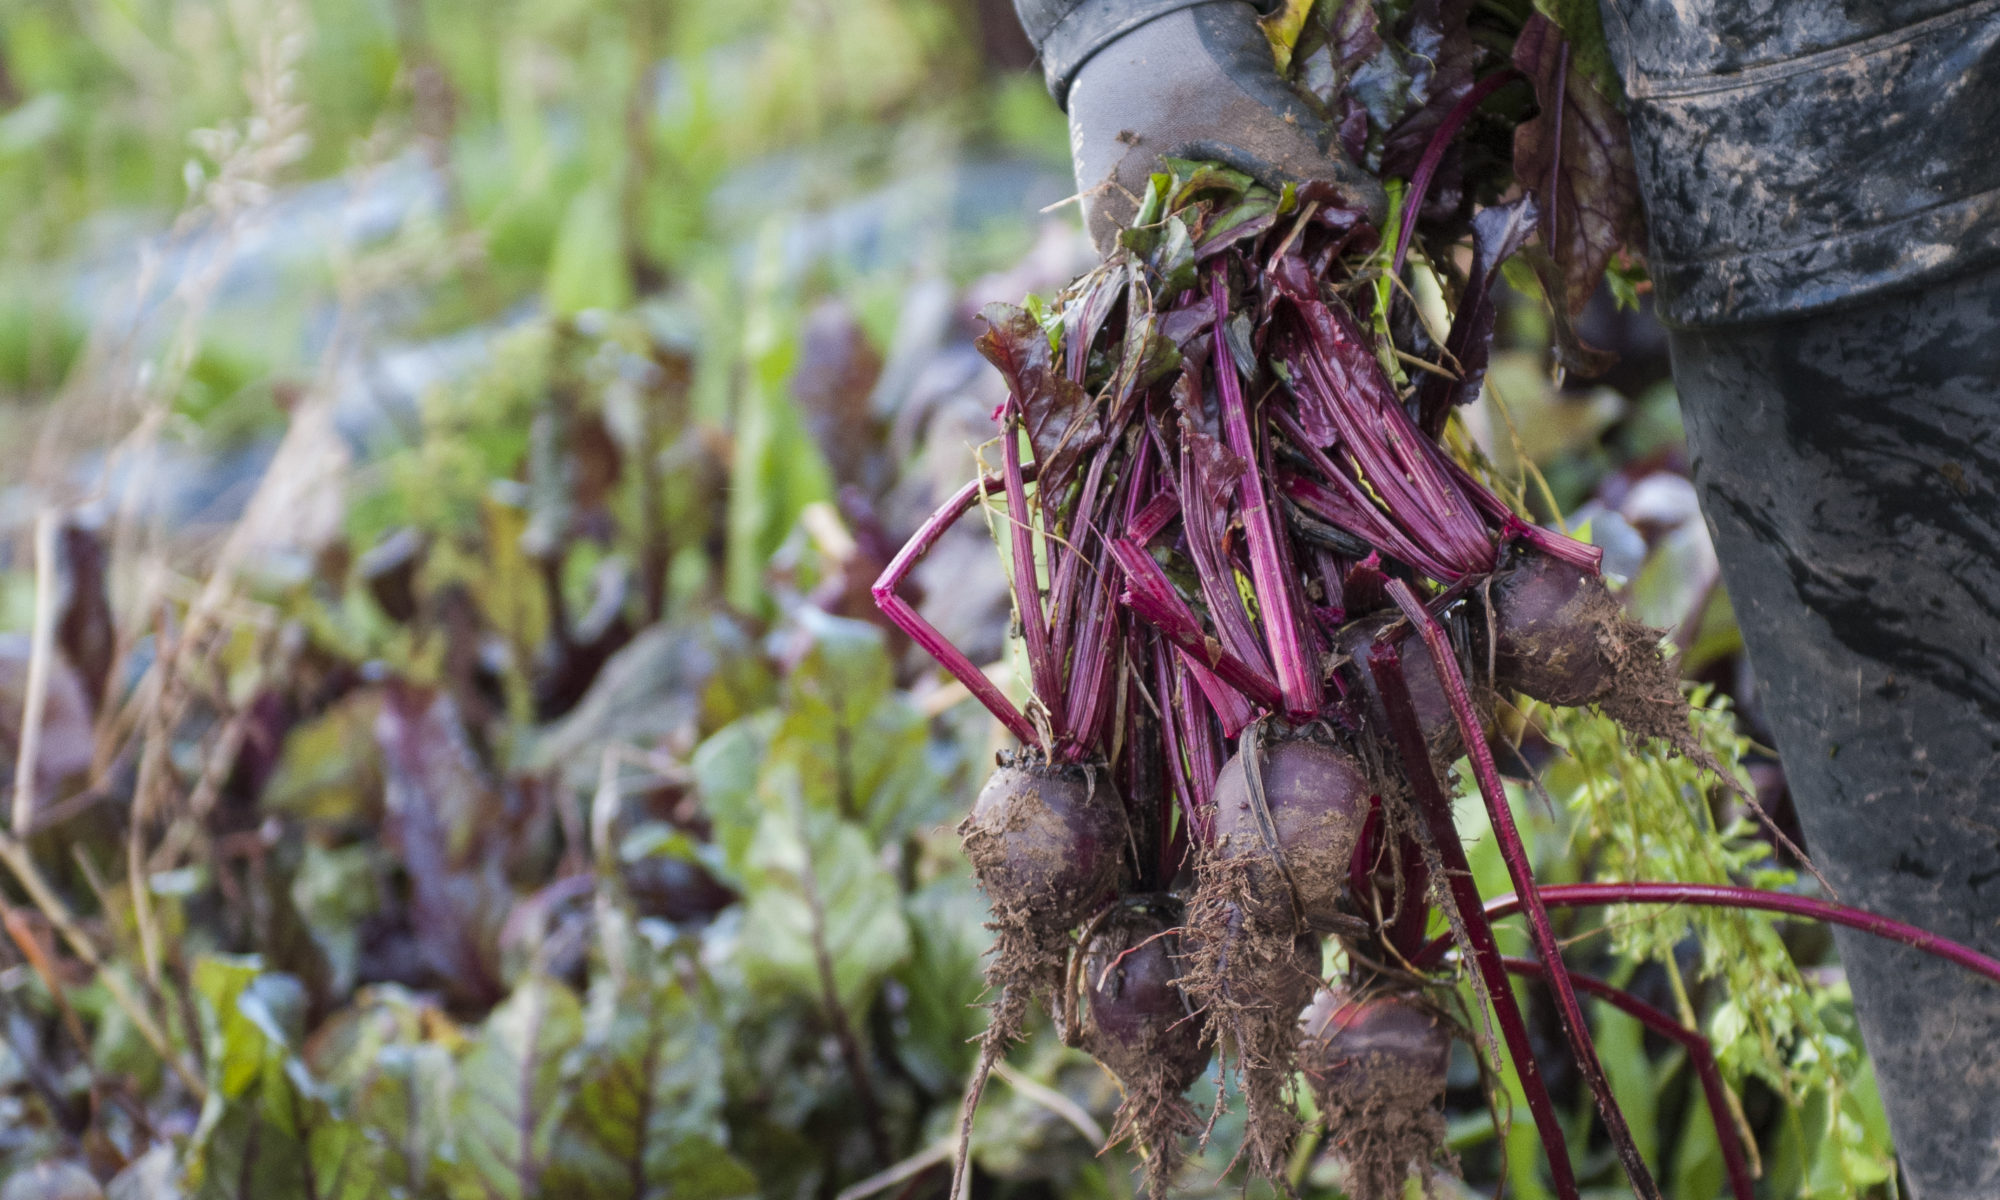
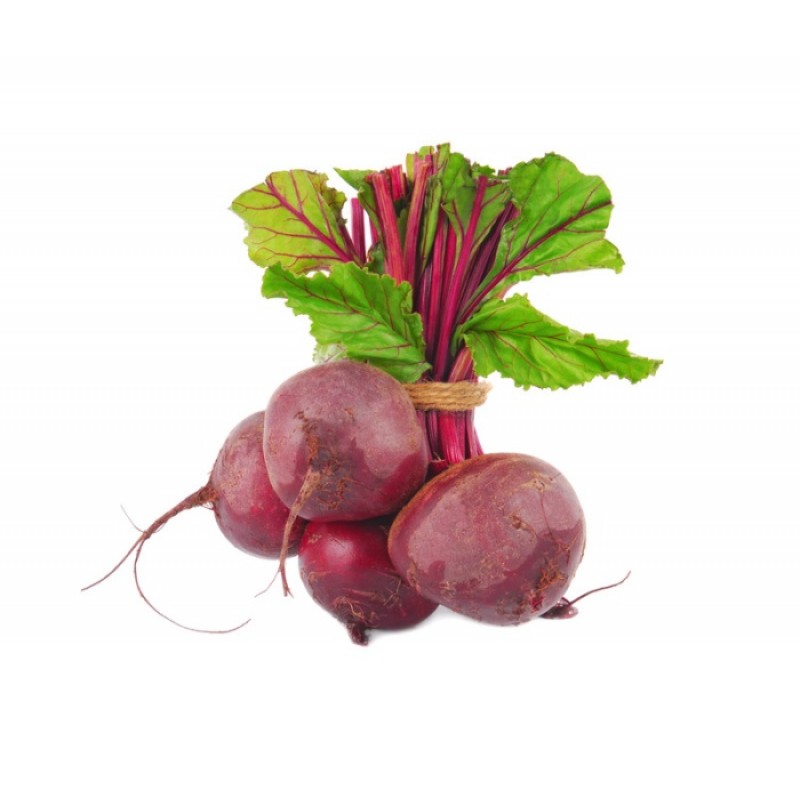
Get hold of some of our beautiful, organic beetroots when they are in season, sign up for a veg box subscription!

Pumpkin & Pecan Pie

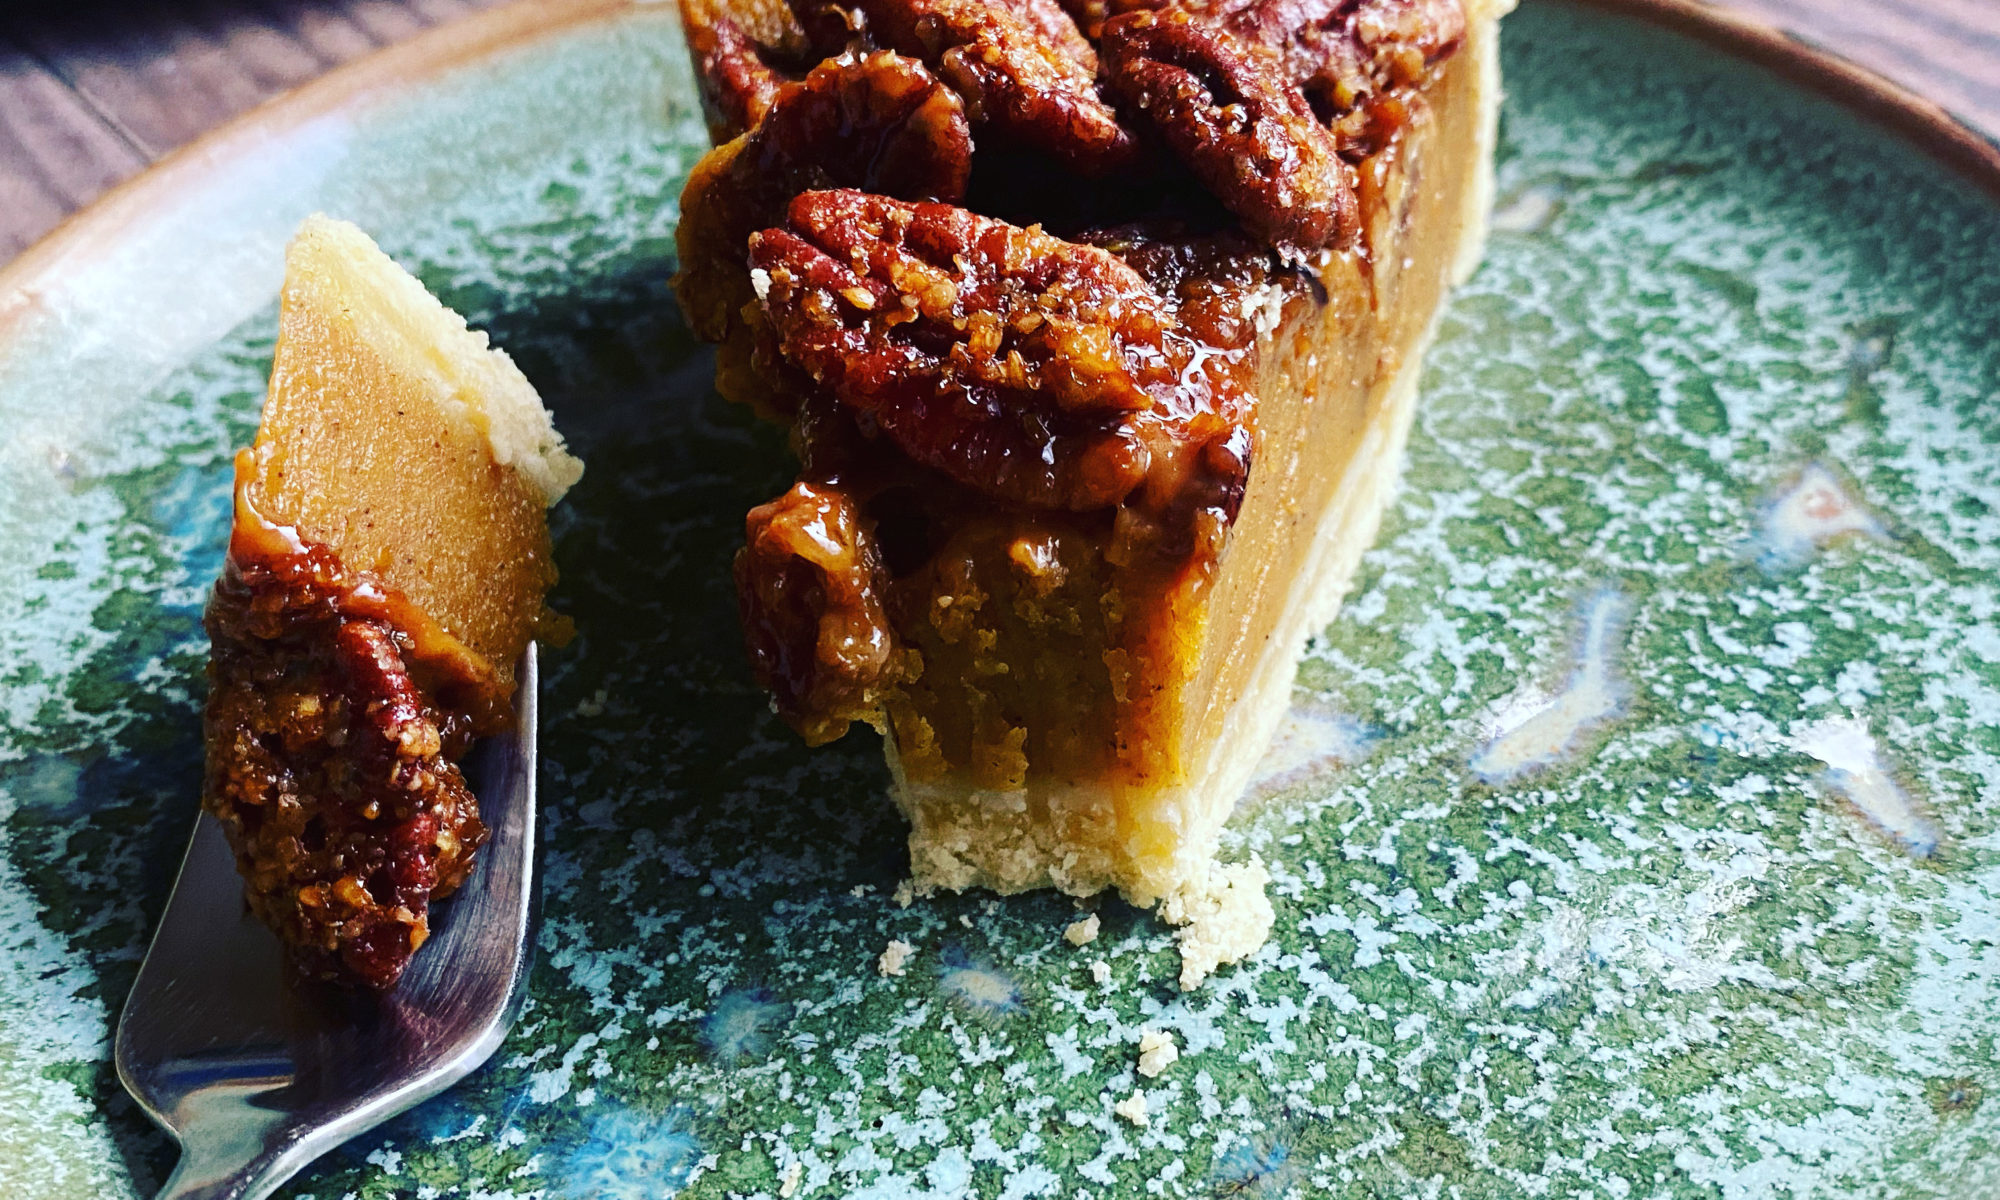
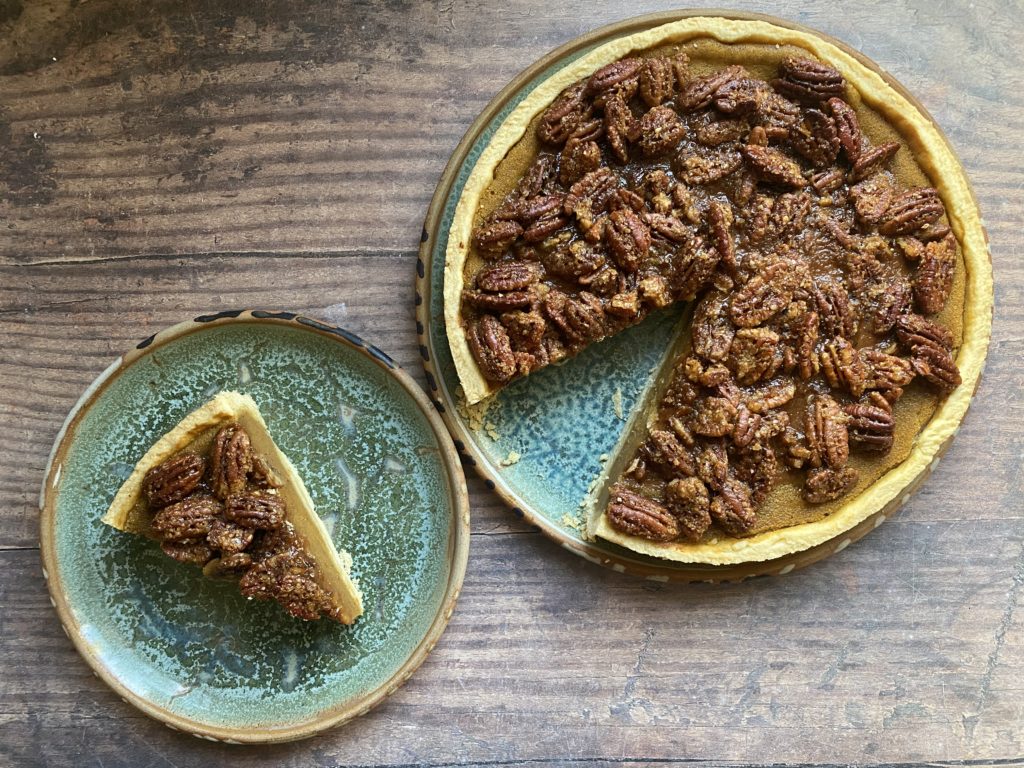
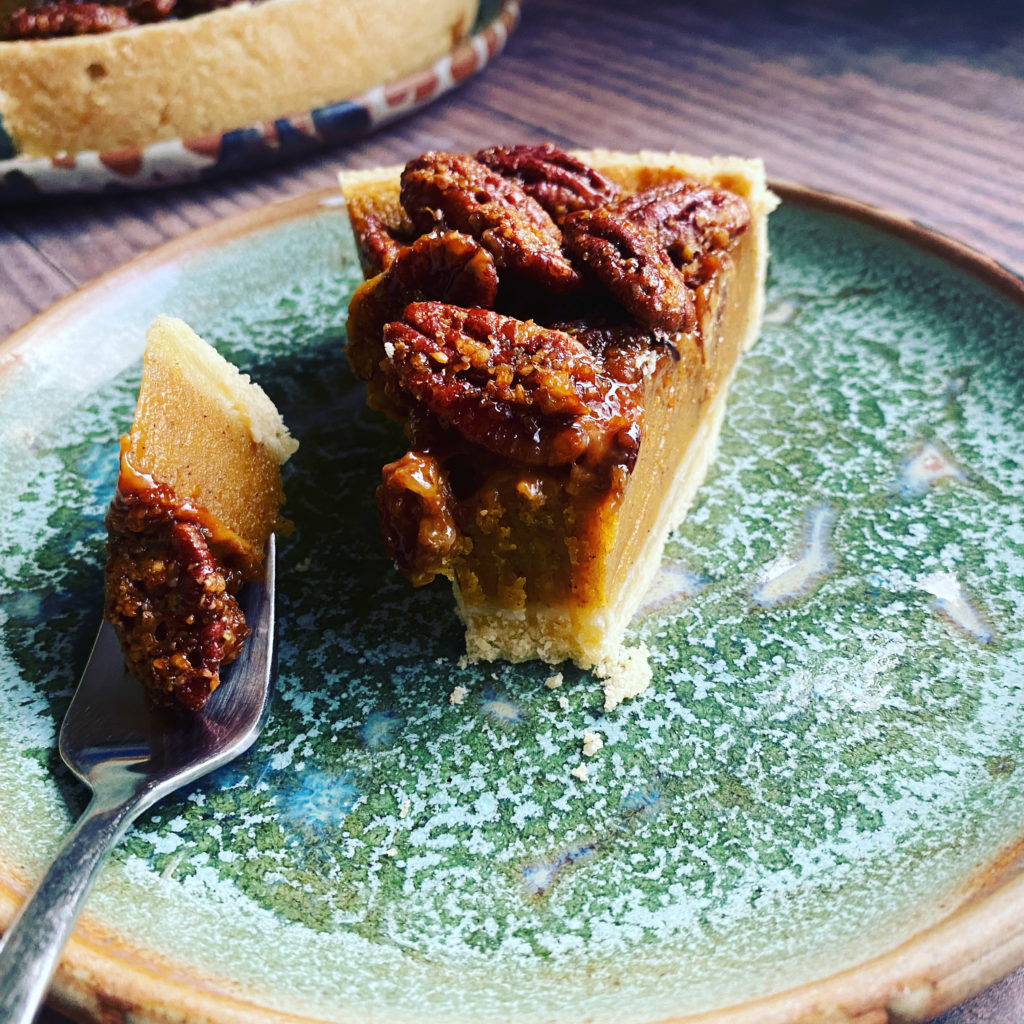
I am such a vegetable geek, I always get overexcited when a new vegetable comes into season. So I eagerly wrote a pumpkin custard pie recipe, back in October when pumpkins and squashes were the veg of the moment. But one of the many beauties of these sweet, fleshy gourds is that they keep well for up to 6 months if properly stored, so you can have pumpkin pies up until March if you like, they are not just for Autumn! Pumpkins and winter squashes can be stored in a well-ventilated position at a temperature under 15°C and no colder than 10°C. I suggest finding a chilly part of your home, for example a shady windowsill. Watch for signs of rot, and remove any affected fruit immediately. I think their cheerful, bright colour and sweet, nutty flavour make them a gorgeous addition to your festive table too.

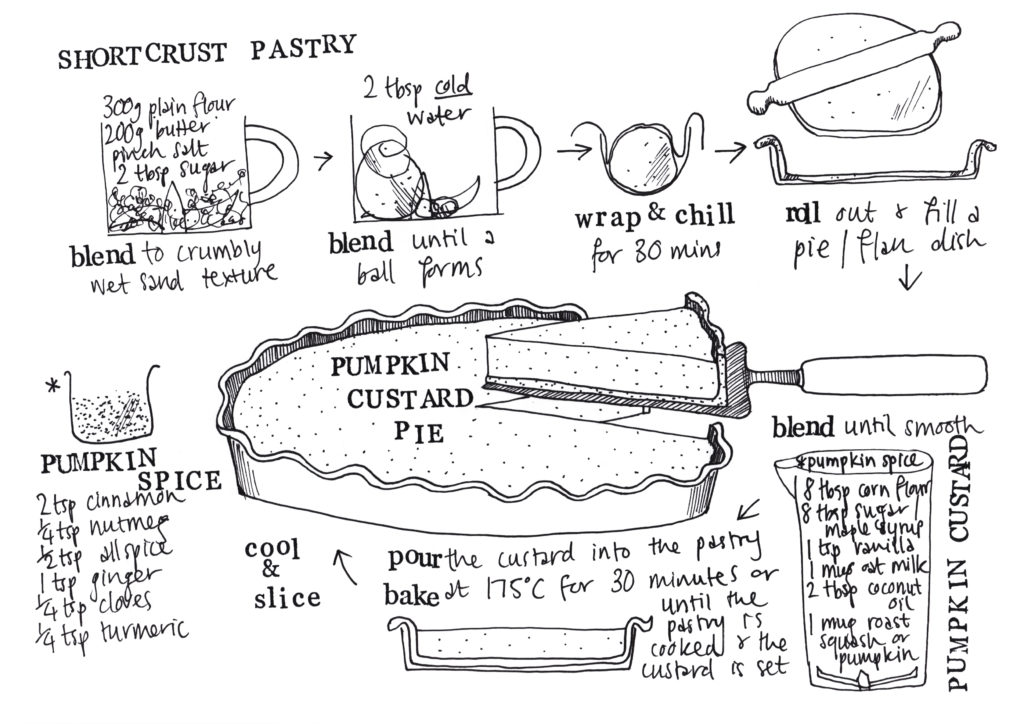
An illustrated recipe of my Pumpkin Pie from October 2020

Pumpkin pie is a very American, Thanksgivingy thing and like much of American food culture, it’s seeping over the pond and onto our plates. Pumpkin spice lattes and the like don’t seem to be going anywhere and why would they? The sweet, heady mixture of cinnamon, ginger, nutmeg and cloves is pretty irresistible. Pecan pies are another classic American dish, traditionally served at the festive table, so I couldn’t resist combining the two here in my layered pumpkin and pecan pie. I think you’ll agree, it’s a great combination.

Did you make this recipe? Let us know how it went in the comments or over on our Healthy Eating facebook page. And don’t forget to share the recipe with your friends.

Liz

Shortcrust Pastry Ingredients

Pastry Method

Shortcrust pastry is very easy to make if you have a food processor with a blade attachment. (And by the way this recipe makes a brilliant mince pie, apple pie or cherry pie crust too!) Just blend up the flour, butter, salt and sugar until it resembles wet beach sand. Then add a couple of tablespoons of very cold water and briefly blend again and it will magically form into a neat ball of dough!

If you don’t have a food processor you can just use your hands. Use the tips of your fingers to work the butter into the flour, salt and sugar until it reaches wet sand consistency, then add the water and gently bring it together into a ball of dough. The trick to a really short, melt in the mouth shortcrust pastry is not overworking the dough and getting it too warm. Then wrap it with a damp tea towel and let it rest in the fridge while you make the pumpkin custard.

Pumpkin Custard Ingredients

Method

I’ve never bought a tin of pumpkin puree, it seems that’s what most Americans use. Instead I just roast a halved and deseeded pumpkin or squash, cut side down, until it’s soft. Then scoop out the flesh and mash or blend it. I call this pie a ‘custard pie’ because this filling is a riff on my custard recipe. Simply blend all the ingredients until smooth. (And by the way, if you ever want to make regular plant based custard, just replace the pumpkin puree with another mug of oat milk, leave out the spices but keep the vanilla, then whisk and simmer on a low heat until thick and delicious.)

Then roll out the chilled pastry and carefully line a flan dish or a cake tin with it. Prick little holes in the base of the pastry with a fork to prevent a pocket of hot air forming under the crust and making it rise up in the oven. Then pour the custard into the pastry case and bake for about 30 minutes at 175C or until both the pastry and the custard are mostly cooked through. In the meantime, make the pecan pie topping.

Pecan Pie Ingredients

  • 1.5 tbsp cornflour
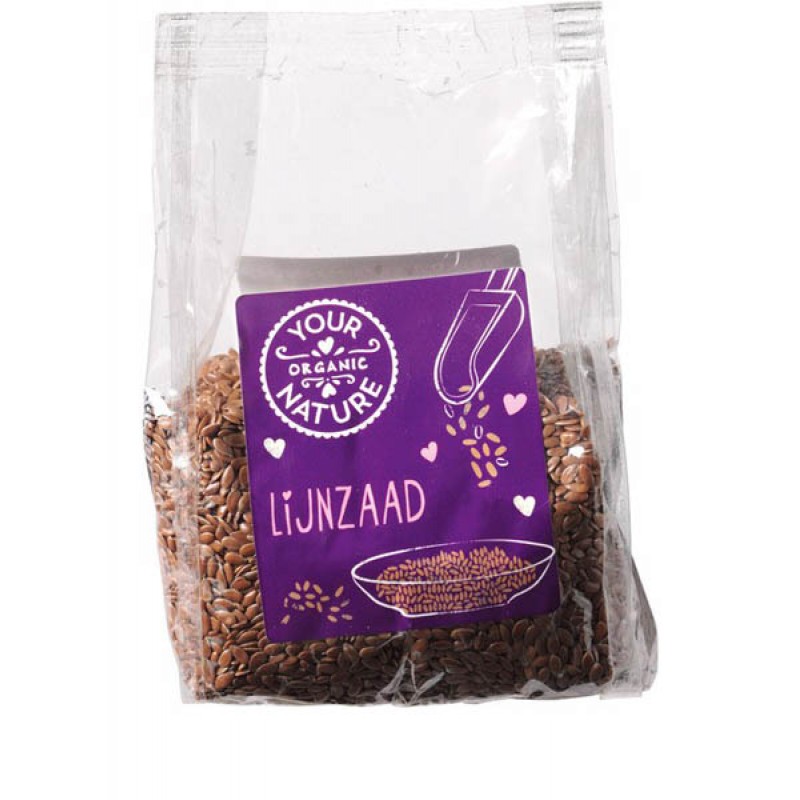
  • 1.5 tbsp milled linseeds (if you don’t buy them already milled, just blend some whole ones up in a small spice blender or smoothie maker until ground into a course flour consistency)
  • 1.5 tbsp maple syrup
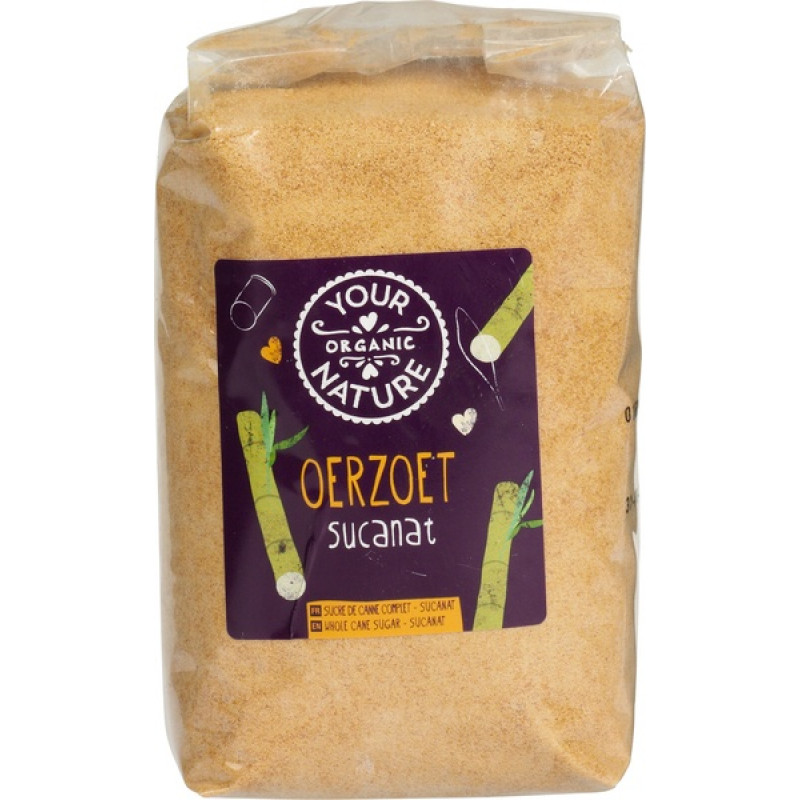
  • 1.5 tbsp soft brown sugar
  • pinch of salt
  • 2 tbsp water
  • 150g pecan nuts

Method

Mix all the ingredients except the pecan nuts together in a bowl. Then stir through the pecan nuts, ensuring they are all coated in the caramel-like mixture. Then once the pumpkin pie is par cooked enough so that the pumpkin custard is mostly set, carefully spoon the pecans and caramel over the top of the pie.

Return it to the oven to cook for another 10 minutes or until the custard, pastry and pecan pie mixture is all cooked through.

Allow the pie to cool and set before carefully removing it onto a serving plate and slicing it up. Serve it with whipped coconut cream or vanilla ice cream. 

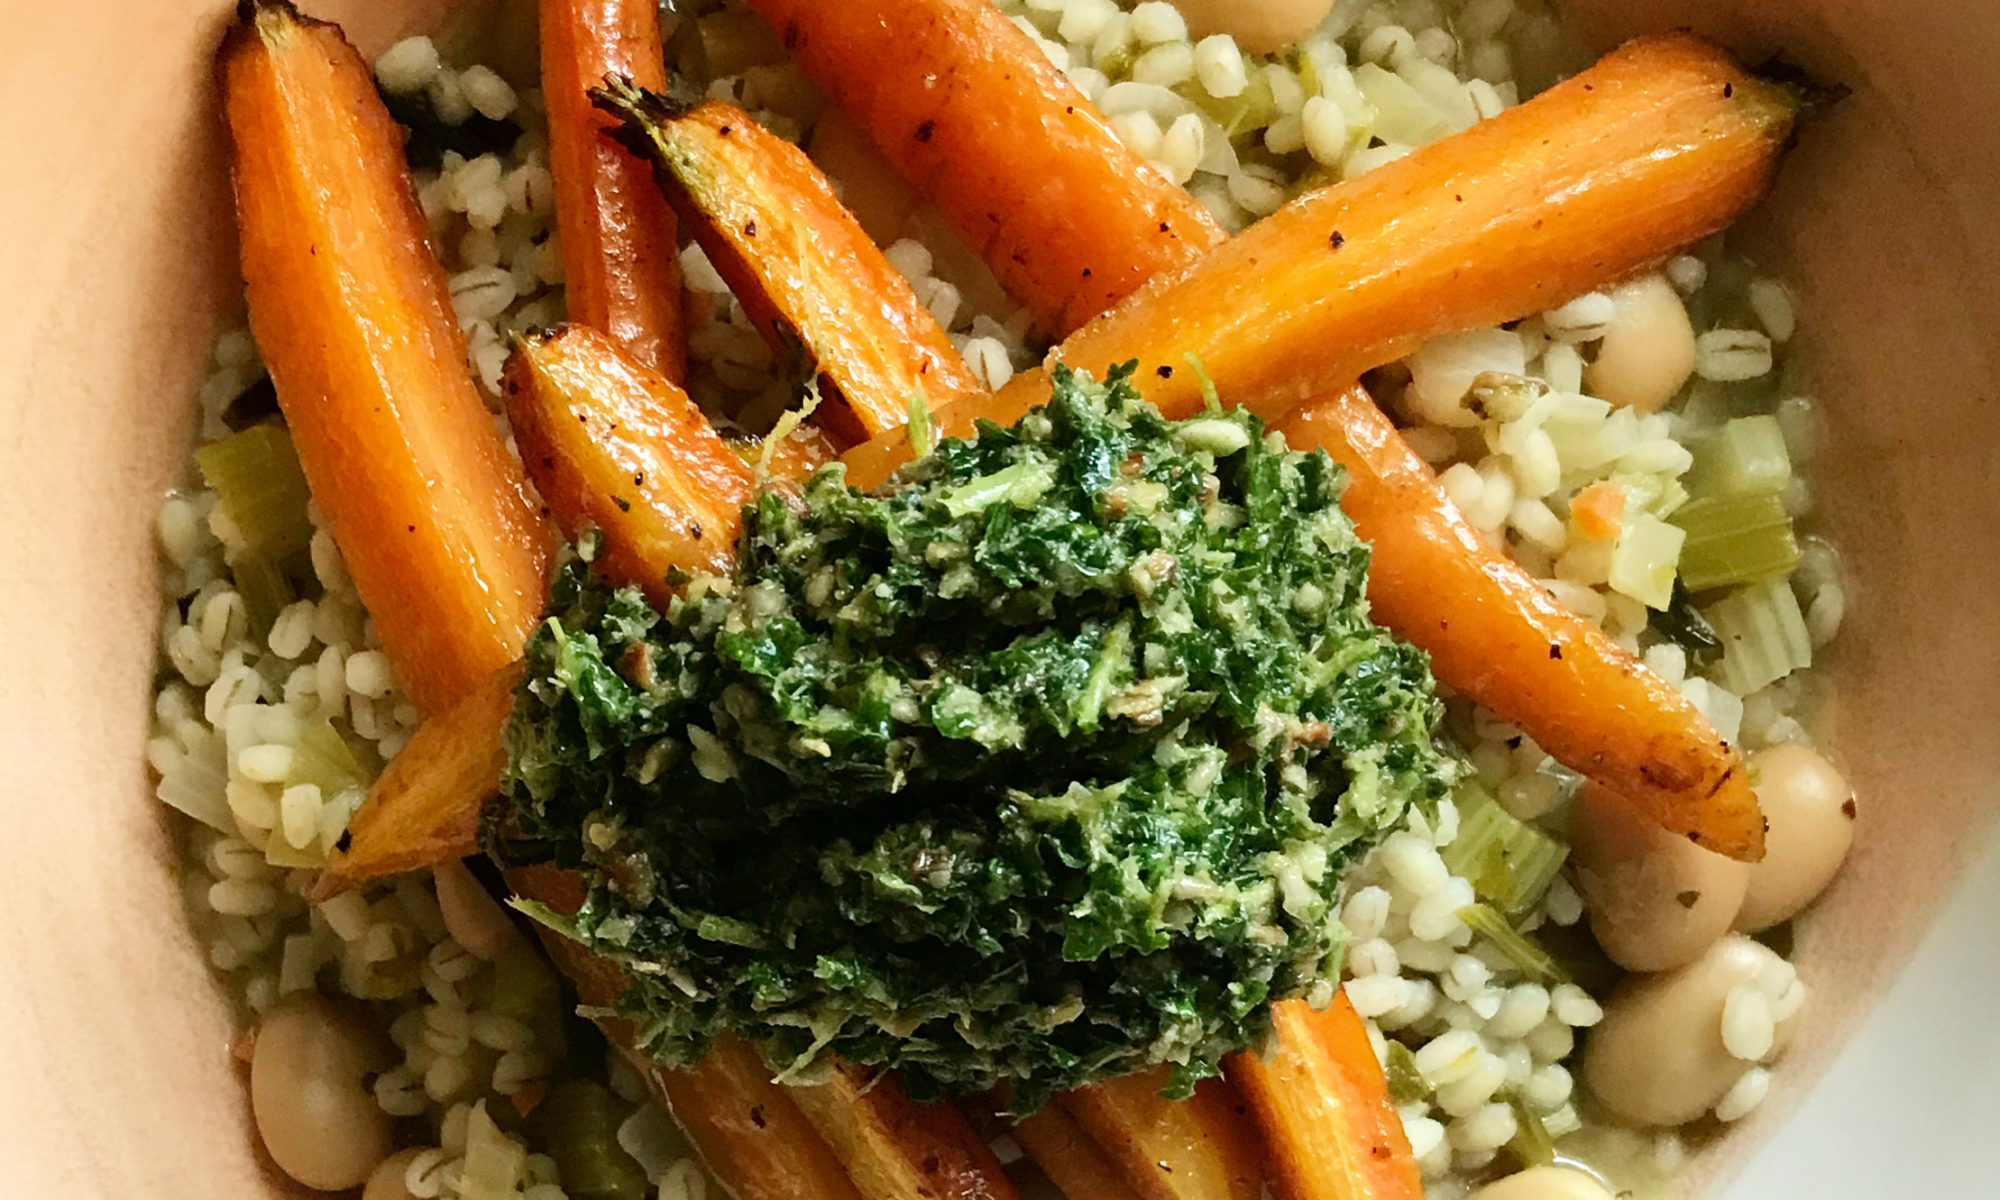
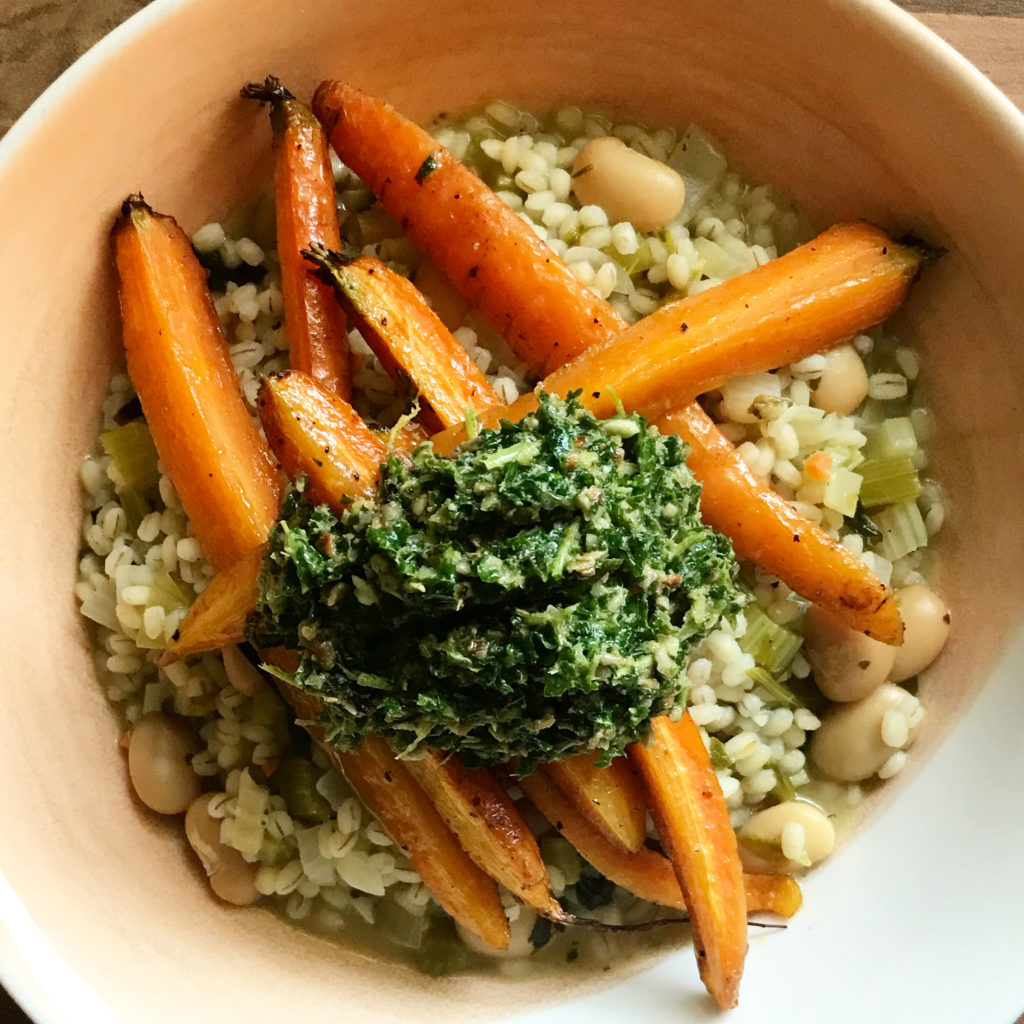
Barleyotto, Roasted Carrots & Carrot Top Pesto

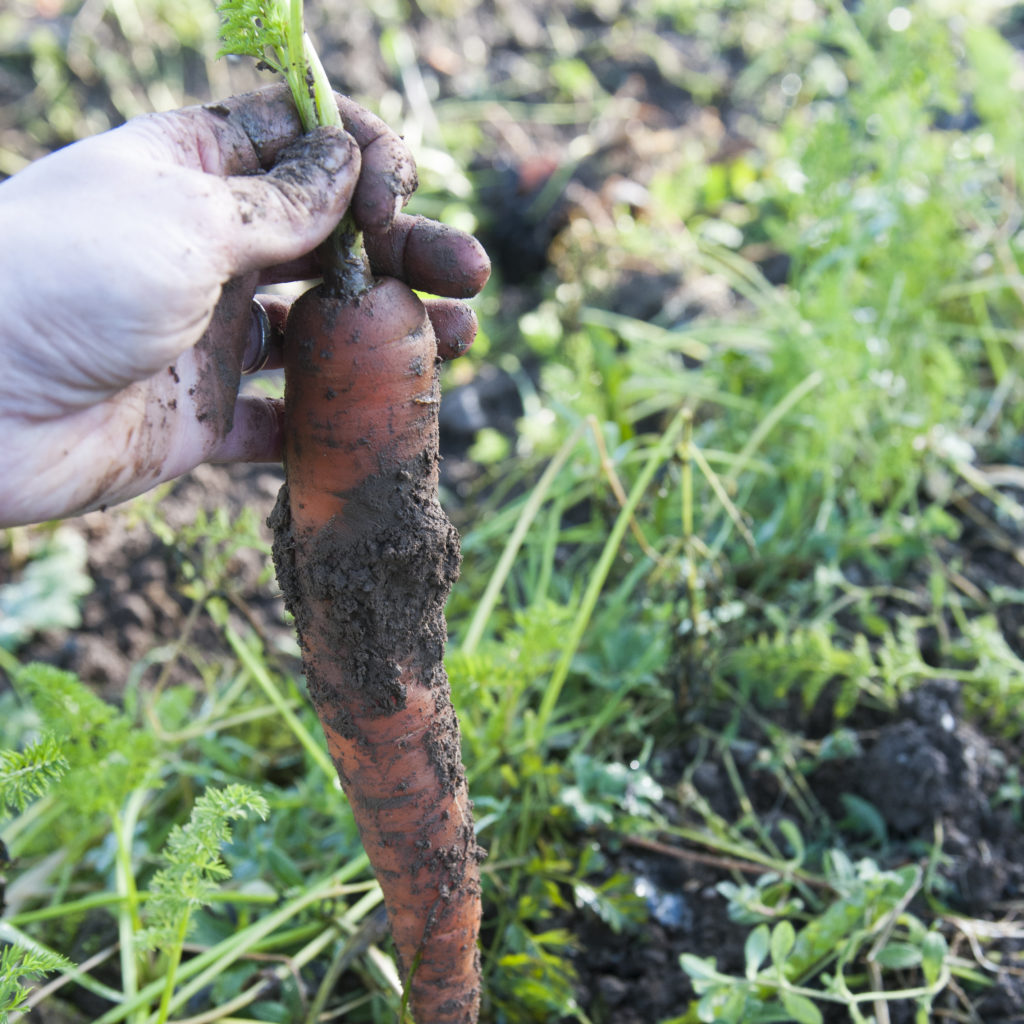
I’ve been cooking so much with the gorgeous, super-fresh carrots from the farm recently. Carrots are one of those staple vegetables that often get overlooked as ‘boring’ and sent to the side of the plate or the base of the meal. I love elevating these humble vegetables and making them the star of the show. Once you taste the difference between watery, bland supermarket carrots and the real deal from the farm, you’ll see why I bang on about showcasing each vegetable in its own right.

Root to Shoot

I’m sure most of you already know that the carrot tops are edible too. In this recipe, and in many of my recipes, I show you how to make a meal using the whole vegetable, root to shoot! I hate waste, not just because I don’t have the cash to splash, but also because of the environmental impact. Did you know that reducing food waste has been identified as one of the most effective ways to fight climate change? According to Stop Food Waste, 1.3 billion tonnes of food is wasted each year. This directly contributes to food shortages, water stress, biodiversity loss and increased greenhouse gas emissions. Globally, more than one quarter of food produced is wasted: with food loss and waste contributing 8-10% of total emissions. So we should all do our part in reducing food waste by learning how to use the entire vegetable and putting as little as possible in the compost bin (and certainly never put food waste in the general waste heading for landfill). Apart from the environmental issues regarding food waste, it is surprising how much important dietary fibre and incredibly powerful nutrients are found in the peels and other parts of vegetables we often throw away. Good for your body, your pocket and your planet, what’s not to like?

Ingredients (to serve 4)

Method

Start by removing the leafy tops from the carrots. Roughly chop them and put them in a food processor with the blade attachment. Then slice the carrots lengthways into halves or quarters, put them in a roasting dish, dress them with a little olive oil, salt and pepper and pop them in a hot oven (180C) to roast while you get on with the barleyotto/risotto.

Peel and dice the onion and start sautéing it in a heavy bottomed pan with a little olive oil. You could also add a knob of dairy free butter to the pan for extra flavour at this stage.

Dice the celery and garlic. Add 3 cloves to to the pot (along with all the celery) and one garlic clove to the food processor where you’ll make the carrot top pesto.

Season the onion, celery and garlic with a little salt and allow it to cook down and soften a little. Then add the mug of barley grains, the glass of wine (you can replace this with a small splash of cider/white wine vinegar or the juice of a lemon), the stock cube/bouillon and 3 mugs of water. (If you are using risotto rice, add the liquid gradually, stir often and allow it to soak in before adding more). Add the drained butterbeans and let the barleyotto simmer until the grains are cooked through. Stir regularly and keep an eye on the liquid levels, you may need to add more.

While the carrots and the barleyotto/risotto are cooking, focus on the pesto.

Toast the sunflower seeds in a hot, dry frying pan until they are fragrant and start to pop and colour. Then add them to the food processor with the carrot tops and garlic.

Add the juice of half a lemon or a tbsp of cider or white wine vinegar, a few tbsp of nutritional yeast (this brings an irresistible, rich, cheesy flavour to the pesto), a pinch of salt, some freshly ground back pepper and enough olive oil to blend the pesto into a bright green sauce. If you don’t have very many carrot tops you can also add some chopped kale or spinach to the blender.

Pulse the pesto until it comes together into a loose green sauce. Then taste it and adjust the seasoning if needed with extra salt, pepper, lemon juice or olive oil as you like and blend again until you are happy with the flavour and consistency.

When the barley or risotto is cooked through, taste it and check the seasoning, adjusting it if necessary. Then serve in bowls topped with roasted carrots and carrot top pesto. Any spare pesto can be kept in a jar in the fridge for up to one week. Use it in sandwiches, to top crackers or dip vegetables in, stir it through pasta or drizzle it over steamed greens or roasted vegetables.

Enjoy! 💚 Liz

Did you make this recipe? Let us know how it went in the comments and share it with us and your friends on your Facebook or Instagram. We love to see the recipes leave the blog. If you like this recipe, you’ll love my book. And don’t forget to support your local, organic farmers here by signing up for a regular veg box delivery and adding our carefully curated groceries to your order as and when you need them. Thank you!

Raw Carrot Cake

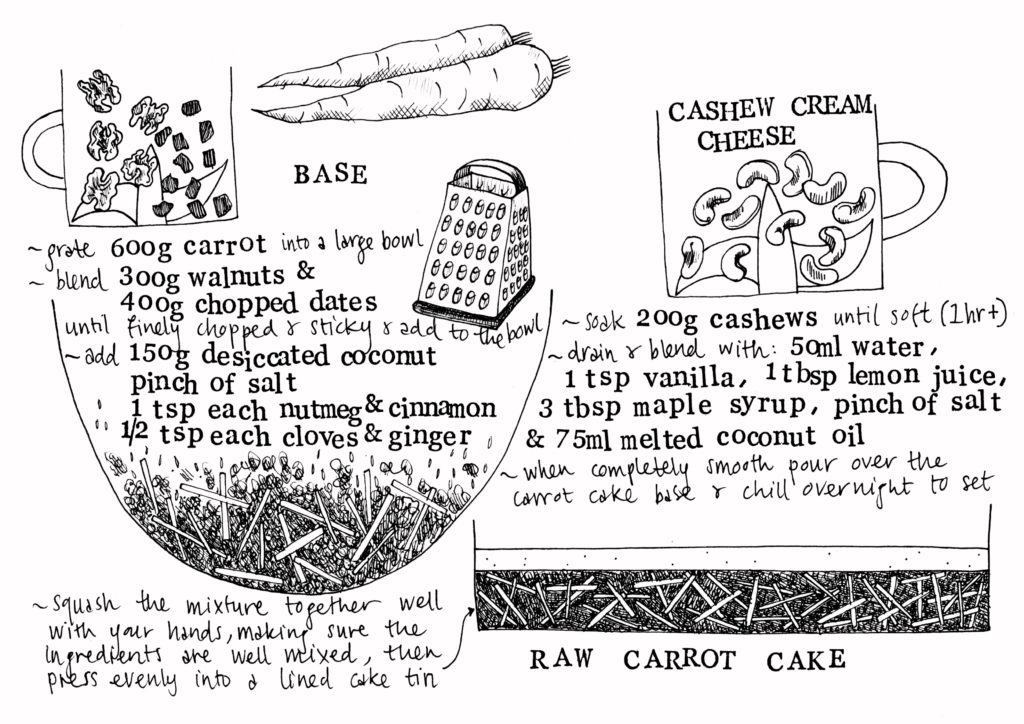
Illustration from my cookbook, Cook Draw Feed – available to add to your next order here.

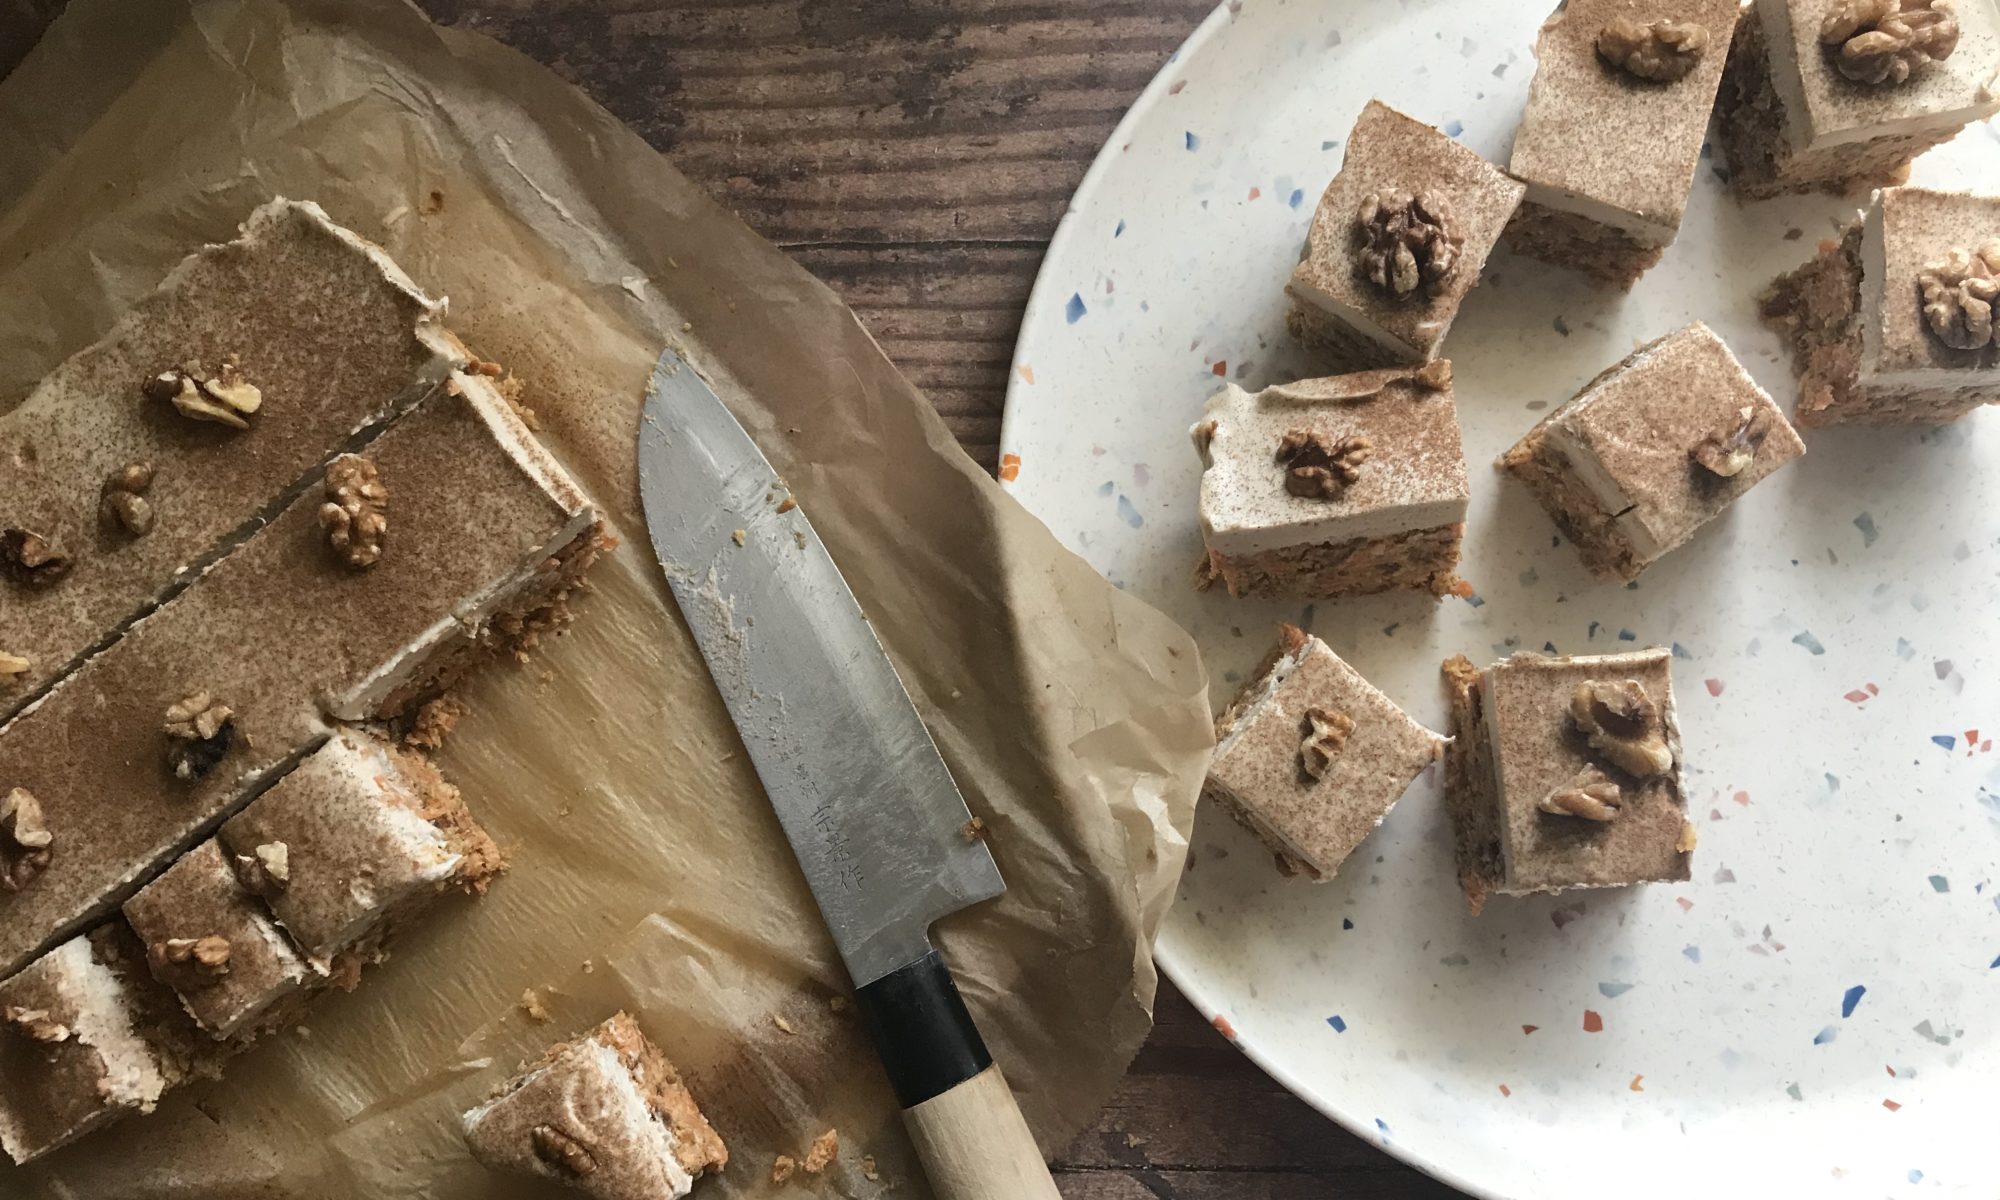
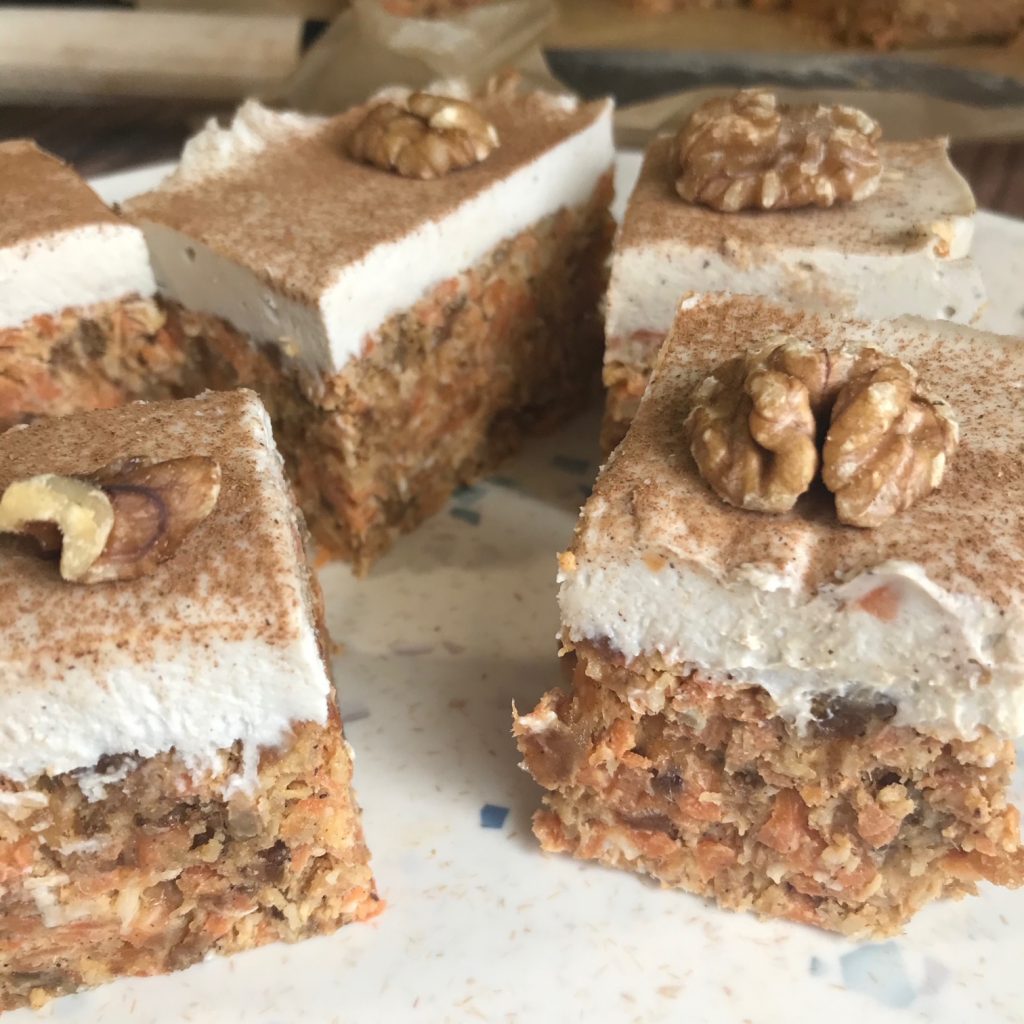
For a healthy cake, this tastes incredibly decadent. It’s not too sweet and full of great flavours and satisfying whole-foods. So simple to make too – it’s simply a case of squishing together the base ingredients and blending up the cashew-cream cheese frosting, then putting it together and letting it set overnight in the fridge. Easy! I love this cake with a big mug of chai tea, have you tried our new Rooibos Cacao Chai?

Ingredients

Method

Start off by soaking the cashew nuts – simply cover them with fresh water and leave to soak and swell up for at least an hour. Line a baking dish with baking parchment.

Base

While the cashew nuts are softening, grate the carrots into a large mixing bowl. Then pulse the dates and walnuts together in a food processor until they are finely chopped and sticky. Scrape this mixture in with the carrots. Then add the desiccated coconut, ground spices and a pinch of salt. Use your hands to mix the base ingredients really well, then squish the mixture evenly into the lined baking dish.

Frosting

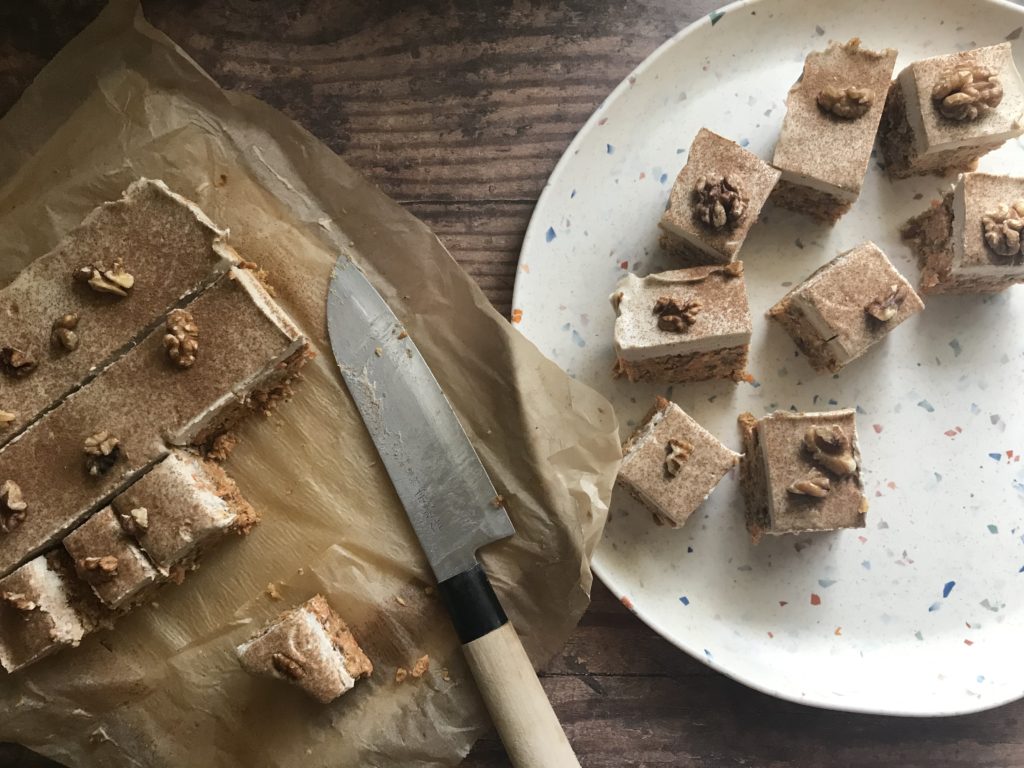
Use the same blender you used to pulse the dates and walnuts, no need to clean it out, just make sure you scraped the date/walnut mixture out thoroughly. Drain the soaked cashew nuts and pop them in the processor with 50ml of water and the vanilla, lemon juice, maple syrup, melted coconut oil and pinch of salt. Blend until totally smooth, thick and creamy. You may need to stop the blender and scrape down the sides every so often to get a silky smooth cream cheese frosting. When you are happy with the texture, pour it over the base, cover the baking dish and refrigerate overnight to let the cake set. Then you can carefully take the cake out onto a chopping board, dust it with cinnamon and decorate it with walnuts. Slice it with a large, sharp knife and enjoy!

Liz

Tips: It’s best to keep the cake in the fridge when you are not serving it to make it last longer, and as the cashew cream can sometimes get a bit melty in a warm house. You can also portion it up and freeze it. It will last in the fridge for around 5 days and in the freezer much longer.

Did you make this recipe? Let us know in the comments how it went and please share your photos with us @greenearthorganics1 on Instagram or on our Green Earth Organics Healthy Eating page on facebook. If you like this recipe you’ll love my book. Available to add to your regular order from the farm here.

This recipe was featured on Twinkl as part of their Easter Bakes campaign.

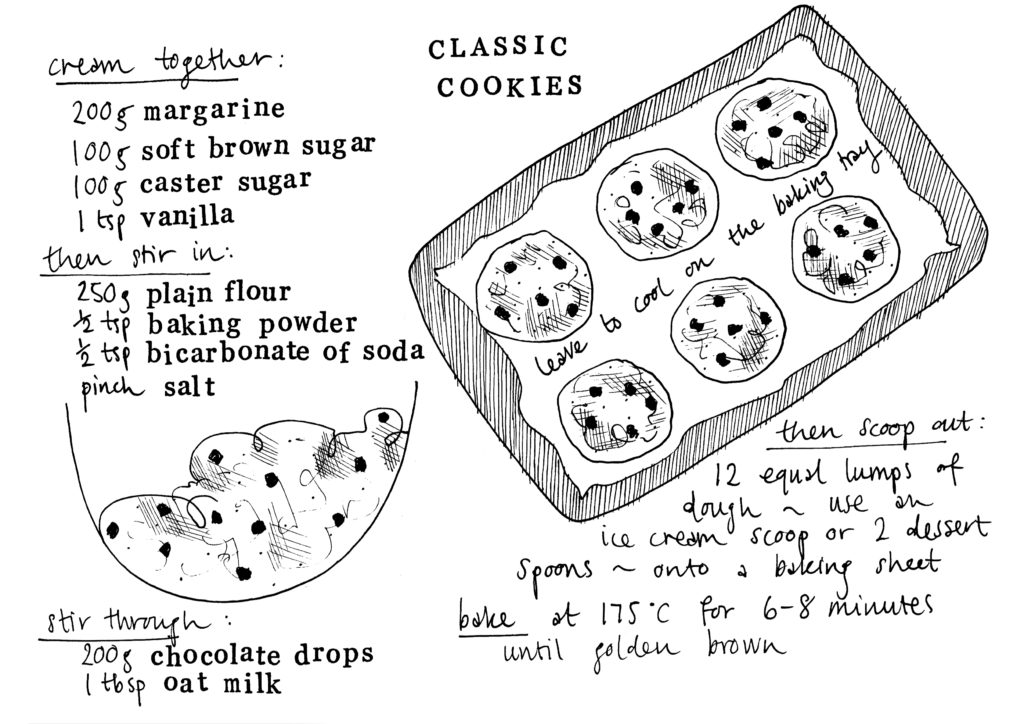
Classic Cookies

These are indulgent. That classic soft-in-the-middle, chewy-round-the-edges, outrageously decadent and incredibly moreish cookie that you just have to have sometimes! Perfect still warm with an ice cold glass of organic oat milk. Make them classic with chocolate chunks or play around with the flavours. I love switching out the chocolate for spicy slivers of stem ginger. My kids favourite version is white chocolate and raspberry (freeze dried raspberries work best for this although little swirls of raspberry jam don’t go amiss). I sometimes get the Rude Health Strawberry and raspberry granola when I’m not making my own, and stir through some of that for some added crunch and flavour. My husband can’t resist adding a big scoop of peanut butter to the dough when he makes this recipe. Peanut butter and chocolate might just be an unbeatable combination.

What’s your favourite flavour of cookie? Have you made this recipe? Leave a comment below.

Cream together:

  • 200g margarine
  • 100g soft brown sugar
  • 100g caster sugar
  • 1 tsp vanilla

Cream the butter, sugars and vanilla together with a wooden spoon in a mixing bowl until it’s light and fluffy. Alternatively you could use an electric stand mixer with the ‘K’ attachment.

Then stir in:

Mix the dry ingredients together to ensure even distribution of the raising agents, then stir them through the creamed mixture in the bowl. Don’t over-mix, stop when the mixture is shaggy.

Then fold in:

Gently fold in the chocolate and milk. I like to keep it dairy free so use a dark chocolate and oat milk. The mixture should come together into a perfect cookie dough. Preheat the oven to 175C.

Scoop and bake:

Scoop out 12 equal lumps of dough onto two lined baking sheets. We sell a brilliant compostable baking paper (or invest in some reusable baking sheets). Ensure each lump of dough has enough space to spread out. Then bake in a hot oven for just 8 minutes or until the cookies have spread out and are just starting to colour around the edges.

Allow them to cool slightly before moving them onto a plate or cooling rack to cool completely. If you try to move them too early they will be too soft and are likely to break. Once they are completely cool you can store them in an airtight container for up to 5 days…as if they will last that long!

If you don’t want to cook all twelve cookies at once, you can refrigerate the dough in one big lump. Or better yet, divide it up and freeze it on a tray. Once the lumps of dough are frozen solid you can tip them into a box or bag in the freezer and take them out a few at a time whenever you have the urge for a freshly baked cookie. Bake them from frozen and just add a couple of minutes to the baking time.

Cornish Pasty

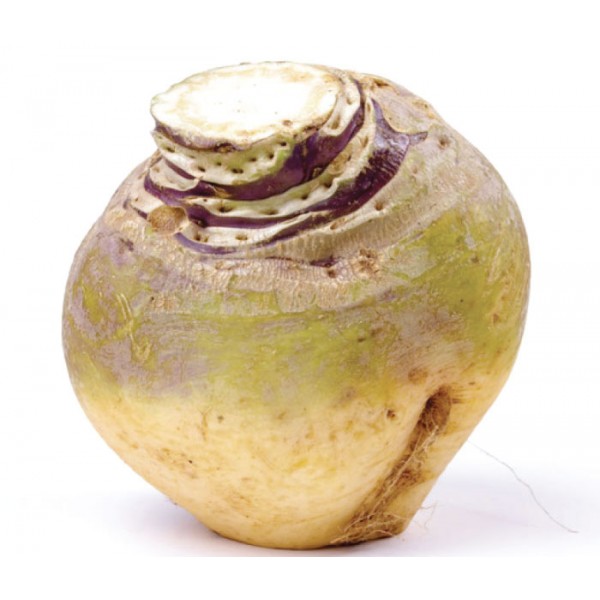
The best thing you can do with a swede!

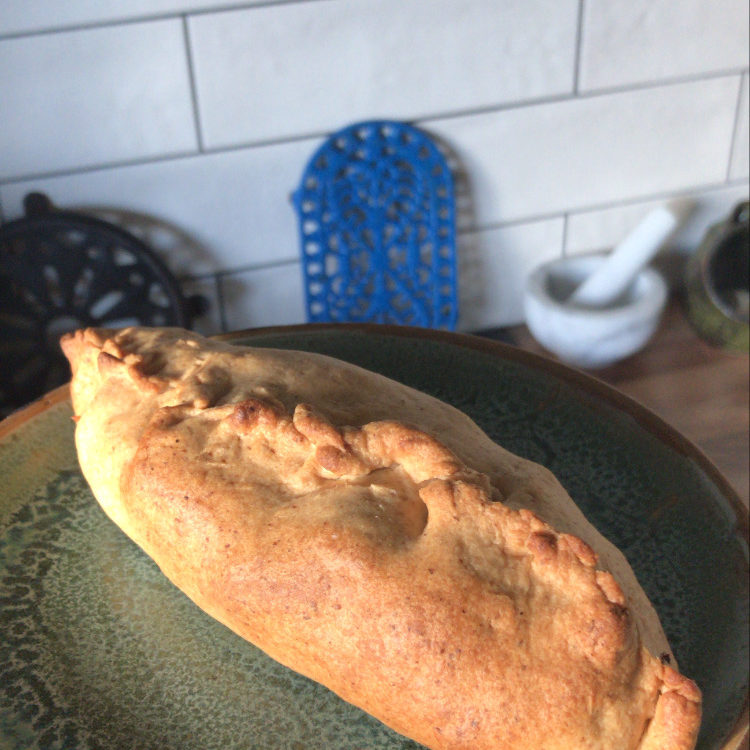
These hand held pies are so good, I’m confident that even a local Cornish person would accept my plant-based knock-offs as the real deal. According to the Cornish Pasty Association, which champions and protects the authenticity and distinctiveness of the genuine Cornish pasty, the pastry should be shortcrust (traditionally they use a mix of lard and butter, I use a quality plant based butter) and the filling should be diced beef, potato, swede and onion. I simply replace the beef with gorgeous umami chestnut mushrooms and add some deep, dark miso to bring out those mouthwatering savoury notes (if you don’t have miso, substitute it with a little splash of soy sauce). November is the perfect time to make these delicious pies. Most of the ingredients can usually be found in my weekly veg box from the farm at this time of year, but of course feel free to substitute ingredients as you like. Any root veg or squash would work well, you could even up the protein with a drained tin of beans or chickpeas.

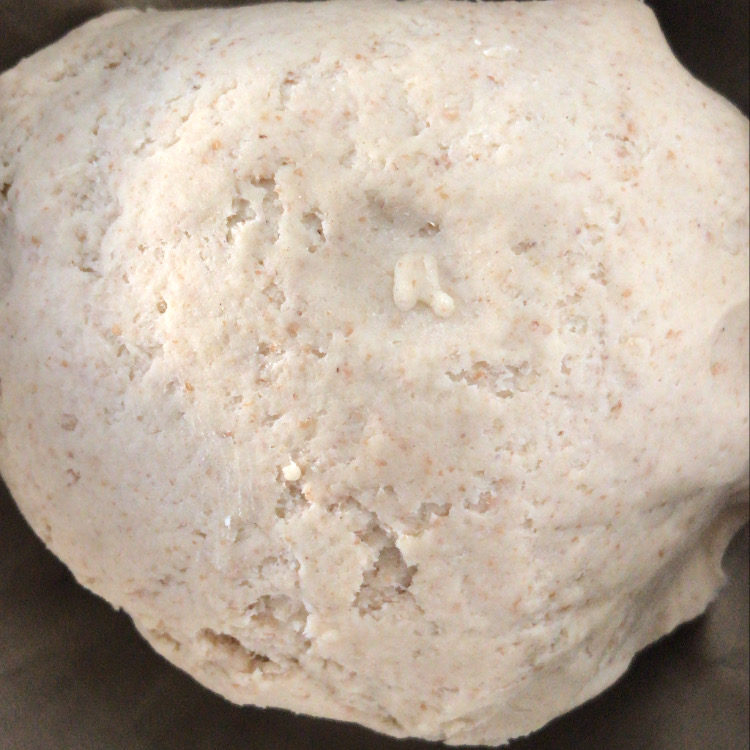
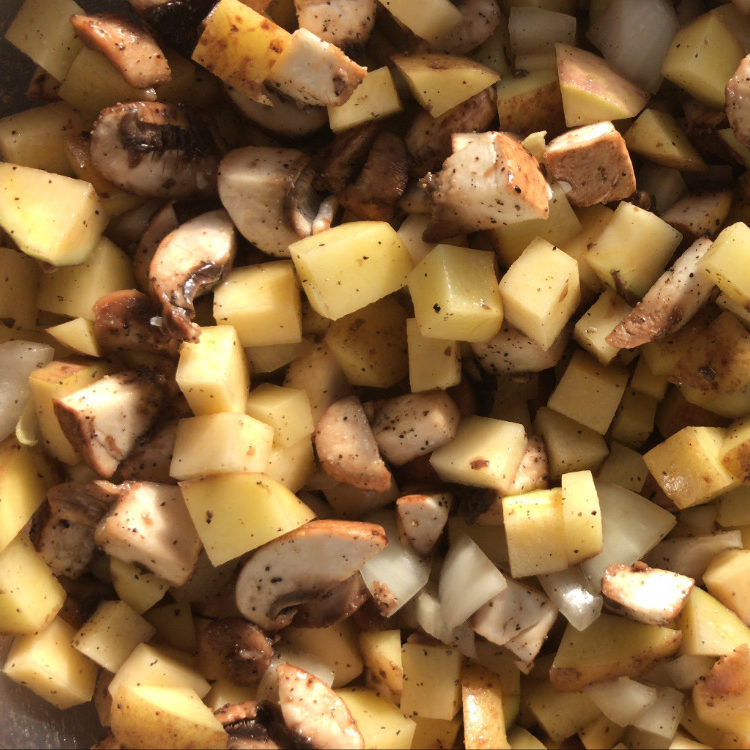
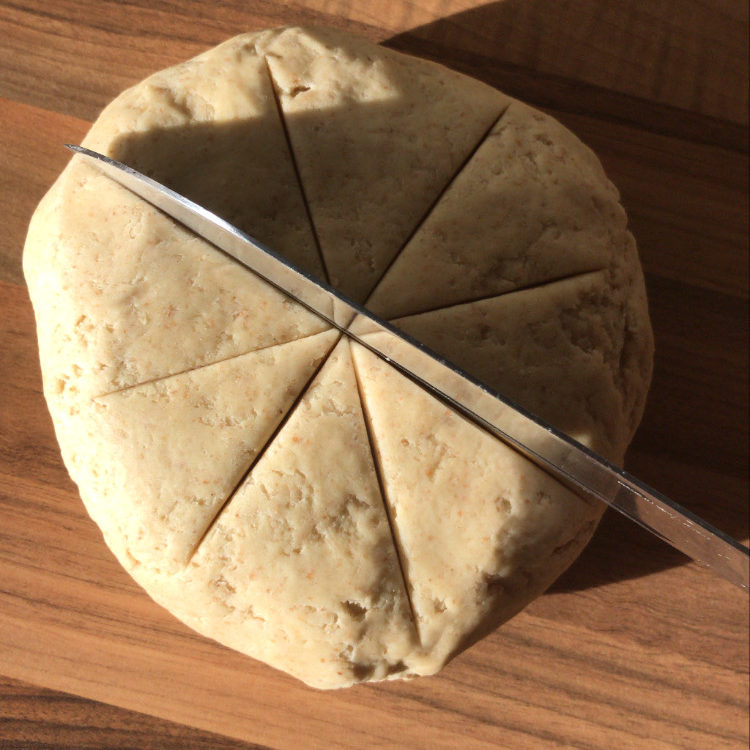
The photos below are from my instagram stories where I often take my followers through a simple step-by-step as I’m making dinner. Don’t forget to tag @greenearthorganics1 on Instagram or share your photos on the Green Earth Organics Healthy Eating facebook page if you make this recipe. We love to see your creations!

For the pastry:

  • 500g strong flour (I like to use a 400g of white and 100g of brown)
  • 250g butter
  • a big pinch of salt
  • enough cold water to bring the dough together (usually only a couple of tbsp)

Method

Either use the tips of your fingers to crumble the butter into the flour and salt, or pop all the pastry ingredients (except the water) into a food processor with the blade attachment and pulse it together, until it resembles wet beach sand. Then add a small splash of cold water and blend if using a food processor, or gently knead the dough, just until it comes together into a ball. Be careful not to add too much water, be patient with it. Don’t overwork the dough, you want it to be tender, not hard. Then wrap the pastry with a damp tea towel and let it rest while you prepare the filling. Turn the oven on to 175C.

For the filling:

Method

One of the many beauties of buying organic is that there is rarely a need to peel your vegetables. Just give them a thorough scrub and you’re good to go. As is the way with many of my recipes, no need for exact measurements for the filling. I like an equal balance of swede, potato, mushroom and onion in my pasties. Once you have your veg all diced up fairly small (around a cm squared is good) into a large mixing bowl, season it generously with salt and black pepper. If you have miso, stir a tbsp of that through the mix, if not, either add a touch more salt or a splash of soy sauce.

Then you need to sort out the pastry. Tip it out onto a clean work surface and slice it into 8 equal pieces.

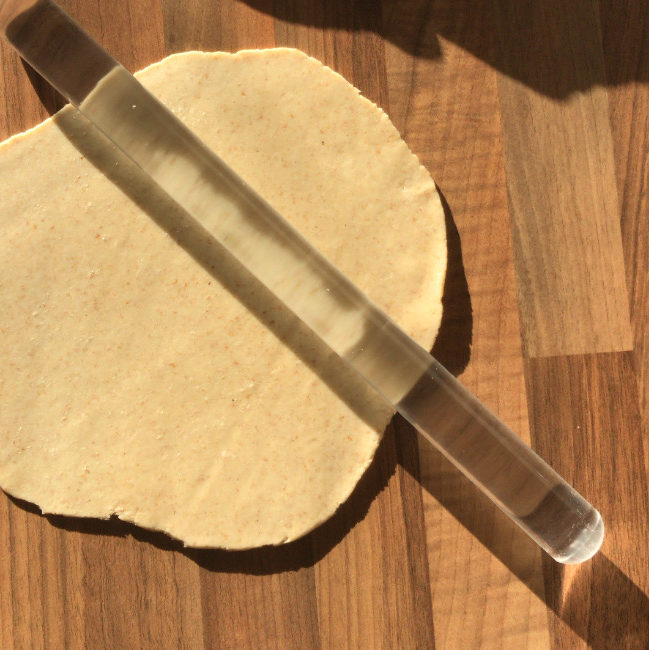
Then roll each piece into a ball and flatten it into a disc with your hand. If you need to, you can lightly flour your work surface to stop sticking and roll each ball into a thin circle. Aim to get the pastry around 4mm thick.

Then pile a generous amount of filling onto each piece of pastry, carefully gather up the sides and seal and crimp as best as you can.

Pop the pasties onto a baking sheet and bake in a preheated oven (175C) for 40 minutes or until the pastry is golden brown and the filling is cooked through and steaming.

I always encourage creativity and this recipe is no exception. Although this is as close to a traditional Cornish pasty as you can get making it plant based, feel free to let your tastebuds run free. Why not try a curried pasty? Add some turmeric and black pepper to the pastry and some curry powder to the veg. And while you’re at it switch the veg for diced potato, cauliflower and onion with a drained tin of chickpeas. Or go mediterranean in the summer? Switch the veg for peppers, aubergine, tomato and courgette and add some basil, pop a sprinkle of fennel seeds through the pastry. What combinations will you try? Let me know in the comments. I’d love to see your creations.

Liz x

Liz Child

Kenneth has asked me to share my recipes, illustrations and writing on Green Earth Organics brand new blog and I am thrilled and honoured to be trusted with this task. I am new to this beautiful part of the world so I thought I should introduce myself. I’ll be adding more bios to this section of the blog soon so keep an eye out for those, but someone has to go first.

My name is Liz Child and I am a chef, illustrator, writer and a wannabe food forest farmer. I grew up in Zimbabwe and moved to the UK with my family in ‘99 when I was 14. At 22, after completing my degree in Fine Art, I started a vegetarian cafe in Canterbury called The Veg Box Cafe with my husband Adam. We had a bit of a rollercoaster of a time during our 12 years of running the cafe, as is the way in the food industry, but we stuck with it and learned so much along the way. We sold the business in March 2020 so I could focus on my writing and illustrating and to follow our dream of moving to Ireland to start a mini food forest. The dream is to have a go at living as low impact a life as possible. As I write this we are still in the very early stages of trying to make that happen so watch this space to see how it unfolds.

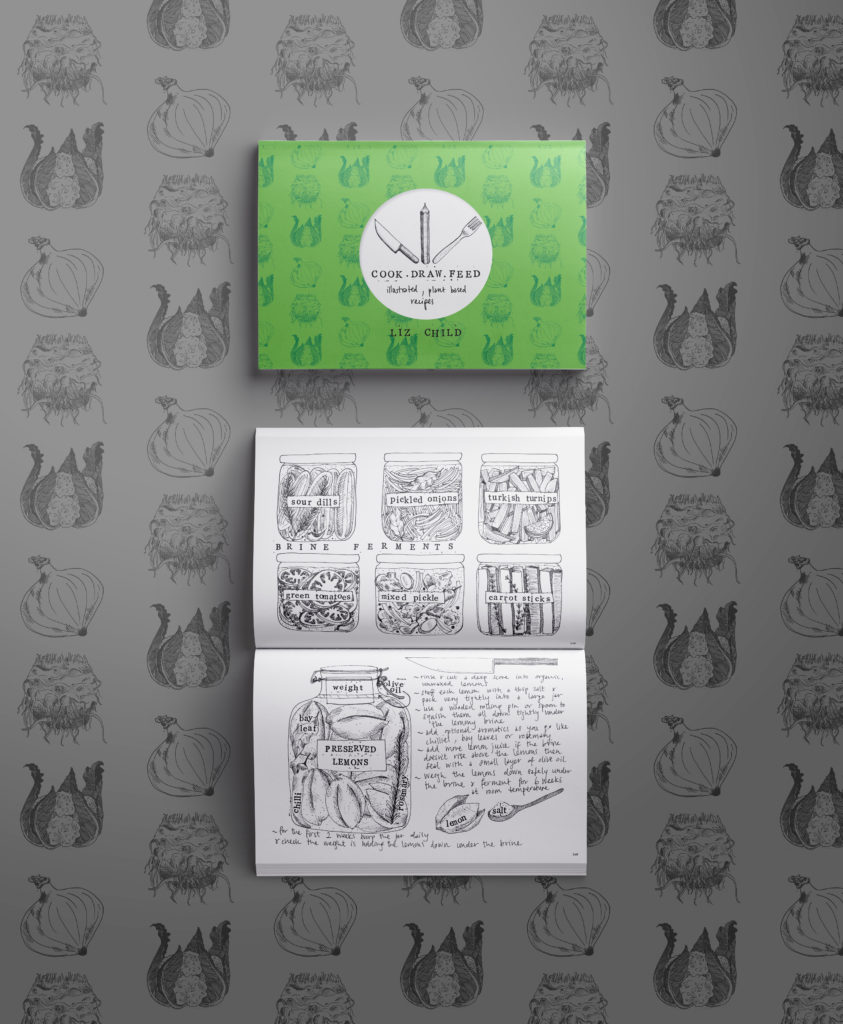
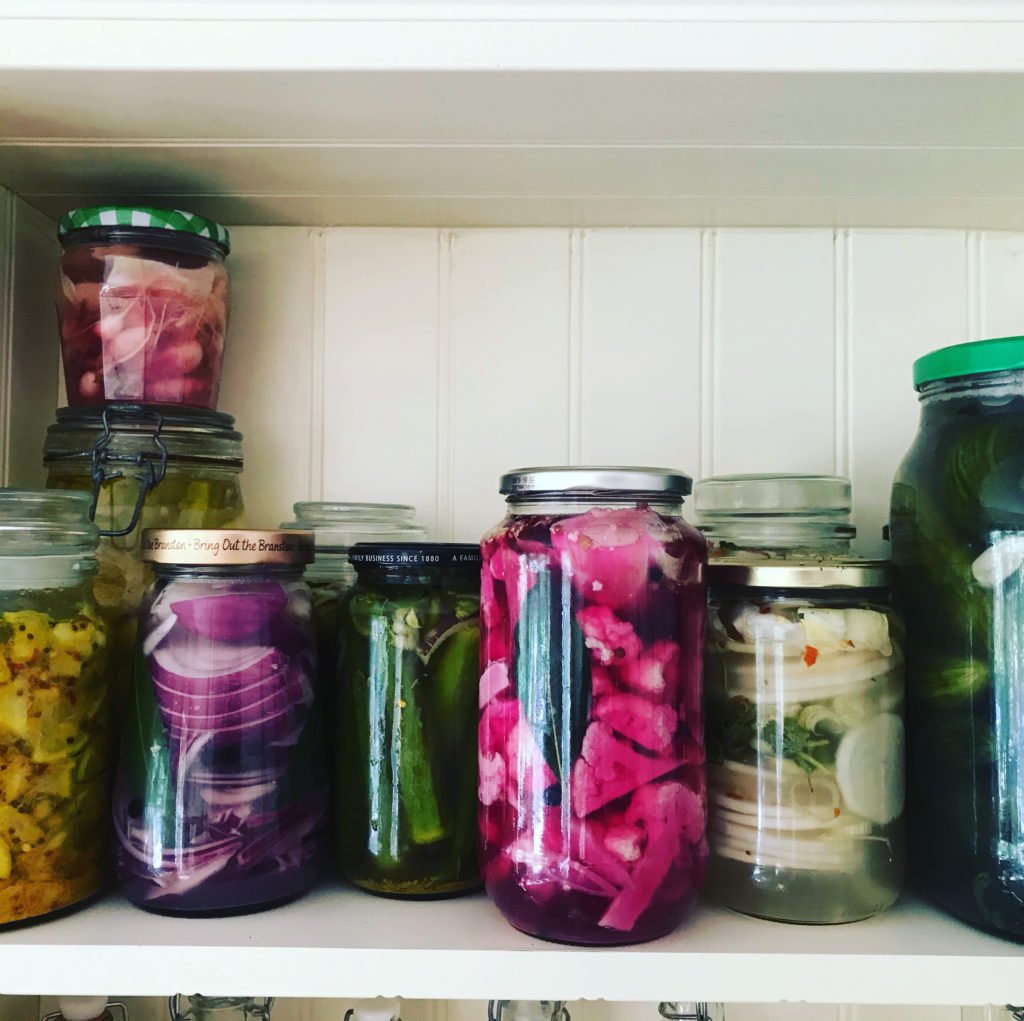
I also wrote, illustrated and self published a cookbook last year based on the 12 years of honing my own brand of relaxed, instinctive cooking at the cafe. The book focuses on celebrating seasonal vegetables and is packed full of easy ways to make vibrant, wholesome meals from humble ingredients. It is a unique book, full of hand drawn recipes and is such a useful accompaniment to a veg box delivery scheme. You can add a copy to your delivery here if you like. I’ll be sharing recipes from the book as well as lots of new ones here on the recipe section of the blog too so look out for those. I’m particularly obsessed with fermenting every vegetable under the sun, so expect lots of funky ideas on how to make the most out of your brilliant veg boxes from Green Earth Organics.

At present I live in County Galway with my husband, 2 children and our scruffy spaniel, Rey. I split my time between looking after the kids, recipe development, flogging my cookbook, illustration jobs and managing the blog, and I try get away from the desk to get outside as much as possible. In my spare time I love walking, foraging and planting and dreaming about our future food forest retreat. You can follow me on Instagram or Facebook @cook.draw.feed for a behind the scenes view of the freelance cheffing/illustrating/writing/parenting mayhem that is my life.

I wouldn’t have it any other way.

Over to you. Tell me about yourself in the comments. What are your dreams? What kind of recipes would you like me to work on for you? Are there particular ingredients you feel stumped with?

Liz x